
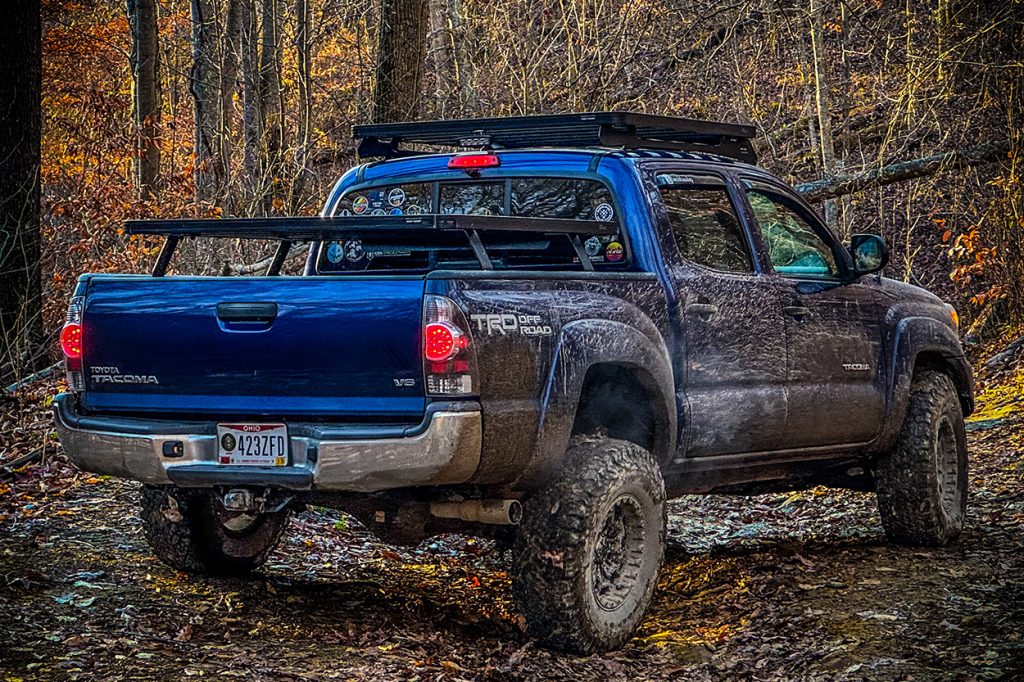
Upgrading your Tacoma’s upper control arms (UCAs) can feel like navigating a labyrinth of options. Each has varying features, performance benefits, and price points. There can be many reasons for upgrading, whether you’re looking to improve suspension geometry, enhance off-road performance, or address wear and tear. If you’re reading this article, chances are you’re already familiar with the challenge of choosing a set.
In this review, I’ll share my experience with Freedom Off-Road’s offering and their value sentiment. We’ll also cover why you might want to upgrade your UCAs and the installation process.
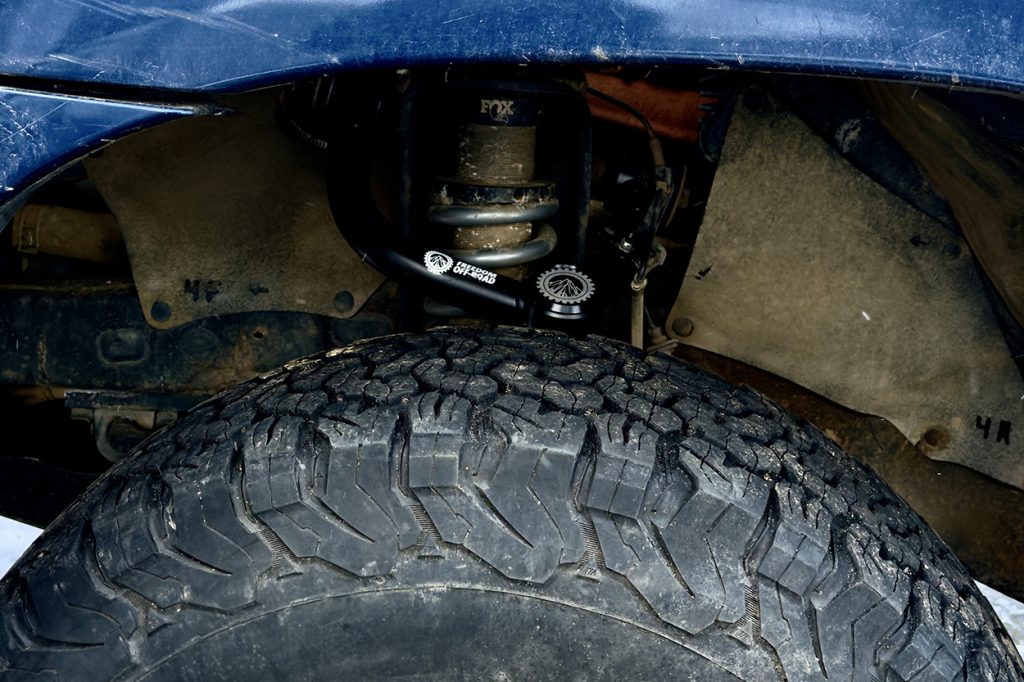
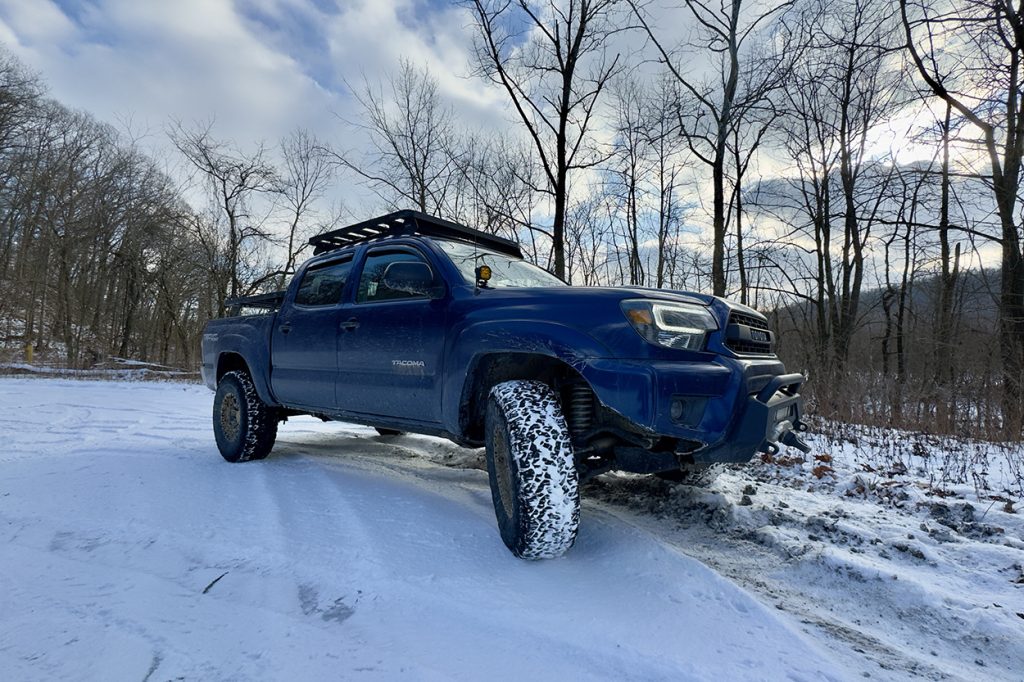
These work on the 2005-2023 Tacoma. I got mine from Mudify – they sell all sorts of parts for Toyota applications!
Table Of Contents
Why You Should Upgrade
UCAs play a critical role in your Tacoma’s suspension system, a collection of various parts linked together through joints and bushings. These parts were designed to work within a specific angle tolerance. When you change these angles with a lift kit, which many owners frequently do, you change the overall suspension geometry. This can cause problems down the road.
Upgrading to a high-quality set can solve these problems. They’ll also provide better suspension articulation, improved alignment, and a smoother ride on and off-road.
1. Correcting Suspension Geometry After a Lift
Once you lift your truck, your stock UCAs may no longer offer the correct geometry. This leads to issues like premature tire wear, poor handling, or damage to other suspension components. Achieving a proper alignment also becomes difficult, if not impossible.
The more you lift a Tacoma, the less caster you have to work with. However, aftermarket options bring the suspension geometry back to factory specs even with a lift and allow for correct alignment. Proper wheel alignment is crucial to how your truck drives and prevents extra stress on your suspension components and tires.
2. Additional Suspension Travel
Depending on your specific shock and spring combinations, the additional suspension travel will cause your factory UCA to contact the springs at full extension of the suspension. This is not an ideal situation and is another factor that aftermarket addresses. They are designed with additional clearance in mind to ensure that all of your components clear one another at all ranges of suspension travel.
3. Easy Maintenance + Added Strength
While there are other options, like uni-ball joints, heim joints, poly bushings, etc., you will also be paying a premium. Plus, they may not be best suited for how you use your truck.
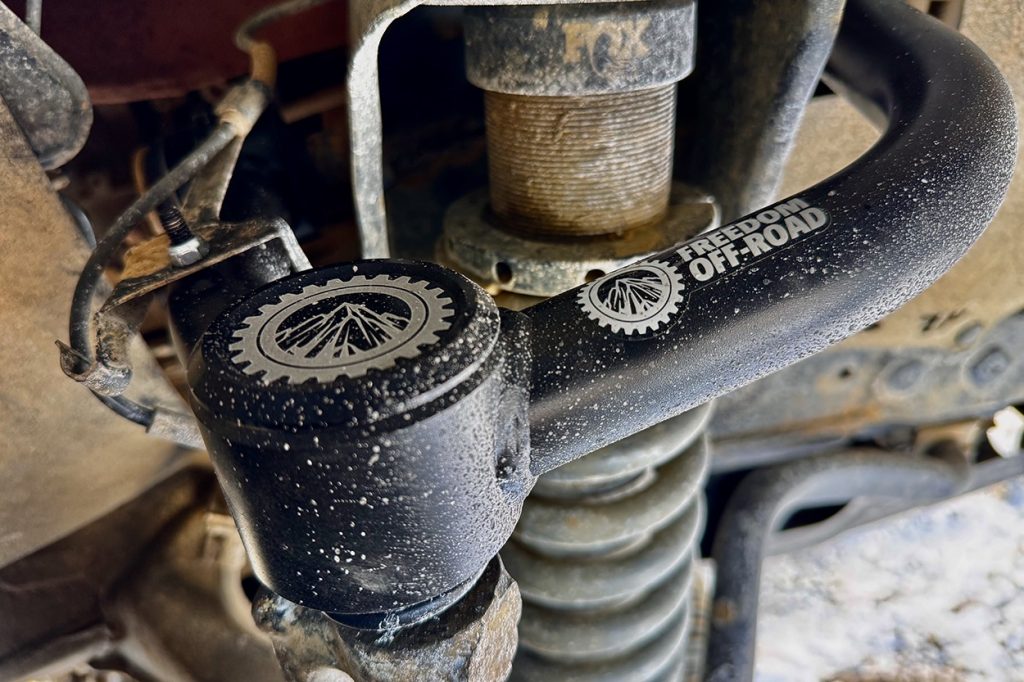
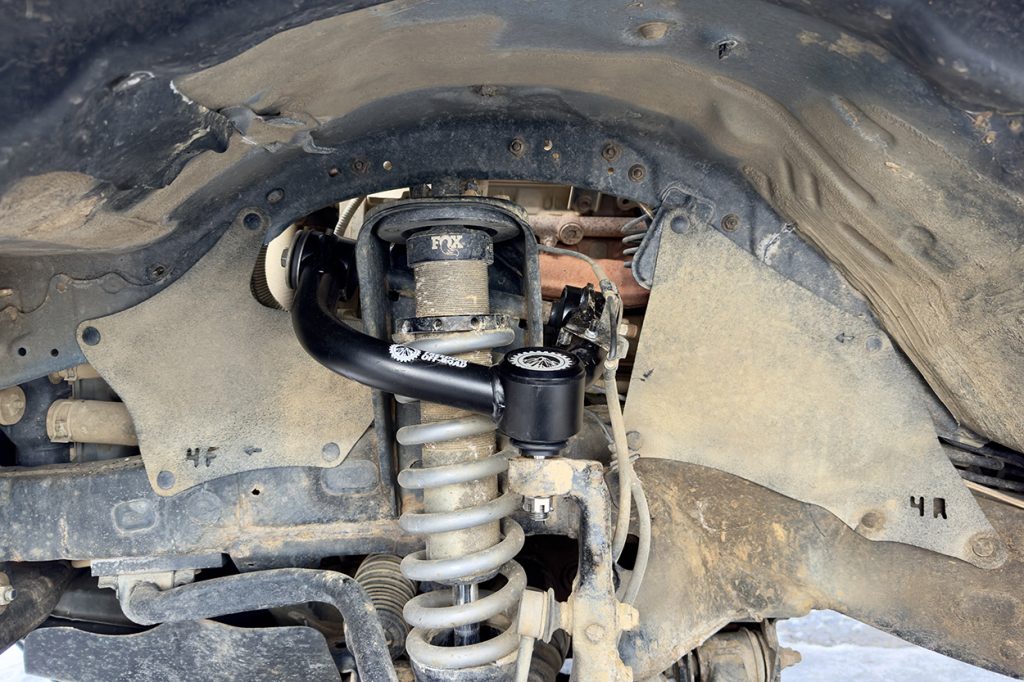
Freedom Off-Road arms are easily serviceable and have replaceable parts like the ball joints and bushings. This gives you the life and durability of OEM with the benefit of a stronger design. The tubular welded design is lighter and stronger than the stamped steel of the OEM.
These products may have more life because you can easily replace components as they age, just as you would with the OEM ones.
Product Overview
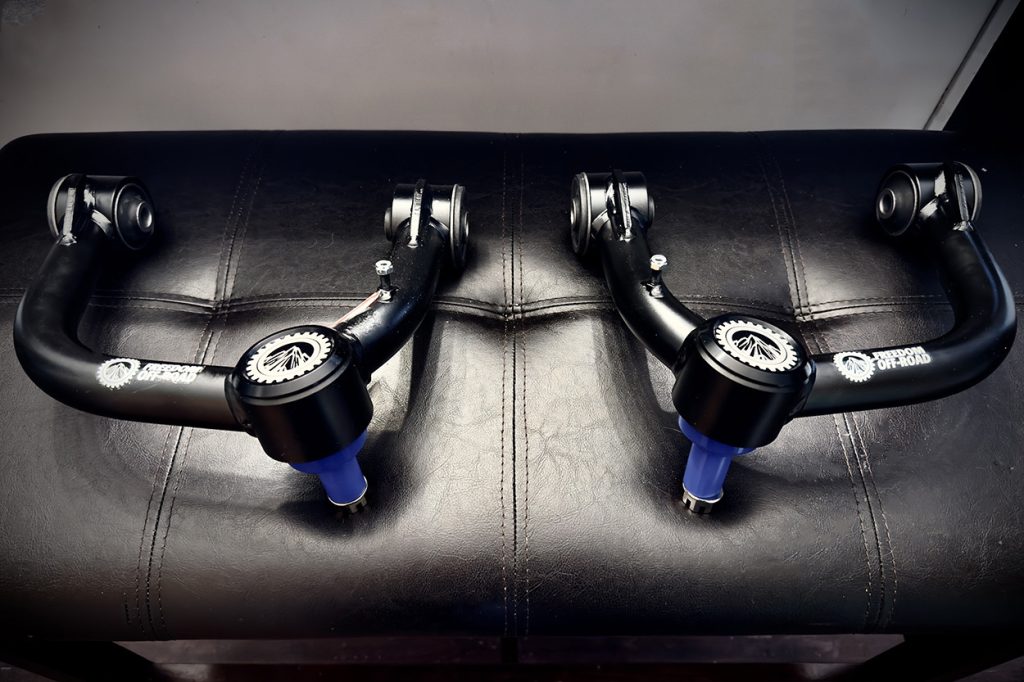
Features
- Maintains proper suspension geometry
- Designed for 2-4″ of lift
- Heavy-duty, 1.50″ tubular steel build with gusseting
- Specialized, black e-coating
- Replaceable hard rubber bushings
- Replaceable chromoly OE-style ball joint
- Built-in brake line attachment
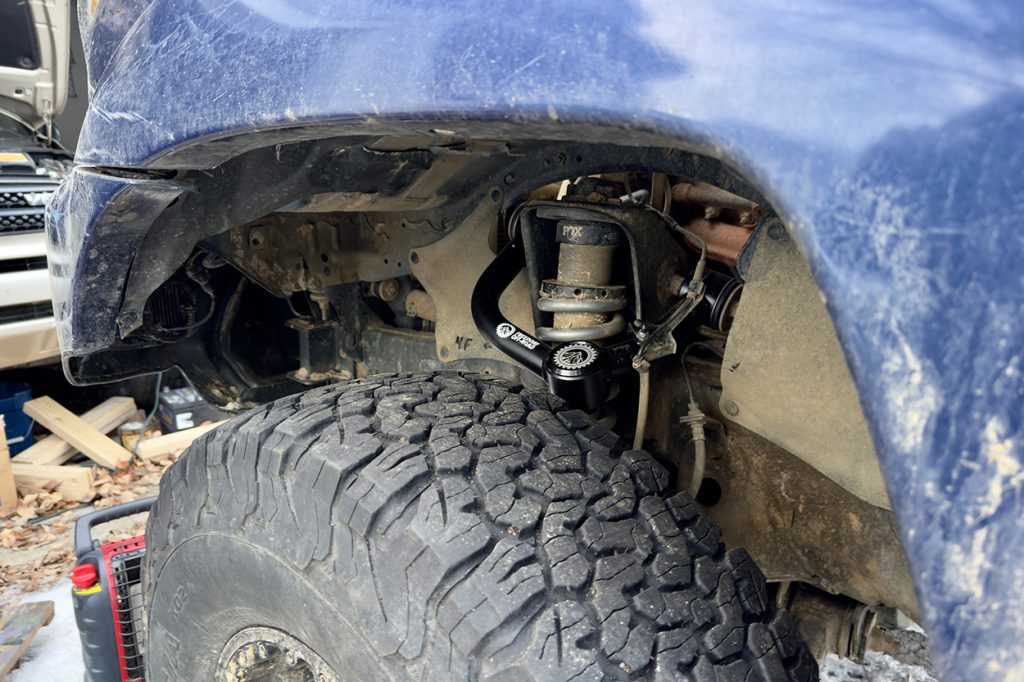
These control arms will provide a greater range of motion from your suspension travel, all while maintaining that factory alignment advantage. They are designed to be used with a 2-4″ suspension lift. If you’re within those lift numbers, these will work with any factory or aftermarket coilovers.
In addition to the strength advantage of the tubular and welded design, these control arms have gussets at all the weld and joint points to further increase their structural integrity and strength.
Chromoly OE-Style Ball Joint
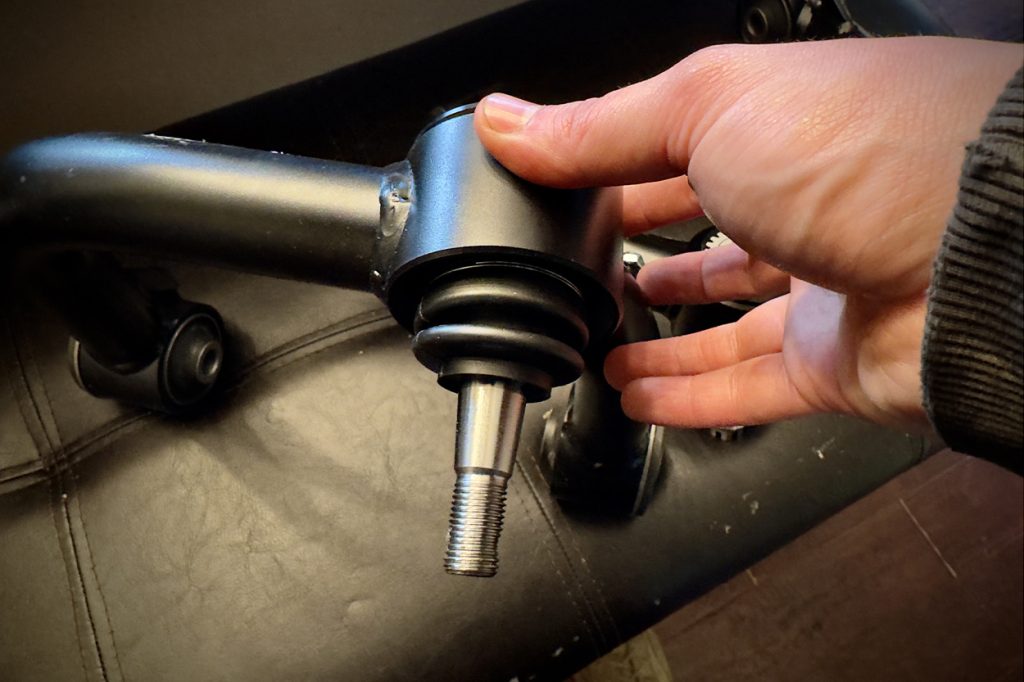
Chromoly has superior strength and corrosion resistance compared to other materials. You can rest assured knowing that a high-wear item like a ball joint uses top-shelf materials.
Packaging & Protection
After the order was placed, shipping was quick, and I received updates through email every step of the way. The control arms were packaged well, and I could tell they were protected and isolated from each other. An added touch was the protective casing around the ball joints to ensure they were fresh and undamaged throughout the shipping process. I appreciate the extra precautions given there.
Everything you need for the installation is included, even a new castle nut and new cotter pins.
Something you will not find, however, are installation instructions. It would be nice for them to include written instructions for you to follow in the packaging. However, you can find an installation video YouTube.
Installation

Installation should take a novice around 3 hours to complete but could take less depending on your experience level and access to tools, lift, etc.
Required Tools:
- Floor jack
- Jack stands
- Torque wrench
- Heavy ball peen hammer or small sledgehammer
- Vice grips
- Pry tool
- Ratchet & sockets (10mm & 19mm)
- 19mm wrench
- Breaker bar
Step 1. Lift Truck & Remove Tire
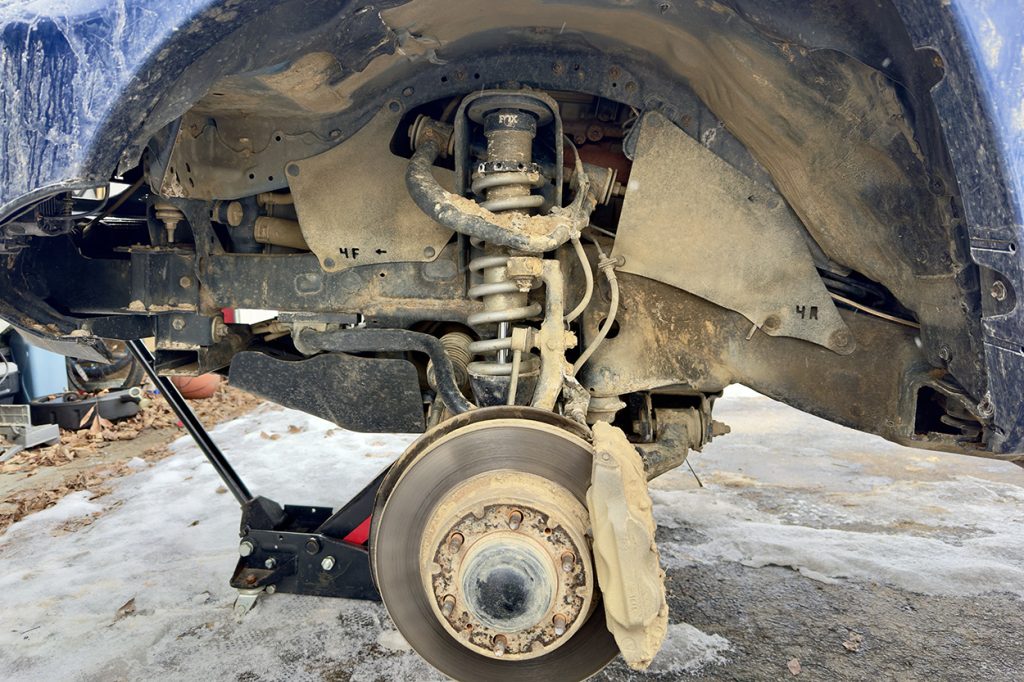
While the photographs and instructions are based on the driver side, the passenger side is the same general concept with only slight considerations.
If you are taking on this job solo, you may want to break the lug nuts loose before lifting to aid in removal. On level ground, set the parking brake and use the floor jack in an appropriate location to lift the front of the truck until the wheels are no longer making contact with the ground.
Then, for added safety, place jack stands securely on the frame. Remove the lug nuts and pull the wheel and tire off the truck.
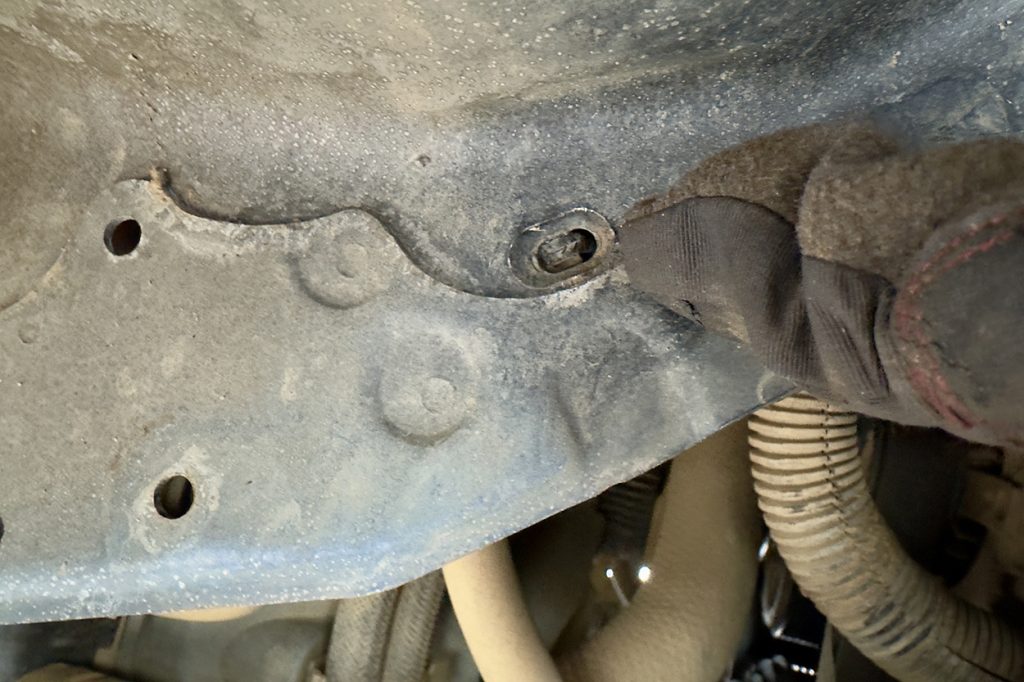
Step 2. Remove ABS Brackets
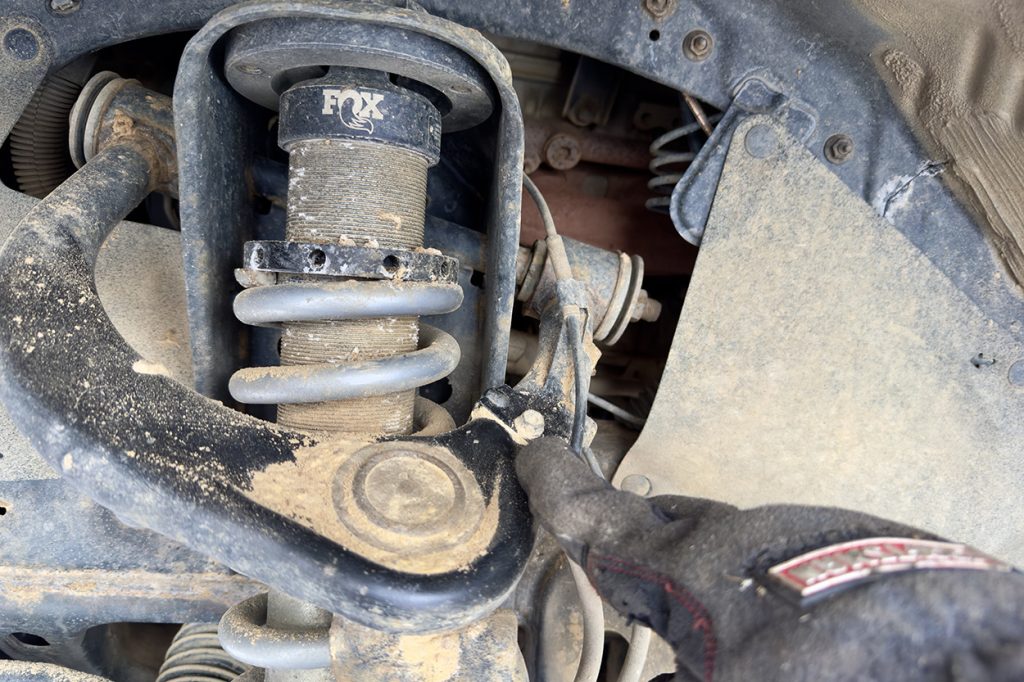
Using a 10mm socket and ratchet, remove the upper and lower ABS line brackets from the UCA and the spindle.
Removing both brackets will keep tension off the line, giving you more flexibility and ensuring the line is not damaged.
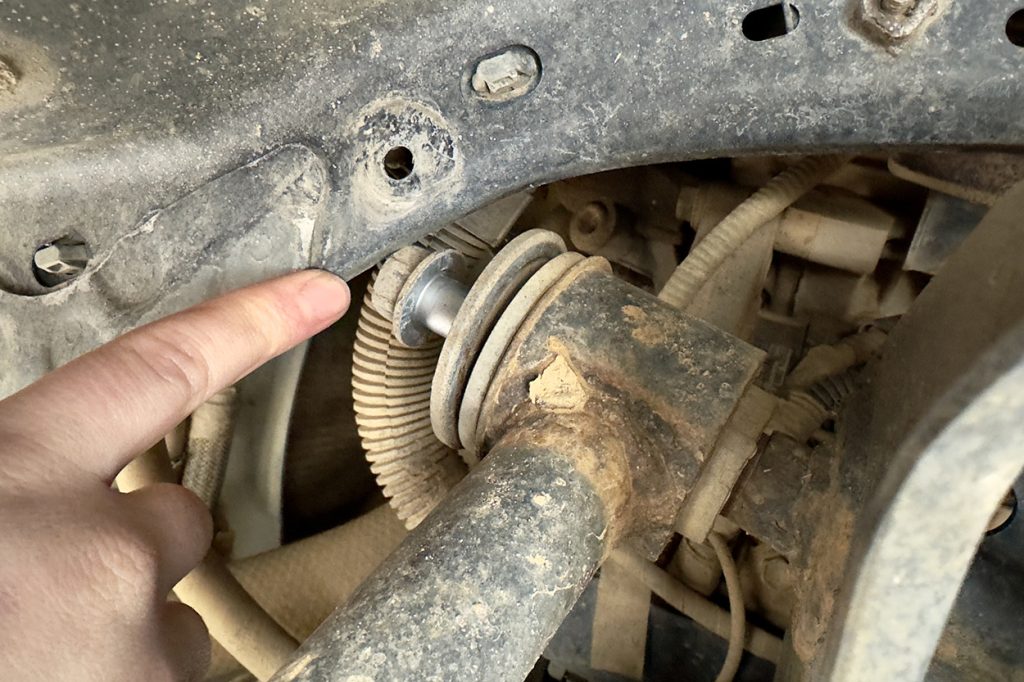
Step 3. Disconnect Ball Joint
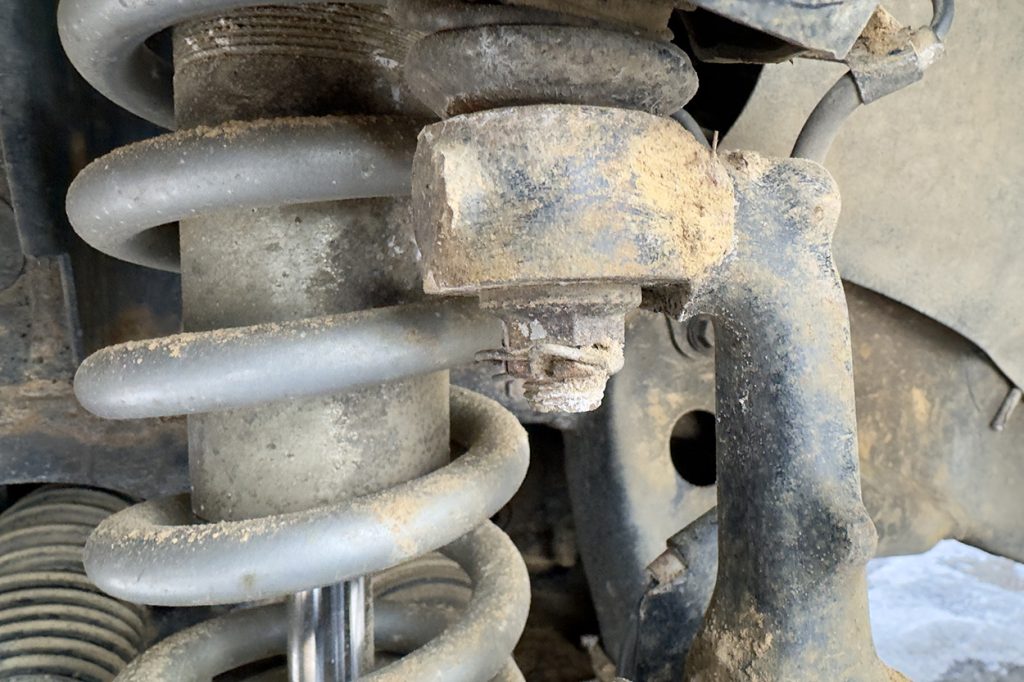
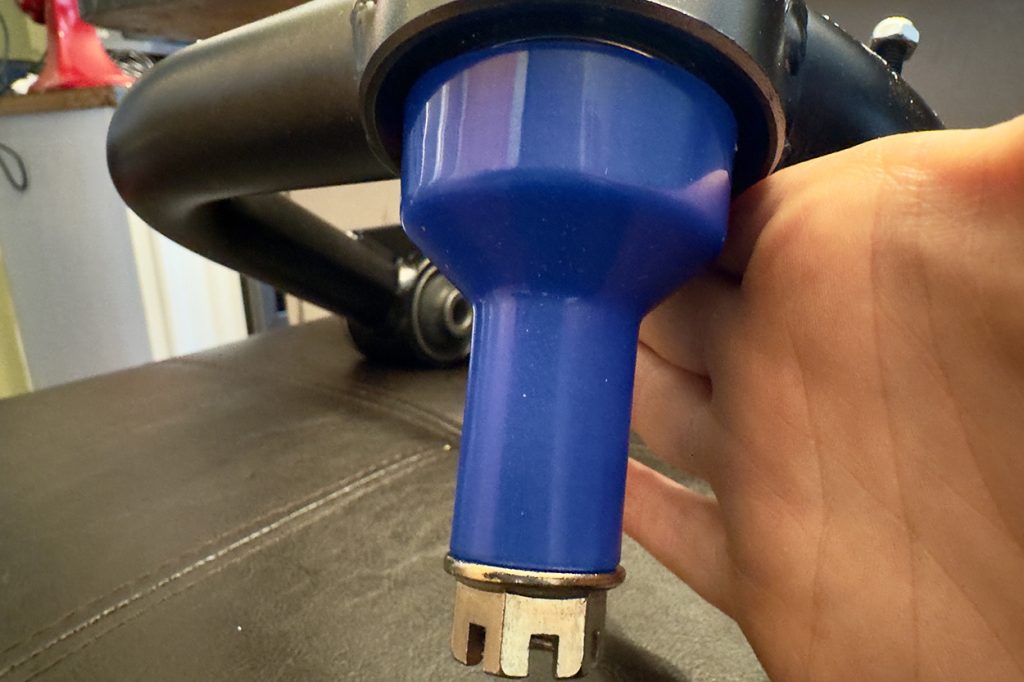
Use vice grips and remove the cotter pin holding the castle nut in place. Next, use a 19mm socket to loosen the castle nut to the bottom of the threads, but do not remove it completely. Leaving the castle nut on will catch the spindle when the ball joint is released to ensure that the spindle does not drop.
Once the castle nut is loosened, use the hammer to smack the flat portion at the top of the spindle until the ball joint is released. Then, remove the castle nut and separate the control arm from the spindle.
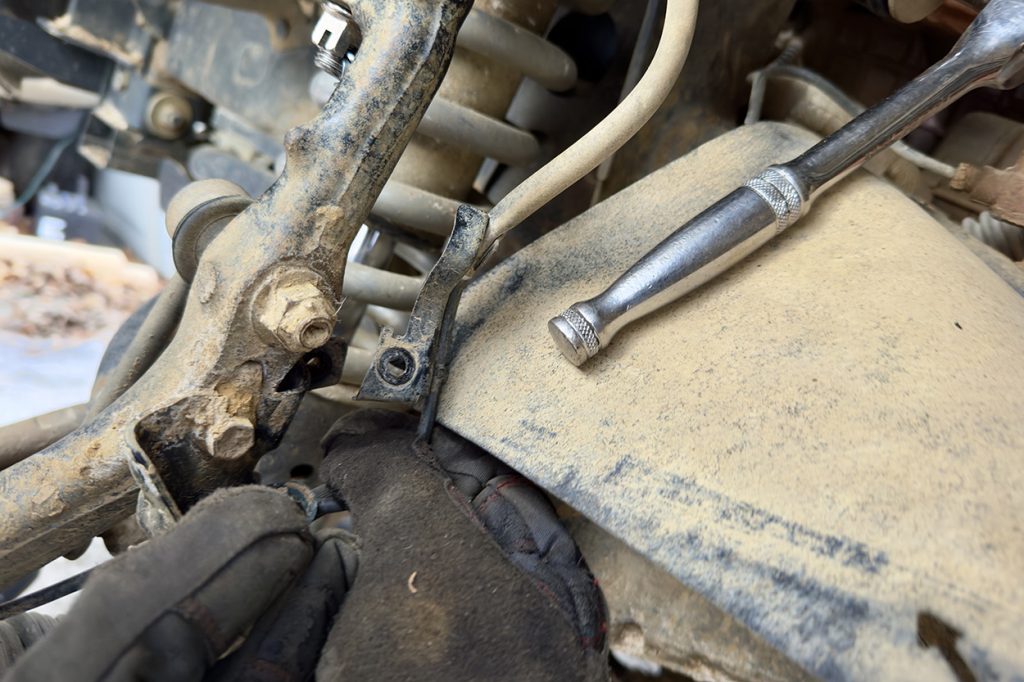
Step 4. Remove Splash Guards
Next, use the pry tool to remove the plastic clips holding the splash guards in place. Be careful when doing this, as they are very easily broken. I chose to only remove the top portions and fold the splash guards out of the way.
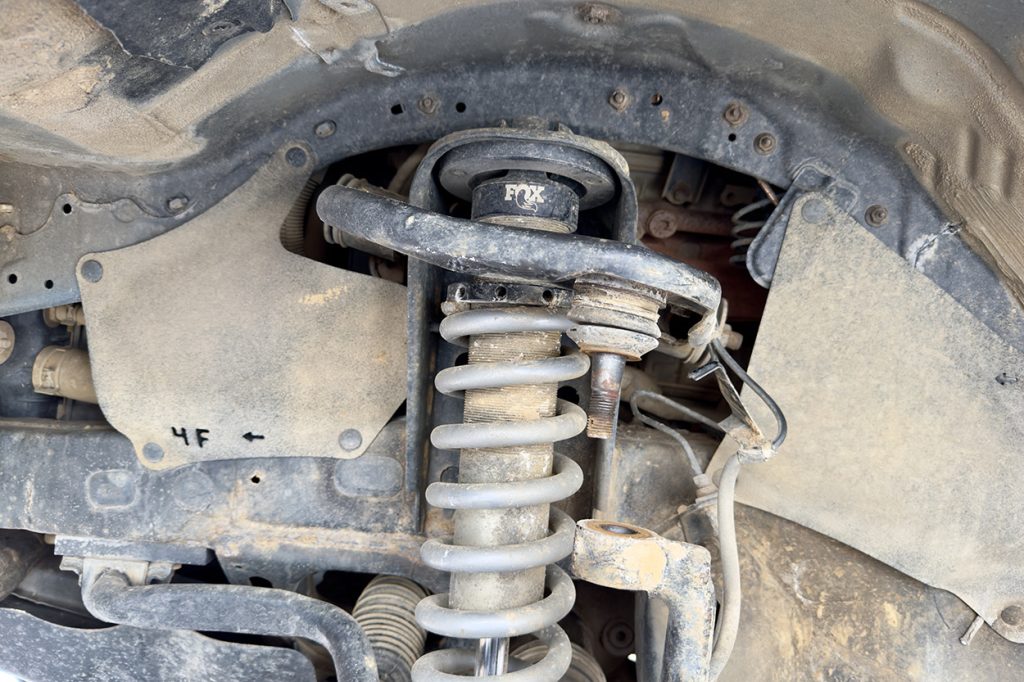
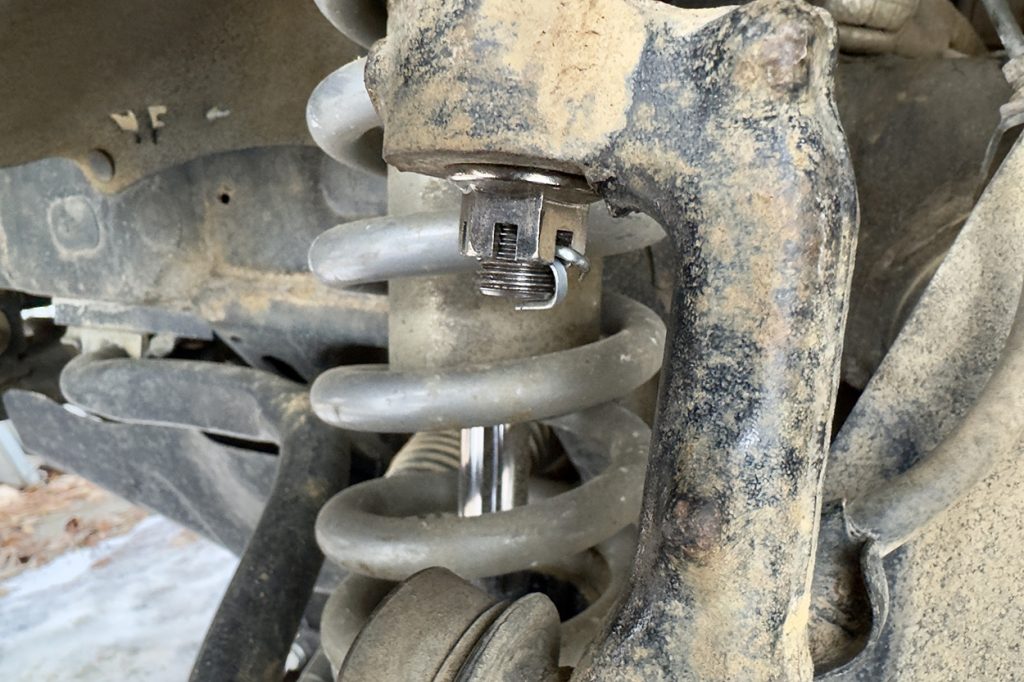
Step 5. Remove UCA
One very long bolt and a nut hold the UCA in place. Use a 19mm socket and a 19mm wrench on each side to loosen the bolt.
Once you remove the nut and washer from one side, you’ll notice as you slide the bolt out that the truck’s body interferes and won’t let you move the bolt any further. When these trucks are manufactured, the suspension components are installed on the frame before the body is placed on top. What was not an issue in the factory has become an issue for anyone doing the job after the fact.
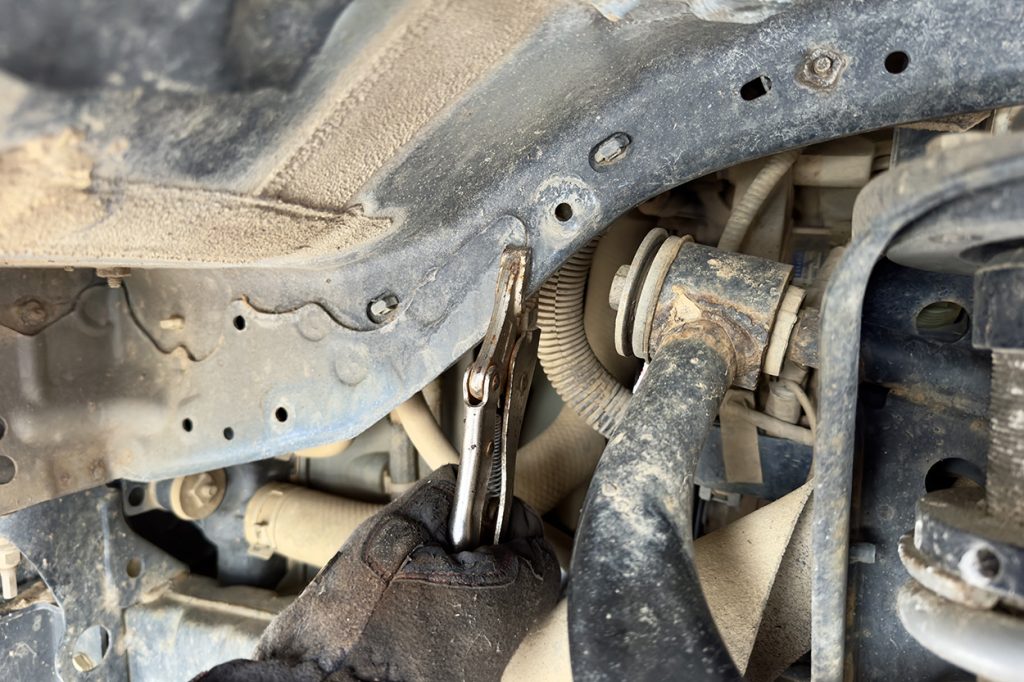
You must use vice grips to grab this location and bend it far enough for the bolt to fully clear. You only need to clear the bolt head, as the washer can stay in place until the bolt is fully removed.
Also, you’ll find that wire looms are blocking the bolt’s path. Use plyers to push the retaining clip from the loom so that it moves freely out of the way.
After this step, you should be able to start sliding the bolt out the rest of the way. You may encounter resistance, so just be careful and watch for other items you may need to move out of the way to finish removing the bolt.
Once the bolt is fully removed, you can pull out the old UCA.
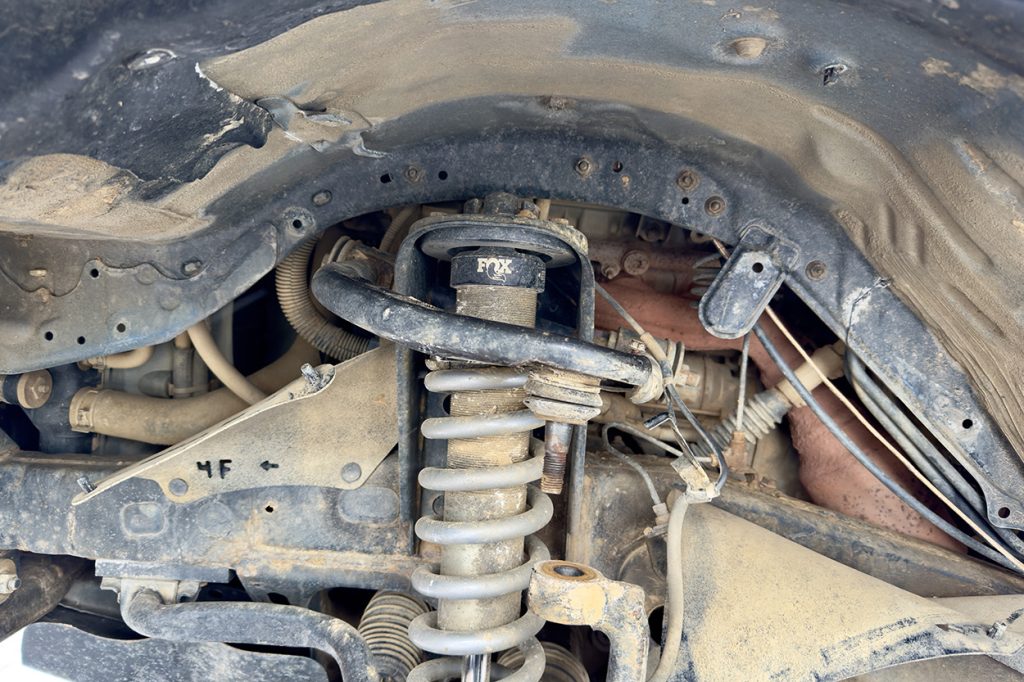
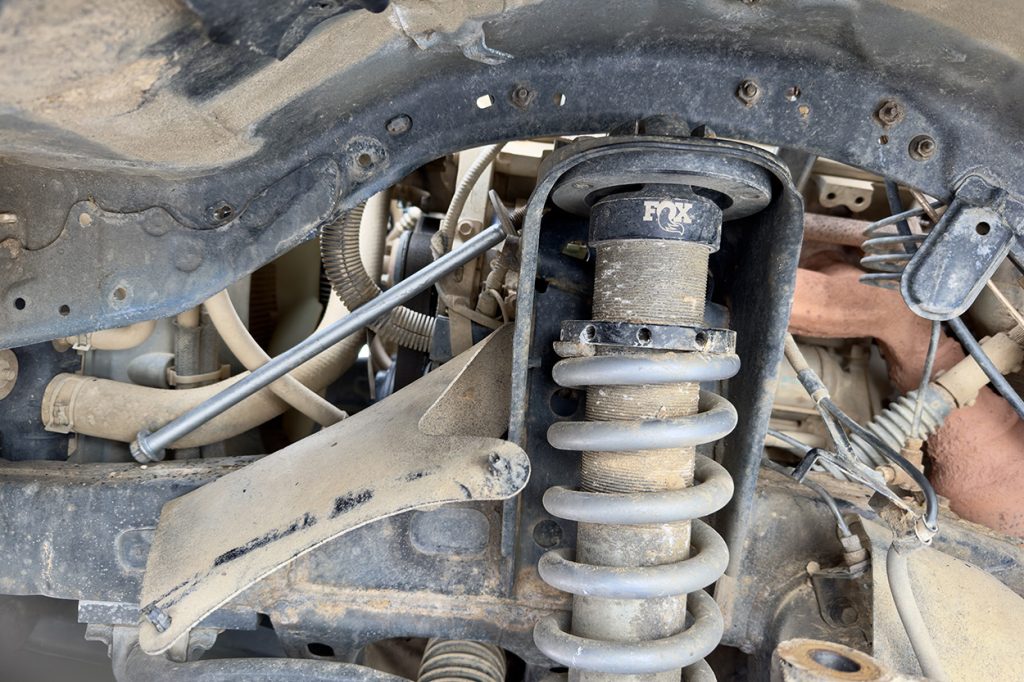
Step 6. Install Freedom Off-Road UCA
Freedom Off-Road sends these fully assembled and ready to go. All you have to do is install them, which is done in the exact opposite order of how the old one was removed. Just be sure to have the large washers placed the correct way that they were when you removed them.
You will also want to wait on torquing the main bolt down until the vehicle is resting on its weight to prevent bushing bind. If you torque this down while the suspension is at full droop, at maximum compression, you may be overextending the range in which the bushings were meant to flex.
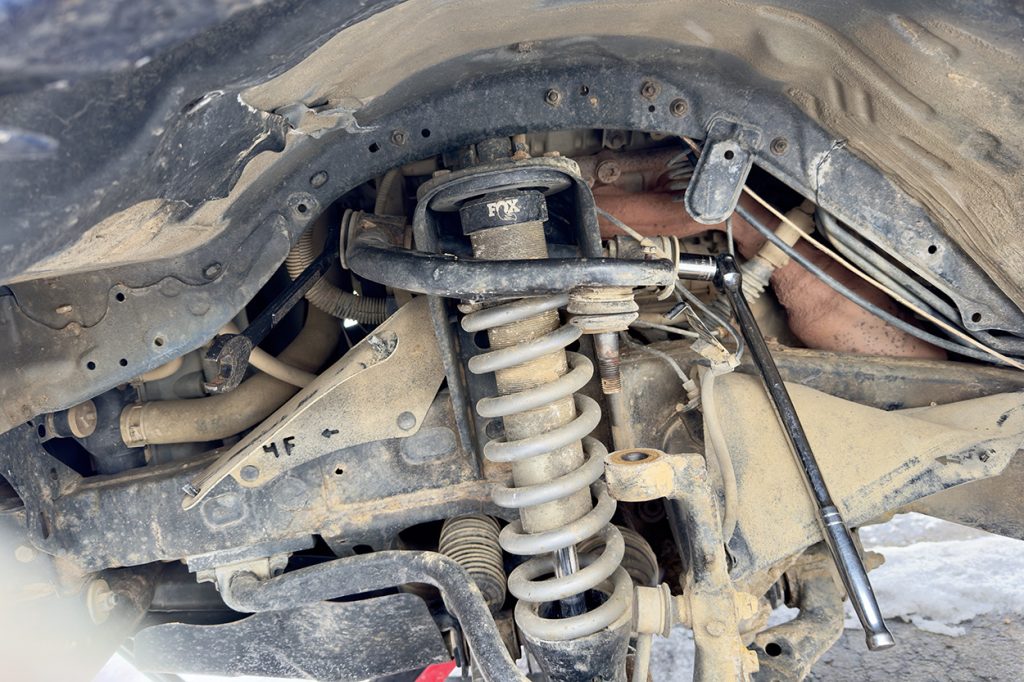
You can now align the ball joint with the spindle and begin tightening the castle nut on the ball joint to secure it. Once the castle nut gets torqued down, you can place the supplied cotter pin through the ball joint stud and bend each end to secure the nut.
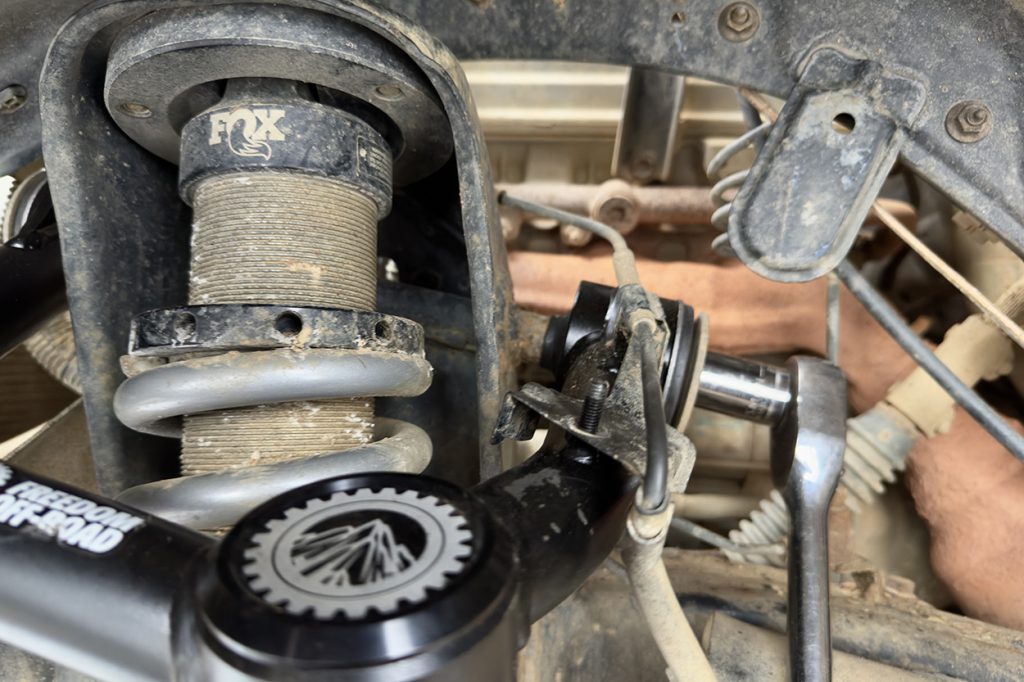
Next, reinstall the ABS line bracket on the new stud. After that, remember to reinstall the lower ABS line bracket on the spindle.
When this is all done, resecure the splash guards. Then, you can mount your wheel and tire back on the truck and snug the lug nuts in. You can now remove the jack stands and lower the truck onto the ground.
Once everything is fully installed and you have ensured nothing is missed, you can torque everything down to factory specifications.
Torque Specs:
- UCA bolt/nut: 85 ft-lbs.
- Ball joint castle nut: 81 ft lbs.
- Lug nuts: 83 ft-lbs.
With everything torqued down, you are finished with the installation and ready to roll! You’ll need to get to a reputable alignment ASAP to properly align your wheels.
Initial Review
For some context on my specific situation, my upper ball joints were well past the point of needing to be replaced. Upon doing this job, I found my driver’s side was spinning inside the housing. Because of this, I found a vast improvement with these UCAs over what I had on. I got the new truck feeling back without the negative effects of the lift.
On the road, these feel great. Years have been taken off the truck’s age. Taking corners feels solid and responsive, while bumps in the road are much smoother. I feel like these are allowing my Fox shocks to perform how they were meant to.
This upgrade has been nothing less than confidence-inspiring off-road and in less-than-ideal road conditions. There is a tangible increased range of motion that is smooth and brings the shocks to life. I felt I had complete control, even at higher speeds in the rough terrain.
After feeling out the UCAs out for a while, I believe they will last me a long time and not give me any trouble. There is peace of mind knowing that I can easily replace the ball joints and bushings as they age and continue using these arms for much longer.
It’s typical to hear the alignment shops say they had to push the limits of acceptable specifications before this installation. With the Freedom Off-Road UCAs, this is no longer the case. The alignment shop could easily align the truck. If you want to upgrade yours without breaking the bank, I recommend these!
Final Thoughts
I think the look of these is on par with their performance and durability. They are not as flashy as some competitors, which I like. However, up close, you’ll find that they are refined and beefy. They add a nice finishing touch to any suspension setup.
Freedom Off-Road UCAs are one of the most affordable options for Tacoma owners. But don’t let the price tag fool you—these deliver exceptional performance and may offer the best value on the market. I recommend sticking with OE-style ball joints and bushings for daily drivers and weekend warriors. You’ll appreciate the minimal maintenance required and easily replaceable parts.
While there are many options, they stand out for their affordability, durability, and performance. For Tacoma owners with a lift or looking to improve suspension alignment on a budget, these UCAs provide a strong balance of quality and price—making them a top contender.
Nicely done
Thank you, I appreciate that.
Great write up!
Thank you!