
Some car manufacturers have taken the plunge and moved away from halogen lights for both interior and exterior. Halogen lights are inexpensive and widely available so I understand Toyota’s hesitation to switch to LED in all their models.
The Light Emitting Diode, better known as LED, is quickly becoming a lighting standard in the automotive industry due to the efficiency of the electrical system, clean and bright light emission and long life of the lights themselves.
If you have ever driven a newer vehicle that comes stock with LED interior lighting, the difference in light quality is literally, night and day.
My 2020 Tacoma is new and I expected it to have a little bit better quality when it comes to lighting. I was a little disappointed, to say the least.
There are quite a few companies out there doing aftermarket LED conversions for the Tacoma, however, I immediately thought of Meso Customs.
I met Drew, from Meso Customs, at SEMA while I was doing overland product interviews for my YouTube channel, Adventure Built. The level of craftsmanship in their products is second to none. I ordered their light kits, which are sold separately, but I highly suggest getting both.
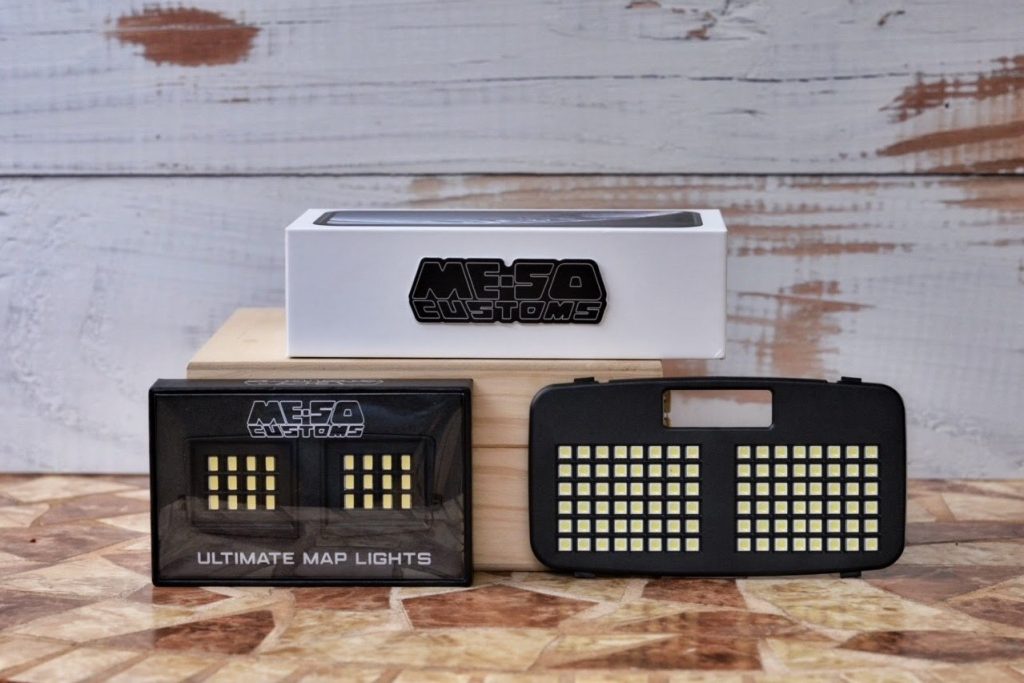
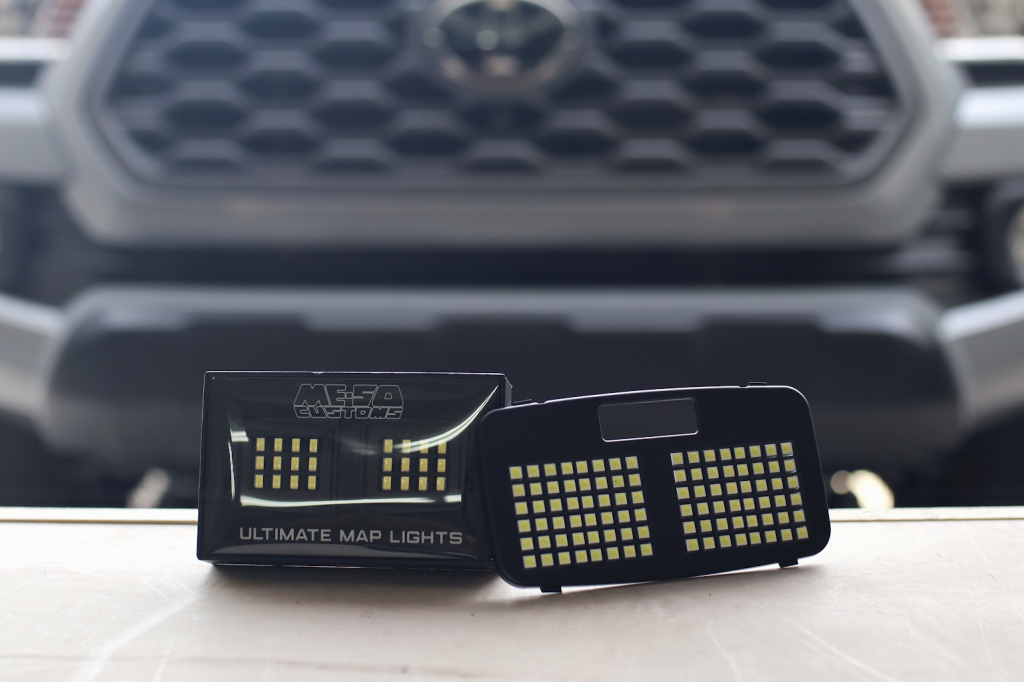
This is not just another LED bulb replacement. The Meso Customs kit includes brand new injection molded housings for a fit and finish as good as OEM.
Table Of Contents
Available Kits
Meso Customs sells these two lights kits separately.
The latest models can be found below. Product has been updated since post was written.
Find It Online
- Ultimate Map Lights
- Single Color (red OR white): Check Price
- Dual Color (red AND white): Check Price
- The Ultimate Dome Light (dual color OR dual brightness): Check Price
Tools Needed
- Thin Edged Trim Removal Tool
- Small Flat Head Screwdriver
Installation
With no further delay, let’s get into the step-by-step guide to installing your new map lights!
Step 1. Remove Map Light
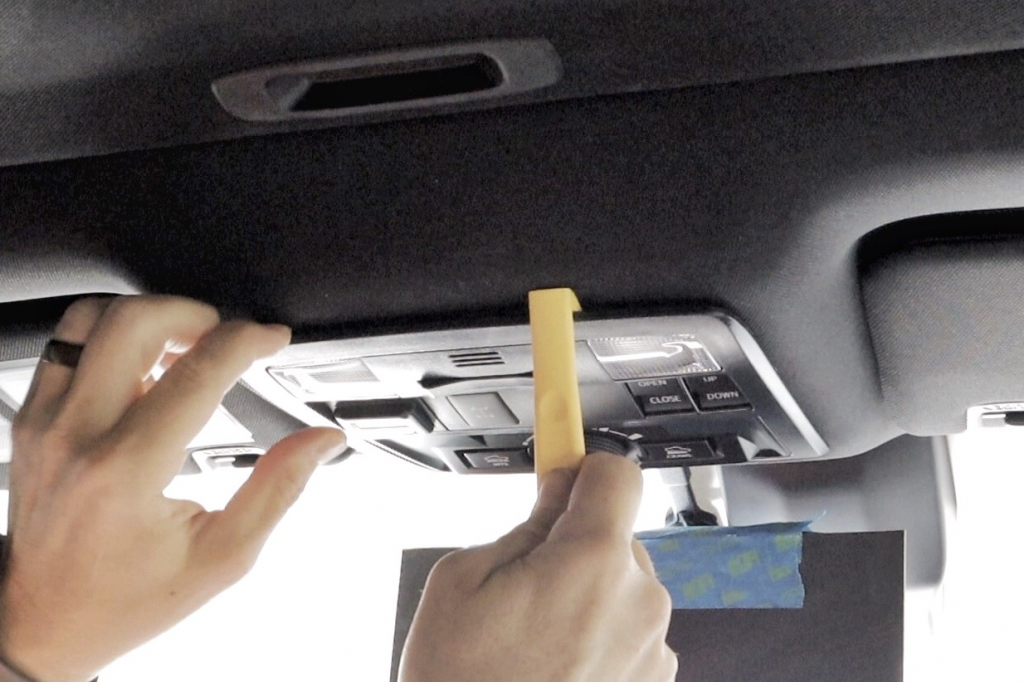
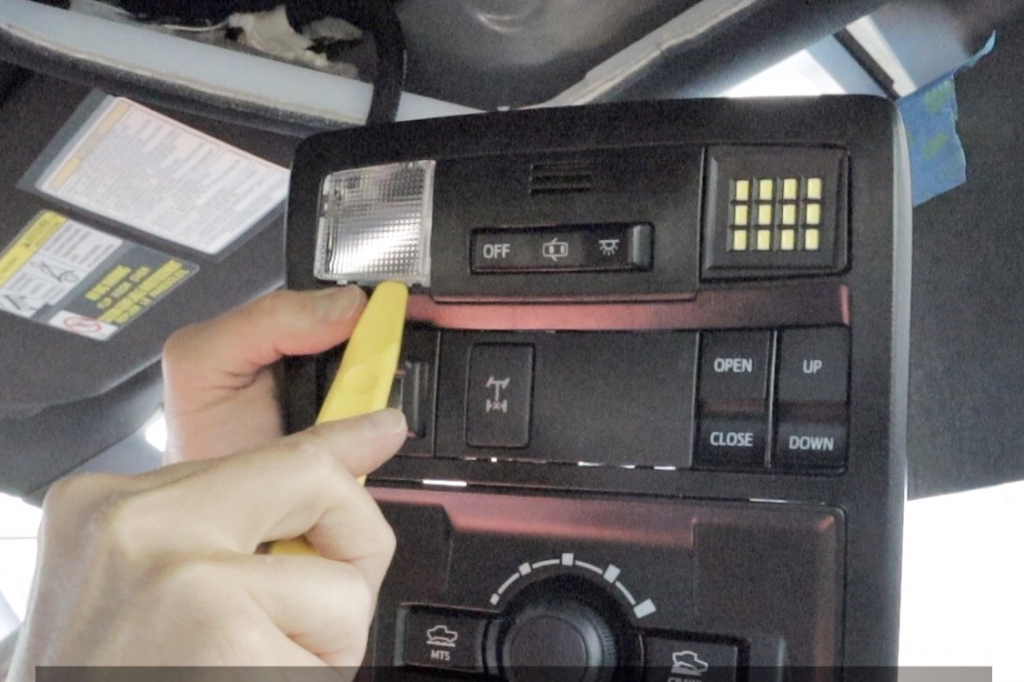
Using your trim removal tool pry up the front edge of the console. Once you can get your fingertips under the edge of the console, move your tool further down on the same side and pry up again.
Now that you have a single side pulled out, work your fingers around the perimeter of the console until you have all four sides pulled slightly off the headliner.
Pull the entire console down until the retaining clips that are holding it in place release. The retaining clips are the four red circles as shown in the image below.
Step 2. Remove Factory Bulbs
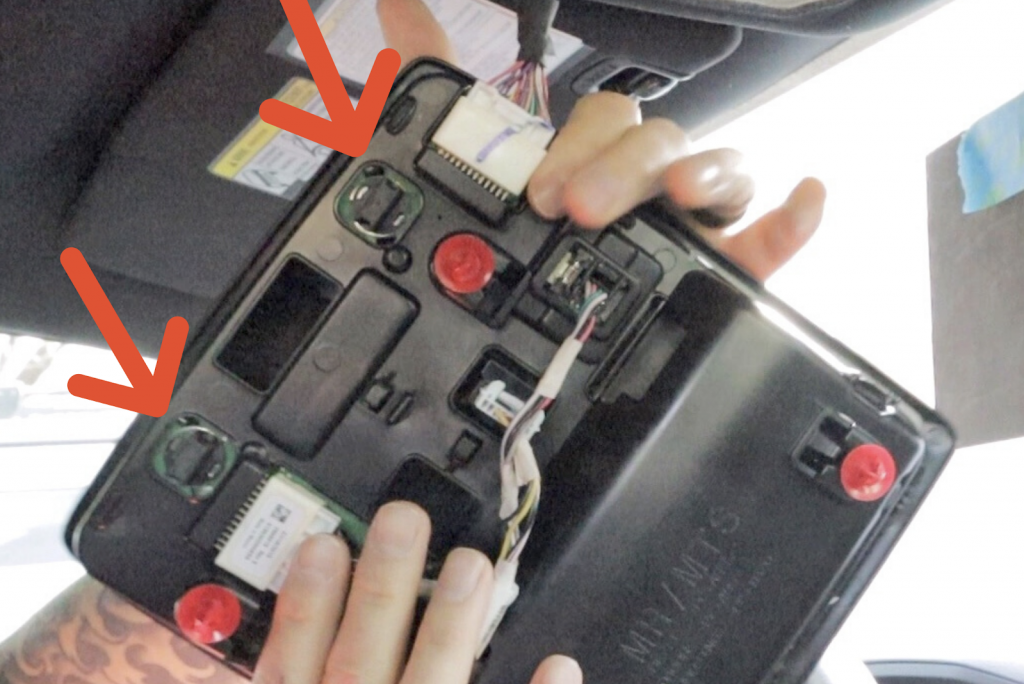
Remove the factory halogen map light bulbs by pinching the socket of the light, shown by the two red arrows, and giving them a quarter counter-clockwise turn.
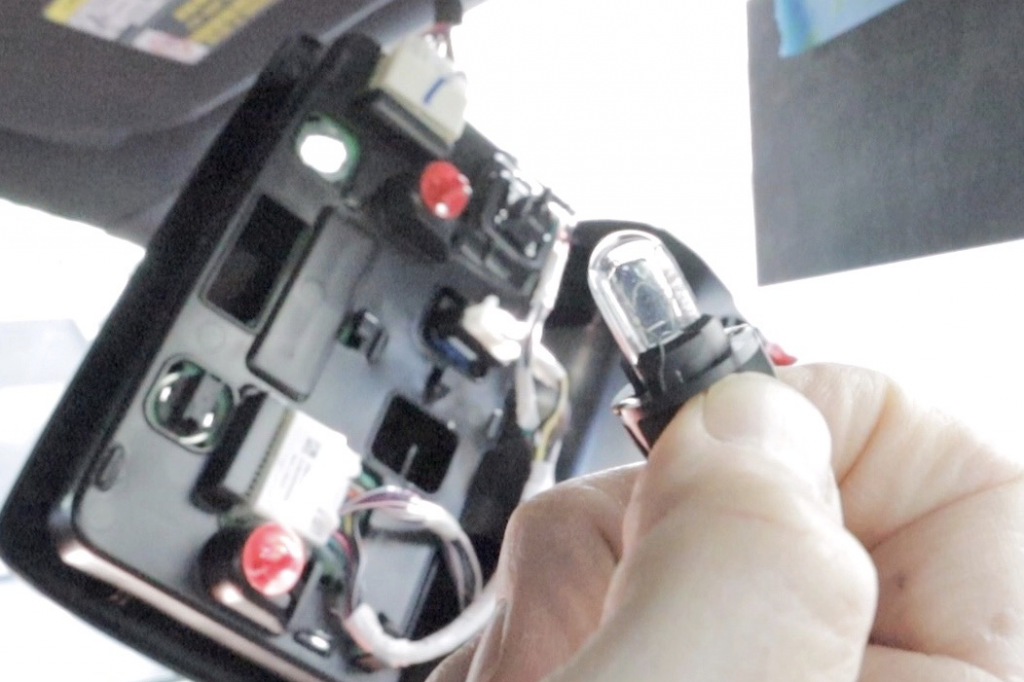
Pull the socket straight out and the halogen bulb will be attached.

The small black plastic piece that holds the factory halogen bulb is the socket. You need to hang onto that piece, it will be utilized shortly.
Now to remove the factory halogen bulb from the socket, simply pull the light bulb straight apart from the socket and the two will separate.
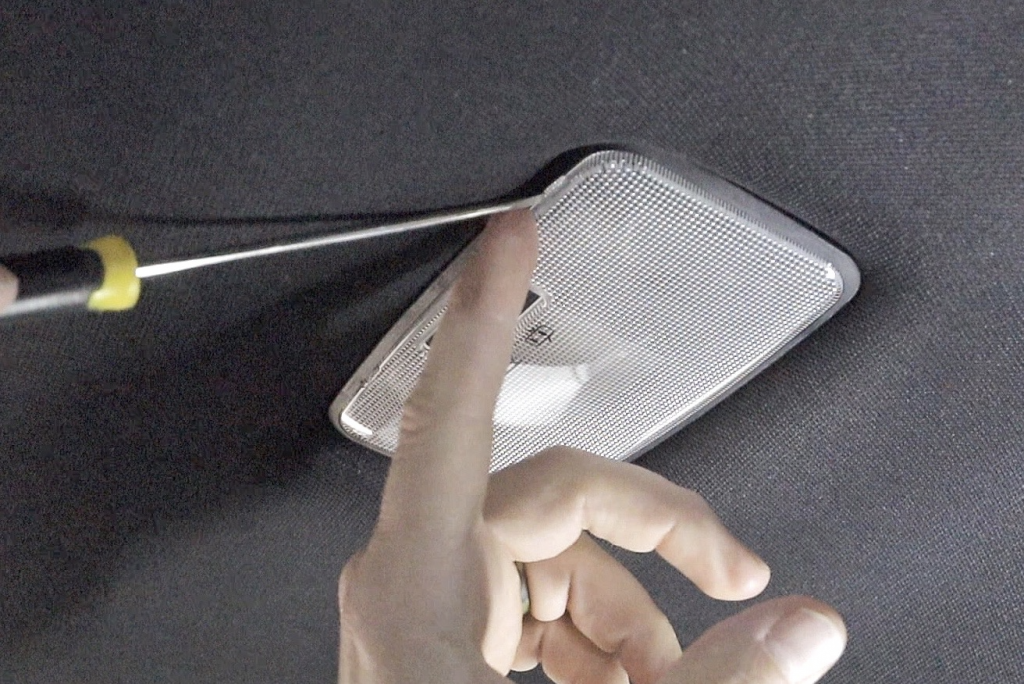
Step 3. Remove Map Light Diffuser
Using your trim removal tool, insert the thin edge into the bottom of the diffuser panel. Very slowly and carefully, peel the bottom edge of the diffuser panel up until you can fit the edge of the trim removal tool under the diffuser.
Once you can place your tool under the diffuser, turn the tool sideways to pry the diffuser out of the tabs that hold it in place.
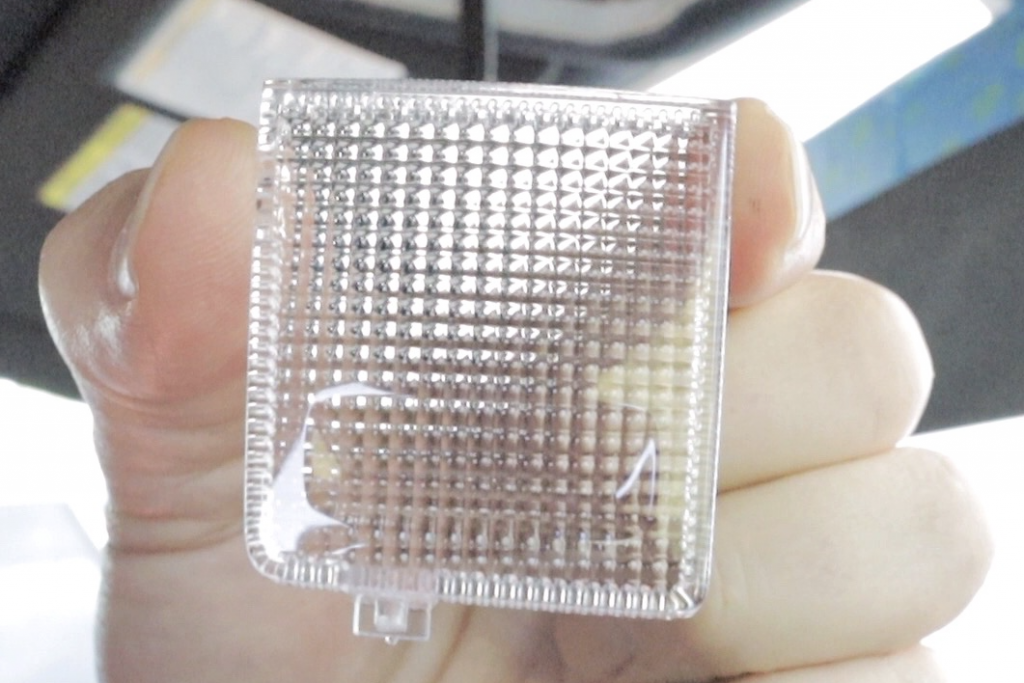
Discard the diffuser as you will not reuse this piece.
Step 4. Install New Light
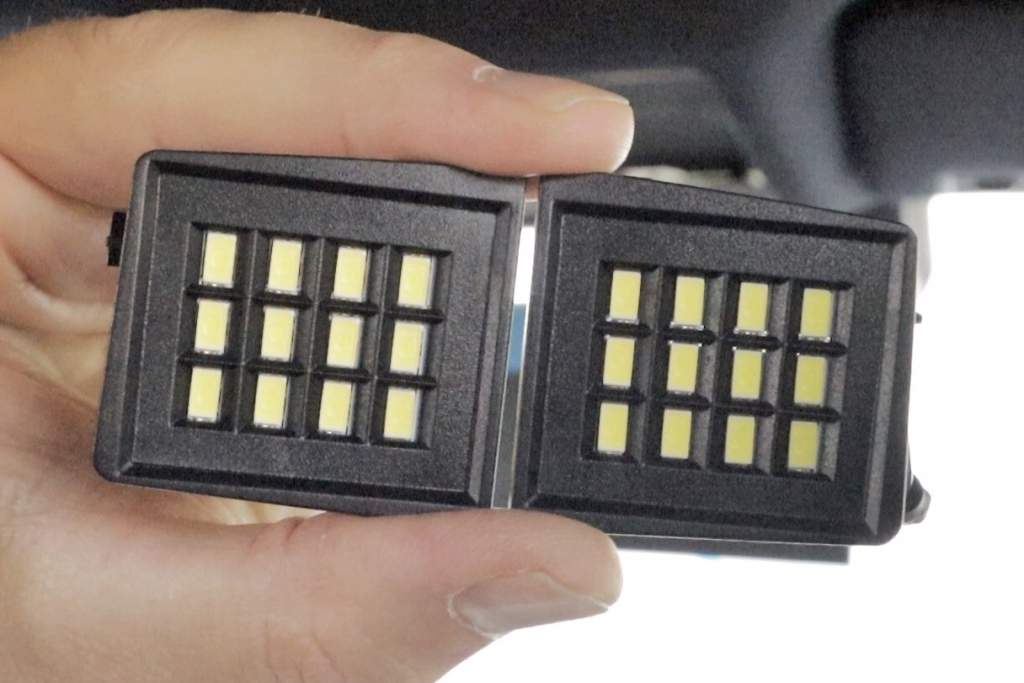
There are two LED lights in the map light kit. Be sure to identify and install the correct light on the correct side. The left is the driver’s side and the right is the passenger side. I feel now is a good time for a rocket scientist joke, but nope, too late.

Begin by fishing the wiring plug, through the front of the light housing, in the console. When you can see the plug protruding out the back of the housing, grab the socket and hang onto it.
Do not install the light into the housing just yet. Hold the LED light flush against the housing, with your pinky finger, while you do the next step. Spin the console around so you have a complete view of the backside of the console, specifically, your LED light plug.

Pick up the factory socket that you removed from the console. You are going to push the socket onto the plug of the Meso Customs LED light. It should slide on as easily as the factory halogen light slid off.
Next, replace the factory socket into the hole, on the back of the console, ensuring that the wiring is tucked neatly inside. Press the socket securely into the hole and give it a quarter clockwise turn.

Turn the console around to the front side. With the Meso Customs LED light sitting flush in the housing, just press down slowly and evenly on all four corners and the light will seat into place on all the tabs.
Note: If the light does not turn on when you depress the light, remove the socket from the console. Pull the plug from the socket and turn the plug around and re-insert into the socket. Return socket into the console. The polarity was reversed and now you have fixed it.
Step 6. Test Map Lights
Be sure to test both lights. Place the console back up to the headliner and line it up evenly. Slowly push the console up into the headliner until you feel the clips all catch. Make sure the console is flush and secure around the perimeter.
You are halfway there! With the map lights installed we have one more install left, the dome light.
Step 5. Remove Dome Light Diffuser
First, identify the two small indents in the diffuser on the same side as the switch. Place the tip of a small flathead screwdriver into the first tab. Pry the diffuser lens up just enough to hold it there with your finger.
With one side being held open by your finger, slide your screwdriver over to the other tab and pry that side up. The entire diffuser will peel off or just fall off entirely. You will no longer need your diffuser lens.
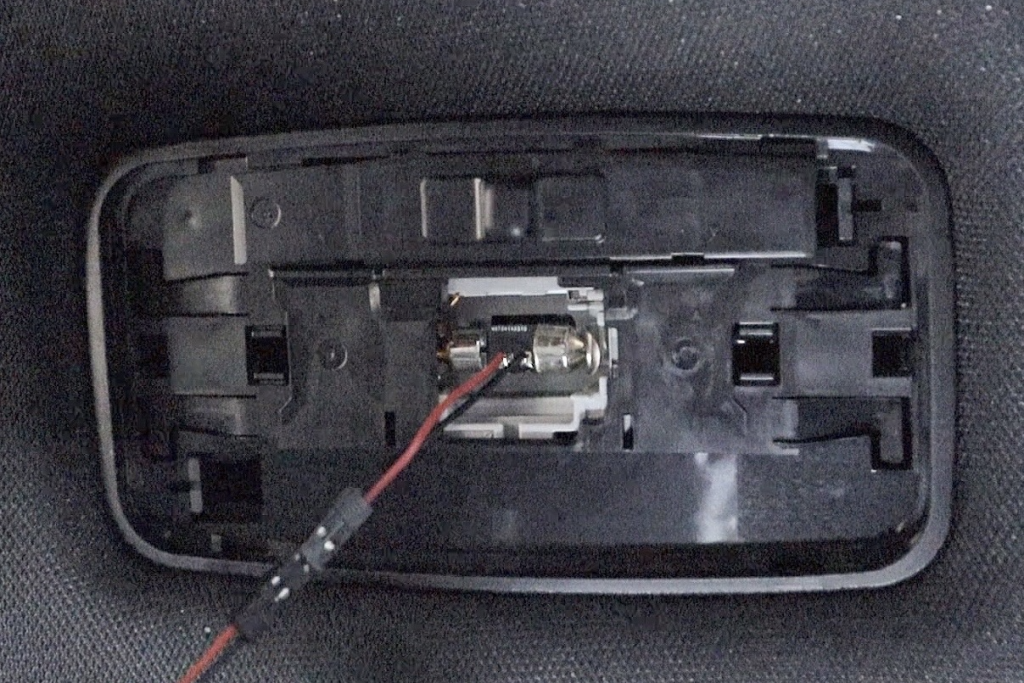
Step 2. Remove Factory Bulb

Depress the silver tab on the driver’s side of the bulb housing (Red arrow pointing at silver tab). The bulb will loosen, now work it out with your fingers and it should fall right out.
Step 3. Insert Light Plug

The Meso Customs LED dome light plug is the same shape as the stock light bulb. It is installed up into the socket in the same fashion that you removed the stock halogen bulb.
Insert the passenger side first and then the driver’s side. It does not matter which orientation the plug is inserted into the socket.
Step 4. Test Light
Turn the light away from your eyes and test it. If the light doesn’t turn on, check the Map Light console switch. You may have accidentally turned the control to the dome light off during the installation process.
Don’t ask me how I know that is a possibility!
Step 5. Mount New Light
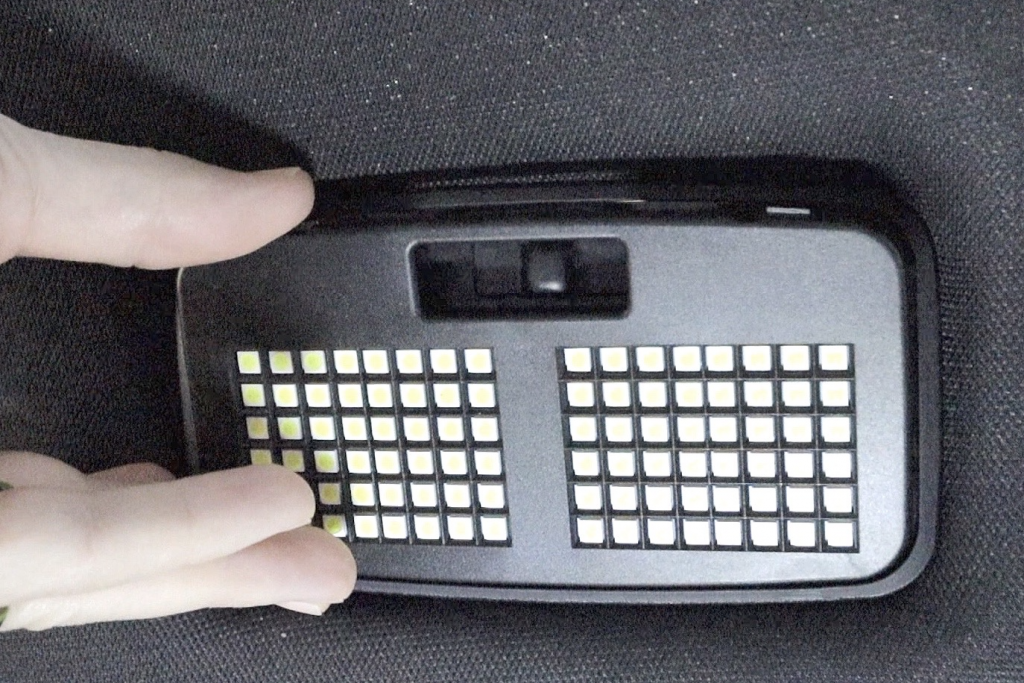
Place the Meso Customs LED light up to the light bezel. Align the bottom edge and make sure the wiring is tucked inside nicely. With the bottom edge away from the switch inserted evenly, push up on the switch side of the light.
The entire light should click into the bezel. If any part is popping out at all, just press it up into place.
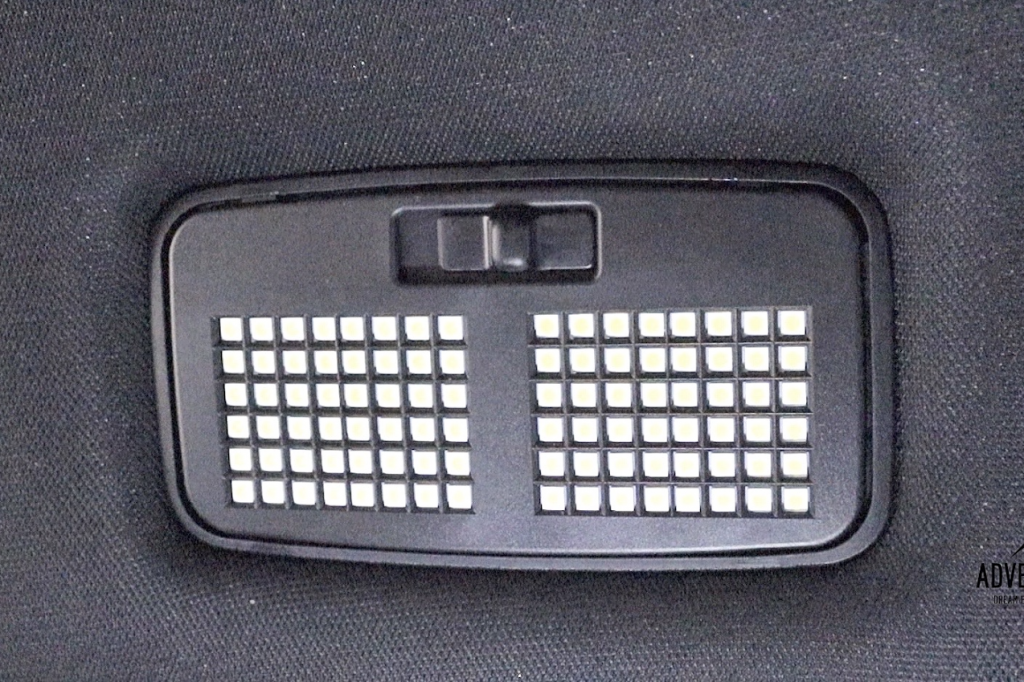
Final Thoughts
An easy checkout, quick shipping, great packaging, quality products and a simple install. What more could you ask for?
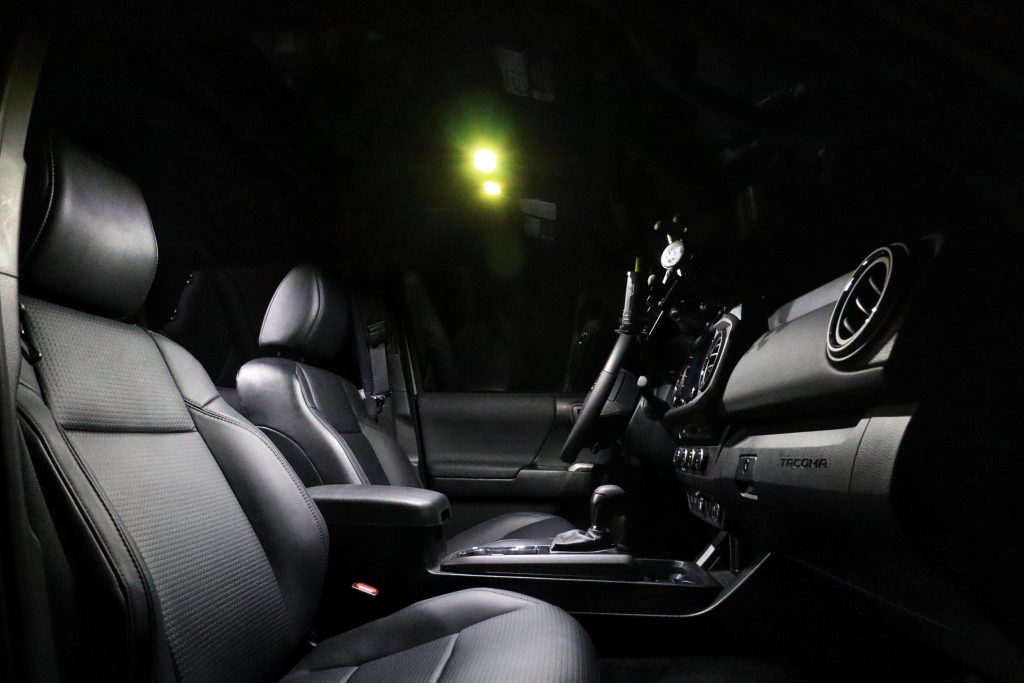
The Meso Customs interior LED upgrade is noticeable, functional and does not break the bank. Add this one to your list of must-have budget modifications.
The light output is so much better than OEM, there’s no comparison. Meso knocks another one right out of the park!
Meso Customs offers this upgrade for the 2nd Gen Tacoma and 5th Gen 4Runner as well. Head over to their site to check out their selection of Toyota accessories.
Since Meso Customs doesn’t make lights for the vanity, doors & hatch lights yet, what did you replace those with?
I actually left those stock.
How to buy these lights?
Hey man, there is a link to purchasing the product that goes to the retail site, towards the top of the page.