
Finding space shaded or protected from the elements can be difficult when you’re out camping, having a picnic, or just hanging out. Having an easily deployable awning is essential – in my opinion.
Overland Pros is a NorCal-based company selling several different awnings and rooftop tents. They have a vast selection at all price points and styles.
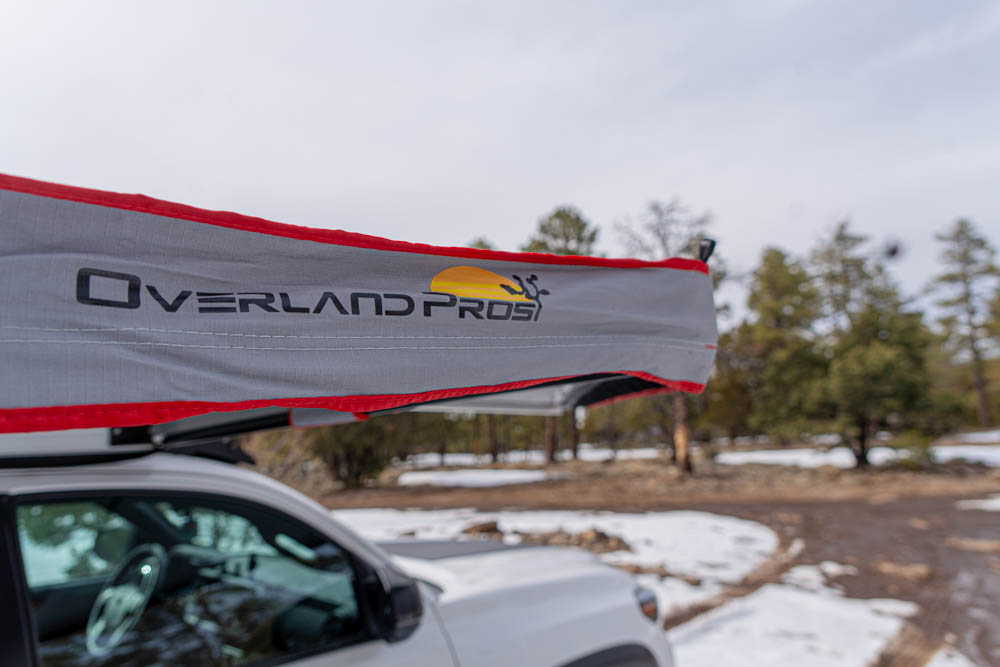
Today, we’re installing and reviewing their Wraptor 1K Awning. It was designed to have a perfect fit over the cab of the Tacoma, spanning the whole length of the truck!
Table Of Contents
Unboxing
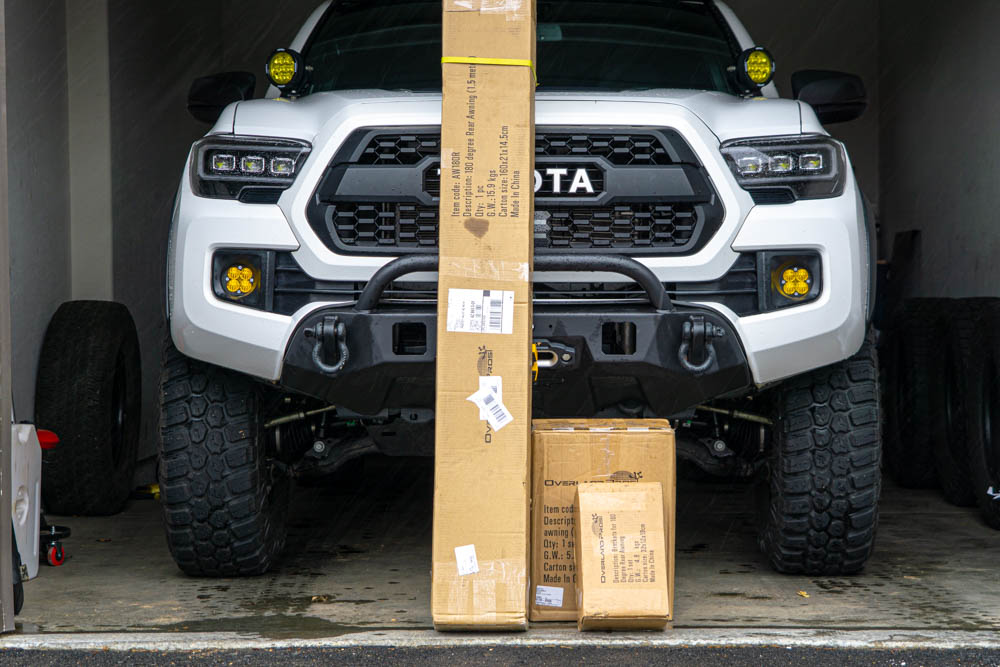
Included are the awning, walls, and hardware. Everything was nicely packaged and nothing came damaged or broken!
Components
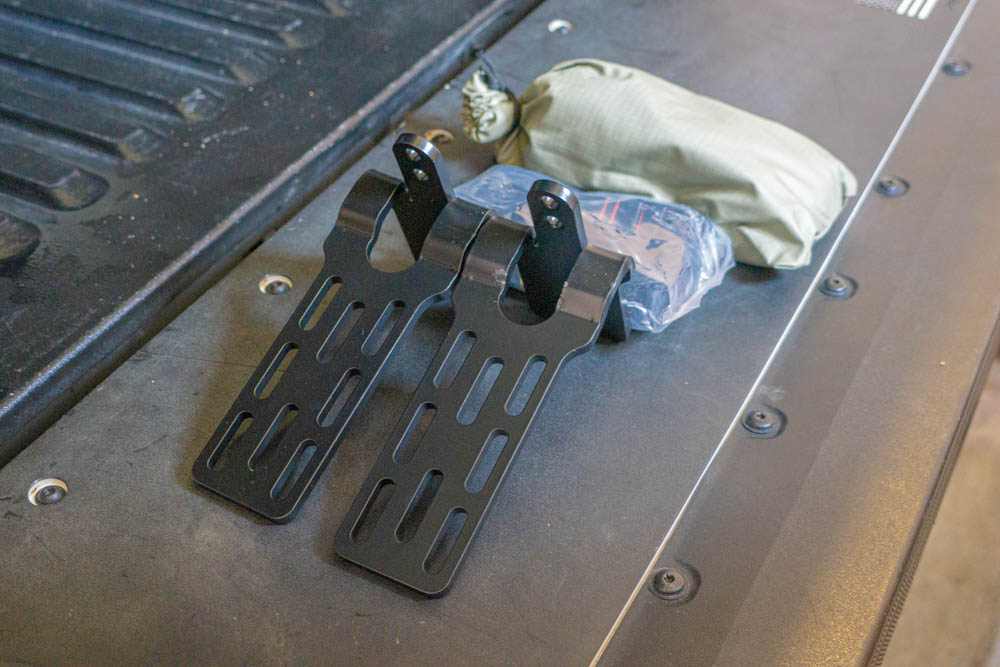
The included brackets are universally compatible with almost all the roof racks out there and have plentiful mounting slots. They also provide U-Bolts and the appropriate washers and nuts.
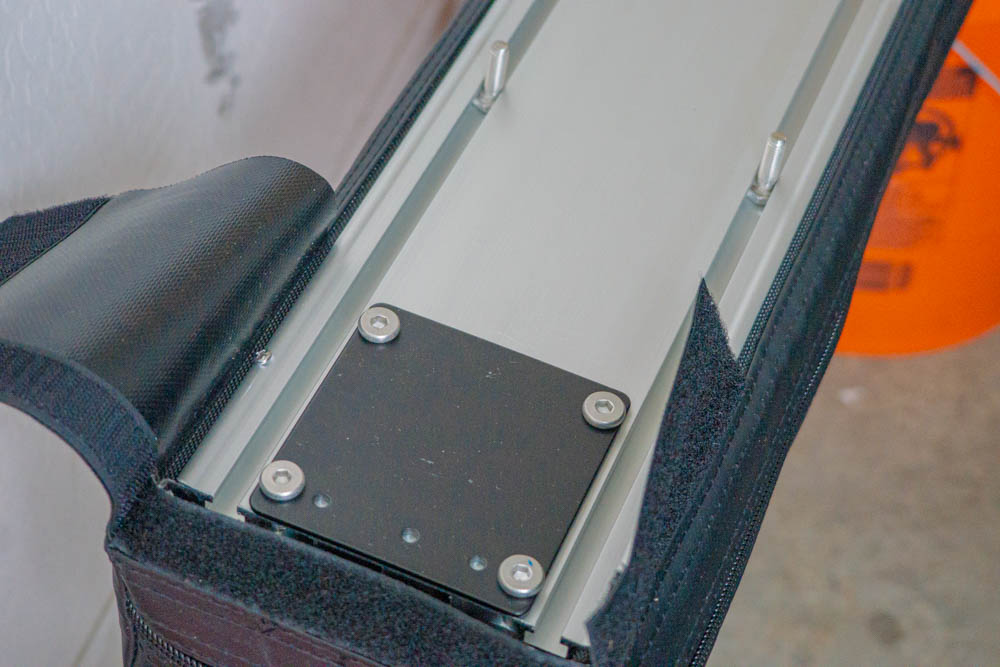
Mounting Brackets
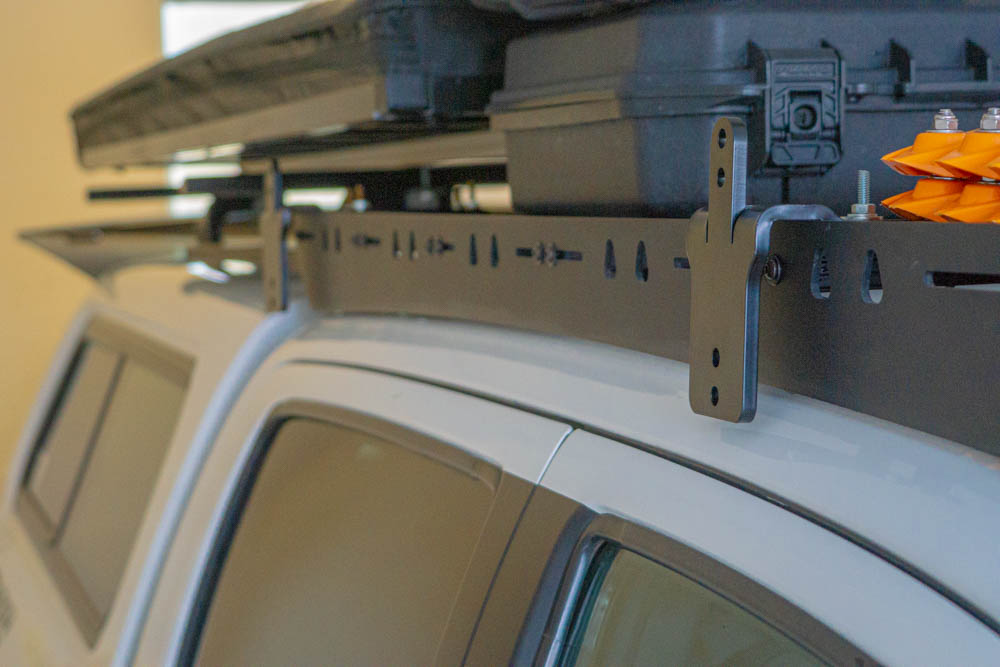
While securing your brackets, the face of the mount should have the narrow portion pointing up. Make sure they don’t rub up against your truck’s paint!
Note: I came to find out that it’s easier to install the mounts onto the awning first and then lift the whole assembly onto the roof rack. The side panels of my rack made it difficult to access the bolt holes from the back of the mounts.
Installing Brackets
After undoing the flap, use the provided hardware and slide the bolts into the slots on both sides. I highly advise having two people when mounting since it can be awkward.
Line up the bolts with the associated holes on the mounting brackets and secure them on the backside with the washer and nut. The mounting bracket has two holes on the top and bottom to select your desired mounting height.
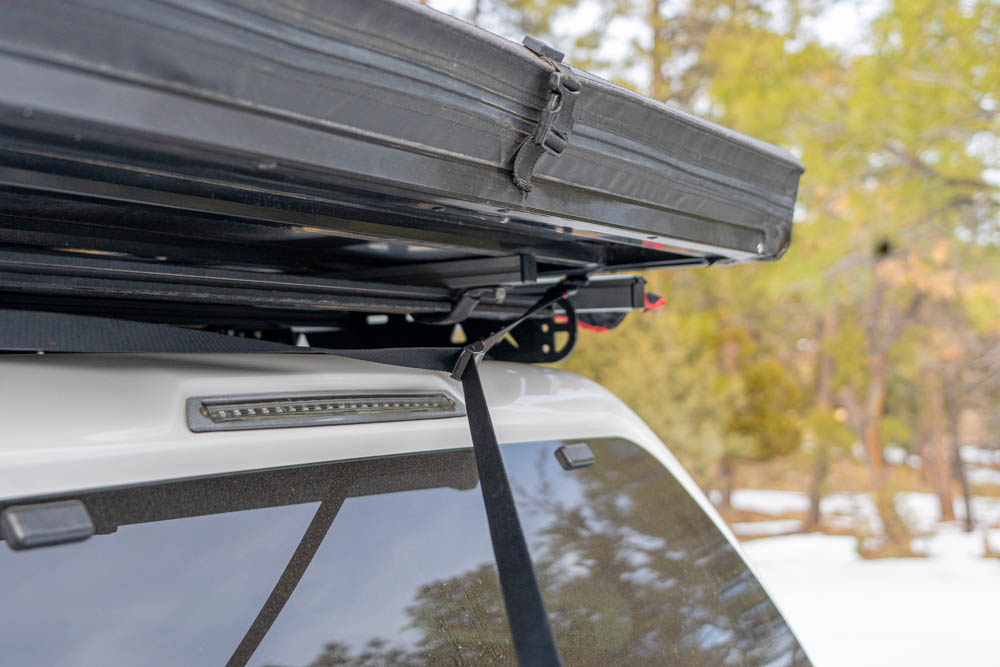
First Impressions
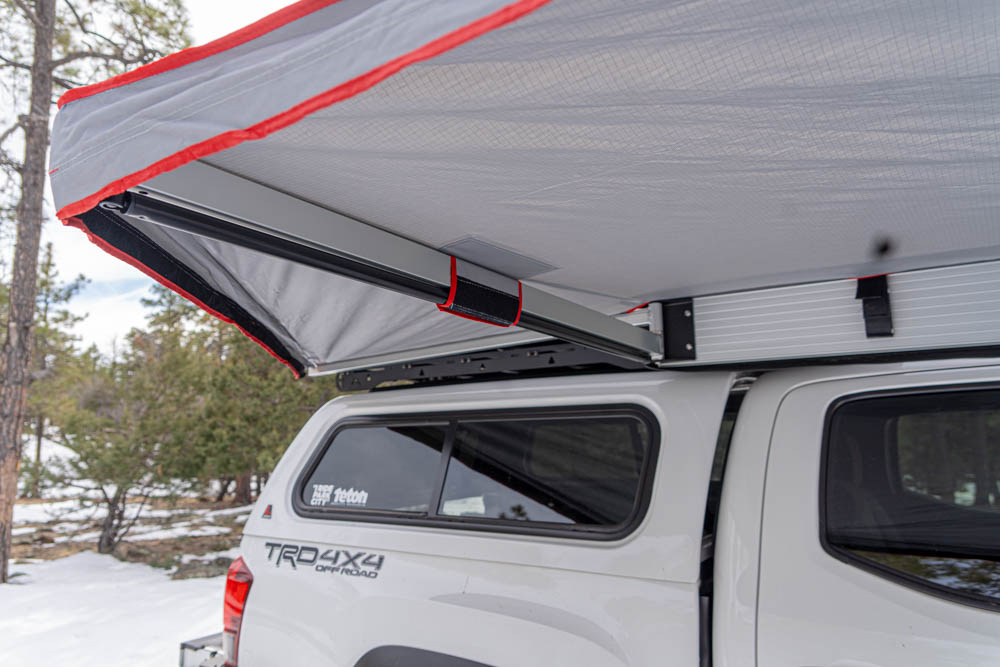
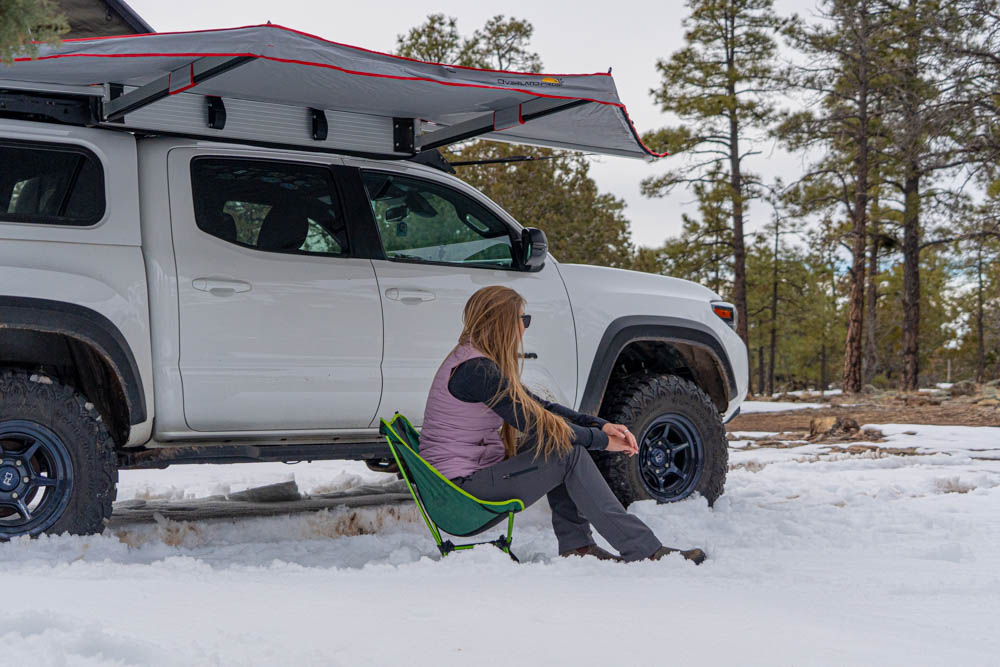
I decided to mount the awning a little aft of the wind fairing with some overhang onto my bed. As you can see, the length is perfect for the double-cab Tacoma!
The standout feature is its freestanding design. There’s no need to worry about deploying support legs unlike with traditional awnings.
Setup & Takedown
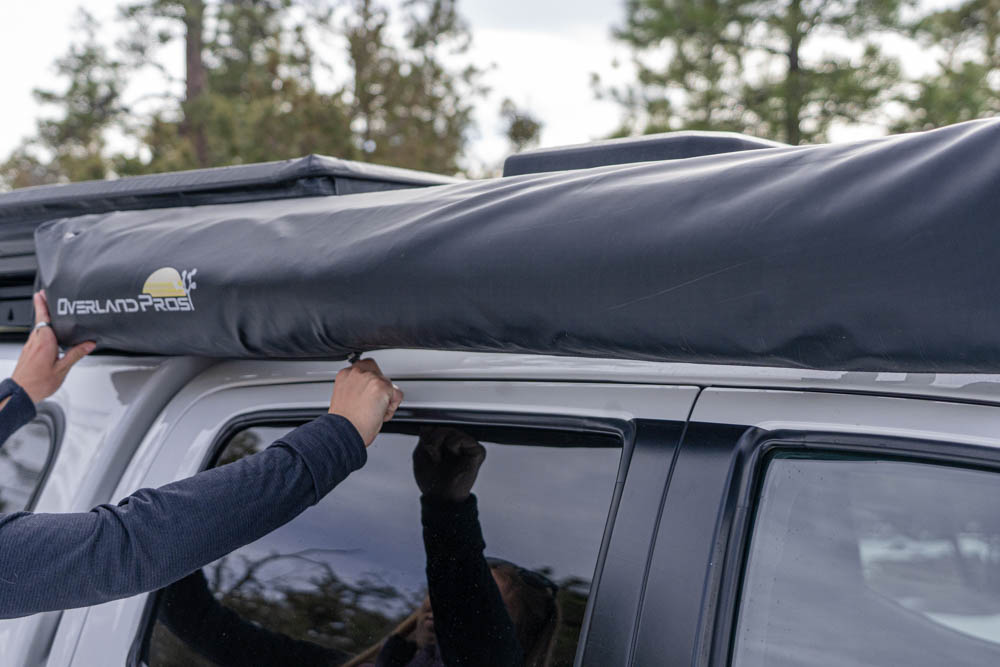
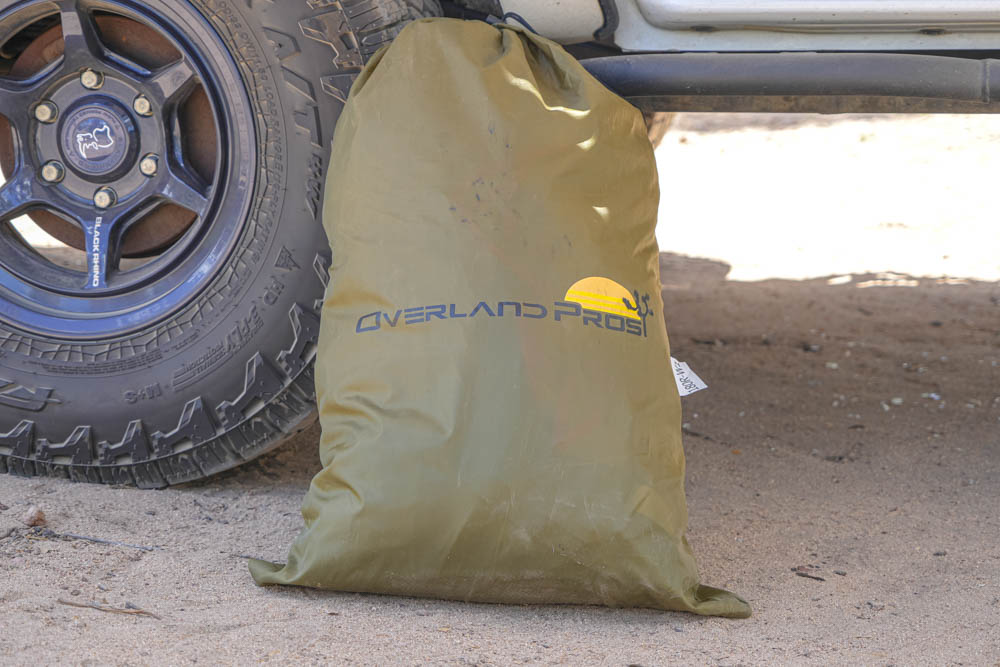
The awning is enclosed in a thick weatherproof canvas bag. To deploy, start by unzipping it.
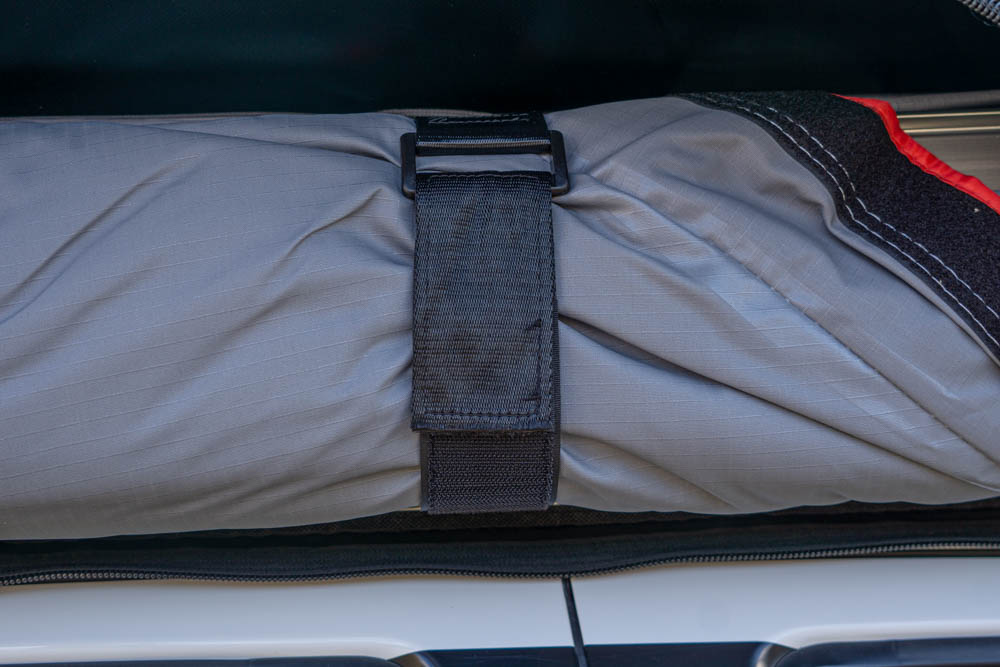
Next, undo the two velcro straps that hold the it in place.
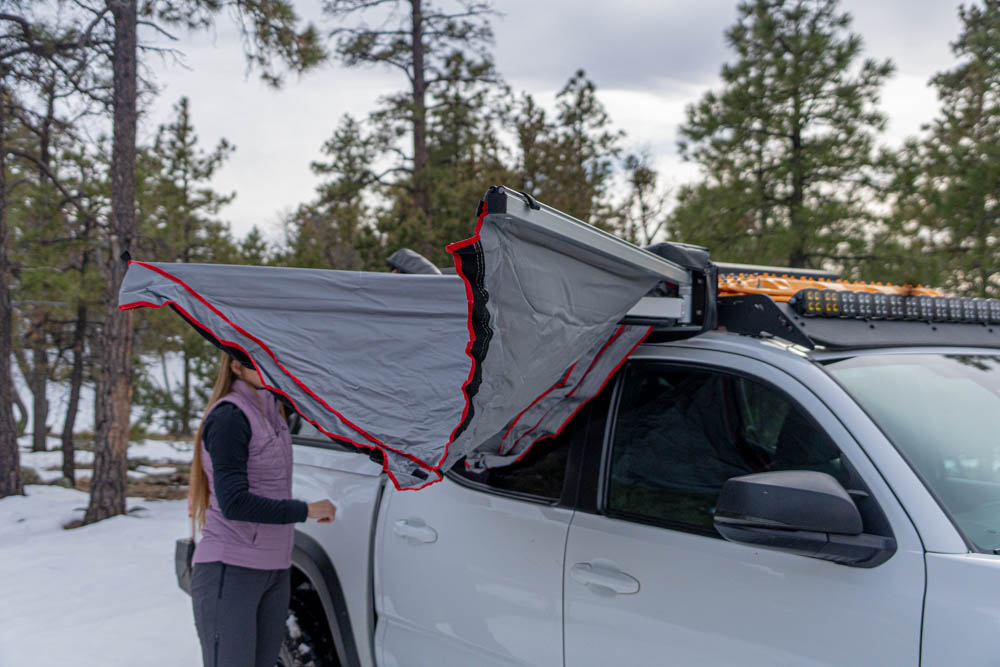
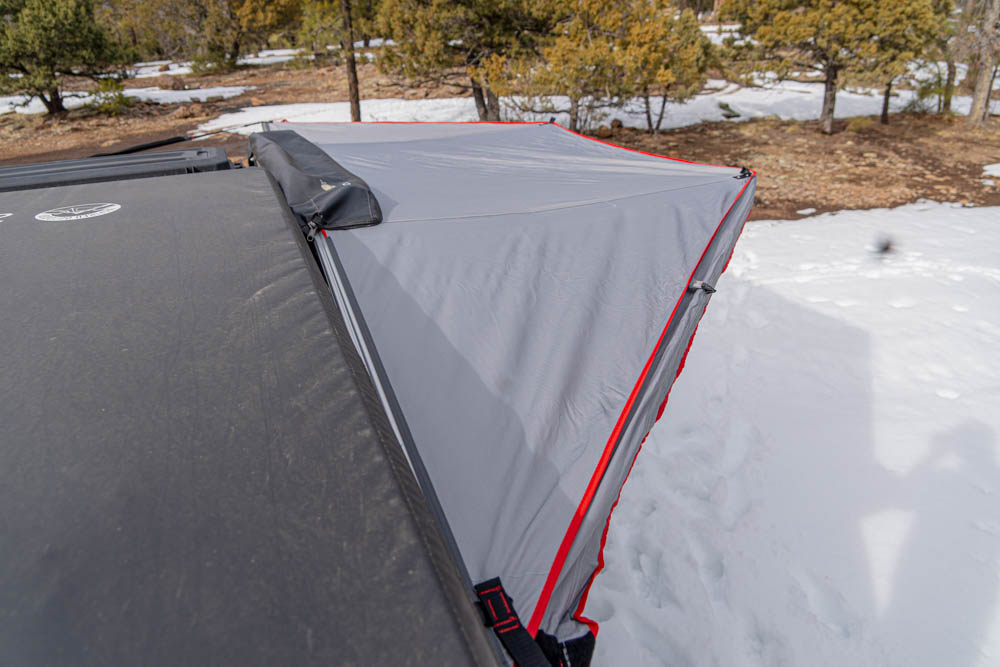
Then, walk out both sides of the awning until they’re fully extended.
Finally, use the provided straps to secure the ends so they don’t fold in on themselves. I found the best place to attach them was my camper shell rack and roof rack!
- Setup Time: ~ 1 minute
- Takedown Time: ~ 1-2 minutes
Similar to rooftop tents, you’ll get used to opening and closing your awning over time. While having a second set of hands is nice, this is manageable on your own.
In my experience, the takedown process can be a bit more tedious. This involves making sure you pack everything nicely and tight and compressing all the fabric while zipping up the bag and being careful not to snag anything. Note that the order of closing goes to the left (rear side) folded in first then followed by the right (front side).
Optional Walls
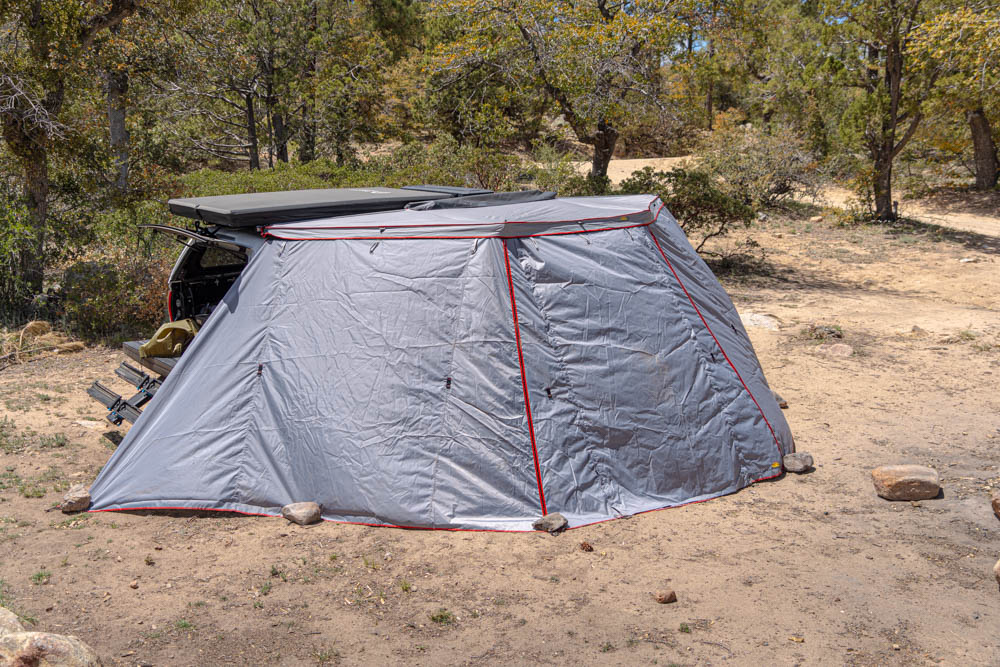
To supplement, it also has optional walls to provide an enclosed space. A perfect place to get out of the elements, have a place to change, or lounge away in your own private space. They are a great addition.
Carrying Bag
A nice carrying bag is included to store your awning walls, it’s big enough so you don’t have to perfectly pack it every time to fit!
Step 1. Locate Corners
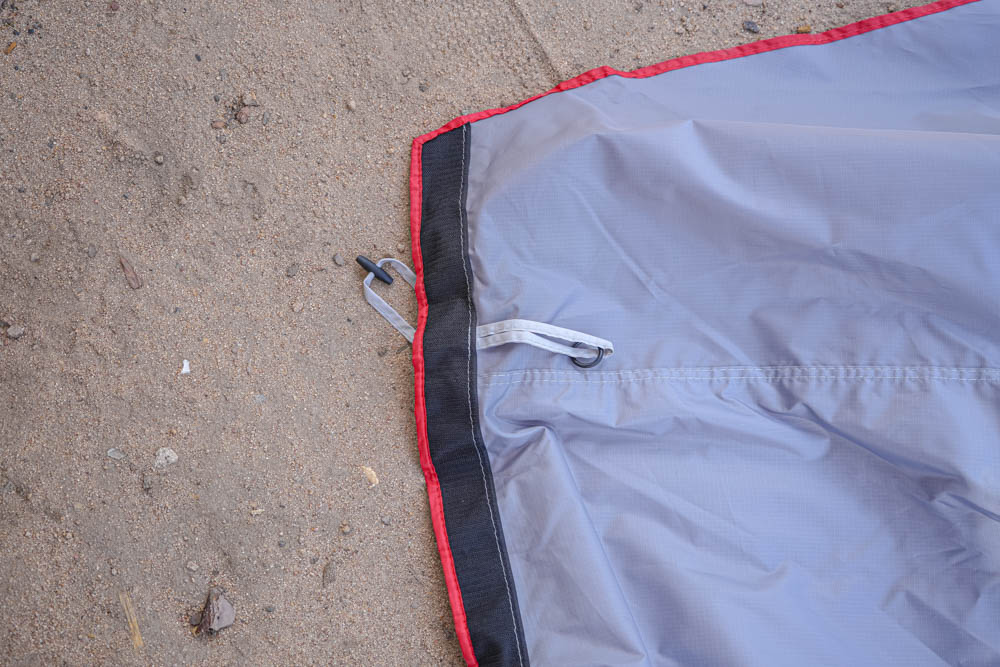
Find one corner of the awning with the abrasive side of the velcro pointing outward.
Find the associated corner of the awning with the soft side of the velcro facing inward.
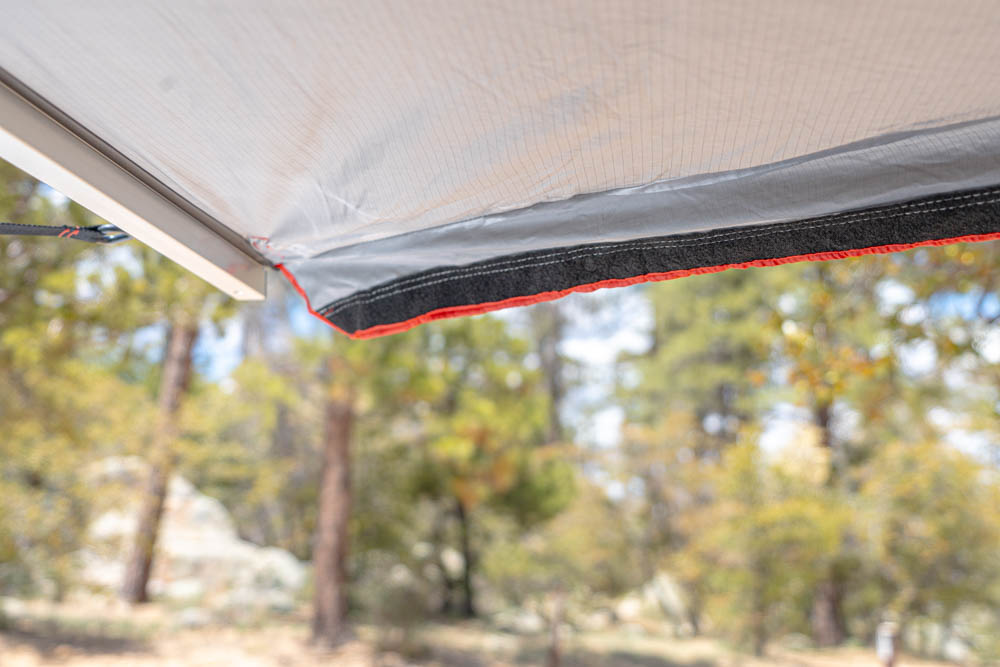
Step 2. Adhere Walls
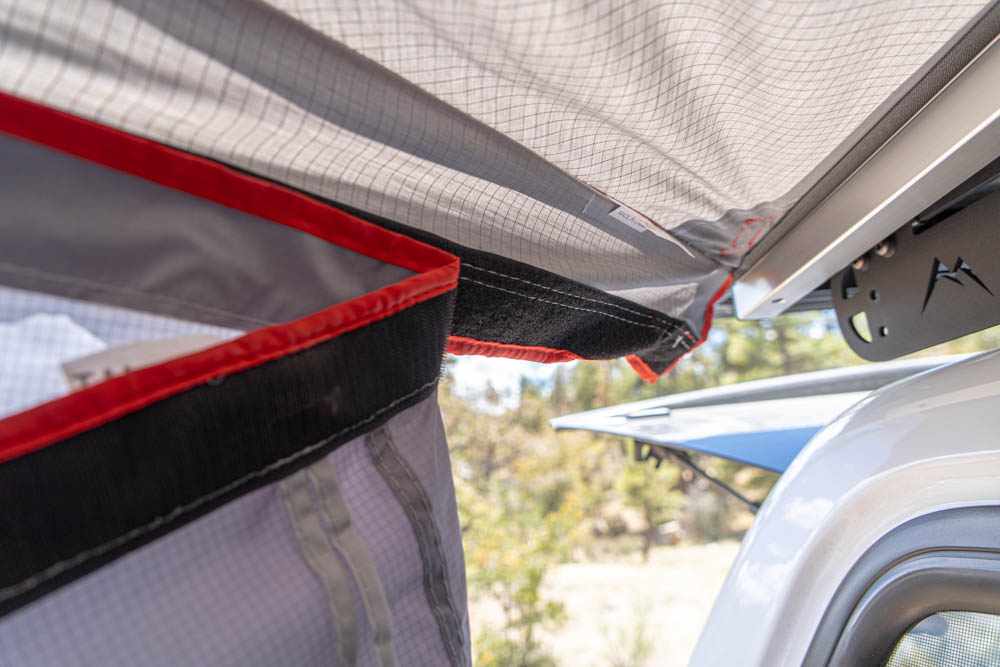
Walk around and secure the velcro together holding the walls up. If you line up the first corner there will be no excess fabric when you get to the other side.
Step 3. Secure Base
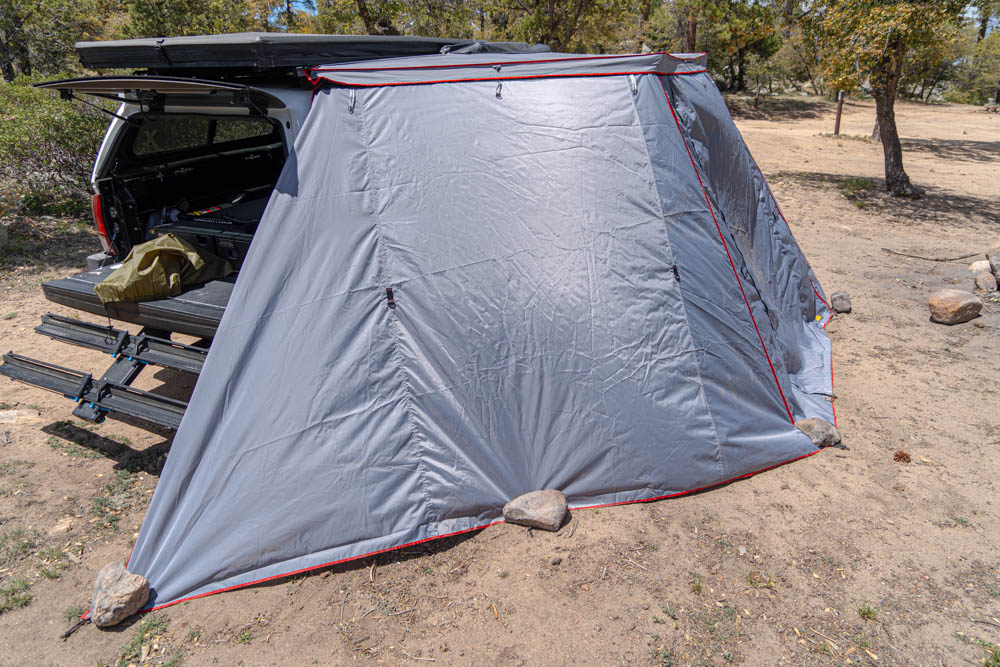
They provide ground stakes you can use to secure the base of the walls down to the ground. Since I live in Arizona and the ground is literal cement, rocks worked for this portion of the setup.
Details & Review
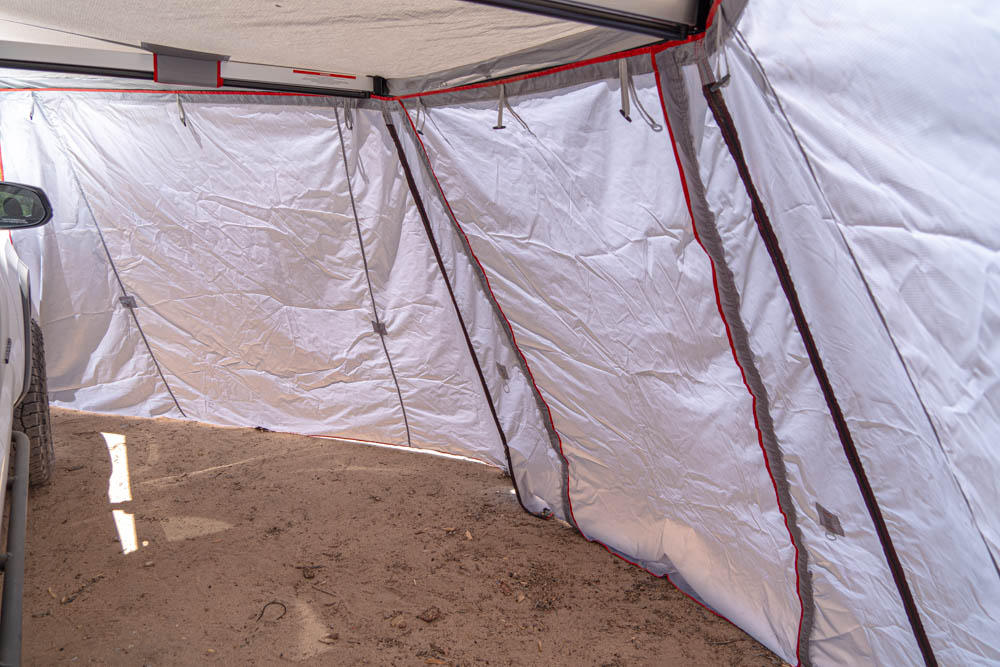
The additional awning walls provide a huge amount of shaded and protected space. Since they extend outward at an angle instead of straight down there is optimal room to lay down, spread out and stand so you’re not cramped.
Enough space to sleep upwards of 3-4 adults inside the walls comfortably!
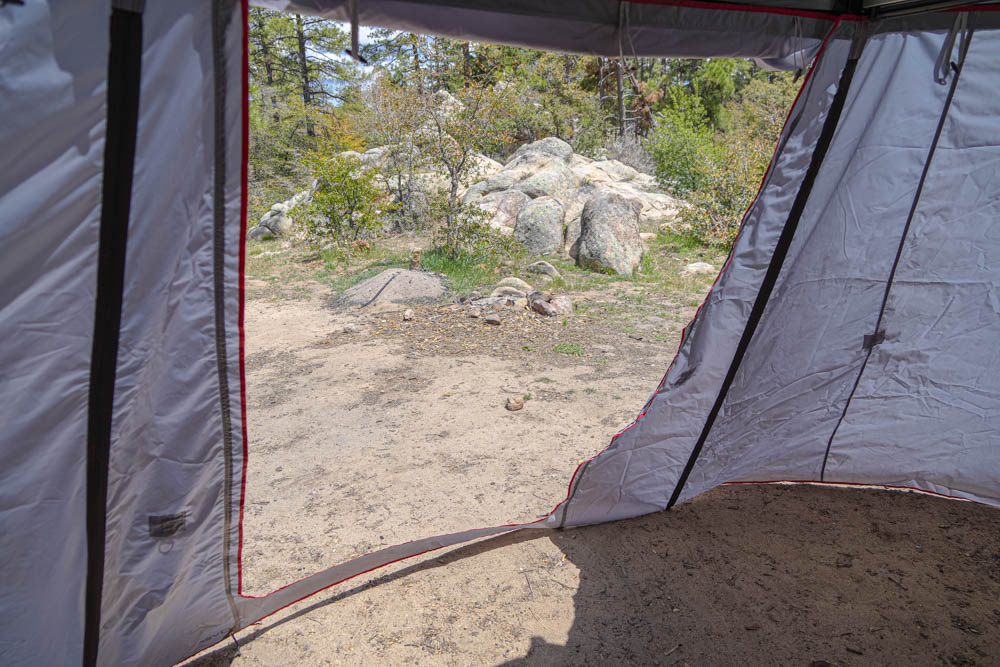
There is on door located in the center portion of the walls that is a large entrance and a good opening for ventilation. High-quality YKK zippers haven’t gotten caught on the fabric once and still operate smoothly even with all the dirt and debris they’ve seen.
The only downside of the awning walls is that they’re not fully enclosed. While not a huge deal at all just note that if it’s windy or raining some elements may come into the walls!
I’m a huge fan of the additional walls. At first, I was skeptical thinking that it would be a pain to set up and take down rather by myself I’ve found it tremendously easy to do both. Averaging roughly 4 minutes to set up (with stakes/rocks) and about 3-4 minutes on the takedown I’ve found it convenient to use when I’m looking for that extra privacy. A really good addition that I highly suggest if you’re looking to purchase one!
Final Thoughts

I’ve come to find out that an awning is one of those mods that you wish you had gotten earlier than you did. Not only is it great to have when out camping and overlanding, but it’s also nice to have when just looking for shade.
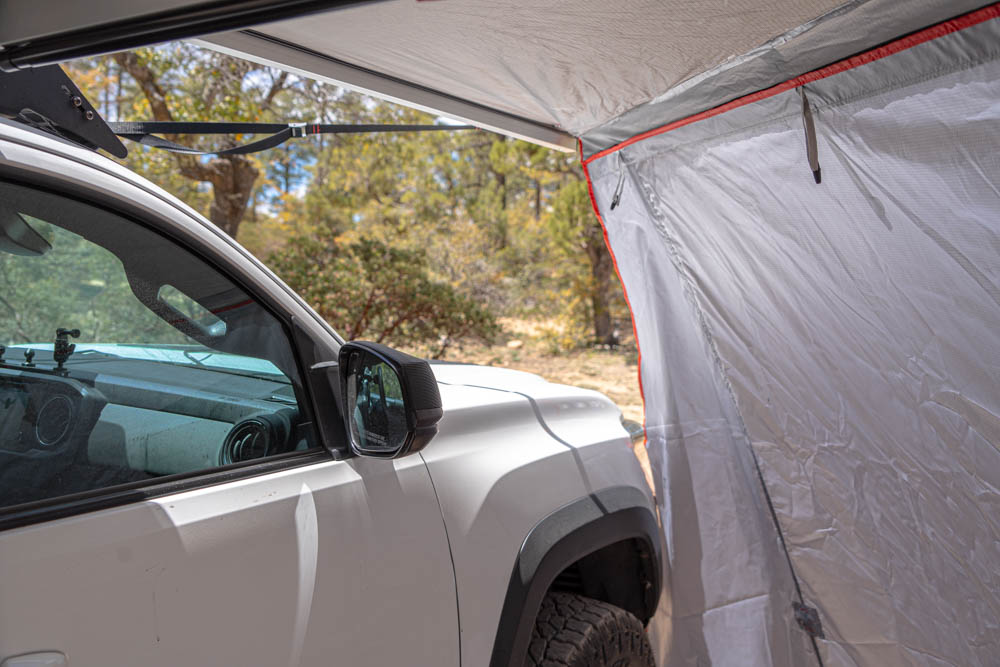
The ease of setup and large footprint is perfect for the Tacoma double cab, covering the entirety of one side – front to rear. It’s a nice place to have a few buddies hang out from the elements. Also, having it mounted above the door means that I can still easily access the backseat, which is great when I need to grab more gear.
The Wraptor is awesome! It gives me a dedicated hang-out space and sure beats having to find a tree or huddling up in the bed. If you’re in the market, I highly recommend looking at Overland Pros and what they have to offer!
I used to think I didn’t need an awning. Then we went to Arkansas in the fall, haha. The 180 and 270 really shined out there. I think I’ll have to add one or the other in the future.