
Do you enjoy your hydraulic bumps but dislike how loud they are when they engage with the metal strike plate? If so, it might be time to check out the Perry Parts Hydro Silencers. You’ve already paid the money for top-end performing bump stops, and these 3-D printed wonders allow you to get the most out of them.
While they’re a seemingly understated mod, make no mistake, they make a significant impact if you enjoy high-speed desert runs or often hit ruts while ripping down the trails.
Note: This part requires you to have hydraulic bump stops installed. They are not compatible with OEM or standard screw-in aftermarket bump stops.
These work with all major options on the market, and Perry can help with fitment if not listed on their site.
Table Of Contents
Overview
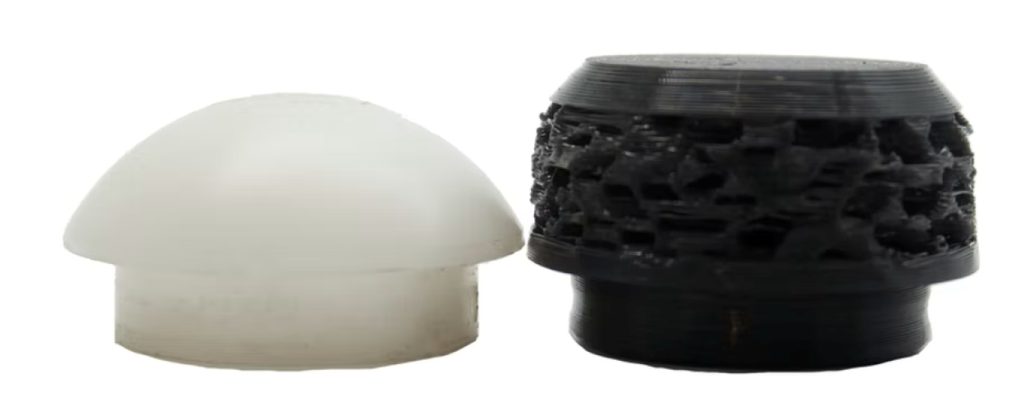
Perry Parts is making a name for itself by introducing 3D-printed bump stops to the off-road and overlanding community. Now, they are taking it up a notch and offering a direct replacement for the noisy nylon end caps that hydraulic bumps come with.
Their Hydro Silencers are designed with a solid core to maintain performance. They also have an external lattice design that helps reduce contact noise by up to 84%.
Installation
Tools Required
- Floor Jack
- Allen Key
- Drill (optional)
You may have enough space to reach into your wheel well and complete the installation. However, I found it much easier with the extra room provided by taking the front wheels off.
Note: This installation only covers replacing the end pieces and not the bumps themselves. These are a little different depending on which kit you get.
Step 1. Remove Nylon End Cap
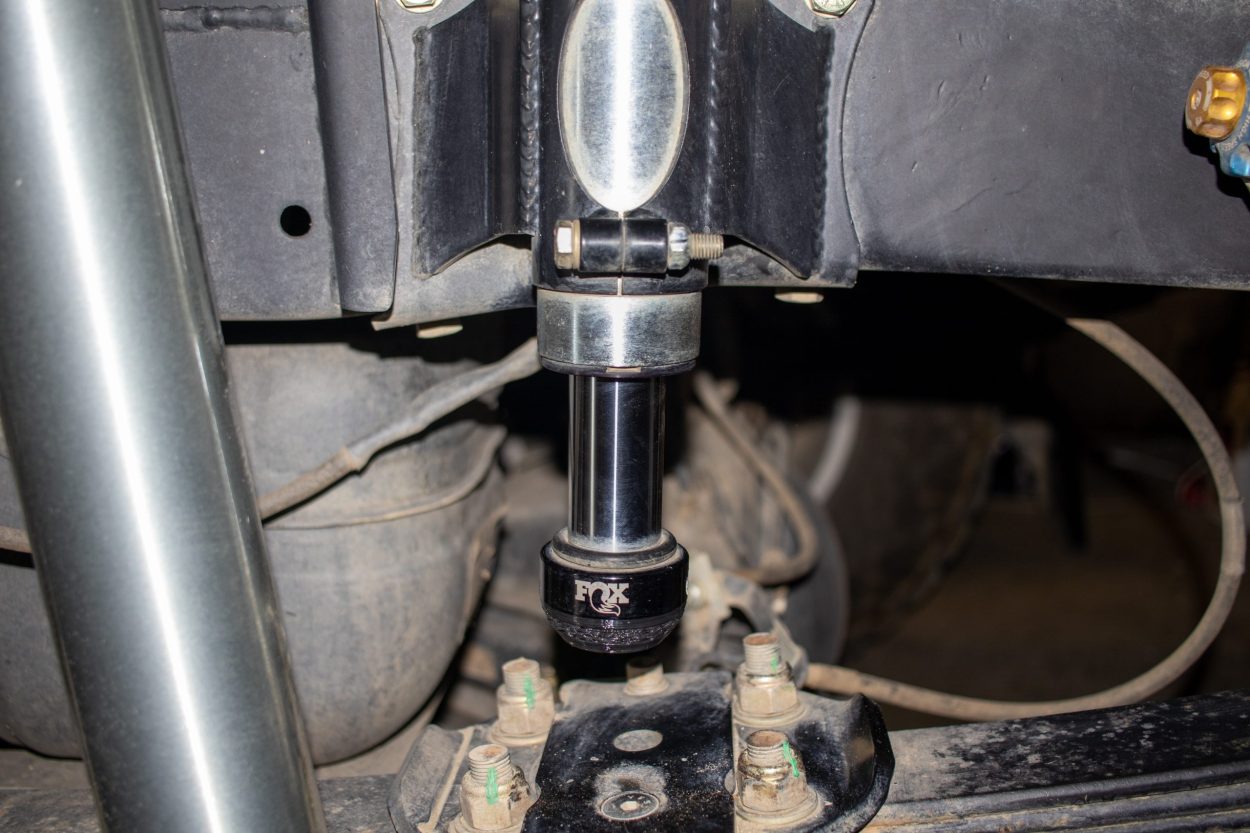
The number of bolts you will need to remove will vary depending on your specific bump. In this instance, the Fox one I have on my truck only has one bolt that runs entirely through the nylon cap and is held in the opposite end with a lock nut. Once you loosen the bolt enough to pull it out, the nylon end cap drops free.
Step 2. Run Bolt Through Silencer

Another optional but completely helpful step. I noticed that the bolt ran smoothly through the nylon end cap, but when I inserted it into the Hydro silencer, there was a lot of resistance. So, I grabbed a drill and ran the bolt through a few times, which helped remove excessive material and made the next step easier.
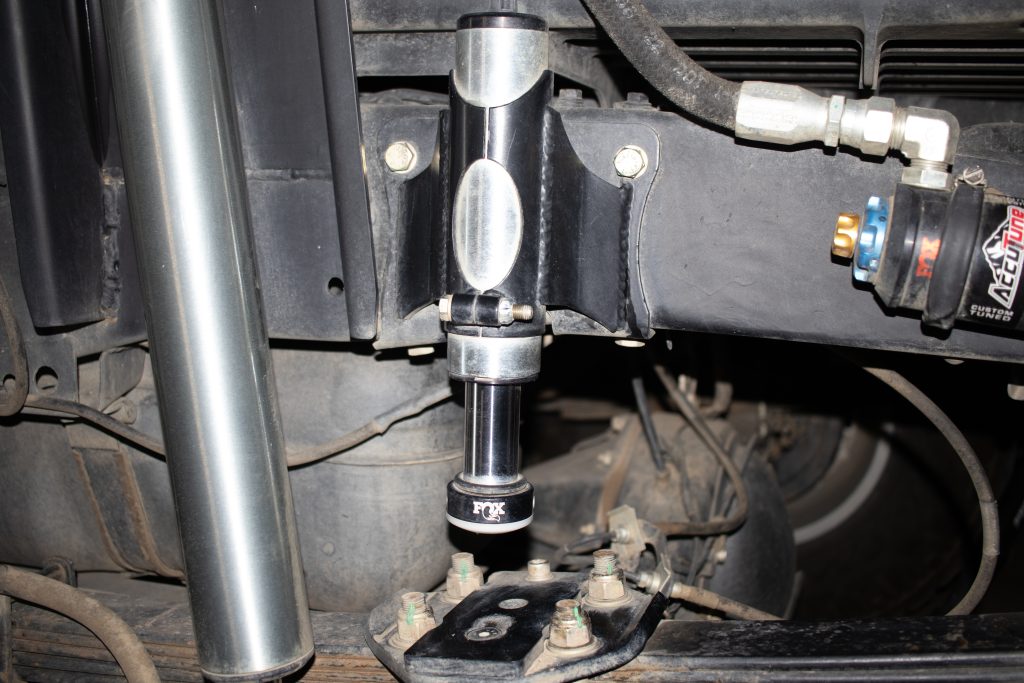
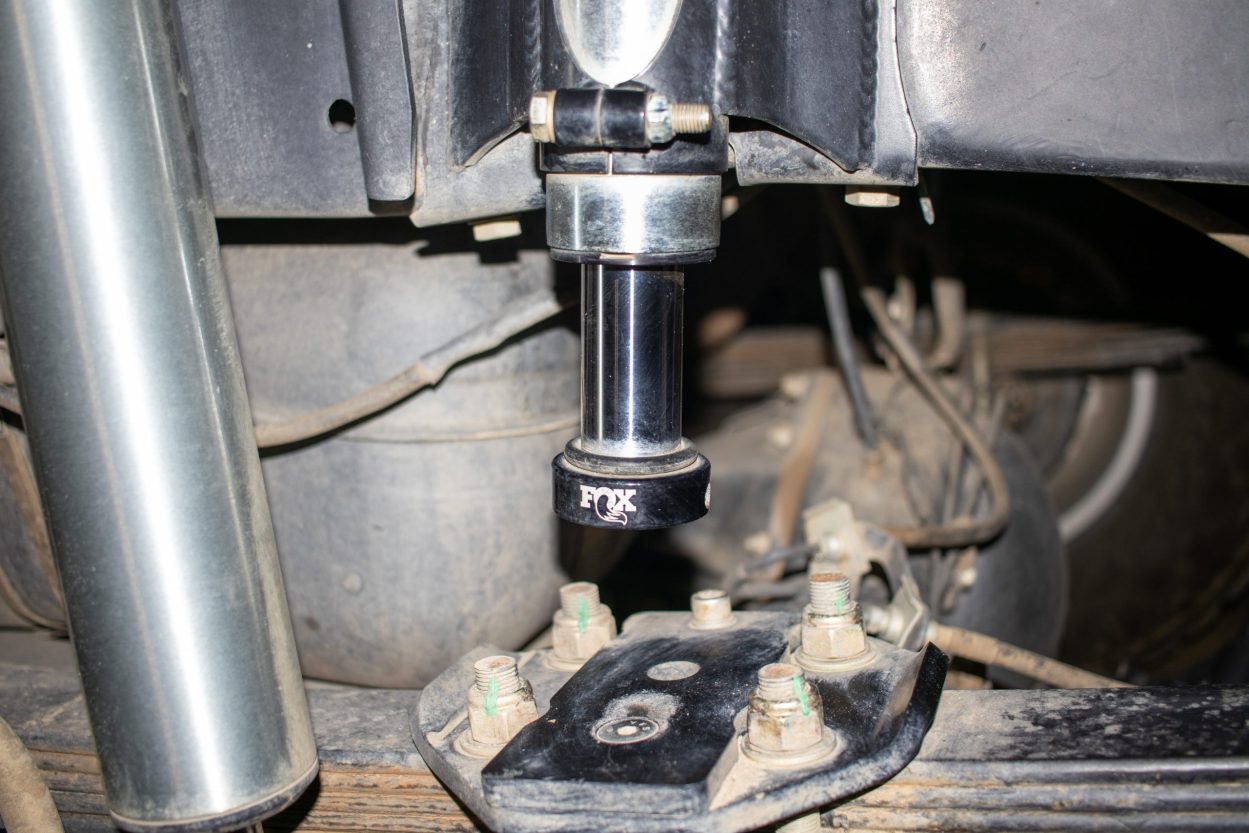
Step 3. Install Hydro Silencer
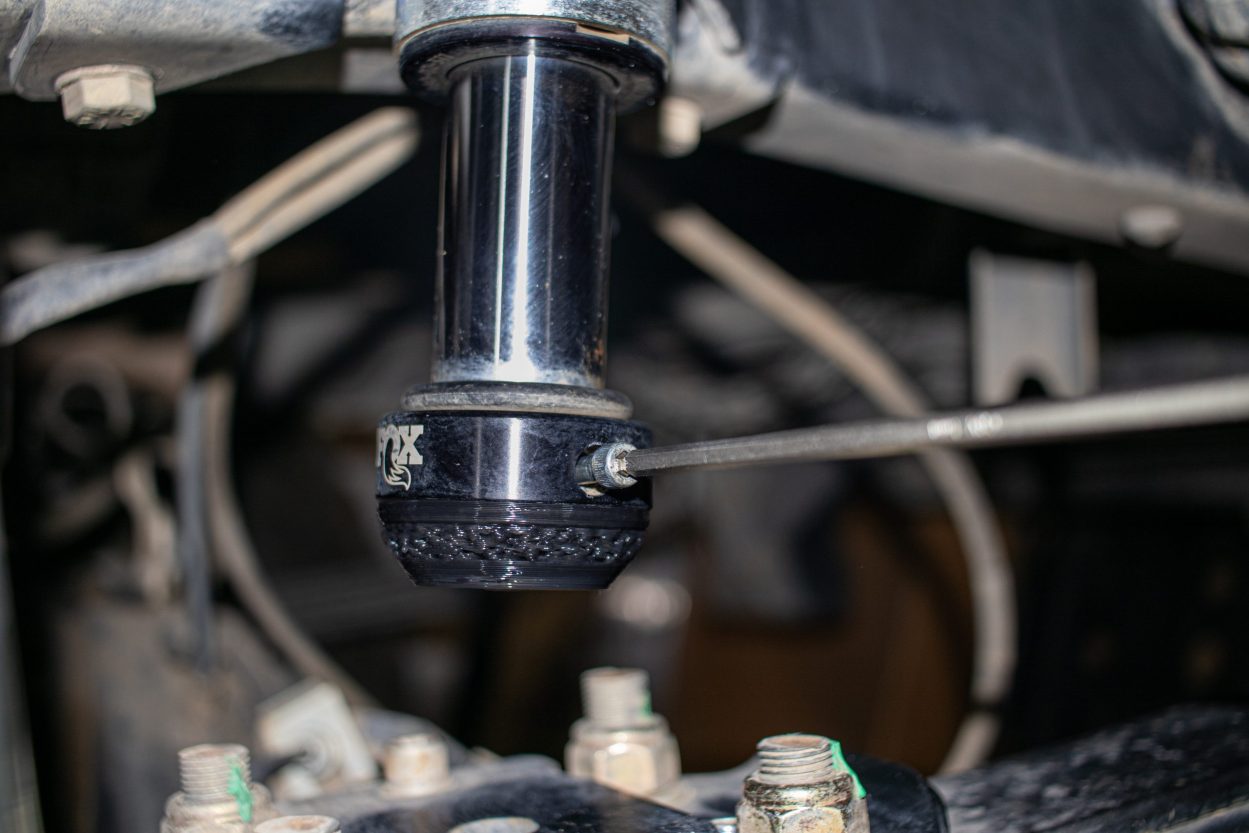
Align your bolt holes and insert your new silencers. Reinsert your bolt, tighten, and you’re done. I did notice traces of blue Loctite on the bolt, so I reapplied some before reinserting it.
Final Thoughts
Truthfully, when I initially heard of Perry Parts and their 3D-printed parts, I was a bit skeptical. I imagined these hard plastic components wouldn’t be an improvement over the OEM material, let alone stand up to off-road abuse.
Once I held the Hydro Silencer in my hand, I knew I had been too quick to judge. The material is more of a rubbery compound that I can see absorbing the impact energy more effectively and quietly than the nylon end caps that these typically come with.
The installation is simple and straightforward, making it quick and easy to do. I decided to take the truck out to Big Bear over the weekend, and I can attest that the harsh contact noise I had with the nylon end caps is pretty much nonexistent now. Whether the truck was coming down hard on rocks or going fast over bumps, I was no longer hearing them making contact with the metal strike plate.
I give this product a solid 10/10 and highly recommend it to anyone running hydros on their setup.