
With the 2nd Gen Tacoma being a decade out of production, the factory seats are undoubtedly starting to show their age. If you own one, you are probably considering upgrading the look and feel of your seats. However, the market is flooded with cheap covers with poor fitment, making your interior look tacky.
That is, of course, until a brand like PRP has come through with their fully customizable seat cover options with factory-like fitment. Known for their superior quality, these seat covers are worth the investment, whether you want to protect your factory seats or spice up your truck’s interior.
In this guide, I’ll describe my experience installing these seat covers on my 2nd Gen Tacoma and give my overall impressions and recommendations.
Got a 3rd Gen? Check out Chris’ 3rd Gen PRP Seat Covers.
If you have a 4th Gen, check out Konrad’s 4th Gen PRP Seat Covers.
Both these guys have some rad options for you to look at for other inspiration.
Table Of Contents
Features
You’ll immediately appreciate the quality and precision that is easily noticeable with these seat covers. While the price can scare some people away, you are definitely getting what you pay for here.
PRP covers are precision-fit for each application. Unlike most universal brands, this product is designed specifically for your vehicle, so you won’t find a saggy or out-of-place look.
With the number of customization options offered, you can change the look of your interior however you like. There are many options for material, design patterns, and colors. Also, the attention to detail goes well beyond the look and feel because these covers were designed to work with your factory safety equipment. You will not lose function or need to modify anything for your seat belts and airbags.
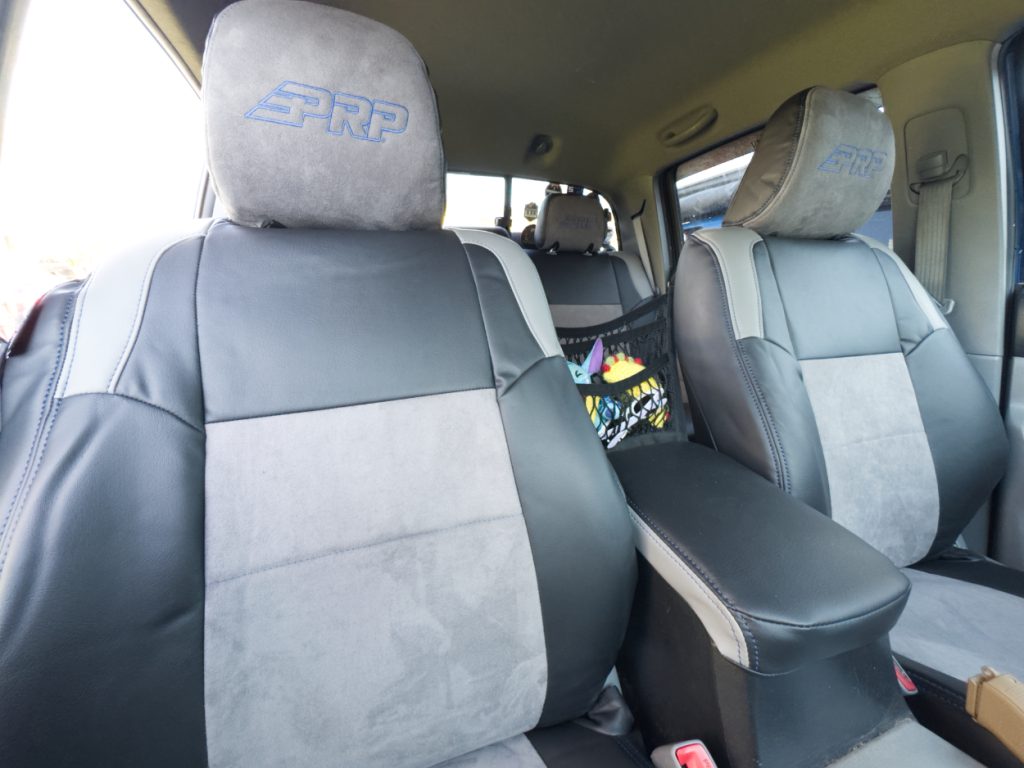
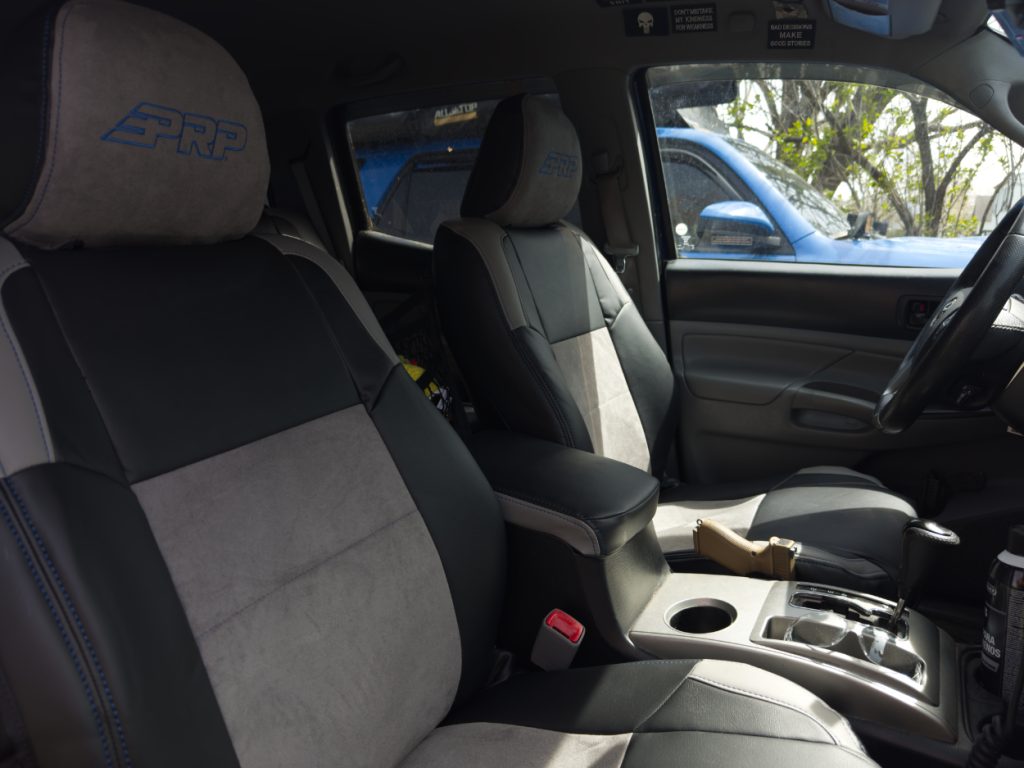
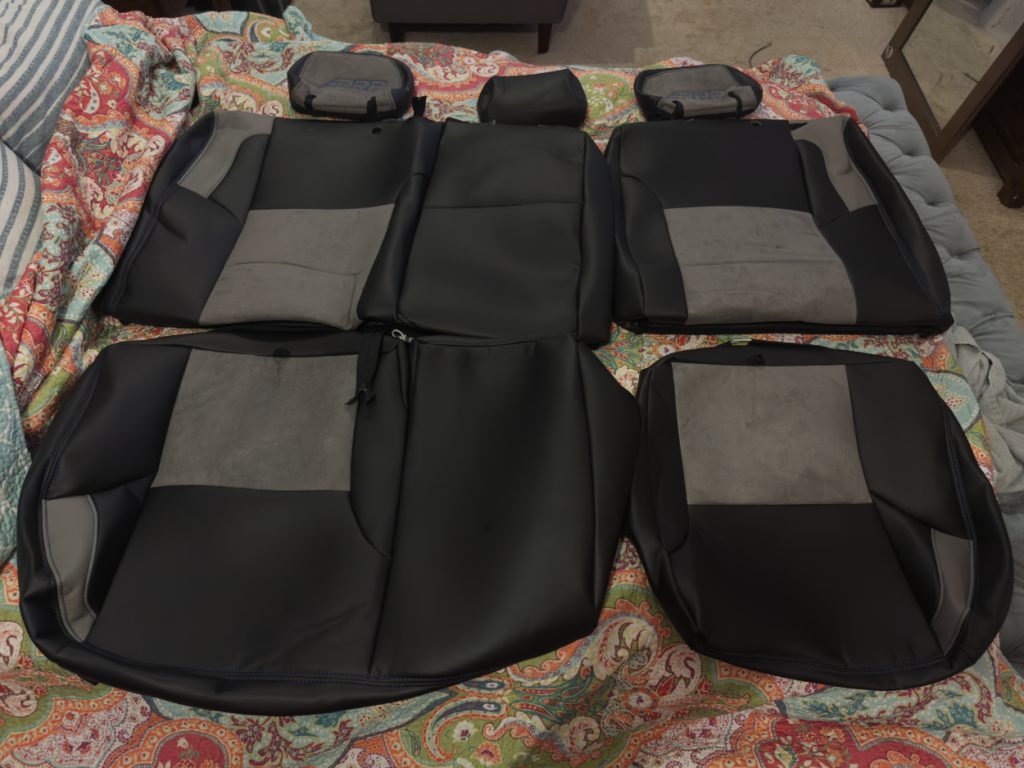
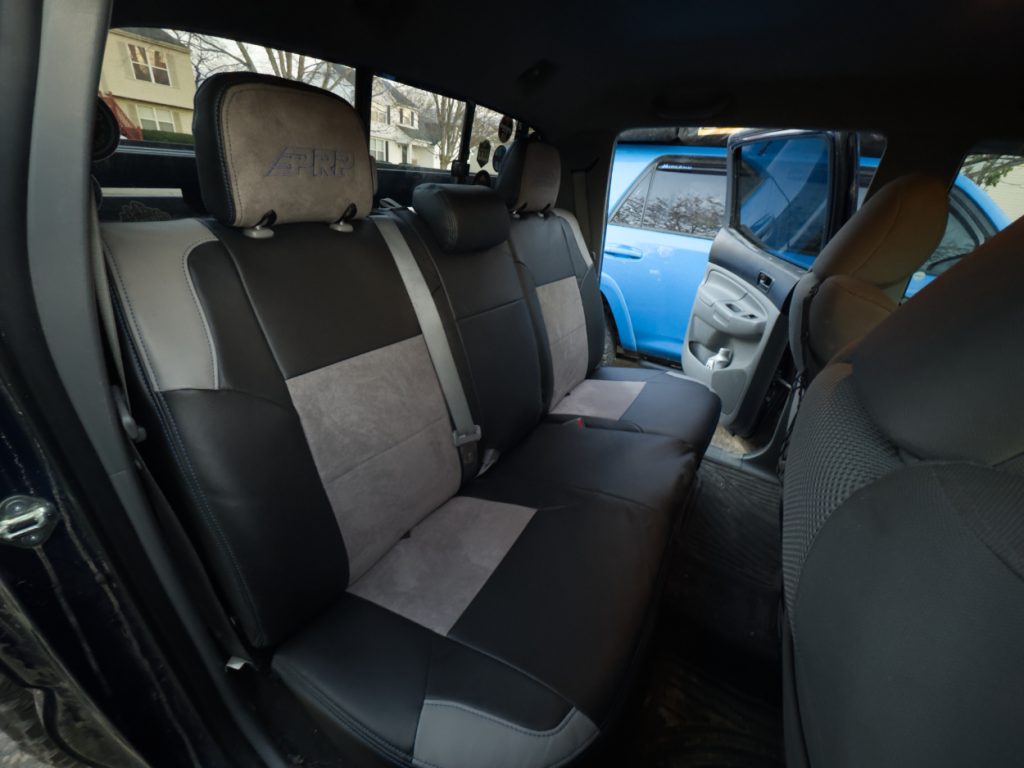
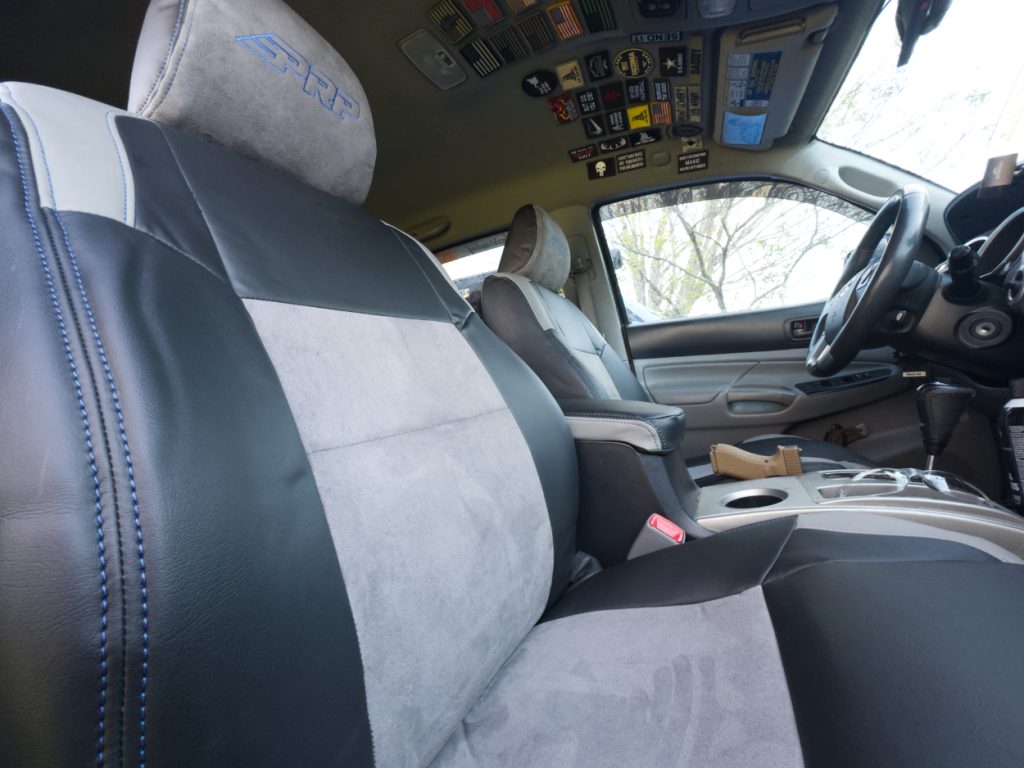
You can see a variation here with a mix of black and grey vinyl, grey suede, and blue stitching accents. This only scratches the surface of what is possible when customizing your seat covers. If you have a vision for what you want your seats to look like, you can make it happen. They have over 60 materials and colors to choose from!
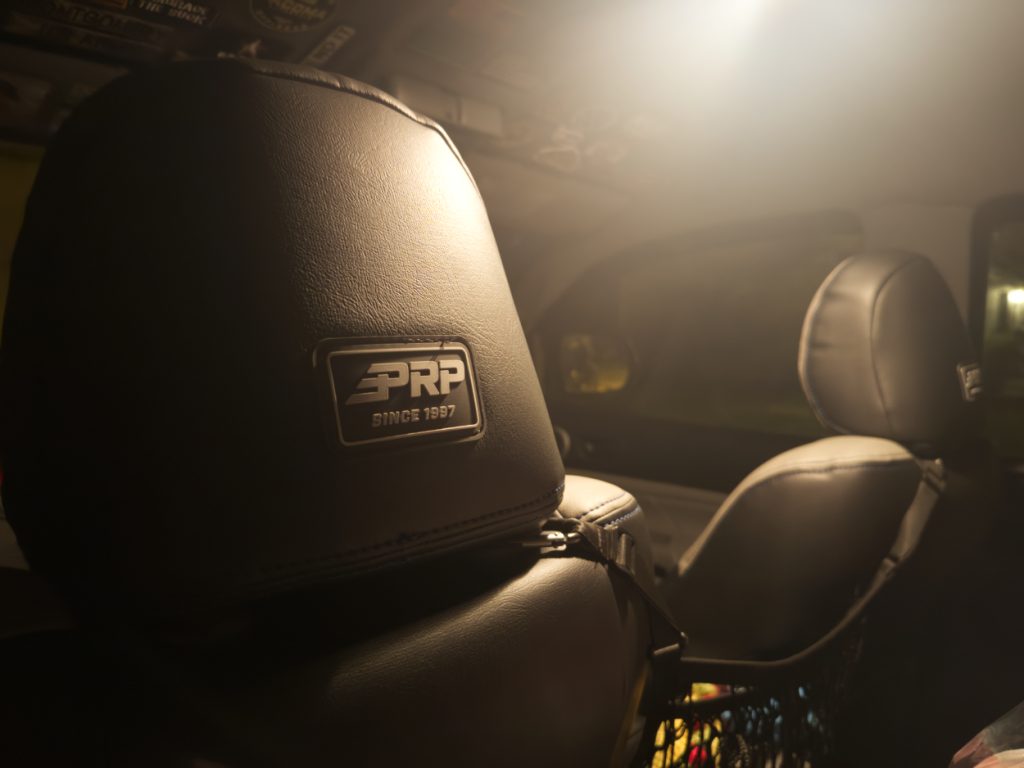
These covers are designed to last for the life of your vehicle, and the 5-year warranty emphasizes this. You are not likely to see that kind of support from other seat cover brands. PRP seat covers are proudly made in the USA, and each product is hand-stitched at the time of order.
Initial Impressions
I instantly noticed how great these covers looked and how premium they felt. The stitching is solid, and the colors look great. Next to my factory Tacoma interior, these covers look like they came with the truck.
The fit on these covers is very tight, ensuring a factory-installed look and long-lasting comfort. While it can be difficult installing these at times, especially in cold weather, the tight fit around all of your seat’s contours will make it worth it. Once I took the time to pull and stretch the covers into the proper position, I did not regret the work that it took.
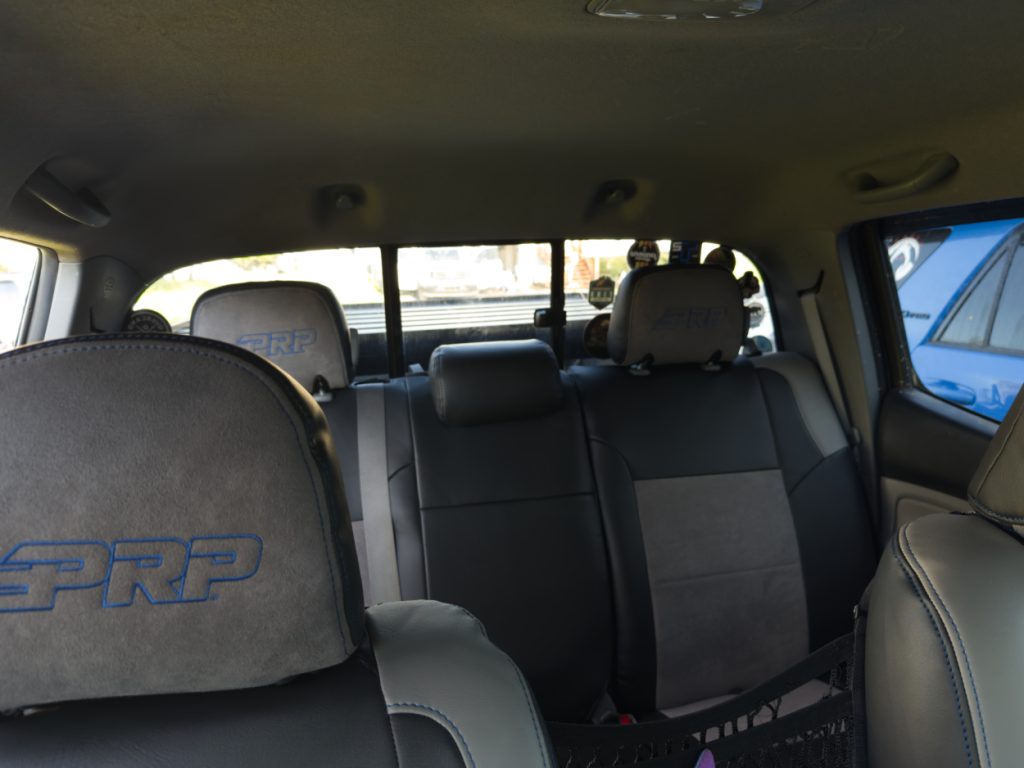
Coming from my aging and stained factory cloth seats, these covers completely transformed the interior of my Tacoma, and I absolutely love the way they look and feel.
Installation
Tools & Materials
- Ratchet and sockets
- Time and patience
Installation isn’t difficult, but some parts of the covers can be a bit tricky. This is due to the precise fitment, and it will be totally worth it in the end.
Pro Tip: The covers are more pliable when warm, so it can help to lay them out in the sun prior to installing.
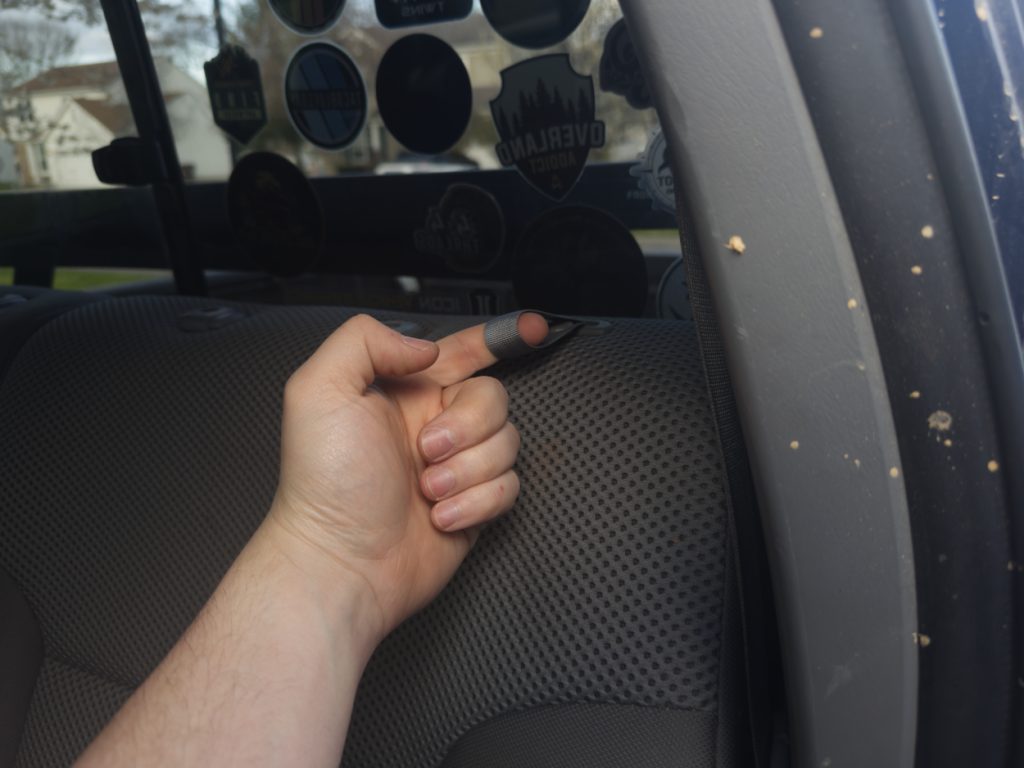
Step 1. Lay Everything Out
It is always good to lay everything out before starting to ensure you have the complete set. You do not want to start putting things together only to find that you are missing something halfway through completion.
Step 2. Install Headrest Covers
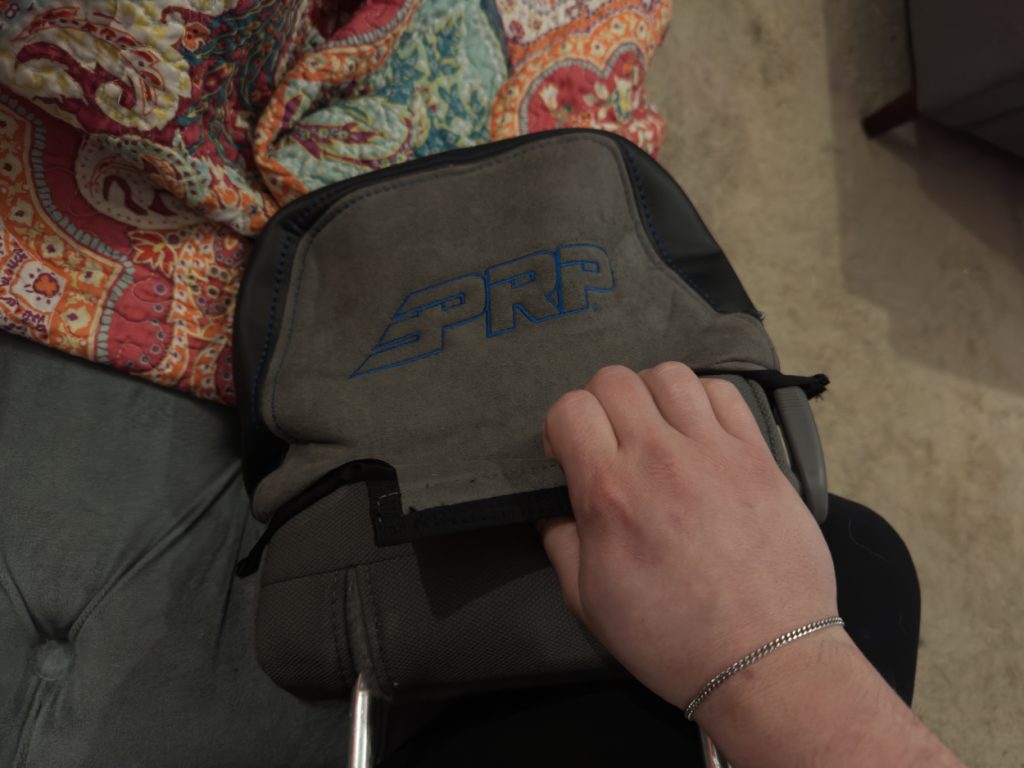
I found it best to remove the headrests and install their covers separately. Like all parts of this installation, the fit is very tight. You may need to squeeze down on the cushion to allow more wiggle room for the cover to slide on; however, you will still need to pull and stretch with a good bit of force.
Keep in mind that although this material is very well made and put together, you can still damage and split seams if you are not careful.
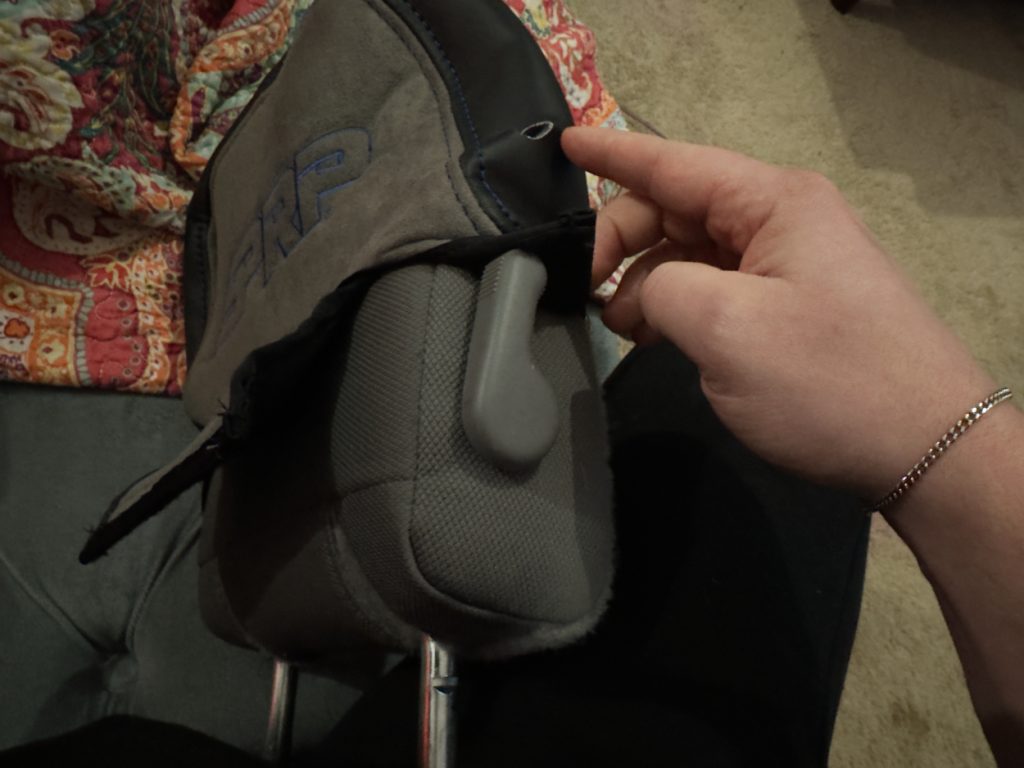
An opening on the side of the headrest cover allows the angle lever to slip through. It also serves as a good reference point when ensuring the cover is aligned correctly on the headrest. It may take some stretching, but when you get it over, it looks very clean.

Once the cover is fully on the headrest and in place, you need to attach the Velcro pieces together at the bottom. The tighter you can get this, the better it will look overall.
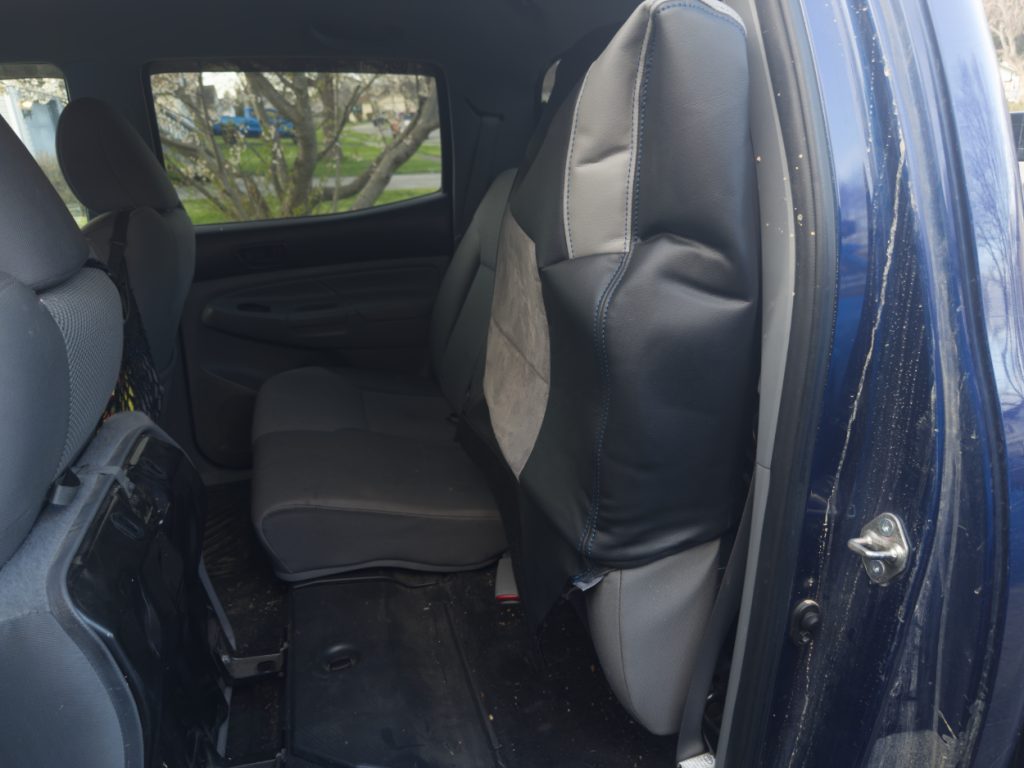
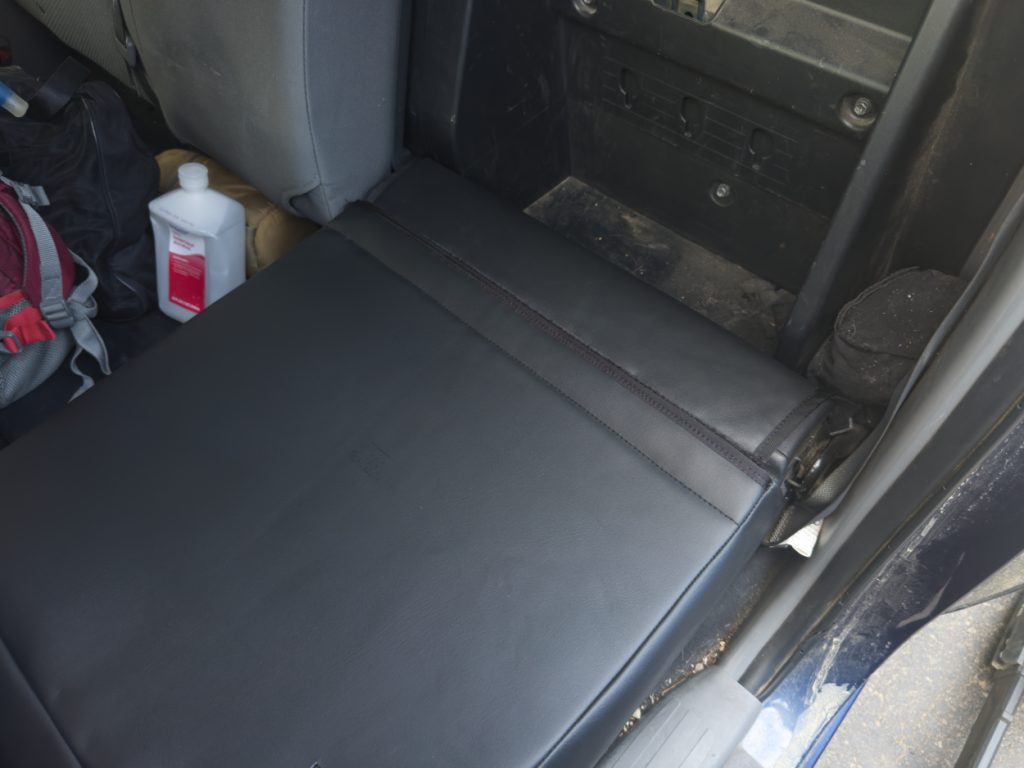
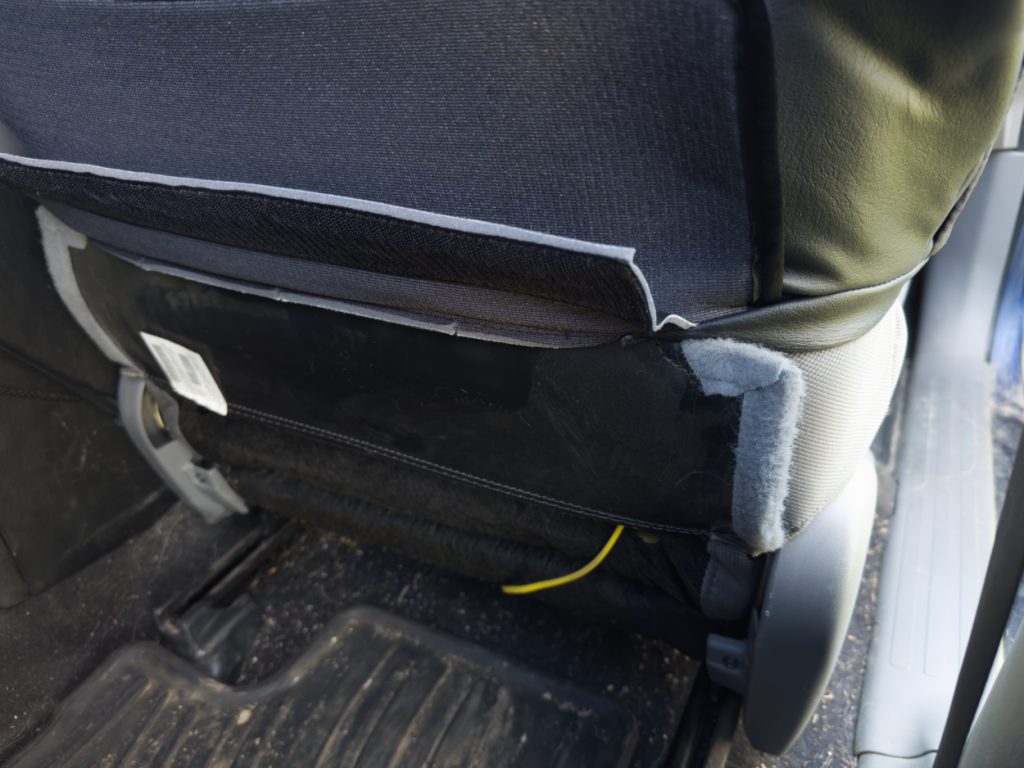
Step 3. Install Rear Covers (Driver Side)
In the rear, start by pulling the fabric tab up top to drop down the back of the seat. This will give you plenty of room to start sliding the back cover on the seat.
This process will require plenty of tugging and manipulating. Just be sure you are keeping the cover centered on the seat as best you can. Once it is fully on the seat, you will have to pull that same fabric pull tab through an access hole in the top of the cover and squeeze the plastic entry points for the headrests through the pre-cut holes in the cover.
Take the bottom flap with Velcro and slide it underneath the seat to get it to the back side. This will be the final connection piece to secure the cover to the seat.
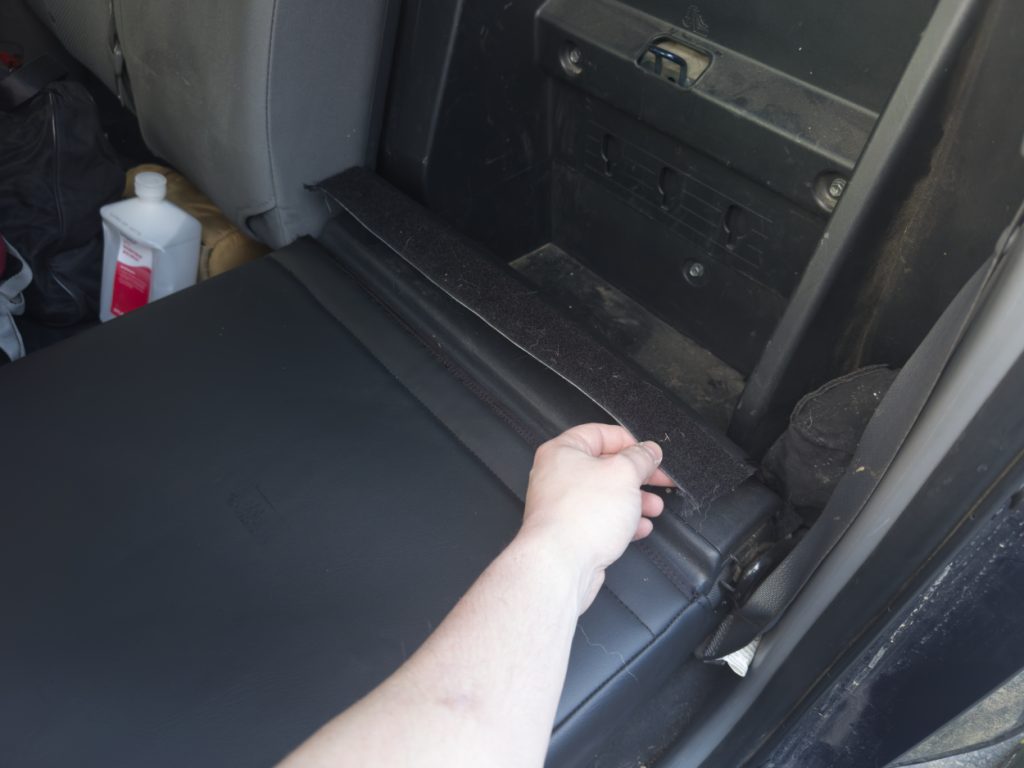
Pull each side as tight as you can. This will give you that clean and tight look and the best surface area to attach the Velcro to.
The process is the same for the passenger side, although there are some slight differences and considerations.
Step 4. Install Rear Covers (Passenger Side)
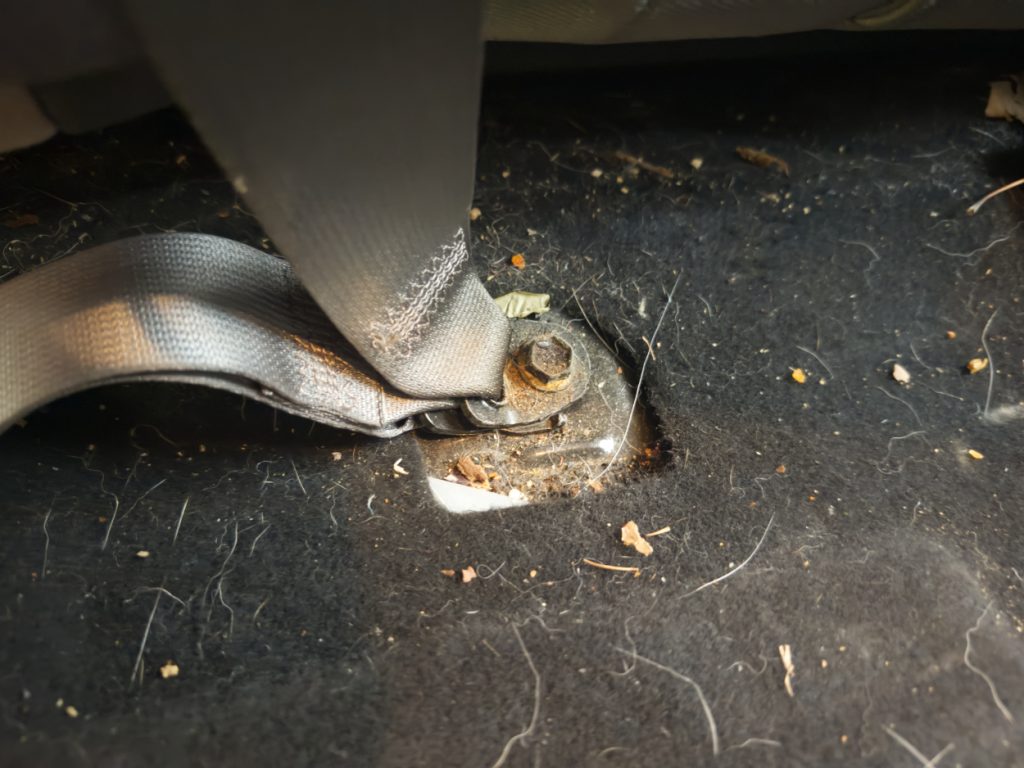
To install the cover on the passenger side, you will have to remove the bolt holding down the seat belt.

The passenger side cover is also larger and includes a helpful feature. There is a zipper on the back side that aids in the fitting process. Just beware that, because of the tightness of the material after it is on the seat, this zipper may be difficult to close at the end of the process.
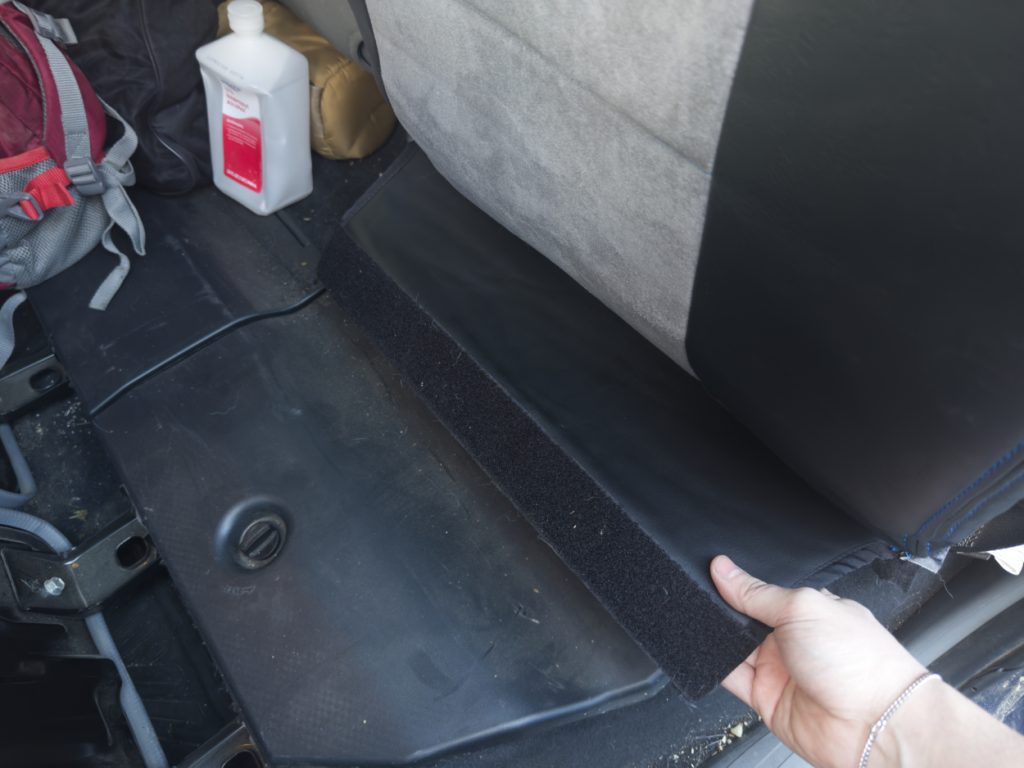
Step 5. Install Rear Bottom Covers
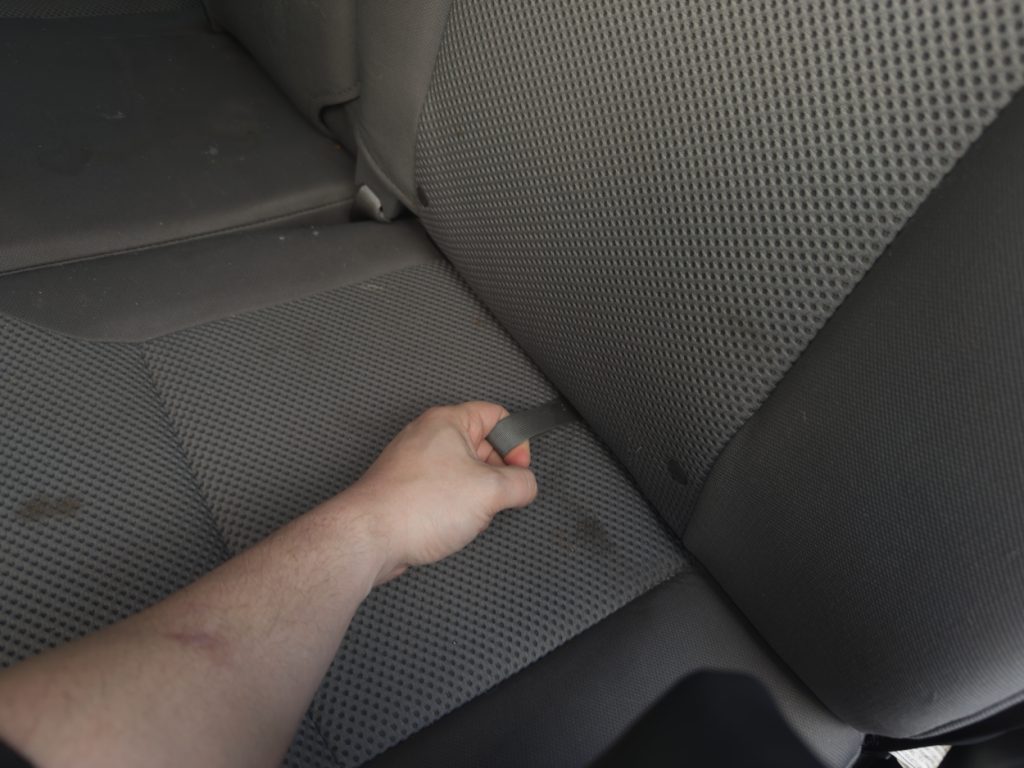
Next, pull on the fabric tab to flip the bottom portion of your seat. This must be done to get the cover of the seat bottom properly.
Center the cover over the seat and try to pull the material down past this lip on the factory seat. Once the material is past this point, you can pull the drawstrings tight and secure them with a knot. The process is the same on the passenger side, only with a larger cover.
Finally, reinstall the headrests and close up all the seat tops and bottoms.
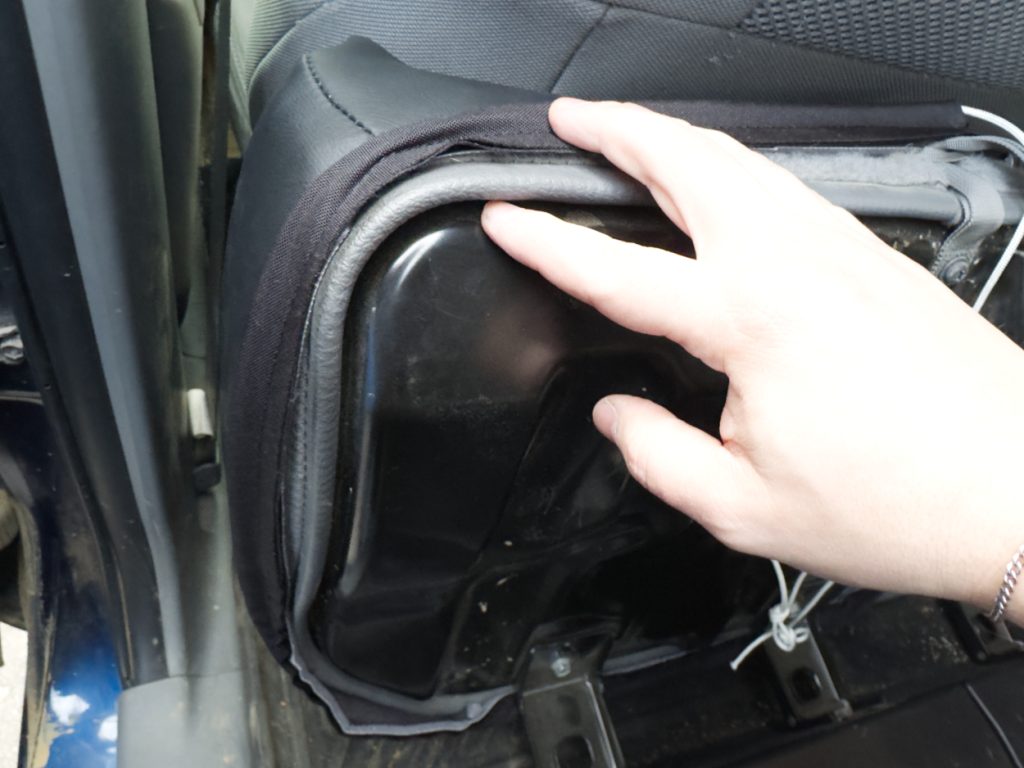
Step 6. Install Center Console Cover
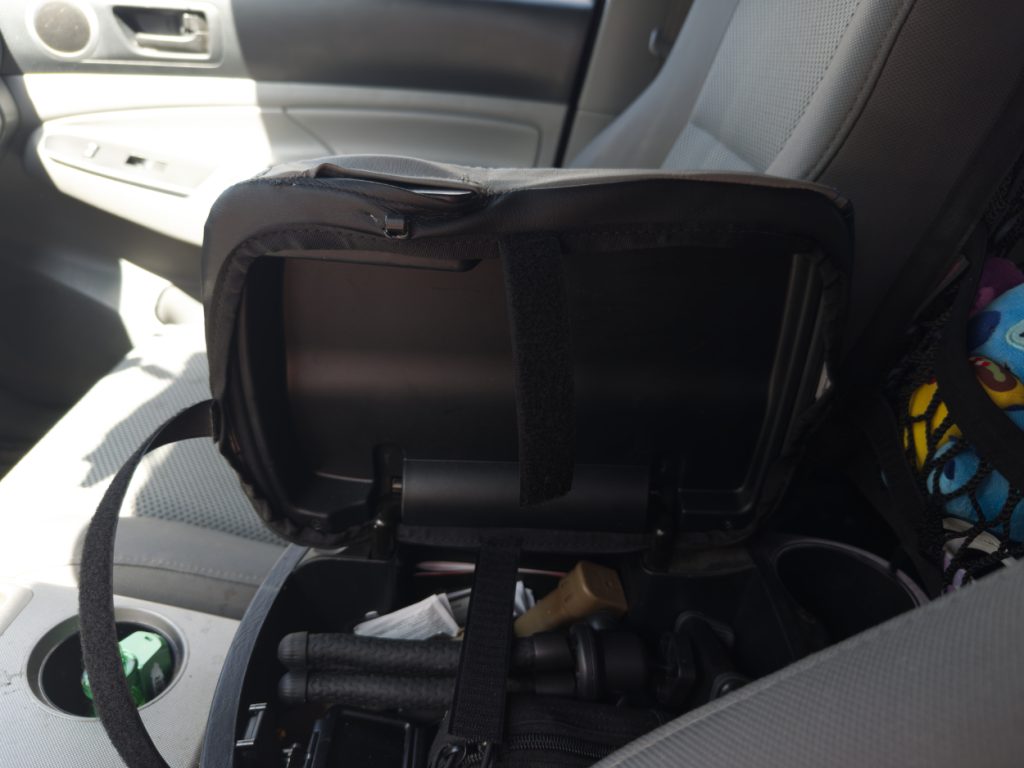
This part can get a little tricky because the alignment is easy to get off. It’s basically the same idea as the seat bottoms in the rear. Pull the cover over the lid and ensure the latch mechanism comes through the pre-cut hole in the material.
Once the cover is fully on, pull the Velcro straps tight and secure them to each other.
It will feel a little different when closing than it did from the factory. However, it still latches just fine.
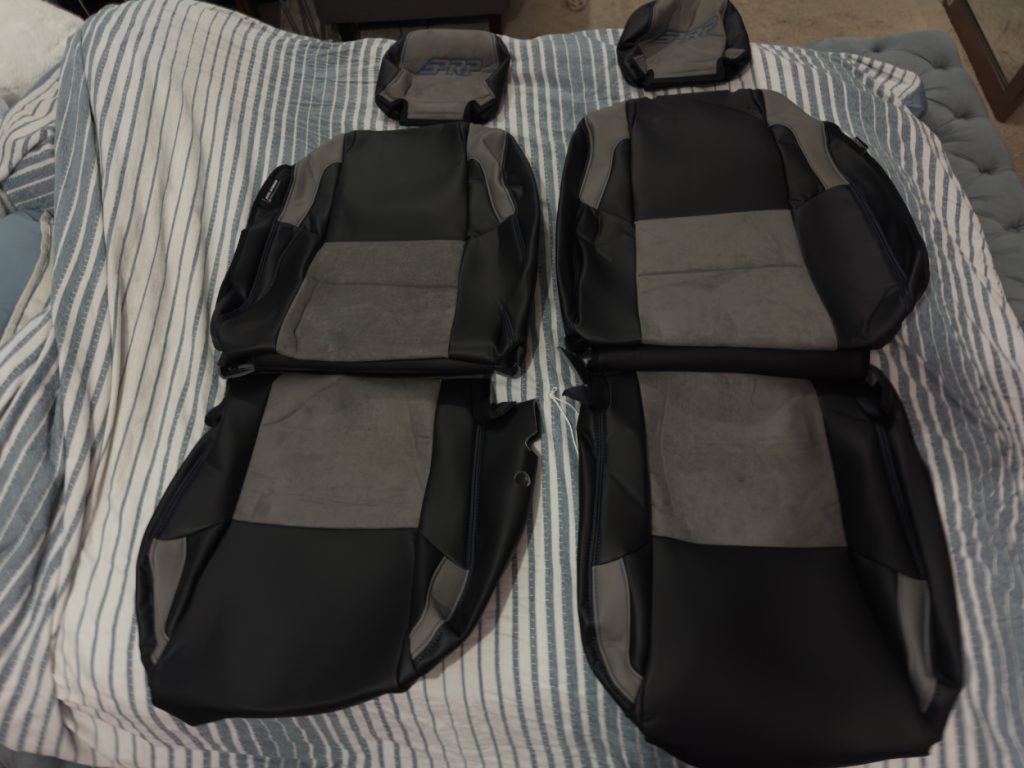
Step 6. Install Front Covers
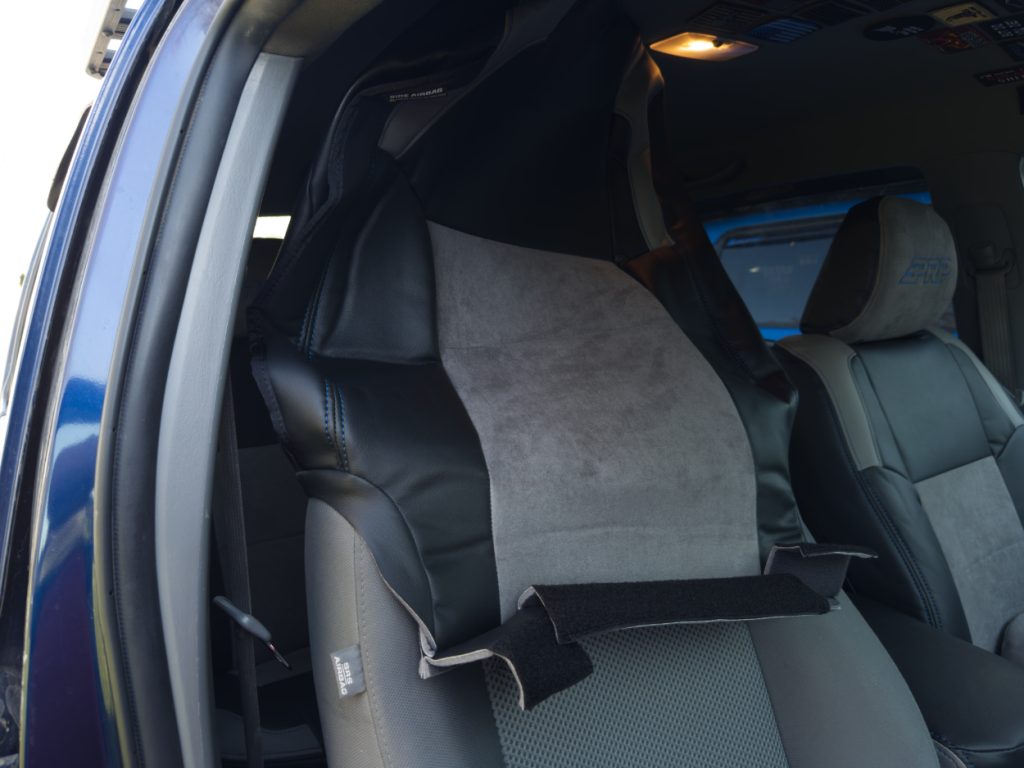
Some people remove the truck’s front seats for this part of the install, but I left them in. However, it may be easier to get the covers on with the seats removed. With the headrests still removed, stretch and pull the cover over the seats.

Like the rear seats, route the bottom flap through the separations between the top and bottom portions of the seat. Once you have the cover pulled tight and the headrest inserts popped through the pre-cut holes on the top, it will attach to the rear of the cover on the other side.
The factory seat has a stiff flap that you need to fold up and slide underneath the seat cover. If you miss this step, you will not find the material that you pushed through in the previous step. The elastic has plastic hooks that hold this flap to the metal bars underneath the seat. You will have to pop these clips off the bars before you can pull them up.
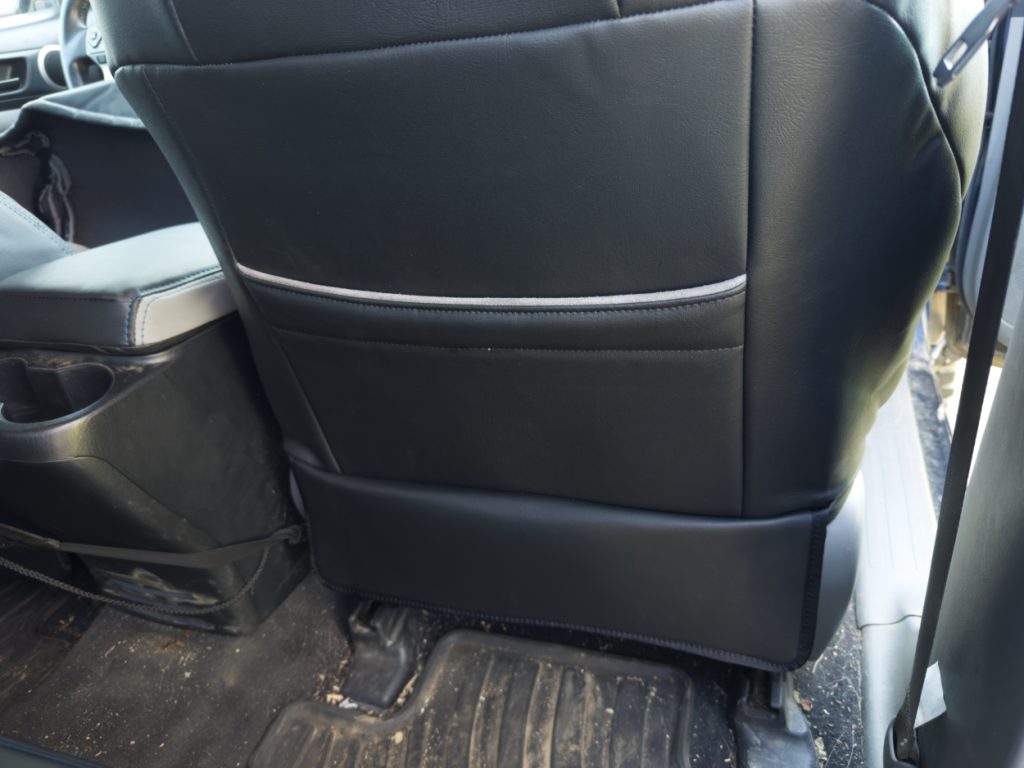
Once the Velcro is attached across the bottom, the seat covers have a flap that folds down to give them a clean, factory-like look.
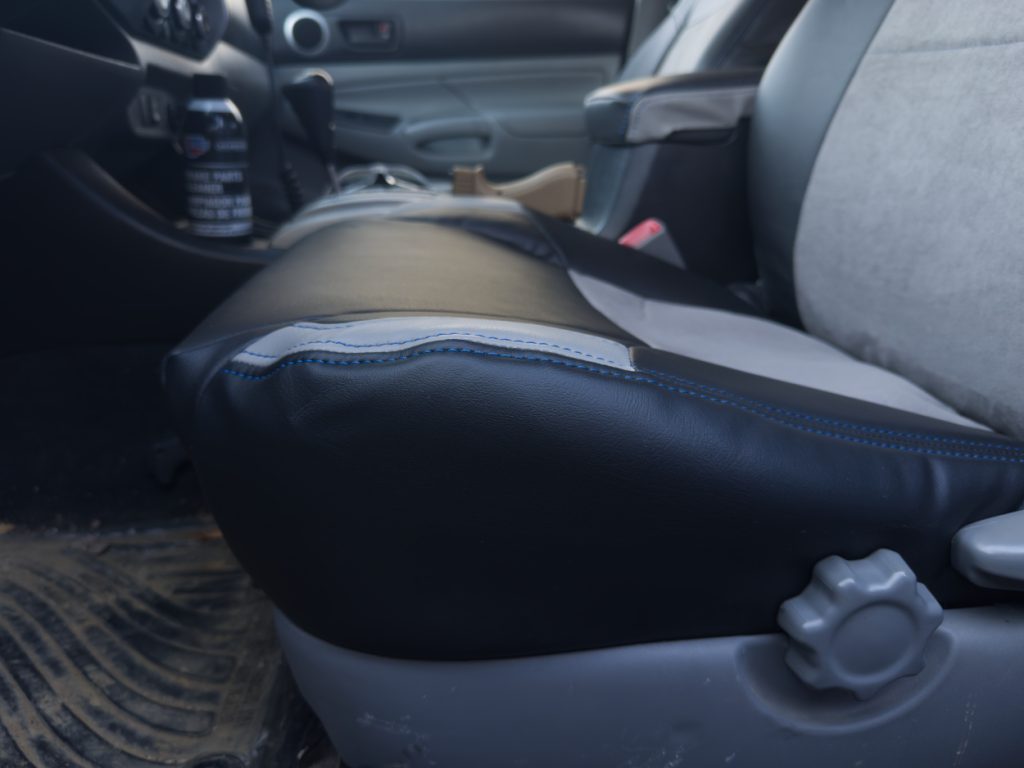
The seat bottoms will be pulled tightly over the seats from the cushions. When you tuck the bottom parts into the factory plastic, you can hardly tell that these covers didn’t come from the factory. There is a drawstring routed underneath that you need to pull tight and secure in a knot afterwards to ensure that the bottom cover does not loosen or move.
Final Thoughts
I have seen PRP seat covers grow in popularity in recent years. However, I was always skeptical about a seat cover versus the original seats. No matter the price, I assumed the fitment would be off and look cheap overall. I was proven wrong with these seat covers after seeing them for myself. They fit great, especially once they have warmed up and settled in. The materials are high quality, and it feels like I’m riding in a higher-end vehicle. Also, there are many customization options, so you can make yours however you see fit.
After years of trail use and stains, I was not happy with the look and feel of my factory seats. I was ready to swap them out completely, but I will say that these seat covers have completely renovated my truck’s interior. I get a smile every time I open the doors to get in, and it’s a pleasure to drive around now. While not a lot, the extra cushion feels great and adds to the comfort for everyday driving and longer adventures.
If you’re looking for a premium upgrade to your truck’s interior, these seat covers may be just what you need. Head over to their website and check out the different configuration options, and I’m sure that you will find the perfect combination to set your truck apart from the rest.
