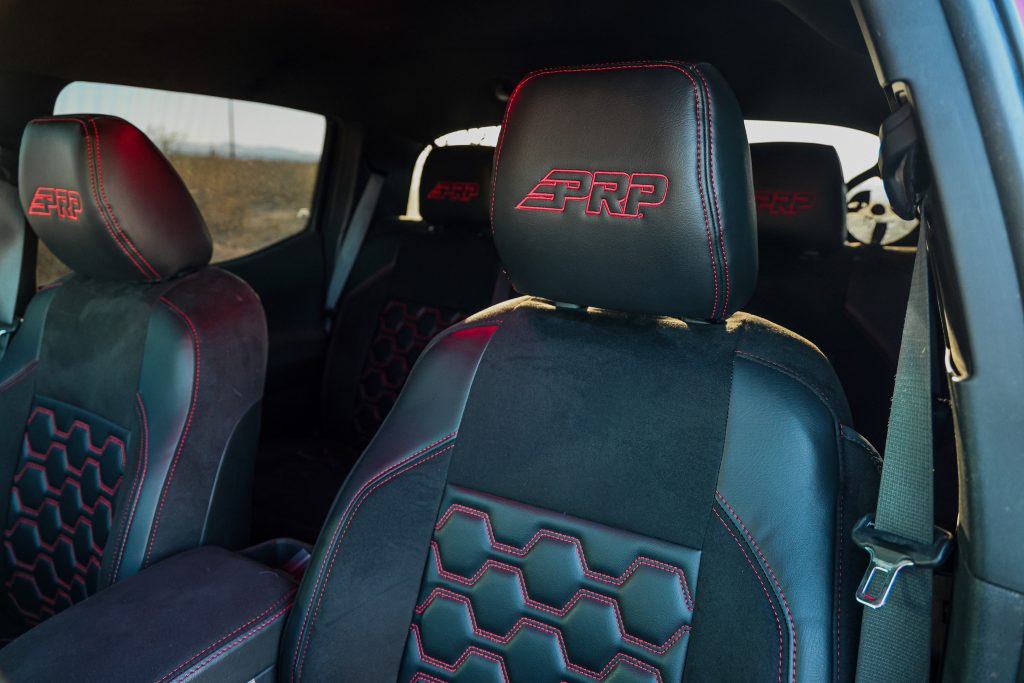
Upgrading your vehicle’s interior can make all the difference. For many Tacoma owners, PRP seat covers have become a go-to choice. Renowned for their superior quality, durability, and precision-fit design, they offer a transformative solution that enhances your interior’s aesthetics and provides long-lasting seat protection.
In this guide, I’ll walk you through the installation process for the 3rd Gen Tacoma and relevant specs, features, and my impressions. I’ll also share my insights and the challenges I encountered, ensuring you have the confidence to tackle the project. Stick around until the end for my dedicated YouTube video.
Table Of Contents
Features
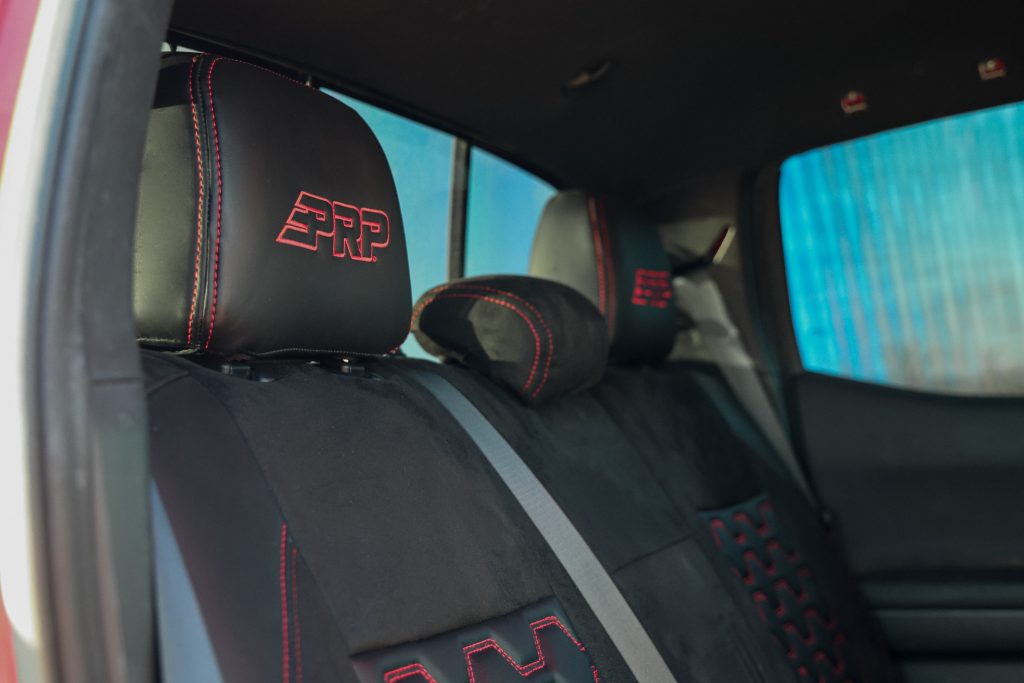
PRP does not make average products. Their higher price point reflects a level of attention that you simply won’t see with the cheap options that come from overseas. Now I understand that budgets vary, but as the saying goes – you get what you pay for.
PRP products are precision fit. Where other covers may sit more loosely, these are very tightly fit around your factory seats. No extra material, and an OEM like finish.
Another important feature, they are made to work with factory features like seat heaters and airbags. The last thing you want to do is add a set of covers that could compromise your safety in an accident.
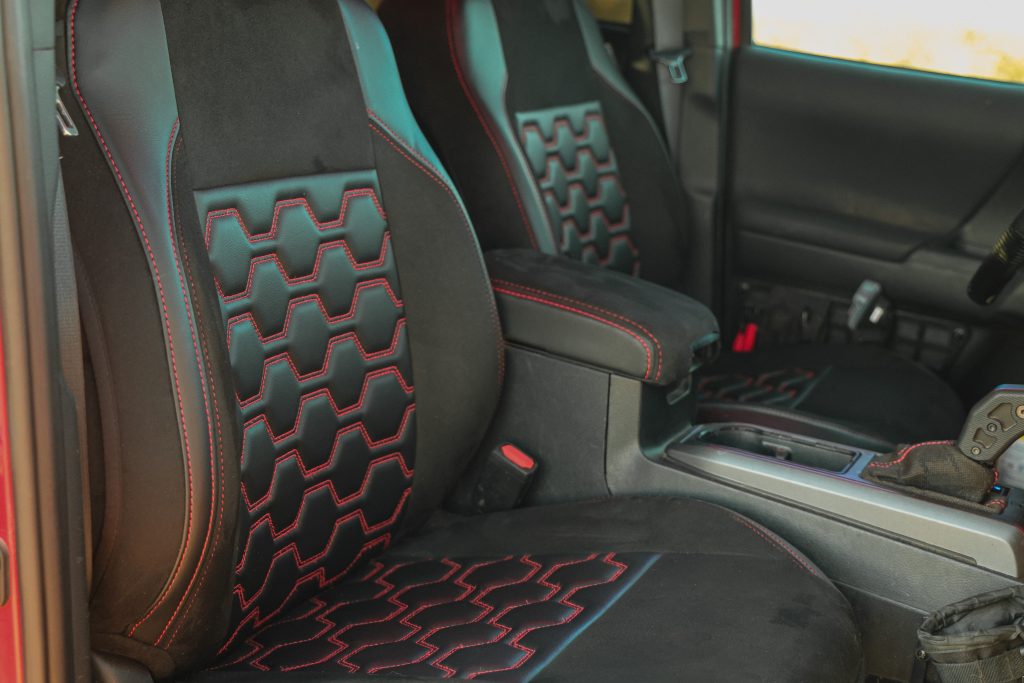
A premium product means premium materials. These guys only use the very best. While they do offer some standard color options, the main emphasis is on how much customization can be added. There are literally thousands (or more) variations that you could possible put together. This comes from over 60 different color and materials (free samples available). So there’s something for every build, aesthetic and color scheme. They also offer the option to add your own logo or branding.
On a final note, PRP offers an incredible 5-year warranty. Most brands only warranty stuff for about a year. 5 times the standard means they truly stand behind their products. Their expected lifespan is over 25 years, so they’ll probably outlast your truck, or at least your ownership. They’re also made in the USA, so you’re helping to support the local economy, versus something made overseas. If you need your covers fast, they offer a two week rush order for an added fee.
First Impressions
Quality
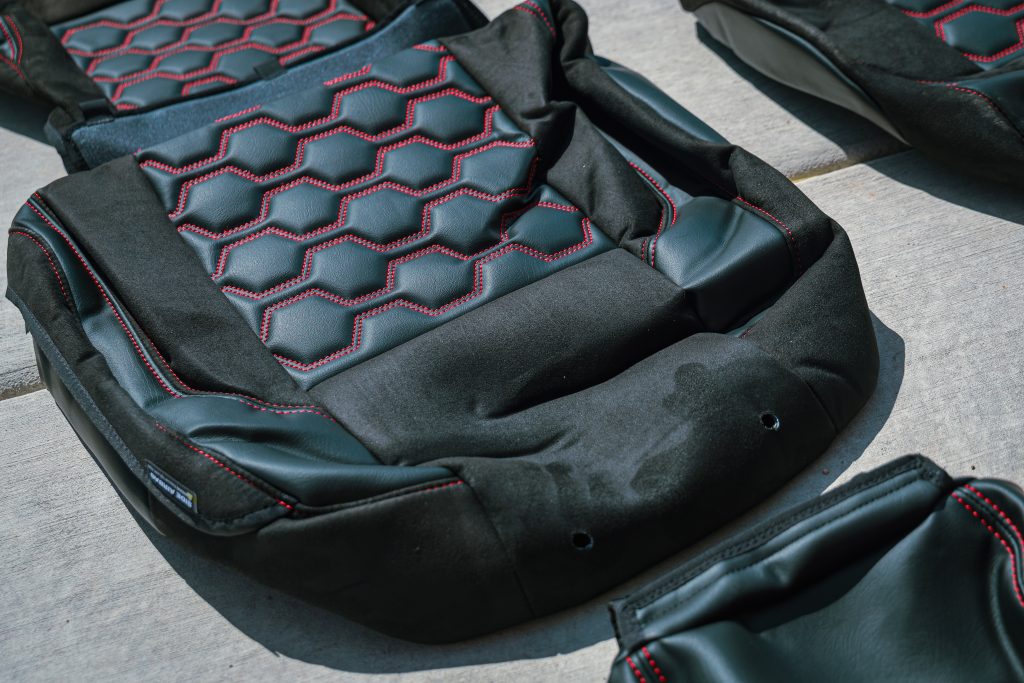
The first thing that stands out about these covers is their quality, look, and feel. Crafted from premium and durable fabric, these covers feel soft and have multiple layers, adding to their durability. The front seats have extra reinforcement applied in high-stress areas, while the rear bench cover is tailored to ensure a smooth, uniform finish without sagging with heavy use.
Fitment
One of the biggest advantages of these custom PRP seat covers is their custom-tailored fit to the factory seats. PRP has done extensive research to design a cover specifically designed to fit the exact shape of the Tacoma factory seats. Yes, these are just covers that go right over your existing seats, but once they’re on, no one will know they are only covers.
Overall, these deliver an outstanding combination of quality, style, and functionality. They are a worthwhile upgrade that gives the interior a professional look while ensuring lasting durability.
Installation
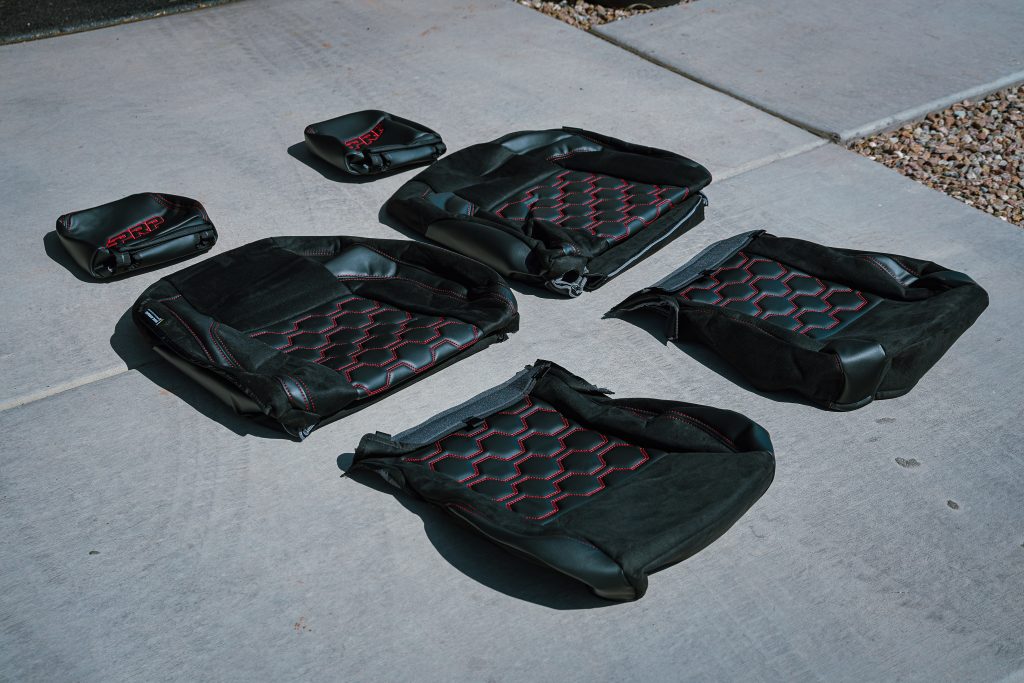
Tools & Materials
- Ratchet and sockets
- Needle nose pliers
- Vacuum / interior detail products
Step 1. Clean & Prep Interior
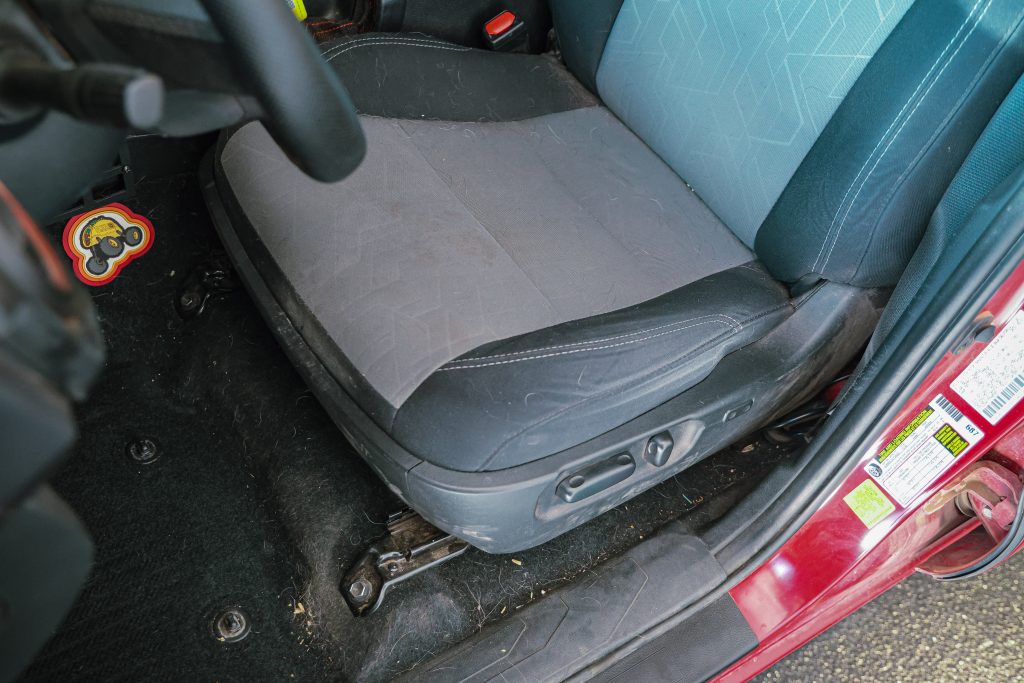
This step depends on how much you care about preparing for the install. If you are like me, you might want to clean your seats as much as possible so they don’t hold dirt or odors underneath. It’s also a good excuse to give your interior a little love and care.
Step 2. Lay Out New Covers
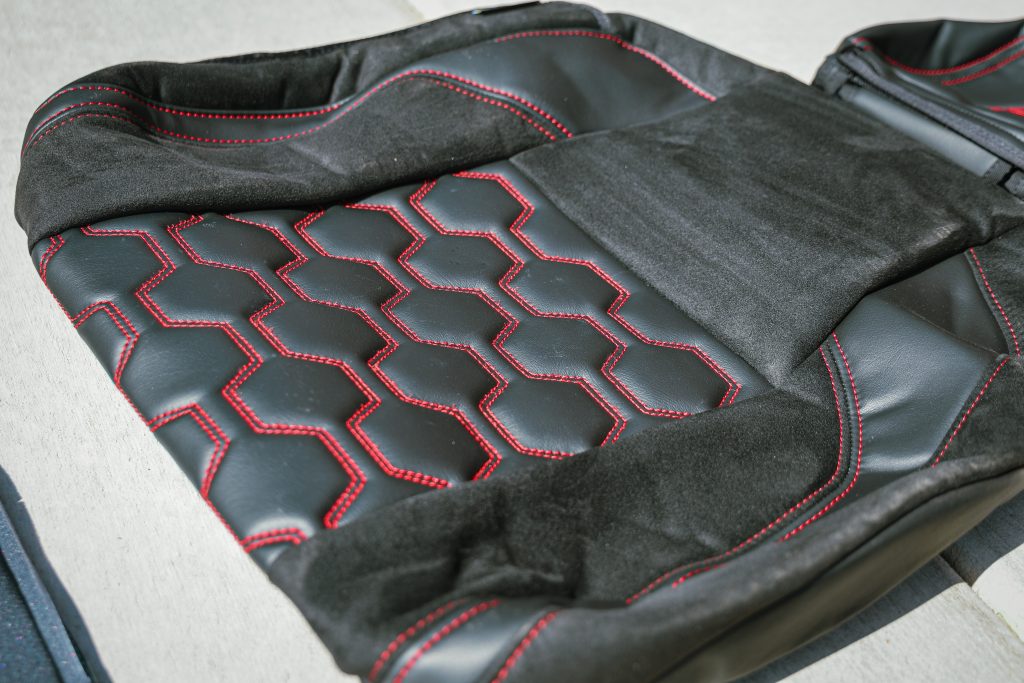
I unpacked all the new covers and laid them out in the driveway for two reasons. One is to ensure I have all the pieces I need before starting the installation. Two is so the covers can warm up in the sun, making them softer and easier to install on the seats.
Step 3. Remove Front Seats
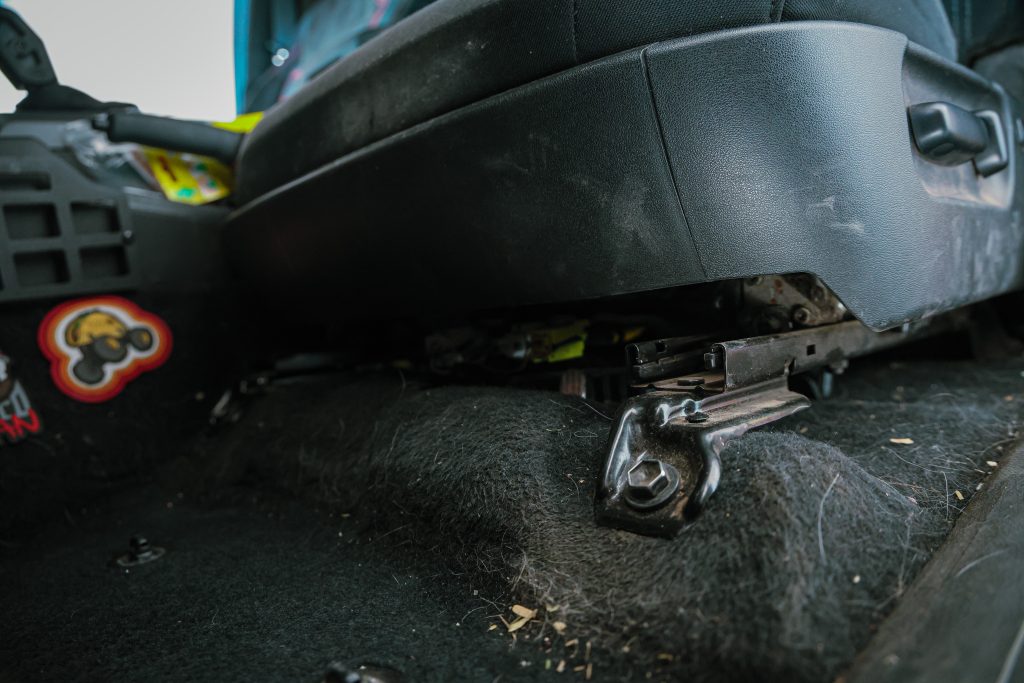
Since the front seats have sensors and airbags, it is recommended that you disconnect your battery to prevent any issues during the installation. Removing the front seats from the truck makes install much easier.
After the battery has been disconnected, you can loosen the front seats so you can get access to the wiring under the seats. Both front seats are held in with (4) bolts, one in each corner of the seats. After you loosen the bolts, you can tip the seats back, giving you access to the wiring underneath. Each seat has a few wire connectors to be disconnected; using a set of needle-nose pliers made this process easier.
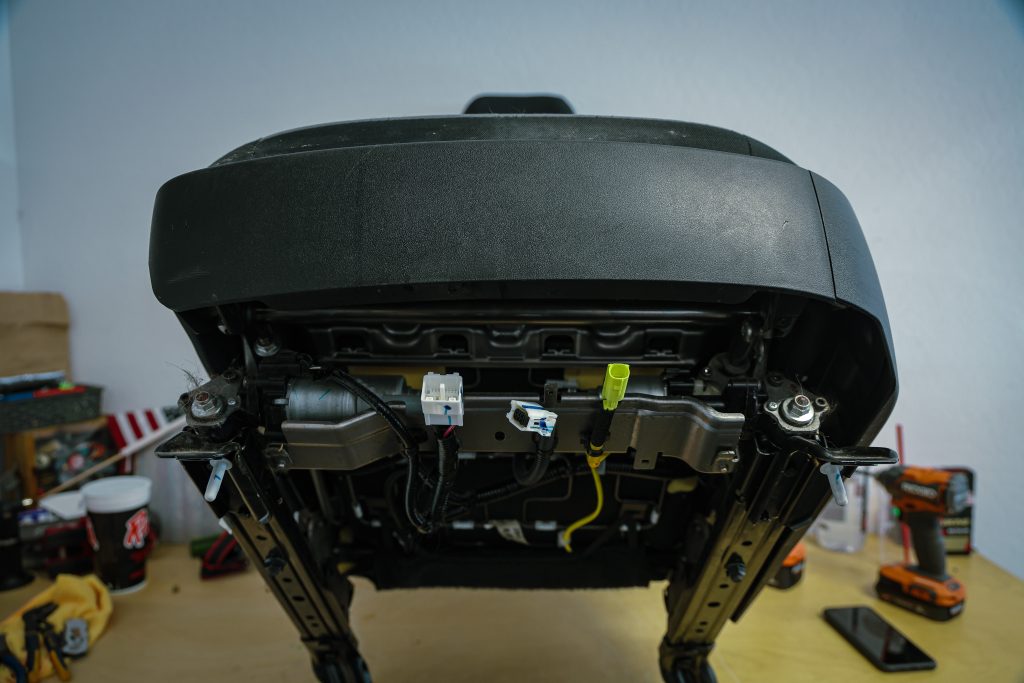
After the wire connectors are disconnected, you can remove the seats from the truck and move them to a workbench or wherever is easier for you.
Step 4. Install Front Covers
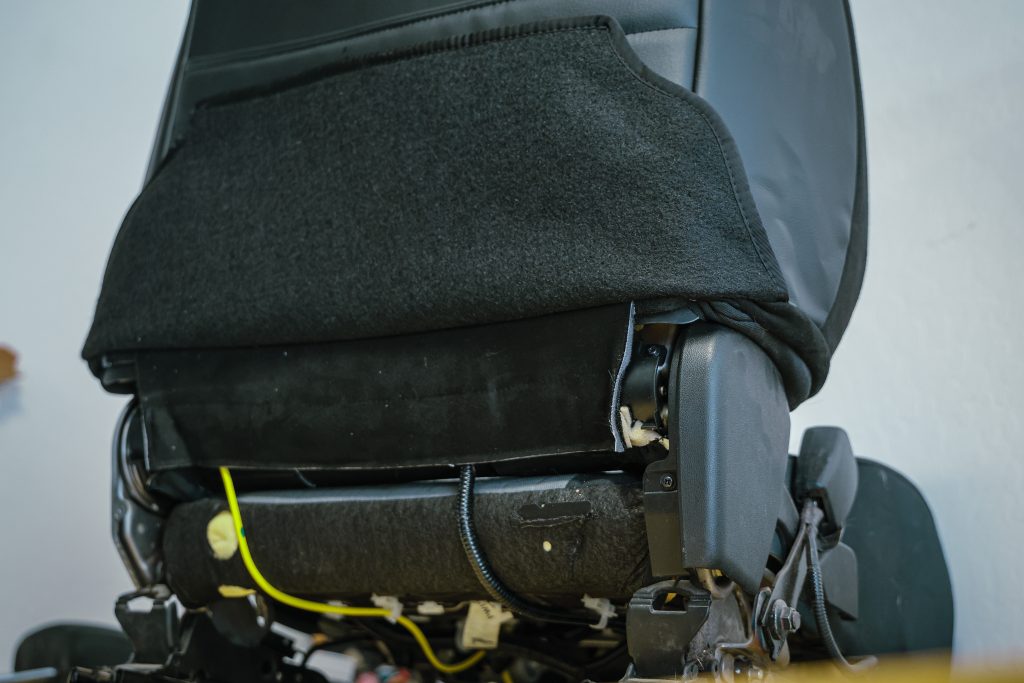
Starting with the seat back, having a second set of hands for the front seats will be a big help. The seat backs can be pulled over the seats, and you have to pull them down until they are tight, which takes some muscle due to the tight fit.
After pulling them over the seat back, at the top of the seat, you have to pop the plastic fittings from the headrests, which must be pulled through the seat cover. After the headrest inserts are pulled through, you can move to the bottom of the seat, where you have to pull the front flap through the seat to the back. This is where you attach the front and back together with the integrated Velcro for a factory-tight fit.
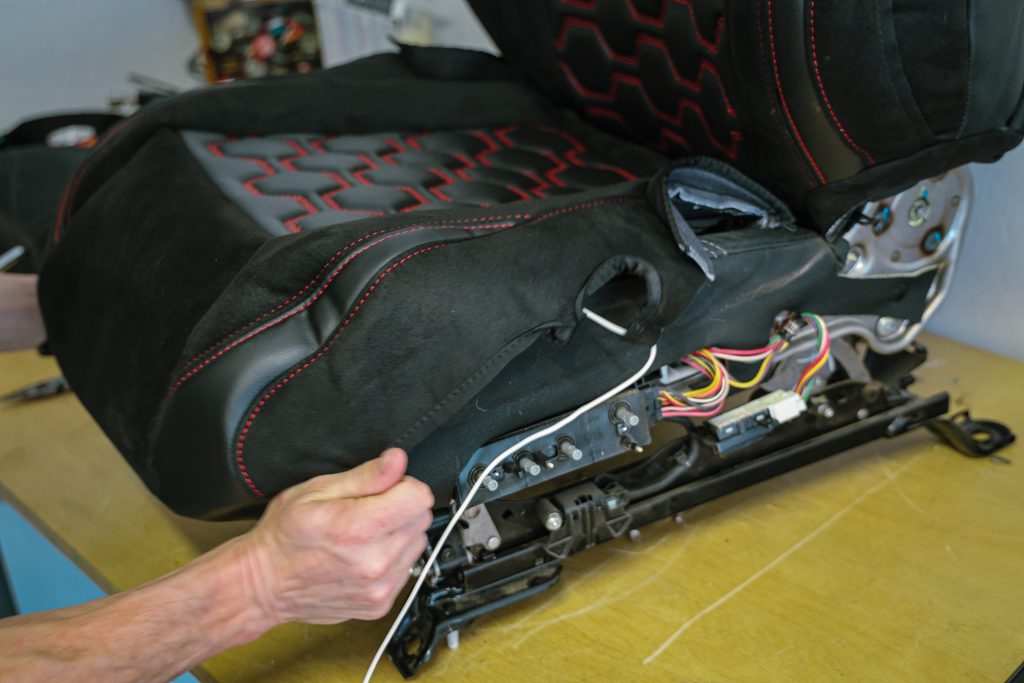
Next, the seat bottom has to be fitted on the seat. This cover is easier to apply than the seat back, but you might have to pull off some lower plastic trim to make the installation go smoothly. After you pull the seat bottom cover over the seat, you will see a white string that runs through the bottom edge of the cover. This string must be pulled tight and tied in a knot to help tighten the seat bottom cover.
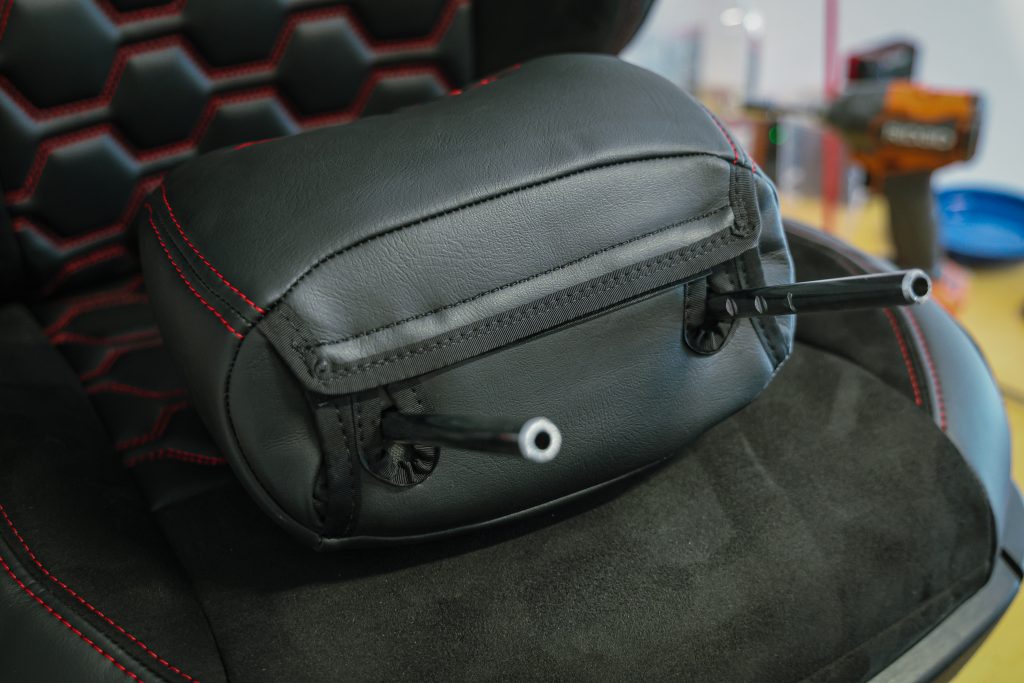
The last piece of the front seat is the headrest, which is even easier than the seat bottom. I found it easier to place the headrest on the seat to make pulling it over the headrest easier. After you pull the cover over the headrest, you need to attach a few pieces of Velcro to secure the cover onto the headrest.
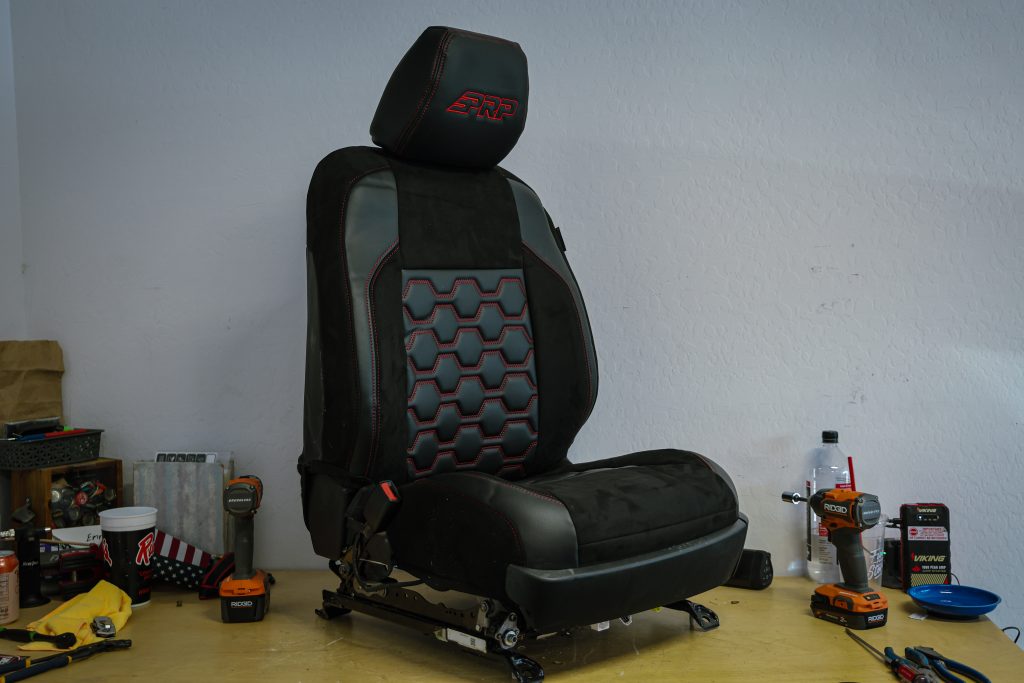
Repeat this process for both seats. Then, you can install the seats back into the truck, and you’re halfway done.
Step 5. Install Center Console Cover
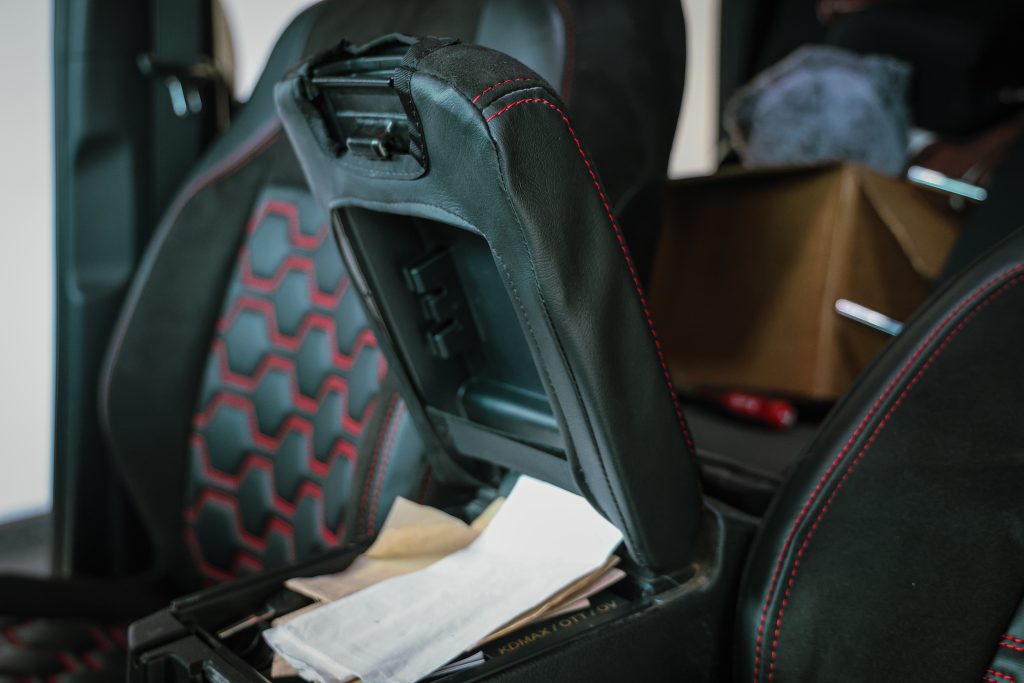
If you opted for the optional center console cover, you can install this part now. It simply slides over the center console lid. After you have pulled the cover tight onto the lid, a piece of Velcro will sit on the underside of the cover to help secure it.
Step 6. Install Rear Covers
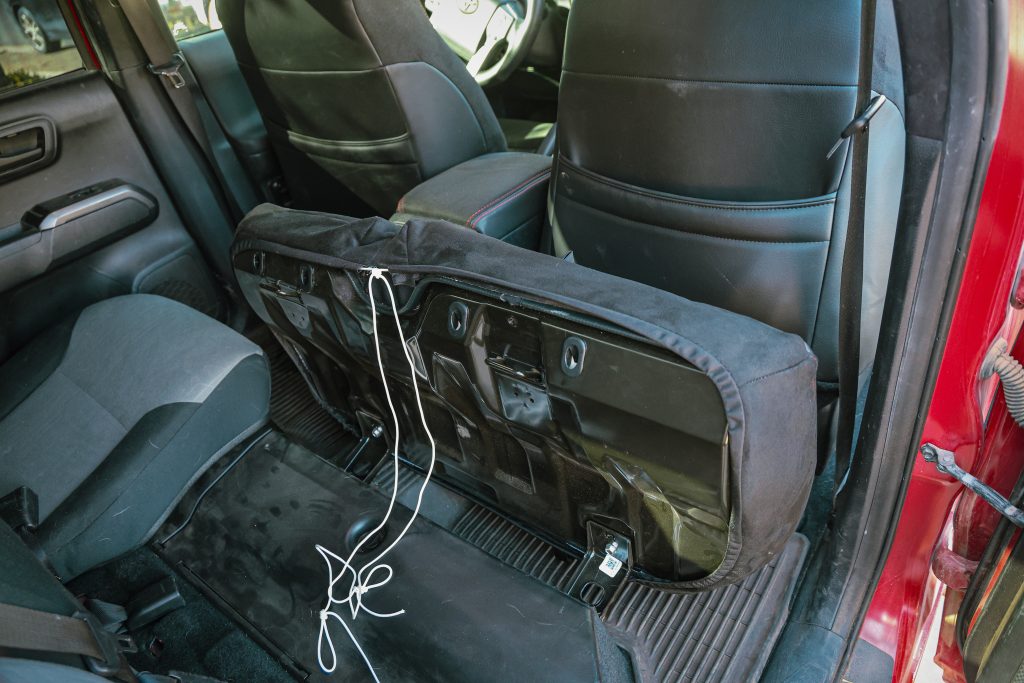
The process of installing the covers for the rear bench requires less prep than for the front seats. First, there are no wires to disconnect, and you don’t have to worry about removing the seats from the vehicle.
I started my installation by doing the passenger side seat bottom; just tip the seat forward and pull the covers over the cushion. Then, you will see a white string around the base of the seat cover. Tie this string in a knot, but pull it tight to help tighten the seat cover.
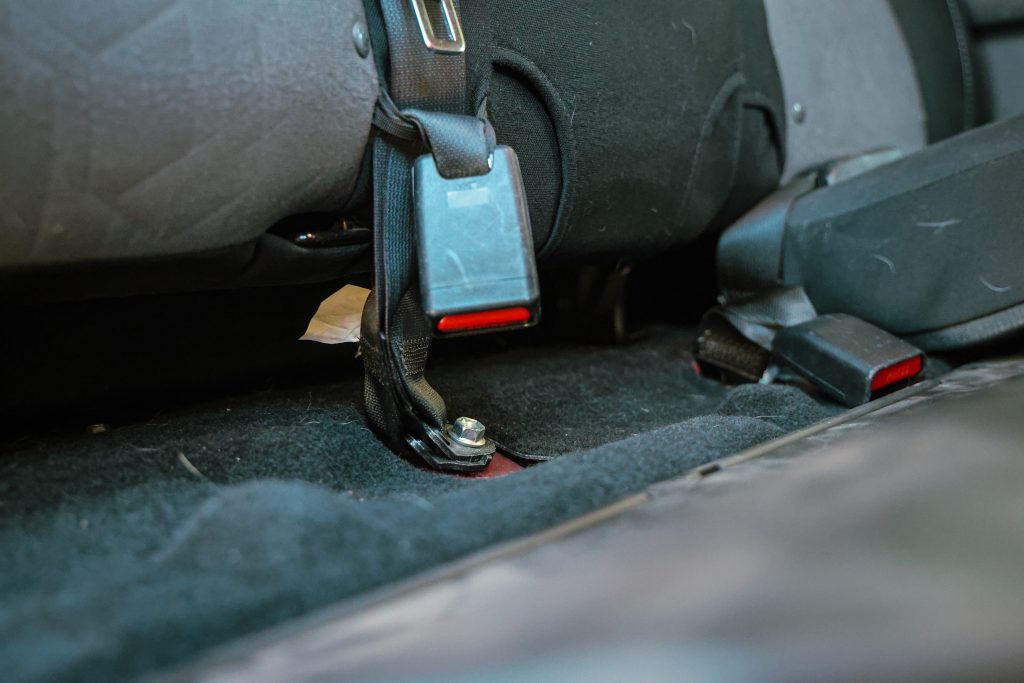
With the seat bottom installed, the seat back must now be installed. On the passenger side, there is (1) bolt to remove, which holds the middle seatbelt to the truck’s floor. Removing this bolt will allow you to wrap the seat cover completely around the seat.
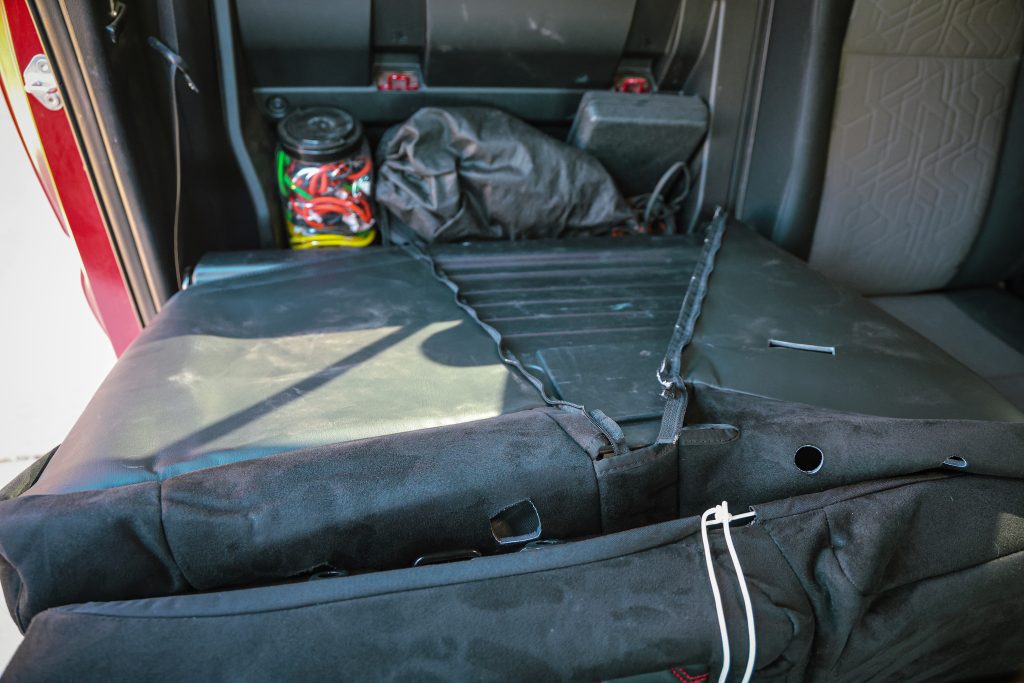
Pull the cover tight, and you will have a flap that goes from the front, under the seat, and to the rear of the seat cover. After the back cover is on, pull the headrest plastic trim pieces through the seat covers.
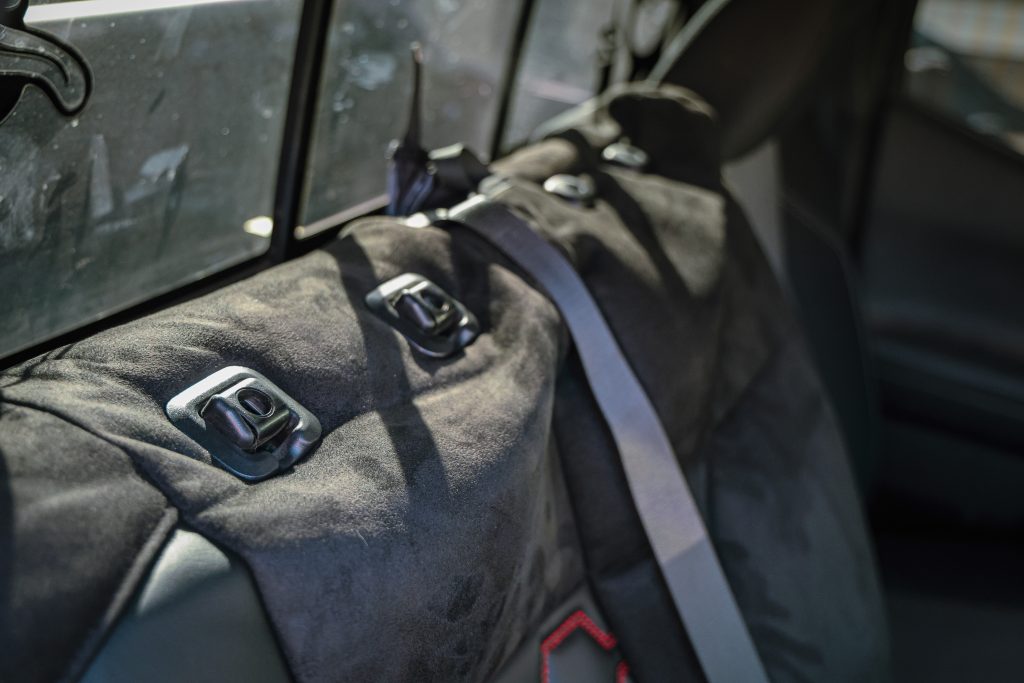
Each of these pieces will have Velcro. This part requires a little muscle, as you have to pull the two pieces together to make the seat cover tight.
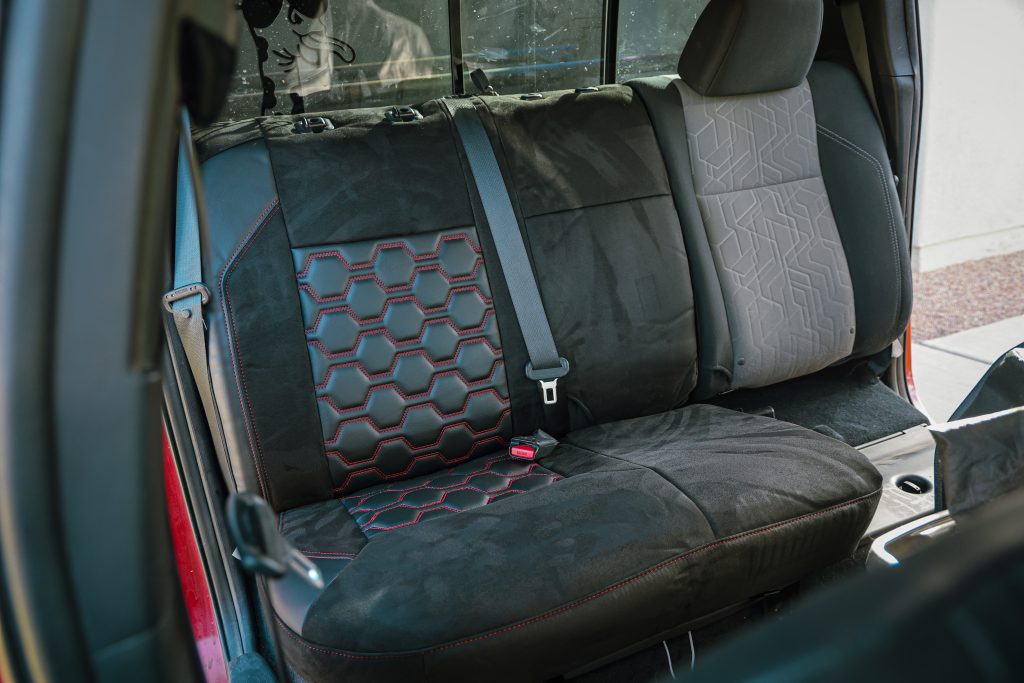
Repeat this process for the driver’s side covers. The last part is wrapping all three headrests. The outer two are the same as your front seats and are pretty simple to put on. I recommend starting with the headrest on the seats to make installation easier.
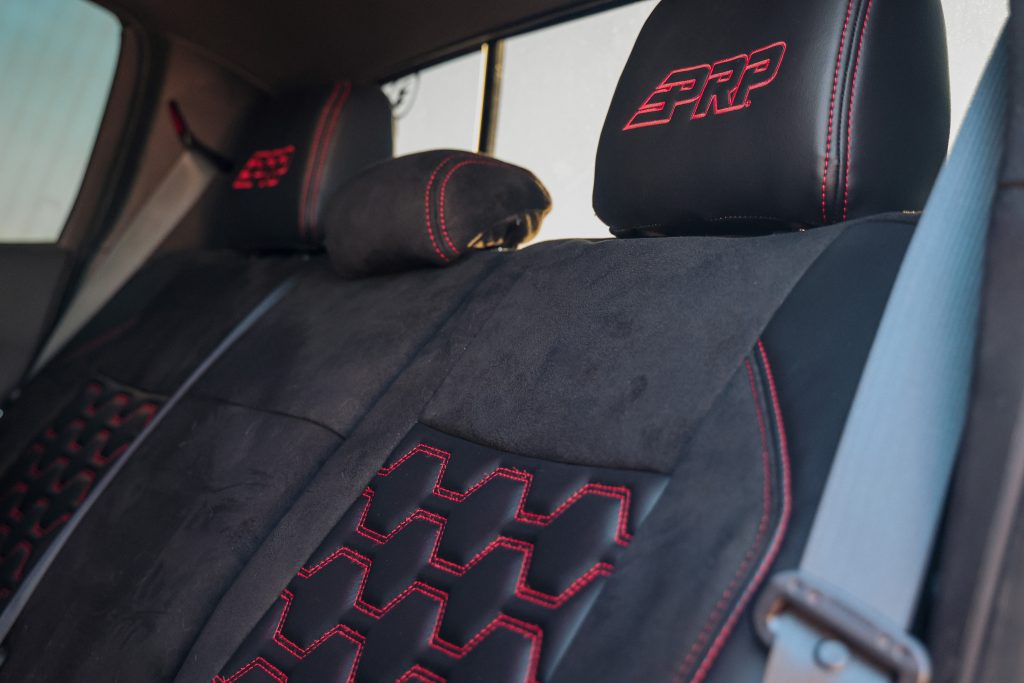
The center headrest was pretty difficult. I believe it was due to the shape and small size of the cover. You will have to work on this for a bit, but try your best to smash the headrest foam as much as possible to make working the cover easier.
Review
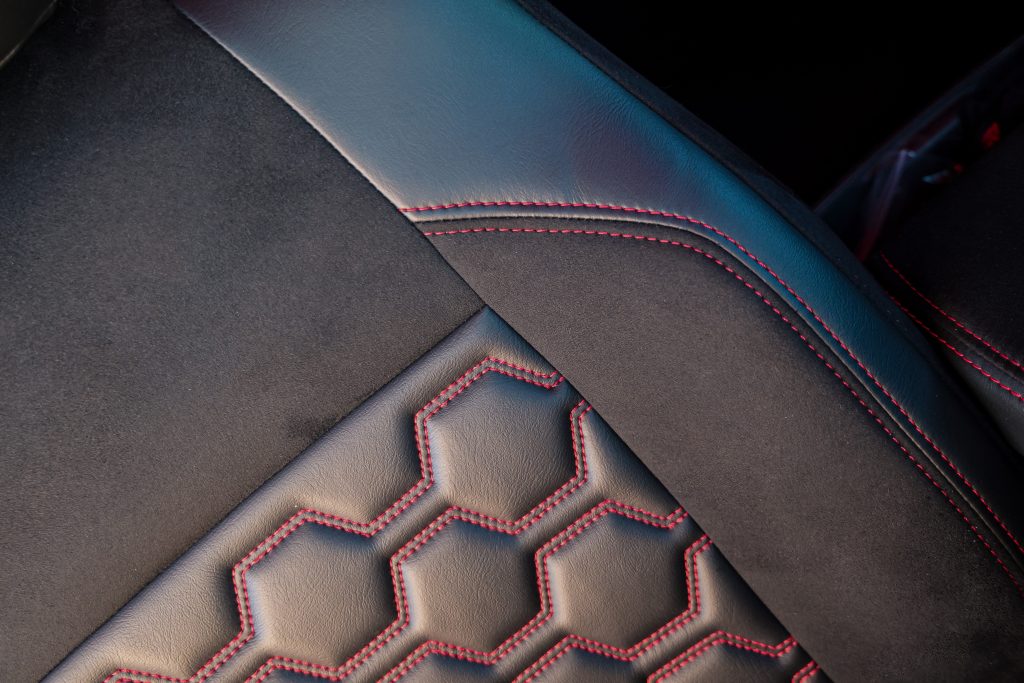
I’ve heard about PRP seat covers and seen photos of them on different vehicles over the years. However, I haven’t seen a set in person until now. These covers look incredible, and their amount of detail could pretty much fool anyone into thinking they were from the factory. They have perfect fitment and feature high-quality stitching, unlike most universal options. Overall, I’m super happy and the custom touch added to my interior and how it all flows with my color scheme and general build direction.
My Material & Color Choices
- Red stitching
- Hexagon center stich
- Black suede
- Black vinyl
Final Thoughts
I thought these covers would just be for protection and looks. However, the extra padding adds a new level of comfort to my seats, making those long drives much more enjoyable.
The price seems fair for what it offers, especially considering the level of customization available. Visit the PRP Seats website and play with their seat configuration tool to see what combinations you can come up with!


