

Have you ever walked out into your garage and looked at your rooftop tent propped up against the wall and thought to yourself, well that is not going to work.
I may have a solution to get that massive, space-consuming rooftop tent off your garage floor and tucked away, safe and sound up against the ceiling. Now, this is not a one size fits all kit, right out of the box. Remember not all rooftop tents are created dimensionally equal, you may have to do a couple more modifications.
The rooftop tent in this demonstration is specifically my Yakima Skyrise Hd Tent-Medium. You can look up your own rooftop tent specs before doing this install but for reference, our specs are as follows.
Yakima Skyrise Hd Tent-Medium Specs
- Weight: 114.64 lbs.
- Dimensions: L 58.00in x W 48.00in x H 17.00in.
Table Of Contents
Why I Chose The Racor
I found this lift online on Amazon for less than $250 and it was by far the most affordable option. There were some that utilize electric hoists and some that use manual pulleys.
- Racor Ceiling Storage Lift: Check Price
I chose the Racor due to 3 factors:
- A limited number of parts meant fewer things to go wrong.
- The attractive price point with the Amazon Prime return policy made it a comfortable purchase.
- Ease of use.
YouTube Installation
Tools Required
- Stud Finder
- Cordless Drill/Driver
- Philips Screwdriver or Philips Driver
- Wrench
- 10mm Socket
- Pencil
- Drill Bits
- Eye Protection
Box Contents

The packaging of the Racor lift was sturdy and all of the pieces to the kit were organized and damage-free. The best part of this kit is there are only 16 actual pieces that make this whole system work, and I didn’t need to use 3 of them. So easy a caveman can do it.
NOTE: The instructions call for the assembly of the three-wire platforms first, however, I was not using the wire platform so I skipped this part of the process.
Step 1. Mount Gear Drive


There are two brackets that look exactly alike in the kit. One has a bushing and one does not. Mount the gear drive to the bracket without the bushing to the side of the gear drive with the four mounting holes. Use the 4 black short bolts with the Allen head to make the connection.
Step 2. Mount The Arms


Mount the four arms into the two brackets shown above. The hardware is obvious, the bag with 8 longer bolts and nuts. I used a pair of pliers and a phillips head on a driver but you can easily use a phillips head screwdriver.
Step 2 complete.
Step 3. Find Mounting Location

For my installation purposes, I wanted my tent to sit above my garage door when my garage door was open. I started by measuring my tent then measuring the space between the garage door rails. Once I verified my rooftop tent would fit between the rails, I marked the center between the rails on the ceiling. I then found the center of the brackets and marked the center on the bracket. I used these two marks to center the brackets on the ceiling.
The last thing I wanted was to hoist up the rooftop tent for the first time and have the side impact the garage door rails.
Now to locate the studs. This was by far the most difficult and time-consuming portion of the installation. For my garage ceiling, I have double panels of drywall and the studs go off in different directions; I’m guessing this is because of the house styling. All of these factors equal an endless amount of frustration.
In the end, I ended up cutting a small hole in my ceiling and used a GoPro and my iPhone as a monitor to find my studs. Once I had an idea of where the studs should be, I used the stud finder to get the exact placement. With the exact placement located, I used my drill with the smallest drill bit I had to co-witness the stud location.
I know, very time consuming but the peace of mind knowing that the bracket is anchored into studs is necessary.
Step 4. Hang First Bracket

Did I mention how time-consuming this step was? My studs did not allow the bracket to mount into more than two studs and they were very close to each other. I wanted a more secure mounting so I decided to use two strips of 1”x3” lumber at a length of 6 ½ feet to span the gaps in the studs and give me a secure mounting location for the brackets.
Once I located the stud locations for the first piece of lumber, I sunk it into the studs with 3” long lag bolts. As I said, it’s all about security. With the first strip of 1×3” in place it was time to mount the first bracket.
The first bracket I mounted was the bracket without the drive gear since I wanted the drive gear to be furthest away from the garage door to have room to work the mechanism.
I secured the bracket to the 1×3” utilizing the supplied lag bolts into every available hole in the bracket. Once all the bolts were sunk into the lumber I felt confident that the bracket wasn’t going anywhere.
Step 5. Hang Second Bracket

I measured out 48” away from the first bracket, found the center mark on the ceiling and the center mark on my 1×3” and starting sinking lag bolts threw the 1×3” into the ceiling studs. For the record, that one sequence took me over an hour, again because my studs like to play hide and seek.
I placed the bracket centered on the 1×3” making sure it was 48” away from the first bracket, also, don’t forget to verify it is parallel to the first bracket. It was a little bit of a balancing act. Once I got the bracket centered and parallel, I sunk a supplied lag bolt into the center hole so I could pivot the bracket. Next, I went to one end of my 1×3” and measured out 48” again and sunk a lag bolt into that end. I completed the same process at the opposite end of my 1×3”.
With the bracket set in its place, I sunk lag bolts into every available hole in the bracket and whammo, both brackets are in! See my “little” hole for my GoPro?
Step 6. Assemble Axles


The axles are the long bars in the kit. I have indicated the bars with a red arrow. On one end of each axle, there are square ends with small holes where bolts can slide threw the ends and secure them together.
Slide the two ends of the bars into each other so you can see the holes line up. Now keep sliding until the axles bottom out on each other.
Step 7. Install Cable Rings
In the hardware, there are two bags of steel braided cable with plastic discs woven through them. On each of the axle bars is a square end.
Place the plastic disc onto the bar end with the cable end facing toward the center of the bar.
Move the cable center so that it falls over one face of the square. Now, install the other cable package on the other end of the bar in the same manner. Be sure and try to align the cable so the loop that falls over the square is on the same side on both bars ends. This step will help with aligning the cable length later on.
Step 8. Insert Axle Into Drive Gear

There are two ends to the axle, one has a small square end with a hole that can receive a bolt and the other end is rounded. We are going to be working with the square end that can receive a bolt. From between the brackets slide the squared-off end of the axle into the drive gear.
Once it is inserted use the small bolt and large flat washer and insert it into the end of the axle to secure the axle to the drive gear.
Tighten with a 10mm socket.
Step 9. Insert Non Drive End

Now insert the opposite end of the axle into the other bracket with the bushing. Once it is inserted, place the cotter pin through the hole so the axle does not fall out. Be sure to bend the cotter pin so that it does not fall out.
I know a lot of potential falling going on, especially since you are on a ladder. Be safe. Take your time.
Step 10. Align Axle, Bolt Together

Use the last two bolts and nuts that are left to secure the axle together.
Tighten with a 10mm socket.
Step 11. Fish Through Cable Ends

This step is pretty easy. The hardest part is moving the ladder four times. On each end of the arm just fish the cable up over the arm wheel and let it fall to the ground.
Once you have all four cables on the ground, or however close to the ground they get, take this time to align the lengths of all the cables. This will help in your rooftop tent lifting at the same rate. Also, it will store at the top nice and flush.
Step 12. Attach Cable Ends

This step for me turned into two steps. I initially wanted to use a long 2×4 foot lumber with eyelets drilled into them to give myself a wide base so as to not damage the rooftop tent. In the end, I went away from this idea as it didn’t feel secure enough for me.
I went back to the factory bar ends that came with the kit. My rooftop tent fits snugly between the large eye-bolts and felt much more secure to me.
Remove the nut and washer off the eye-bolt. Place the eye-bolt through the bar end hole. Next, replace the washer onto the threads, then the nut onto the eye-bolt. Do this three more times. Don’t forget to tighten firmly but remember, don’t over tighten!
Congratulations, you have completed the assembly of your rooftop tent hoist!
Step 13. Operating Hoist

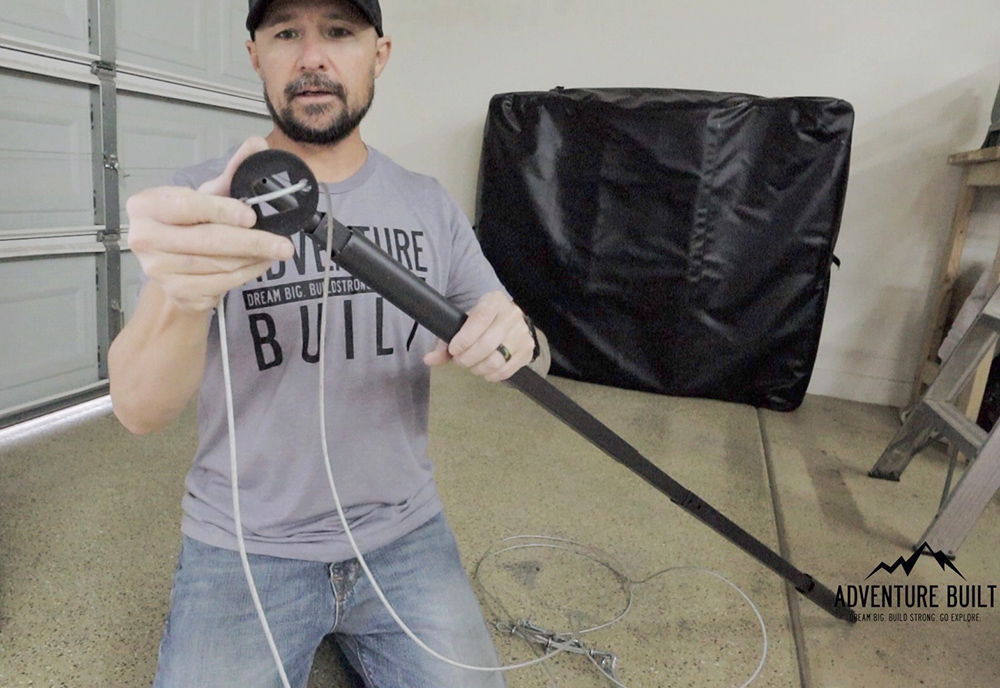
In the kit, there are two silver-colored rods. One is straight with a hook at the end and the other has a U bend in it. Also, there is a small bag containing a chuck for a drill.
The straight bar with a hook on the end is used to connect into the loop of the gear drive and spin that loop. Spinning that loop on the gear drive raises and lowers the rooftop tent.
You have two options on how to spin that loop. The rod with the U bend in it is a hand crank. That will connect into the rod with the hook on the end and use a screw and nut to keep them connected. You will feel like you are starting an old Ford Model T but you can use the hand crank to get the rooftop tent onto the ceiling.
Option two is using the chuck. Place the round end into the rod with the hook on the end then use the screw and nut to secure it. Once you have that done, place the chuck end into any hand drill. I use a Dewalt but any drill should work.
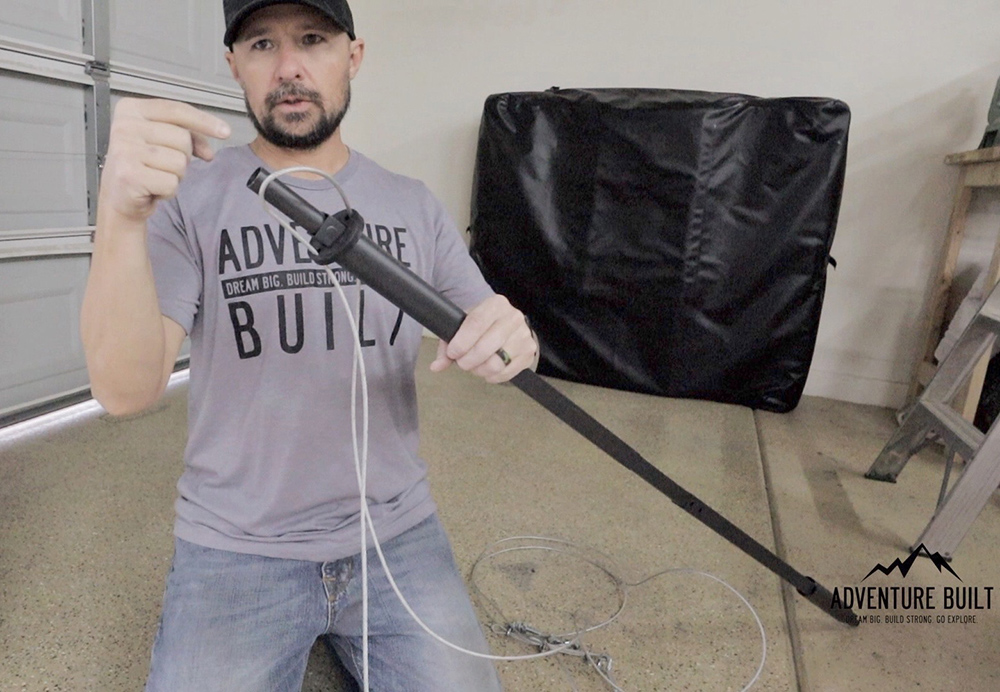
The red clasp on the gear drive is a safety feature that I encourage you to use. Better safe than sorry. To operate the safety, place the hook of the rod into the elongated hole and pull away from the loop. There is a nub that inserts into the loop so that it cannot spin.
Once the safety is disengaged place the hook of the rod into the loop of the gear drive. Now either by hand or using your drill, spin the loop.
Clockwise makes the tent rise. Counter-clockwise makes the tent lower.
I have to use a combination to raise my tent. I use the drill to get it most of the way up to the ceiling. My drill won’t get it all the way to the top so I switch over to the hand crank and take it the rest of the way to the top.
I have to put the tent all the way to the top so that it touches the arms of the hoist for garage door clearance.
Step 14. Enjoy New Hoist
You now have a storage solution for your rooftop tent that should last for years. Cheers!
Review
I can truly say that I like this kit. The Racor Ceiling Storage Lift was fairly straightforward to install. The tent goes up and down on the lift without any issues.
More importantly to me is that the product feels sturdy and I trust that it will not drop my tent onto my garage door, floor, or my BMW R1200GSA adventure motorcycle that I park below it.
I have been using it for over a week now and have raised and lowered it a handful of times to make minor adjustments and take pictures. I can honestly say that I recommend this product and I’m thrilled to have found a solution that gets my rooftop tent off the ground and keeps my garage looking clean!
what are the dimensions of the hoist arms and the support cross arms that cross under the RTT? My RTT (ikamper Skycamp 3.0 Mini) requires minimum width of 54 3/4″ on the sides of the hardshell.
Hey Fred, I’m sorry but I don’t have any of the exact measurements as I no longer own the home that the hoist is in.
Hi, So can you get your truck in to lower the tent or do you lower tent and carry it out to the truck?
thx
Hi Paul, unfortunately I can not back my truck into my garage and hoist it up from there. My garage door height doesn’t allow that unfortunately. I have to unload the tent from the truck. I put it onto a rolling bench and roll it over to the hoist and up it goes.
How far does this hang down from the ceiling? How far is the bottom of the red safety latch from the ceiling?
Awesome write up! Question: could I use this to hoist and lower my tepui directly to my roof rack?
You absolutely can. I would just figure out a way to keep the support bars outside of your clamps. It will make it easier to pull the supports out from under the tent after putting it on and off the rack.
Thanks for making this video curious if you purchased longer cable and from where my garage ceiling is high like yours.
I ended using the stock cables and I put my tent into a rolling workbench. Makes it easier to move to the trucks and it’s already a good height off the ground for install.