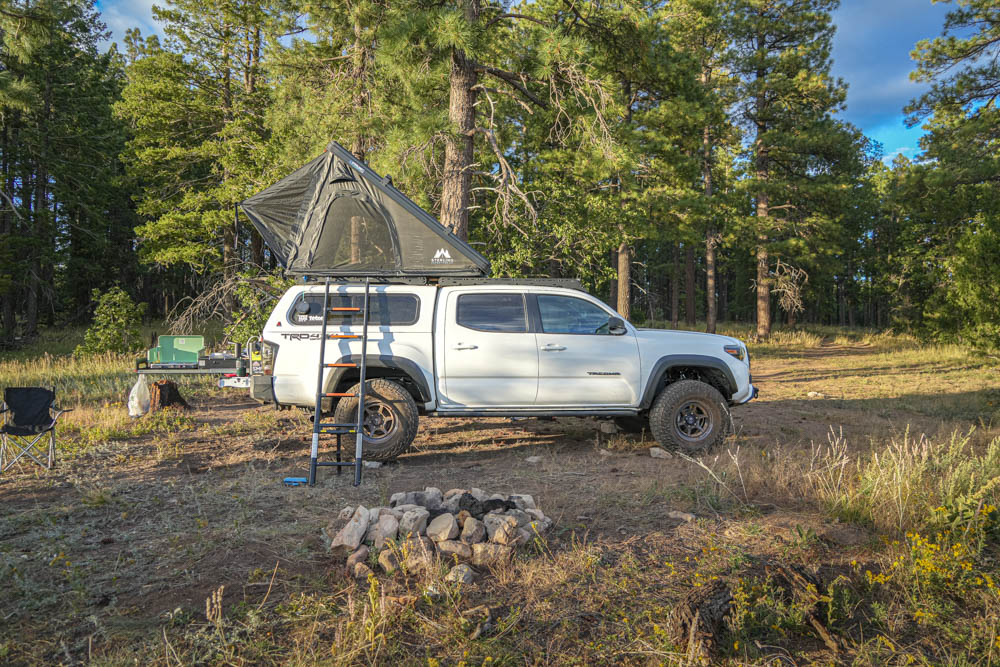
A staple in overlanding is the Rooftop Tent (RTT). Its unparalleled convenience, comfort, and ability to sleep off the ground make it one of the most functional and desirable mods one can add to one’s setup. After trying my fair share of them, I’ve always struggled with finding my ideal setup—until now.
The Wasatch Lite is one of the most versatile and lightest aluminum hardshell tents available today. Based out of Utah, Sterling Adventure Co. is no stranger to the outdoors and making quality products. Before the design phase could begin, they sought to understand what users wanted. Those key factors comprised lightweight, quality materials, and creature comforts – all at a reasonable price. That may sound too good to be true, but I think they delivered!
This tent retails for $2700, but can currently (12/2024) be found for $2100. A great deal, all things considered. The add-ons are additional.
Table Of Contents
Overview
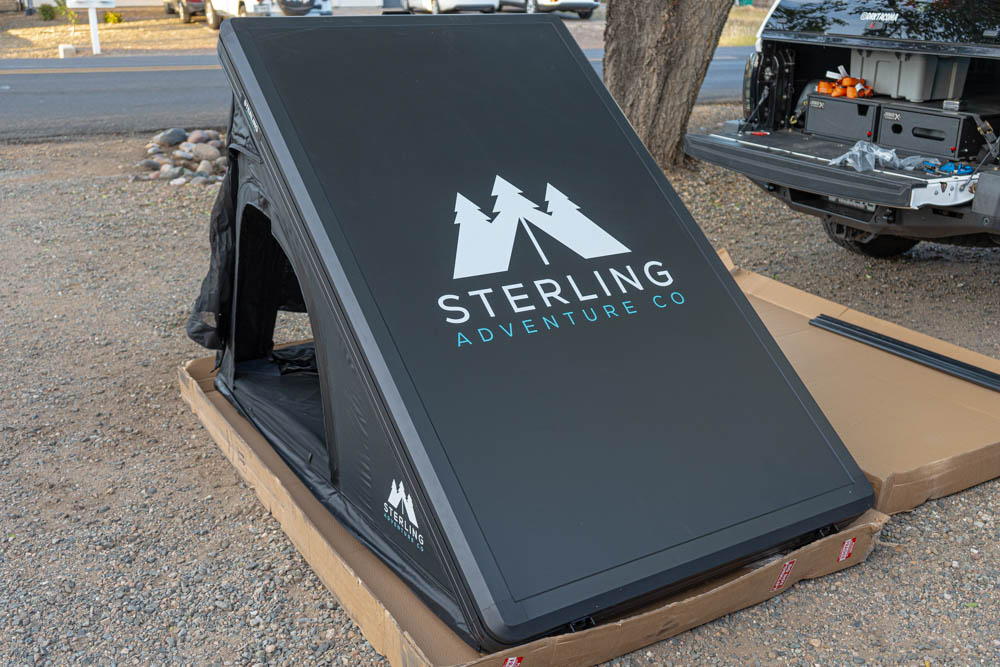
Sterling did a great job with the packaging. The box came properly secured with high-density foam and bubble wrap protecting it from damage. Furthermore, the tent was wrapped in plastic for another layer of protection.
Specifications
- 96 LBS
- Aluminum Shell
- Dimensions:
- Open: 83 x 51 x 52 inches
- Closed: 83 x 51 x 4.7 inches
- Material
- 280g Polyester Cotton PU5000 with UPF50+
- Quilted Insulation
- Blackout Canvas
- SBS Zippers
- Diesel Heater Port
- Integrated Dimmable Lighting
- 4 Season Weather Capabilities
What’s Included
- (2) Shoe Bags, Rainfly Poles
- Ladder
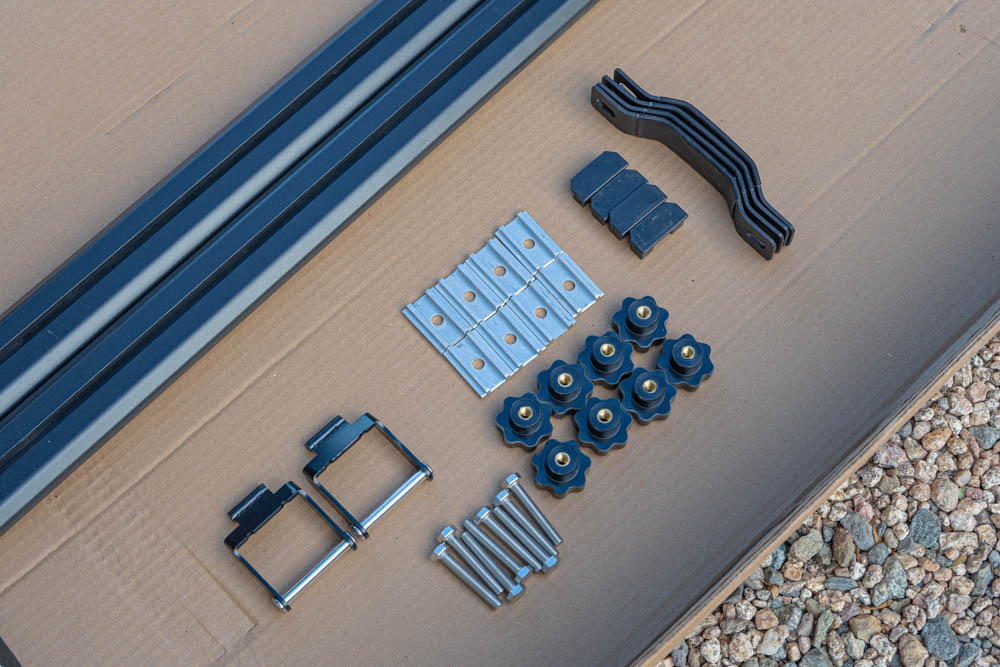
- Mounting Hardware
- 2″ Memory Foam Mattress w/ Anti-Condensation Mat
There is also optional winter insulation and crossbars to mount gear on top of the RTT.
Installation Overview
The installation of the tent was a breeze, with two people it took about an hour.
Sterling Adventure Co., took a unique approach to the mounting system by providing knobs to secure the bracket rather than a traditional nut & bolt system. This allows you to quickly remove it without extra tools!
Step 1. Mount Hardware
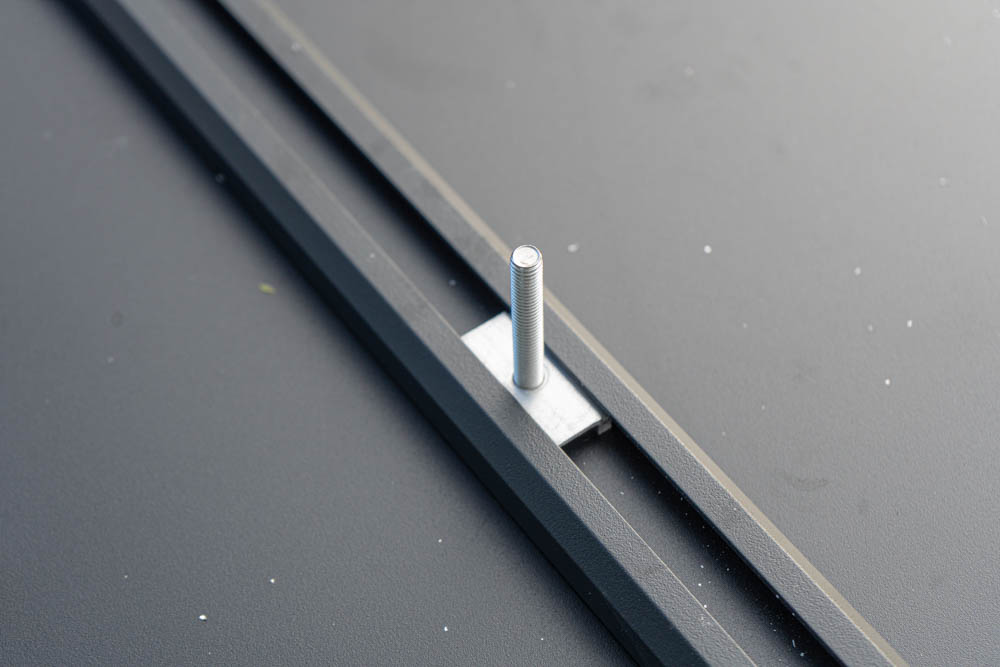
Before installing the tent onto my roof rack, I mocked where I wanted it to sit on the roof and measured the midpoint distance between the mounting crossbars. I knew I wanted it as far over the bed and cab as possible (little to no tailgate overhang). This gave me a measurement of 46.5″ between crossbars.
To install the mounting hardware, mate the bolt with the slotted mount, this eliminates the need for a wrench to hold the bolt head.
Step 2. Mount Crossbars
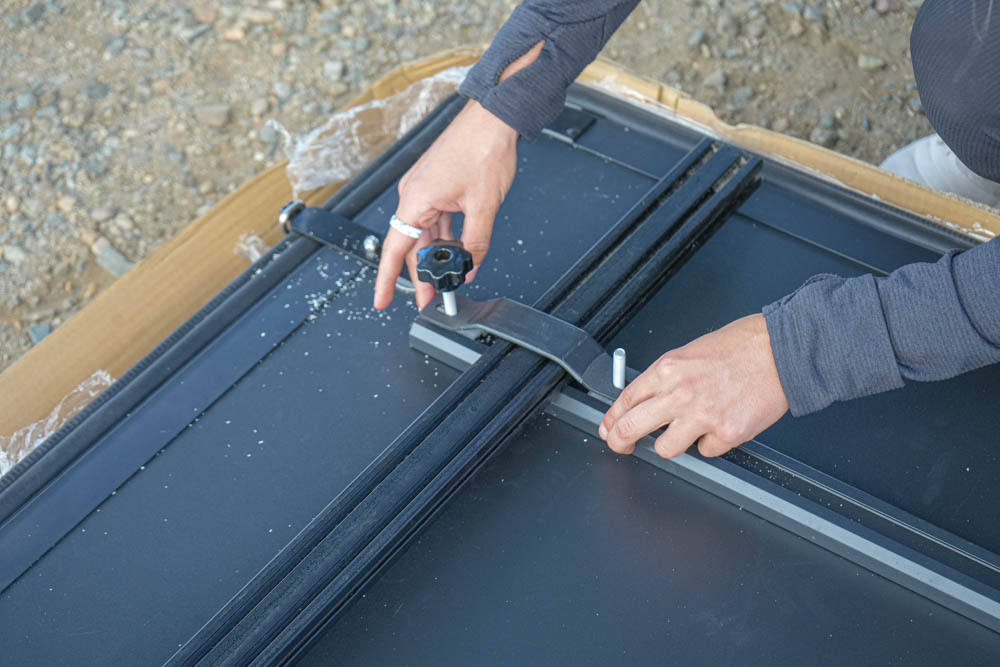
Mounting the crossbars was entirely too easy with the knob system. Slide the hardware into the tracks with their corresponding bracket, locate the two mounting crossbars, and separate them by the distance you calculated. Then, lightly tighten the tent brackets using the knobs. Don’t overly tighten as you may need to make minor adjustments.
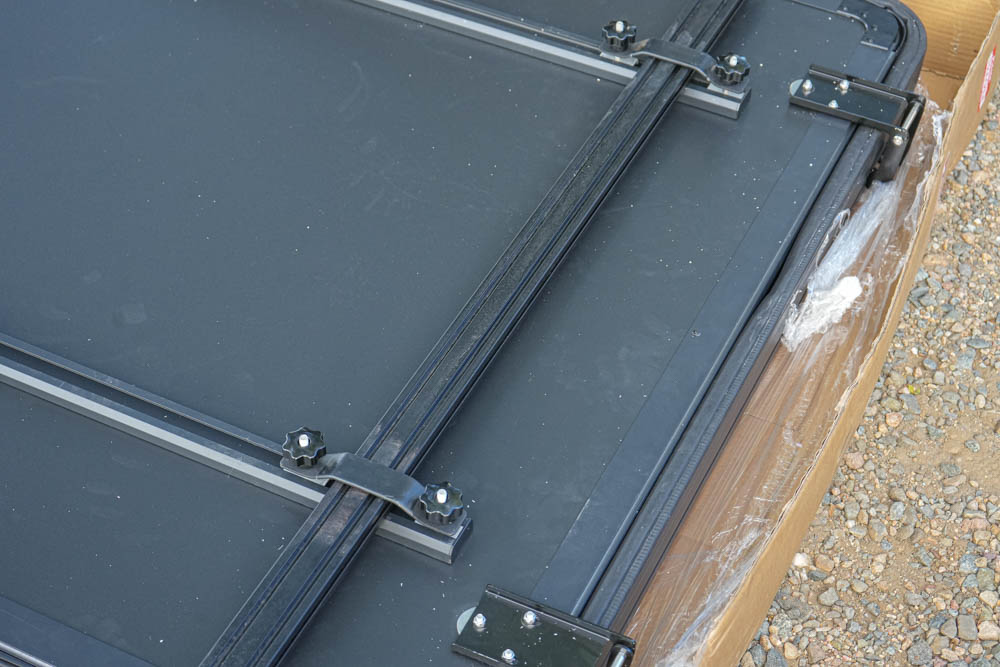
Make sure you match the spacing on either side of the crossbar as well as ensure they’re level and not crooked, then tighten down on all knobs so nothing shifts as you place the it on your roof.
Step 3. Roof Mounting
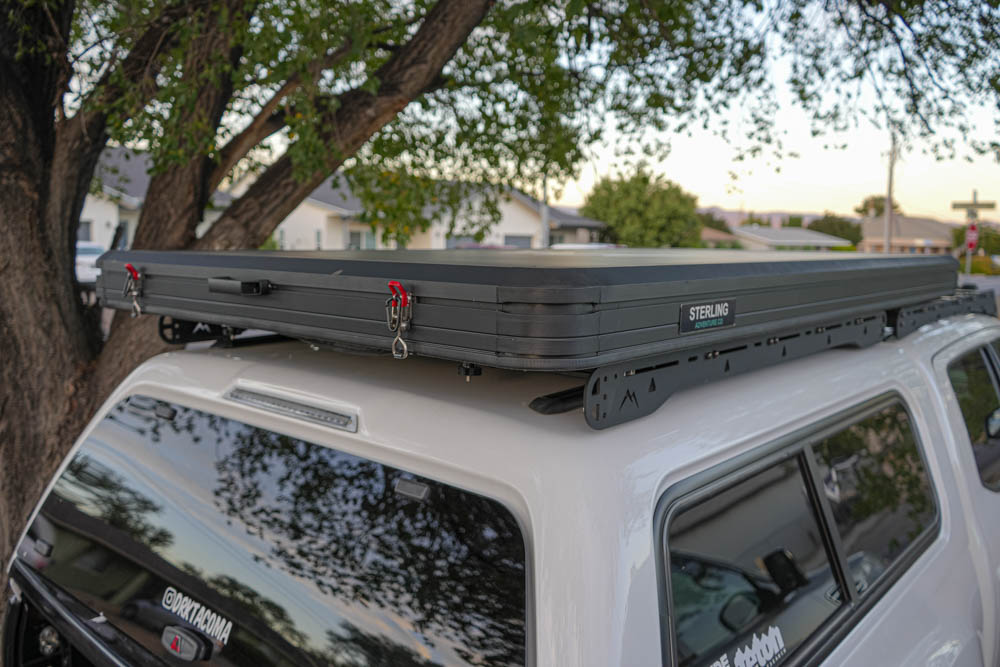
With the crossbars in place, it’s time to lift the tent onto the vehicle, the trickiest part. I accomplished this with only one other person but if you have access to more hands, I highly recommend that.
We found it easier to lift over the side of the vehicle rather than the tailgate. Then, slowly shimmy and lift it into your desired mounting location. If all goes well, your crossbars should line up with the mounting holes at the distance you calculated.
Tighten down the mounting bolts on your crossbars to the side rails and you’re set!
Optional Cross Bars
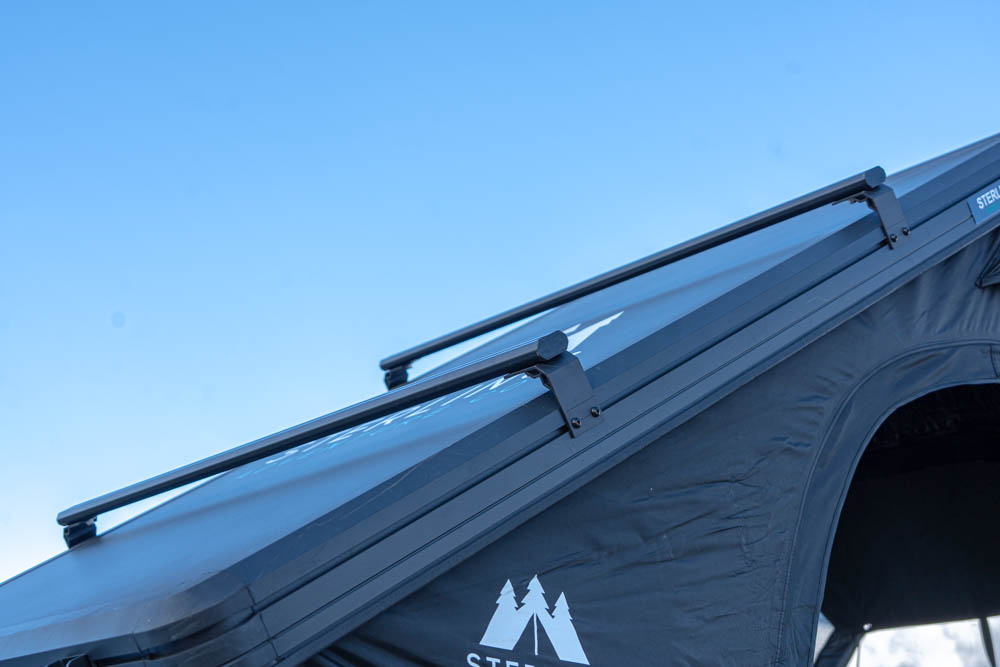
Since this tent is a hardshell, you can add crossbars to the top to mount additional gear like storage boxes or traction boards.
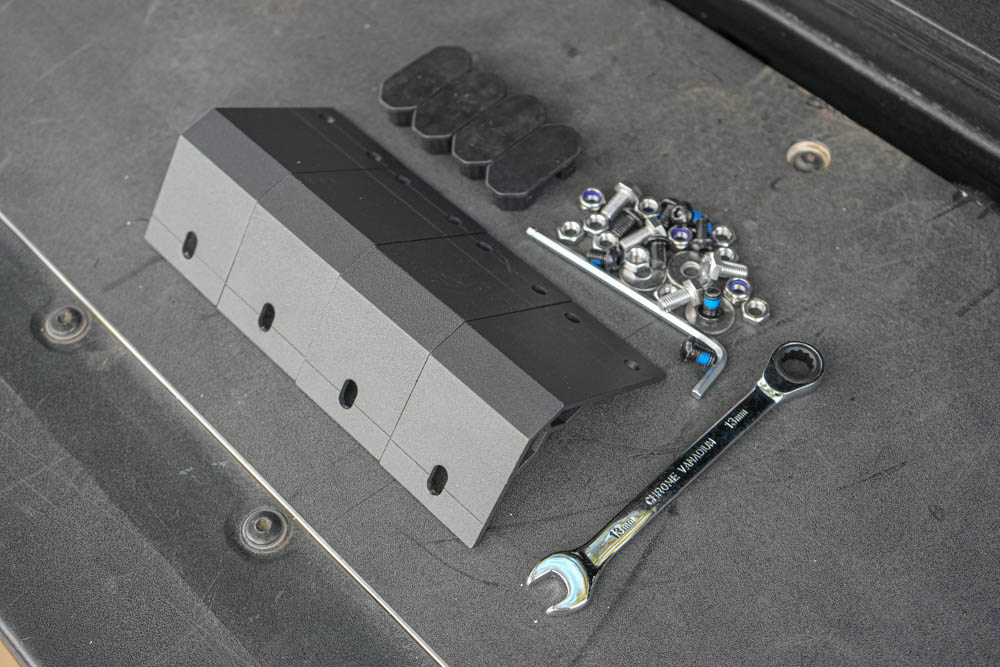
Before installing, locate the included mounting hardware and tools to set up the cross bars.
Step 1. Place Track Nuts
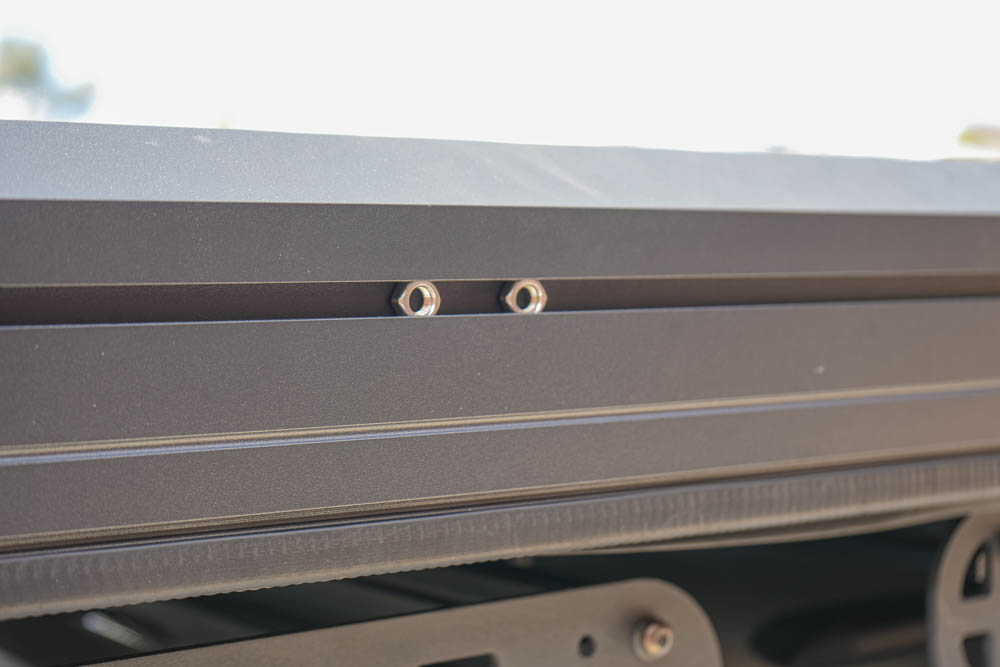
First, insert the non-lock nuts into the top track of the RTT – (4) on each side.
Step 2. Install Legs
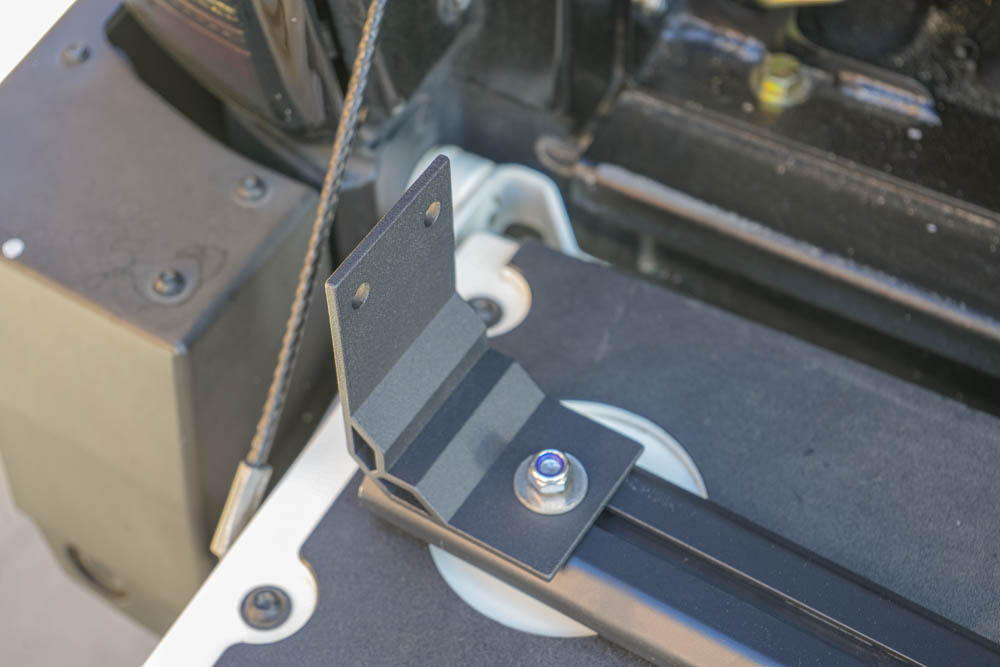
Using the bolt, washer, and lock nut, slide the bolt into the track of the crossbar and lightly secure the lock nut. Each crossbar leg should be positioned about 1/2″ from the end of the crossbar.
Step 3. Mount To Tent
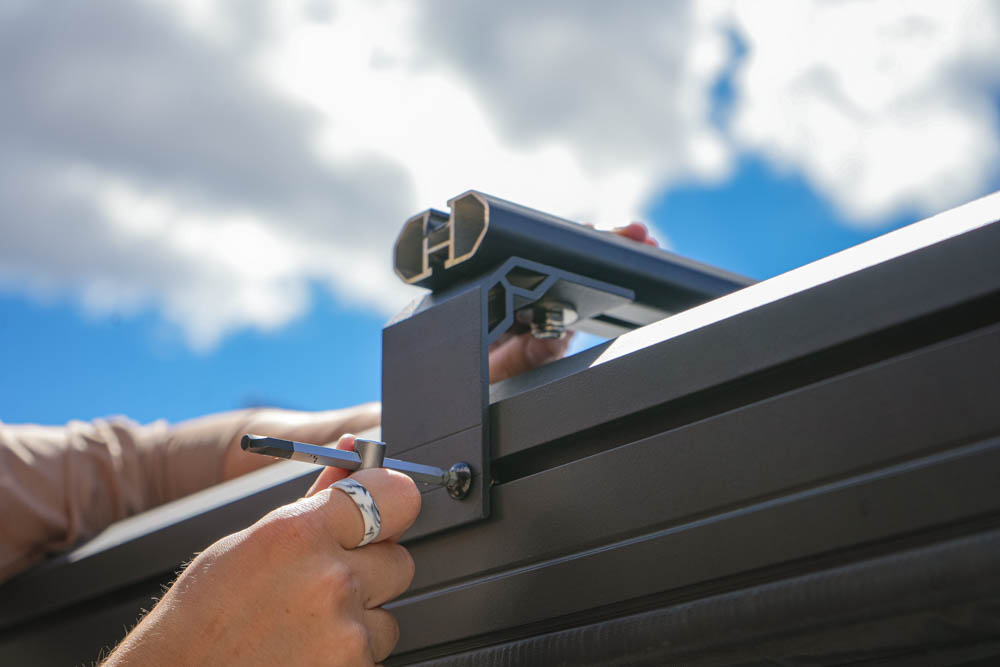
Position the crossbars where you want on the RTT and secure them using the included 5mm Allen head bolts. Finally, install the end caps on each crossbar.
Features
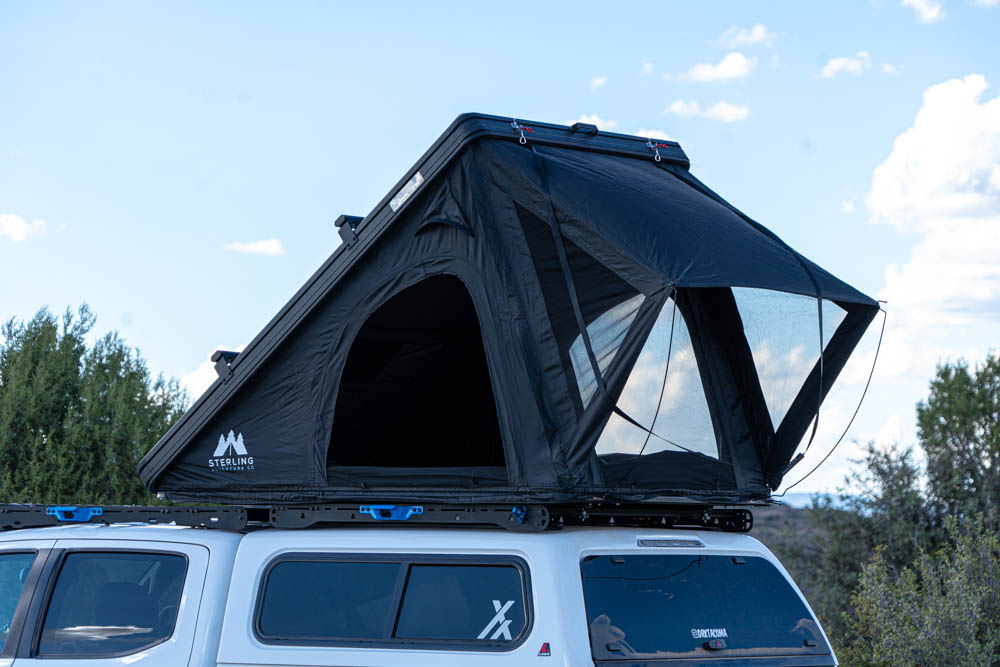
This tent is feature-packed – from integrated storage and lights, a winter liner, diesel heater ports, and more, it checks all the boxes!
Let’s take a closer look.
Interior Light
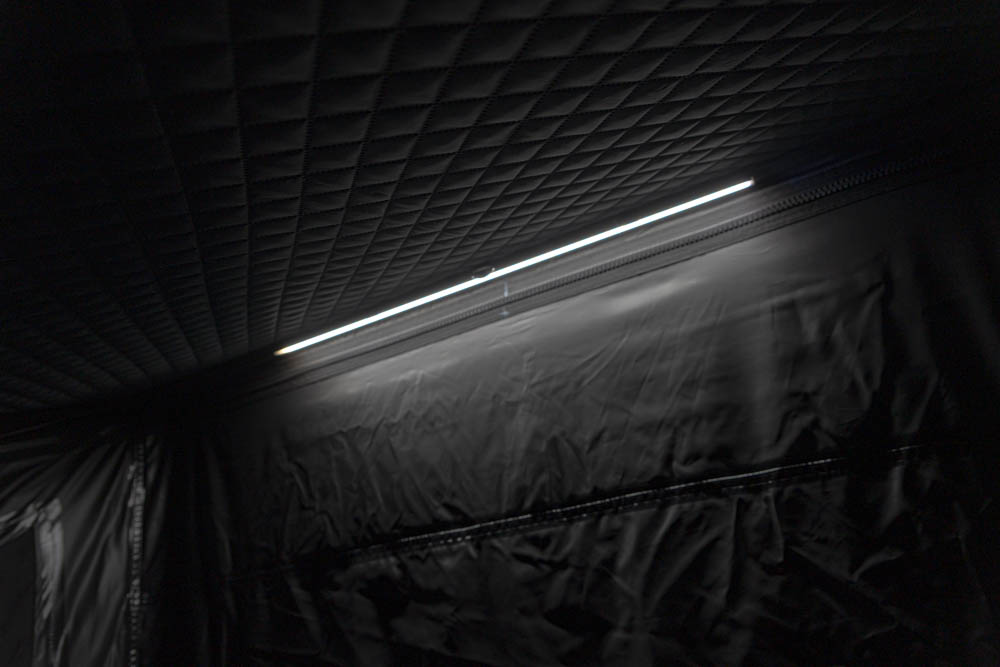
By far one of my favorite features is the integrated light bar inside the tent. I’ve previously used a portable camp light but this solution is killer. It’s powered by standard USB-A and controlled by a remote for power, color modes, and dimming. You can choose between three color temperatures, ranging from warm to daylight. I keep a small portable charger in the interior pocket to power the light.
Interior Storage
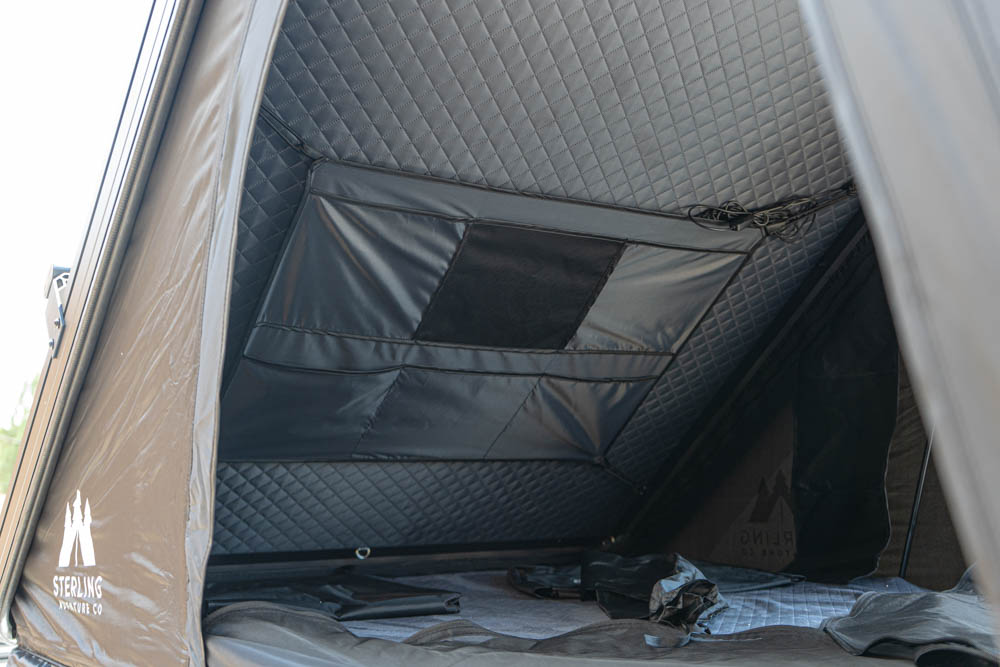
You can never have enough storage and there’s plenty of that with this tent. The main storage is on the ‘roof’, with six pockets for phones, wallets, keys, etc. There are also two included shoe bags that hang off the edge.
On both sides there are additional storage pockets, I usually stuff extra socks and other small items in them.
Space
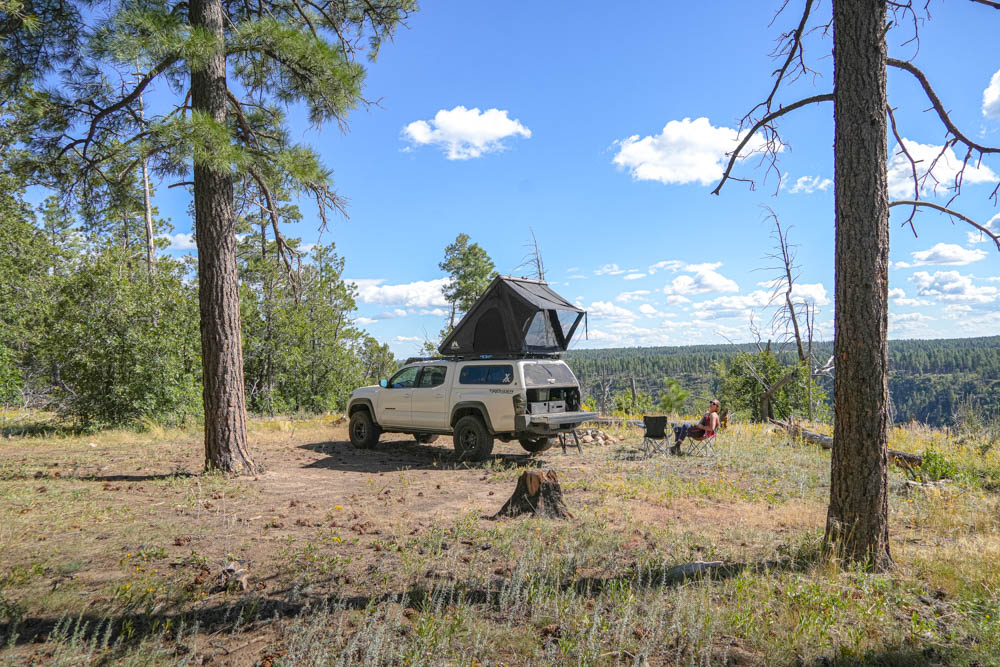
This tent falls right in the middle regarding interior space and can comfortably sleep two adults, albeit snugly. Unsurprisingly, the wedge style limits vertical space towards your feet, but that’s not a big deal.
However, I’ve noticed that the wedge on this tent opens higher (closer to 55-60 degrees) compared to others that open closer to a 45-degree angle. This gives more headroom and a space to move around, especially for your feet.
I’m 6′ tall and wedge tents haven’t been ideal due to the limited space at the hinge. Despite being at the max height accommodation, I’m quite comfortable inside. My feet barely touch the edge and I can sleep straight. My significant other who is 5’7″ fits with plenty of space both by the feet and up by the head. There’s also enough shoulder room for us to sleep side by side.
It’s not a castle, but more than enough for a weekend getaway or overlanding.
Quilted Liner & Diesel Heater Port
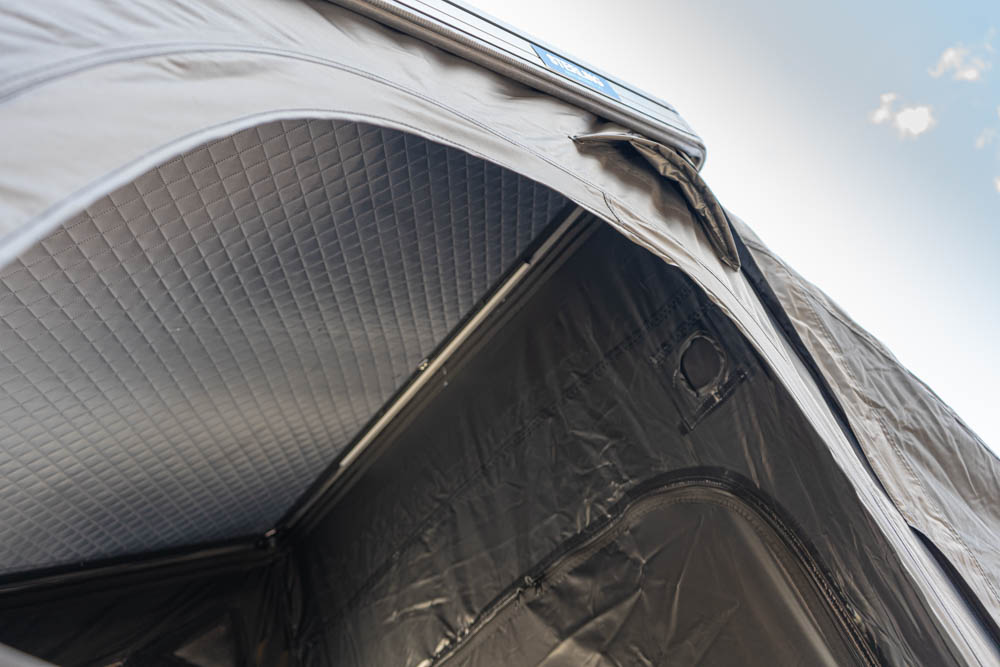
I optioned my mine with the winter quilted liner to provide extra warmth in the winter and boy let me tell you how nice this is. As someone who loves winter camping, it has helped tremendously.
The installation can be daunting due to its size but once it’s up, it’s quite nice. The liner also adds a layer of blackout inside and completely wraps around the tent leaving no sides exposed.
There’s also a diesel heater port up high on the left side.
Set Up & Breakdown
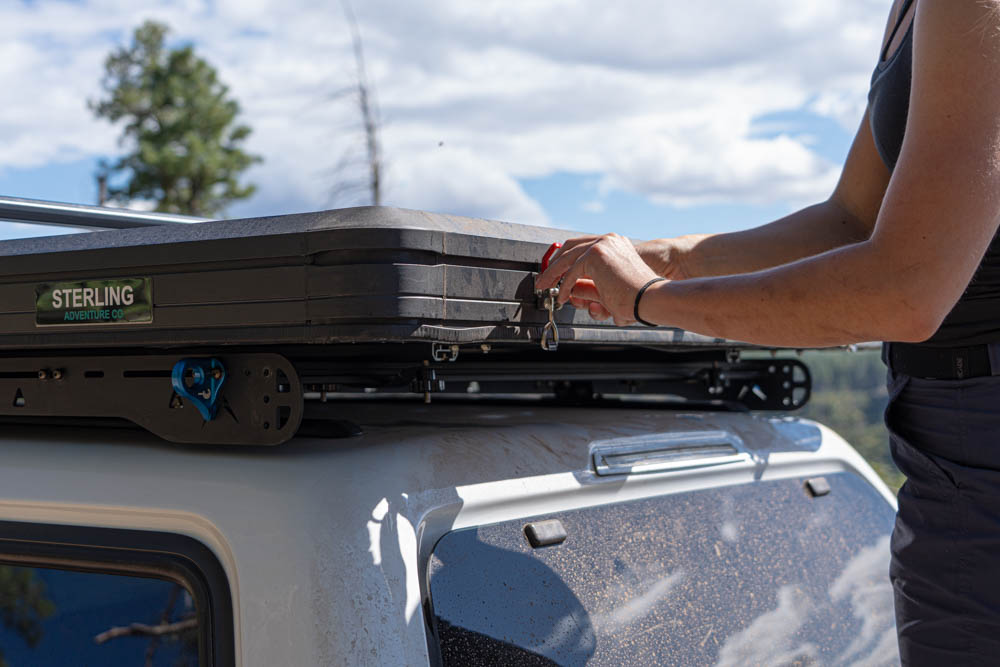
The setup and breakdown of the tent is my favorite part! Having multiple others in the past that used zippers, fabrics, and other systems was by far the biggest pain point. This one uses only two latches, making it much more enjoyable to set up and take down at camp. It takes less than a minute for either process.
Undo the two carabiners, flip down the latches, and push up on the handle. The gas struts do the rest of the work. There is a bungee cord holding the fabric tight for tent closure, pull the cord down low over the base.
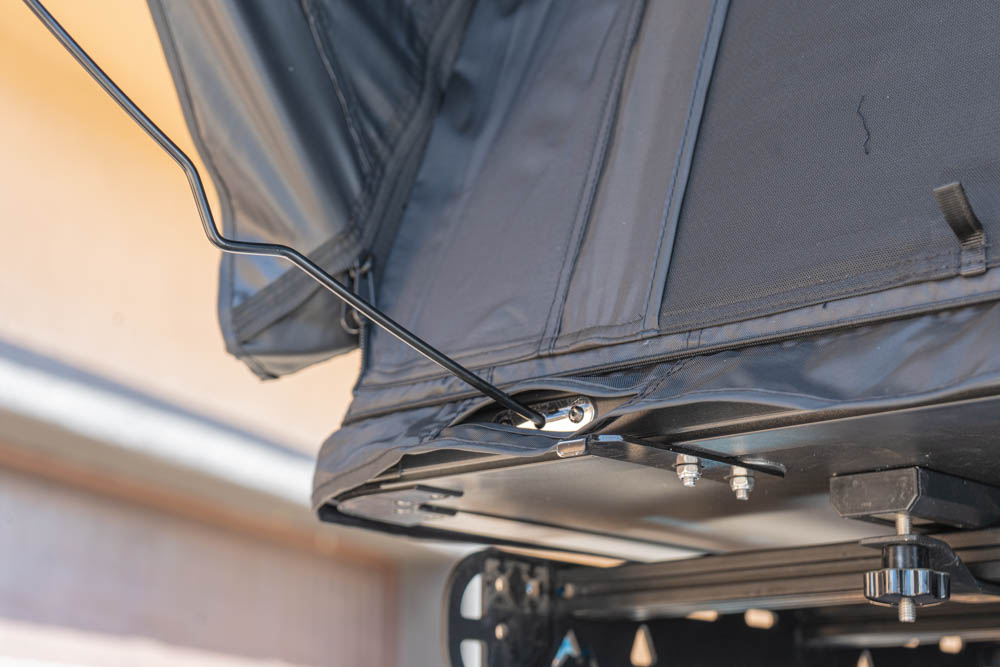
The rainfly poles are inserted into pre-installed brackets on the tent base. Then, slightly bend the pole and insert it into the grommet of the rain fly. Repeat on the other side.
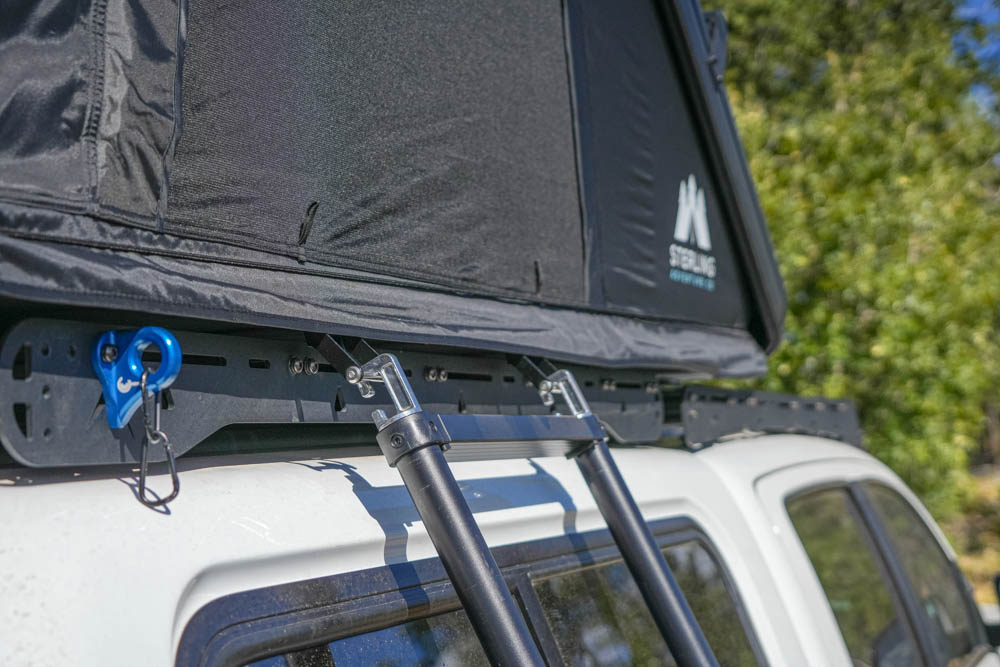
The ladder mounts aren’t permanent and slide into the lower track of the tent base, allowing them to be positioned on any side.
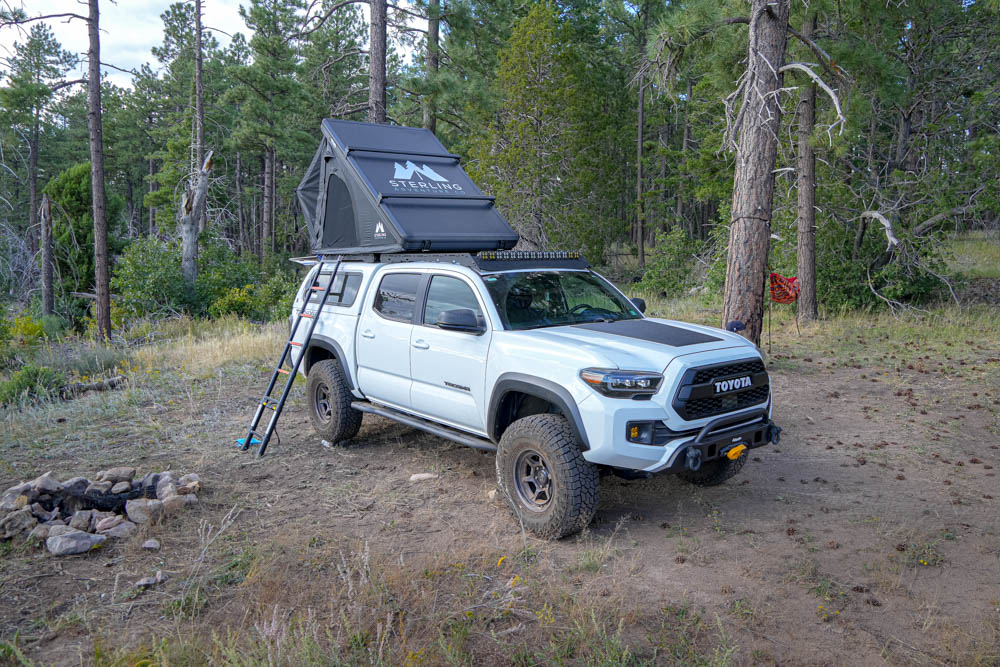
There you have it, by the time you blink, camp is set up!
The more you use the tent, the faster the process gets. When closing, ensure any fabric on the sides is stuffed inside to prevent any damage or exposure to the elements.
Initial Impressions
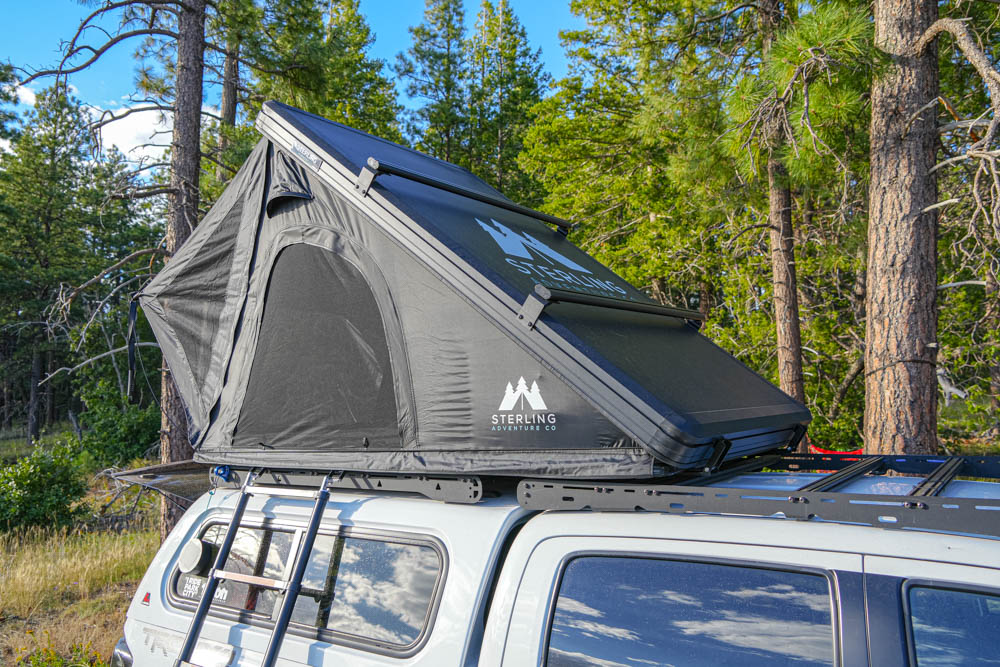
If it hasn’t been obvious, I think this tent is awesome. Having gone through multiple RTTs, there was always something I wasn’t a fan of but I have yet to find something about this one that I don’t like! As a weekend warrior, it’s been great to easily get out for an overnight trip and be comfortable with minimal effort.
There are plenty of features and space to keep you cozy. Living in Arizona’s harsh climate which has the most confusing weather, the tent has withstood the elements really well. The hard outer casing is different than a soft fabric shell in that it provides a little extra security and rigidity.
The interior is where the Wasatch shines. While it’s still a wedge tent, it feels significantly roomier thanks to the improved hinge. There’s also more than ample storage.
As I mentioned earlier, the integrated light is my favorite feature, and once you have one, you’ll wonder how you’ve gotten by without it.
Final Thoughts
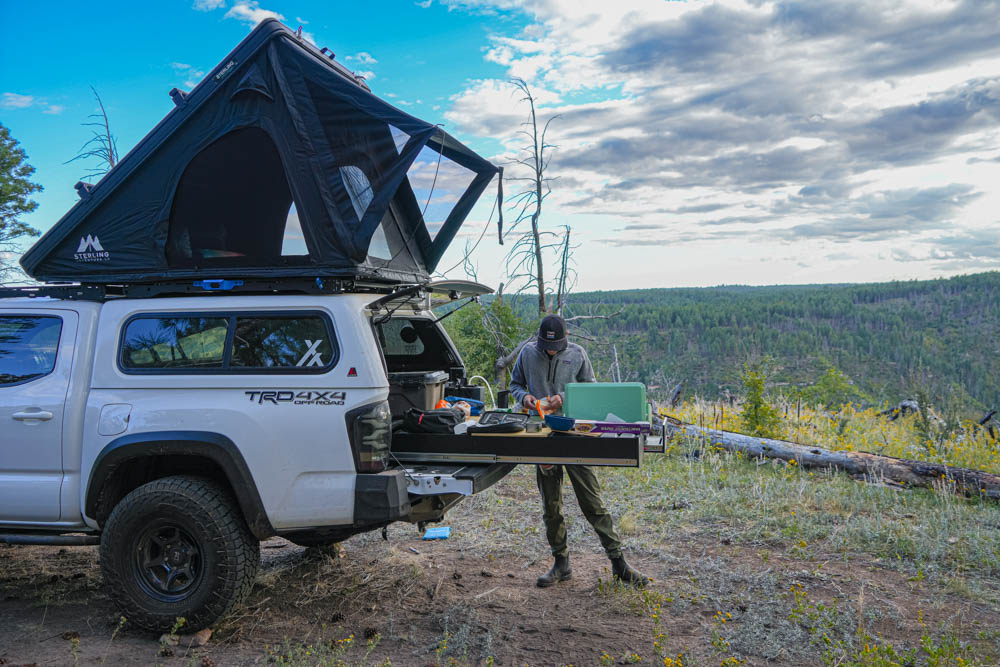
Sterling Adventure Co. has put a lot of time and effort into developing a tent that checks all the boxes for overlanders. From affordability to quality design and materials, I believe this is one of the best lightweight wedge tents currently available.
Moving into the winter months, I’m excited to get more camp nights to test out the winter capabilities. Be sure to stay on the lookout for the long-term review!
Happy Trails!


Anyone out there own one of there Wasatch lite RTT’s ?