
Upper control arms (UCAs) play a vital role in keeping your wheels properly aligned for daily driving and optimal suspension travel. While upgrading them isn’t exactly crucial with a mild lift (1-2″), the extra angles still increase overall and shortens their life. Also, you may not get the full travel potential of your new suspension on stock UCAs.
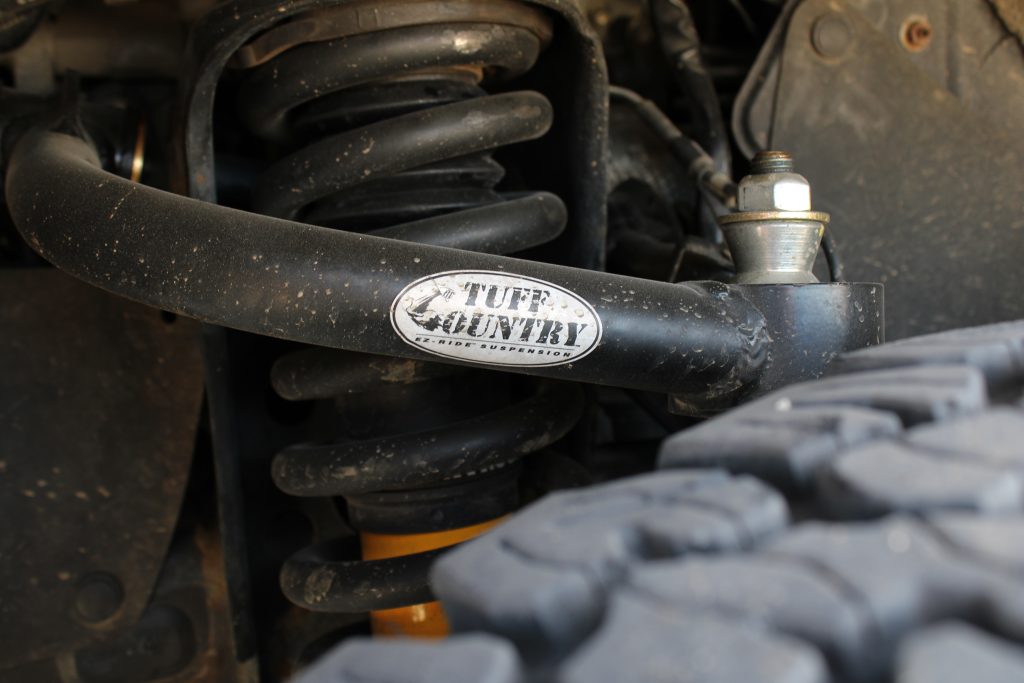
If that new suspension lift that you finally pulled the trigger on broke the bank a bit, Tuff Country has you covered. These are a budget-friendly option offering solid performance at a great price point. This is probably the lowest priced uniball available on the market!
I got this kit from Mudify – they’re a retailer that sells several notable brands with a focus on suspension.
Table Of Contents
Features
These control arms have good build quality and components for the money. They’re not the best of the best, but are still a significant improvement over the stock ones.
- Poly bushings for inner pivots (with zerk fittings for greasing)
- Powder coated finish
- FK uni-balls (~30-35% increased articulation)
- Improved suspension travel for lifted trucks
- Corrects geometry
- Lifetime warranty (on defects in materials/workmanship, non-commercial use)
Why Buy Uniballs
We’ll keep this as simple as possible. Basically, the uniball is the strongest and best articulating option when it comes to control arms. It provides you with everything you need from daily driving to off-roading. This isn’t to say that a ball joint wouldn’t be sufficient, but uniballs outclass ball joints in just about every comparison.
What you really need to consider, depending on where you live, is maintenance. The benefit of ball joints is that they are sealed. This protects the joint better, but may limit the travel and adjustability. More importantly for this conversation, a uniball is completely exposed and requires more attention, especially in corrosive environments.
Be mindful and make sure you are prepared if you go the uniball route. Improper maintenance can leads to noise and premature failure. But if you stay on top of everything – you should be just fine!
Installation
This can be performed separately from a completely new suspension install. However, I would recommend performing both at the same time to minimize trips to the alignment shop.
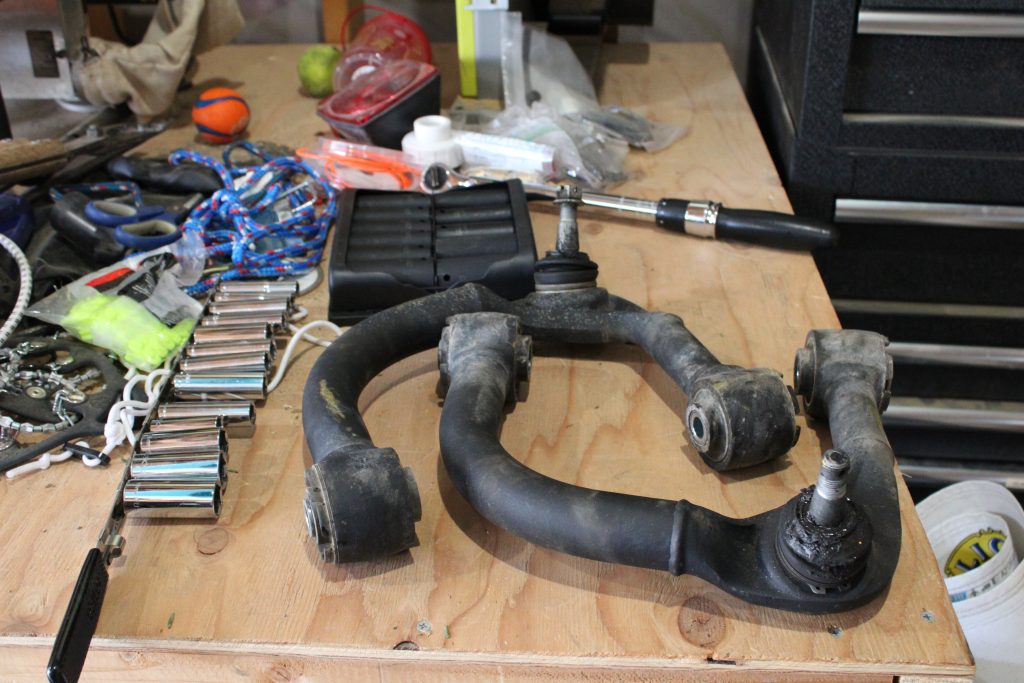
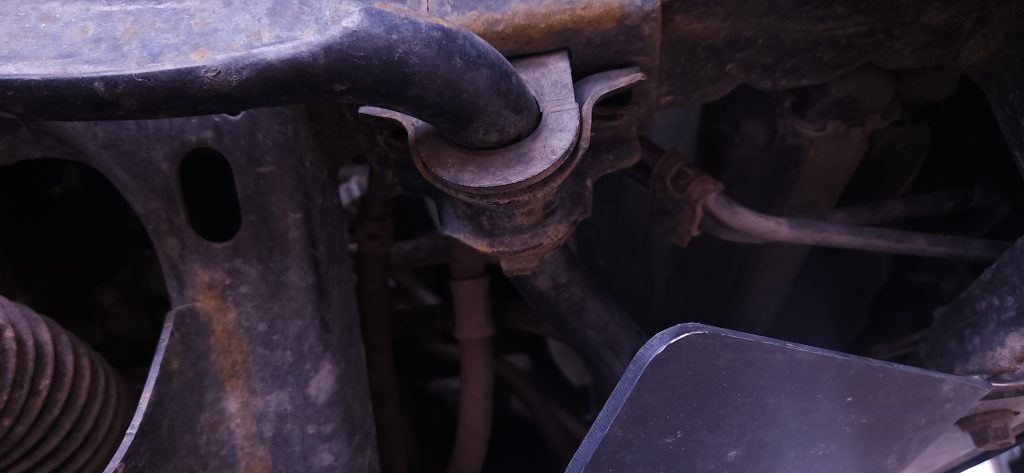
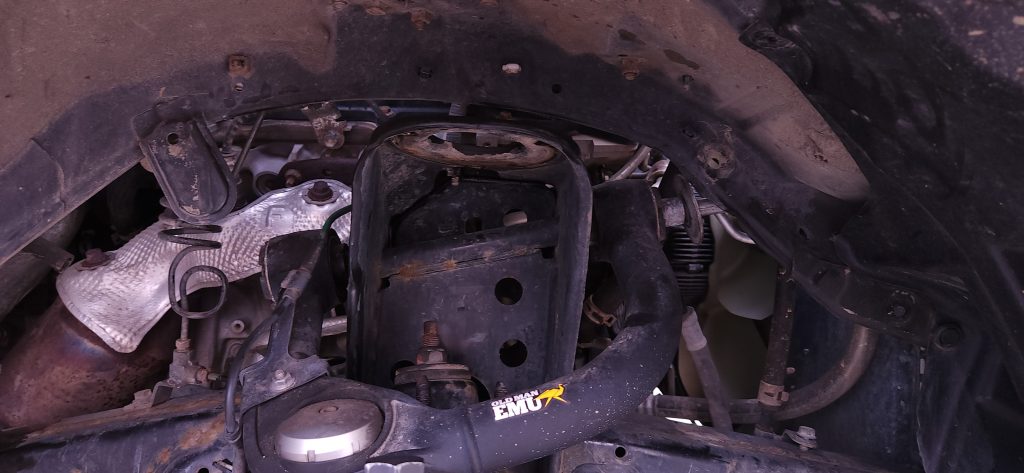
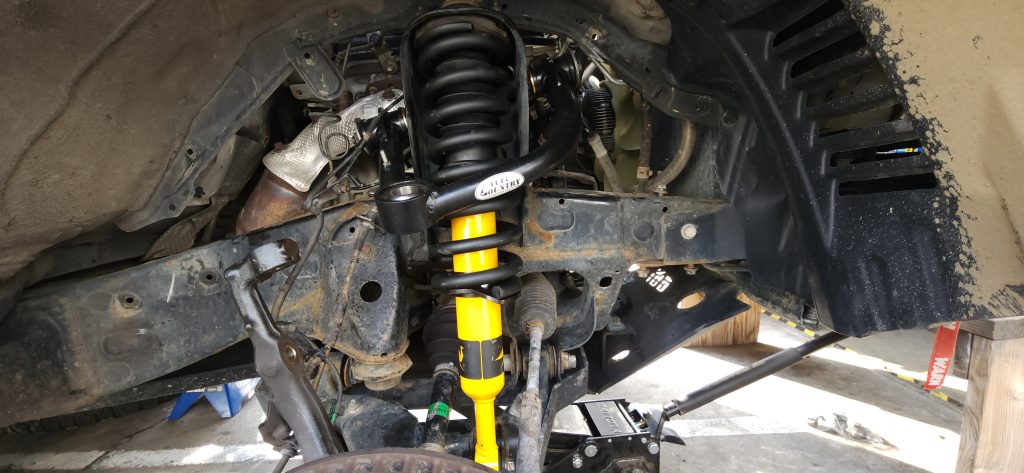
Above, you can see my old OME control arms. I removed these to install the new ones.
Tools Required
- Floor jack
- Wheel chocks
- 2 (or more) jack stands
- Impact gun (optional)
- Needle nose pliers
- 17 & 19mm sockets and wrenches
- Breaker bar (especially for older trucks)
- Bungees, rope, or vice grips
- 50-250ft-lbs torque wrench (0-100 would work, but the QA hammered in me says to be within 20-90% of the tolerance range of the torque wrench)
- Small flathead screwdriver or tab removal tool
Step 1. Lift Front End
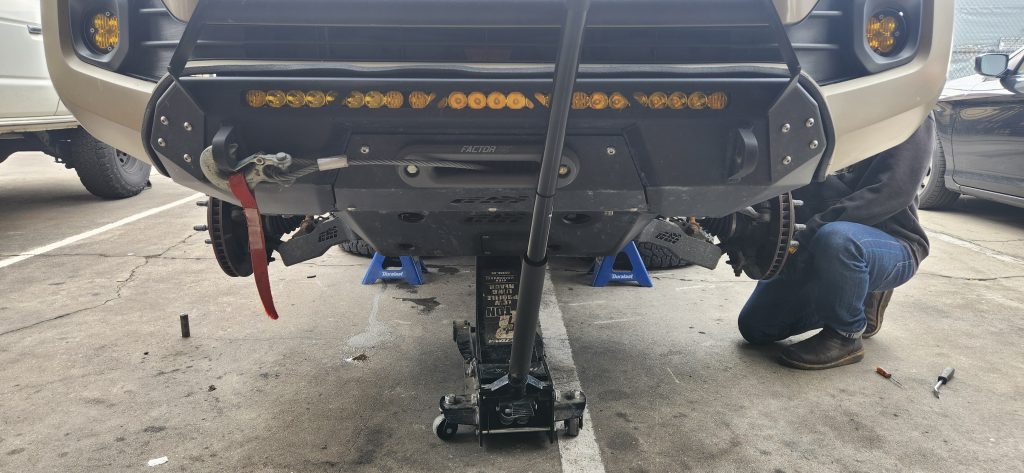
Place your floor jack under one side of your truck and make contact with a solid supporting surface. Or, a jack mounting point on your rock sliders if you have them. Next, break the torque on your front wheel lug nuts and proceed to lift your truck until your wheel is airborne and you have enough clearance for the jack stand.
Place the jack stand on a solid supporting surface and adjust it to a safe, desired height. Slowly lower the floor jack and verify your rig is stable. Then, fully lower the jack and repeat on the other side. Once the front end of the truck is completely airborne, remove the front wheels.
Step 2. Remove Obstructions
While somewhat optional, this step will free up the limited space around your front suspension and give you more room to work.
With a 17mm socket or wrench, disconnect and slowly lower your sway bar. Then, secure it with either a rope or bungee to prevent damage to components and minimize frustration. This step is optional, but I highly recommend it.
With a flathead screwdriver or tab removal tool, remove your splash guards around the shock to allow access to the engine bay. This is required to get the UCA bolt out. Be prepared to replace the tabs completely as well.
Lastly, remove the ABS brake line that is attached to your UCA and stow it in a secure location.
Step 3. Remove Old UCAs
Now, it’s time to finally kiss those factory (or well-used aftermarket in my case) arms goodbye.
With your needle nose pliers, remove the locking tab on the castle nut keeping the UCA attached to the knuckle. Loosen and fully remove the castle nut.
With your 19mm socket and wrench, remove the nut on the UCA bolt and feed the bolt through the assembly. You may need to feed it through an opening created by bending a pinch weld near the fender lip or through the front opening under the washer fluid reservoir on both sides. Toyota recommends cutting it out, and replacing a new bolt backwards.
Once the bolt is out, remove the UCA from the truck. Repeat the same steps on the other side.
Step 4. Prep New UCA
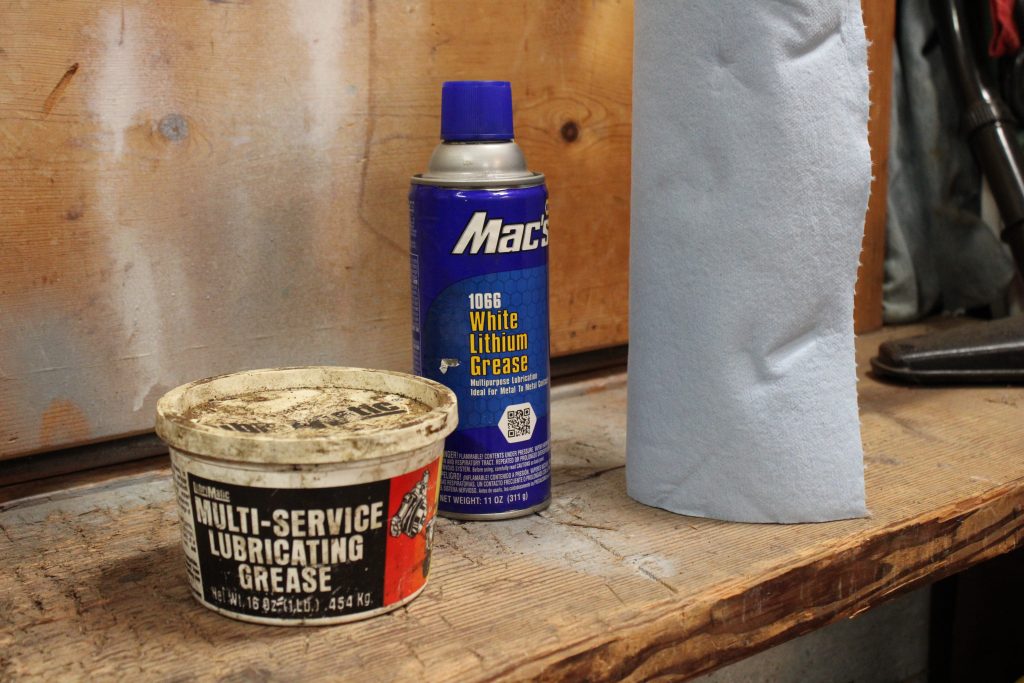
To insert the bushings and sleeves into the new control arm, you’ll need a sufficient amount of Lithium or moly base grease. I prefer a can of molybdenum sulfide or Molykote.
Then, install the zerk fittings onto the control arms, making sure not to overtighten them. They should face towards the outside of the vehicle to allow for easier access for future lubrication.
Step 5. Install New UCAs
Grab the flat washers and UCA bolts and install the UCA into its mounting post. Thread the bolt through each flat washer and reinstall the nut hand tight for now. Repeat this step on the adjacent side. Once everything is in, torque the assembly to 95 ft-lbs.
Locate and install the uni-ball alignment sleeves and reattach to the knuckle with the new hardware, ensuring the sleeve with the tapered bottom is placed on the bottom portion. Again, repeat on the other side and torque to 95 ft-lbs.
Finally, reconnect the ABS brake lines, splash guards, and sway bar back onto the truck. Install the wheels and lug nuts finger tight, then lower your rig and tighten the lug nuts to 83ft-lbs.
From there, do a final torque check on all of the bolts and ensure you don’t end up with extra nuts and bolts
Test drive the vehicle and after 100 miles, check all the bolts to ensure nothing has moved. I recommend applying a paint pen to the bolts when you install them to make this easier.
Alignment Specs
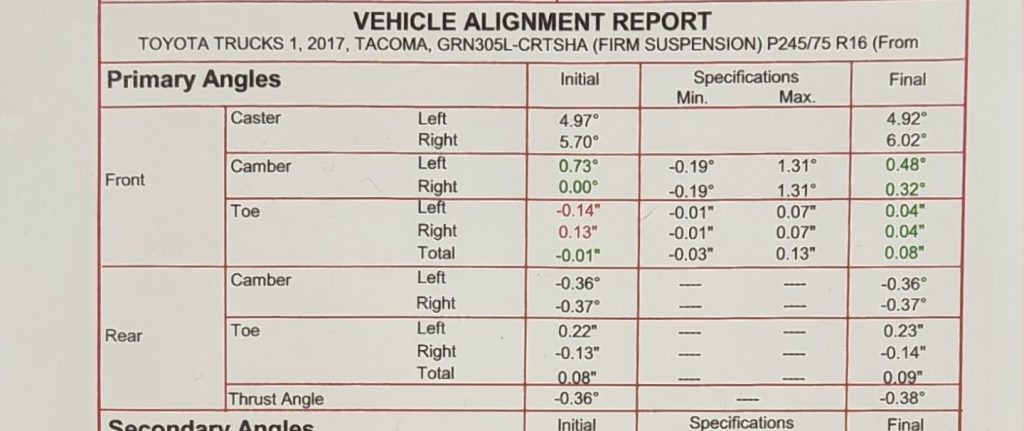
Now… on to the important part. Alignment! One of the big reasons why you upgrade is to more easily get your specs within tolerance. A big benefit to uniballs is not only strength but also the ability to more easily get the right alignment.
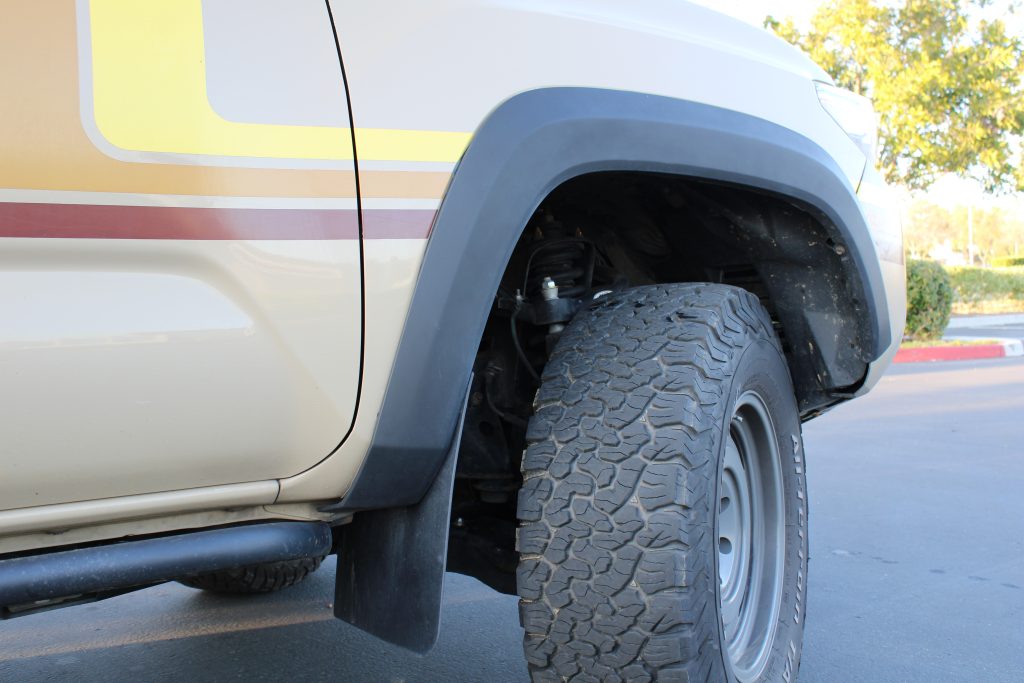
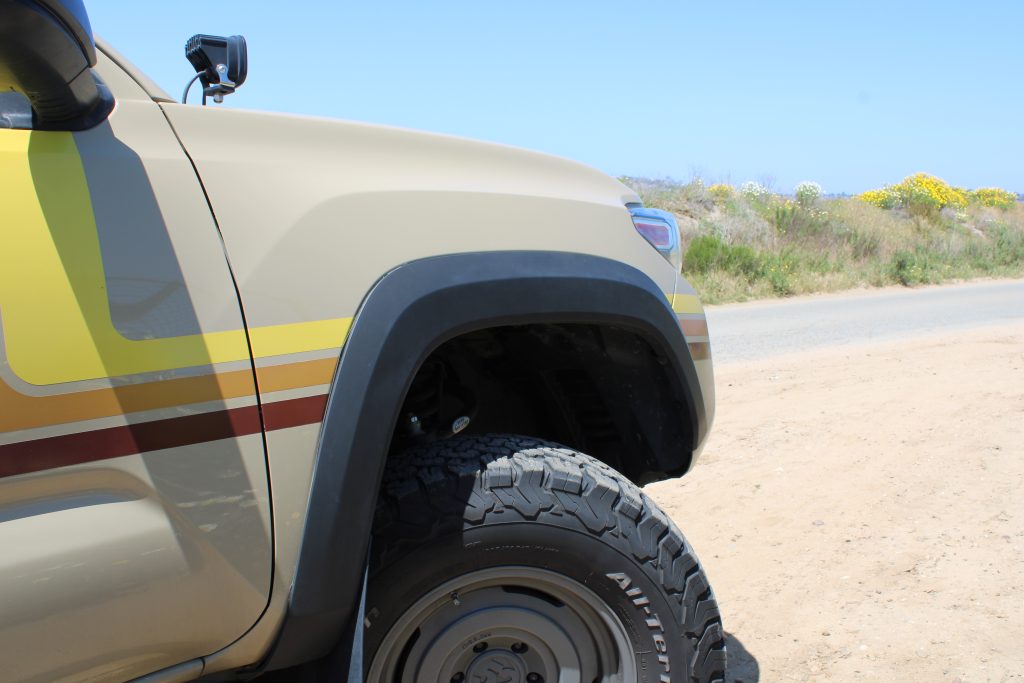
If you look at the above you can see I was able to get really impressive caster numbers. 4.92 and 6.02 degrees. These are really good, and help to significantly push the wheel away from the back of the wheel well. This helps with some rubbing and provides a solid, stable ride.
Overall, very happy with the quality, the install and the new specs!
Driving Impressions
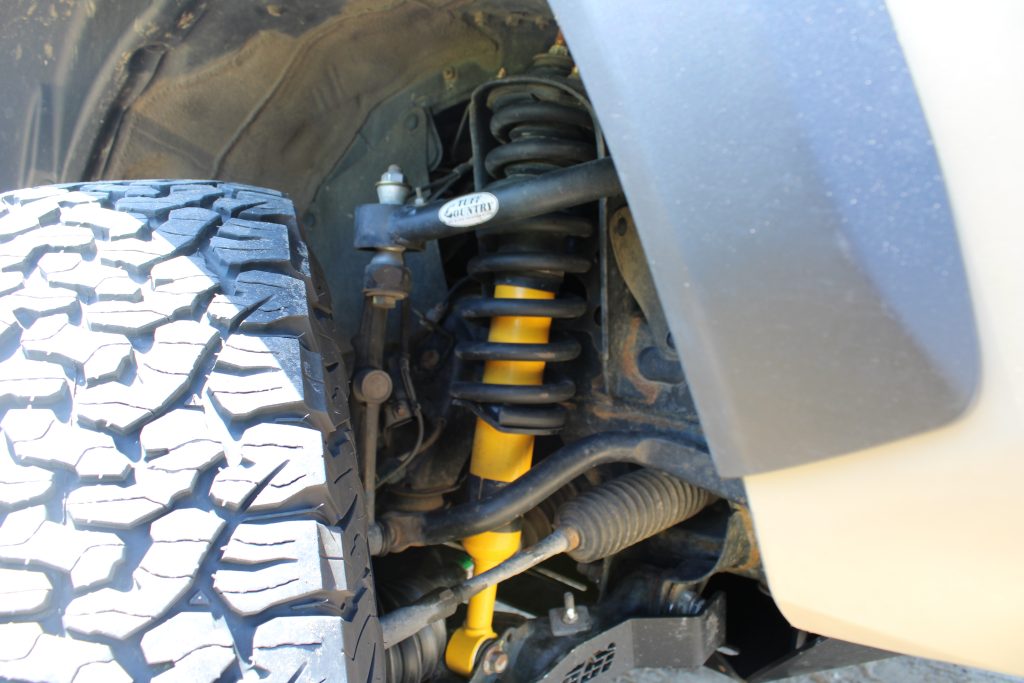
After a few thousand miles, everything has held up well. The ride, paired with my new OME Nitro Plus suspension (post coming soon), is super tight and controlled. The uniballs got me very good alignment numbers, solid handling, and a straightforward install.
We’ll have to see how they hold up, but for the price – it seems to be a great deal. With a good warranty, I think they will do just fine. All aftermarket arms require some kind of maintenance. Just make sure to properly clean and dry lube the uniballs. If you live in a super corrosive environment, this is even more important with the exposed parts.
There is also an available ball joint version of this control arm, if you wanted something booted and to save some more cash. Overall, I have been happy!
Final Thoughts
While the install was simple procedurally, having a second set of hands can streamline the process. Tuff Country recommends checking the torque on the bolts every 3,000 miles and alignment checks every 6 months. However, intuition should tell you whether you need to perform the check more frequently depending on your use.
I couldn’t find their recommendation on how often to grease the arms, so I’ll be doing that every 6 months or if excessive noise is present.
Also, I would like to thank V and Chai over at Squirrel Concepts in Long Beach for allowing me to learn from them and leading the charge on the installation. I have changed leaf springs before, but their experience and guidance were invaluable. I owe them much more than the case of beer I brought them last week (enjoyed after the job was done, of course).
That price point is crazy good. Let us know how they hold up over the long term!
Great article. Helped me with my decision to change out my stock UCA’s on a 2.5” lift.