
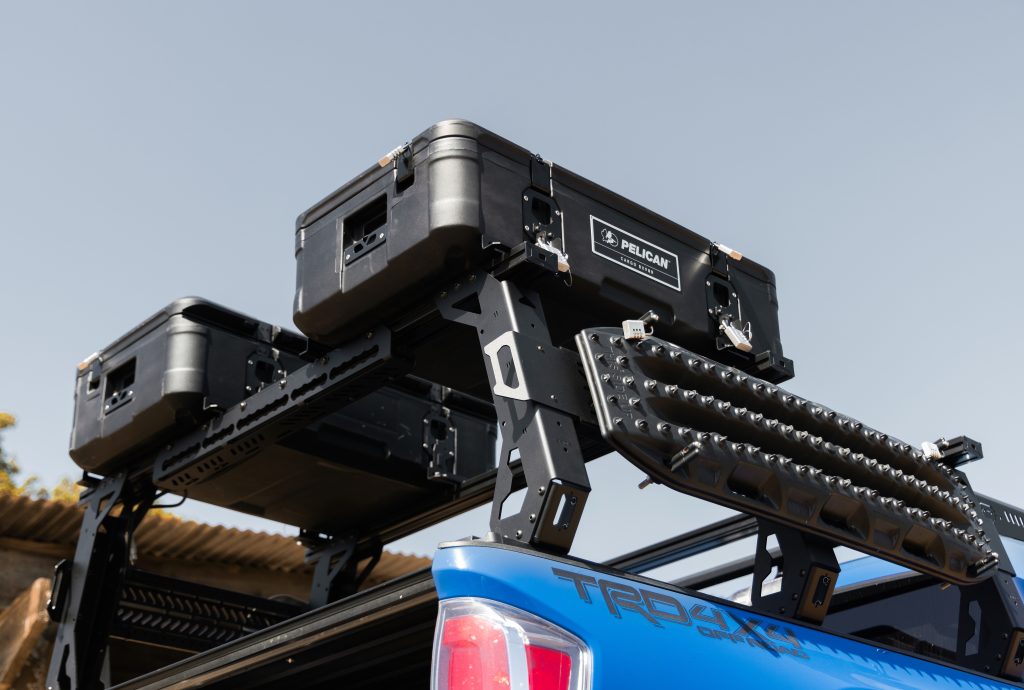
Since owning my Tacoma, there were two things that I wanted to get out of my bed/cargo space. First, I wanted it to be as secure as possible, hence the RetraxPRO XR tonneau cover and a tailgate lock. I chose this cover for its security and the T-slot rails allowed me to add a bed rack to my rig.
As you can imagine, bed racks that work with the Retrax are limited. Fortunately, upTOP Overland has managed to build a solid rack that’s compatible with their TRUSS series racks. For my rig, I chose to go with the Full-Height version with the Retrax mounting option.
Let’s get into it! I got mine through R4T, a local Denver, CO dealer.
Note: This installation guide is for the Retrax mounting option. upTOP Overland offers different mounting options for this rack, but most of the steps are similar, except for securing the mounting points. This article also refers to the updated 2024 version of the TRUSS bed rack.
Table Of Contents
Installation
Tools Needed
- Ratchet Socket Wrench
- Torque Wrench (ft-lbs)
- Torque Wrench (in-lbs/NM) – only if your Torque wrench doesn’t go below 10 ft-lbs.
- 3/16″ & 5/32″ Allen Wrenches
- 1/2″ Socket and Wrench
- 3/16″ Hex Drive Socket (not necessary but makes things easier)
- Socket Extension
- 7/16″ Wrench
Step 1. Unboxing
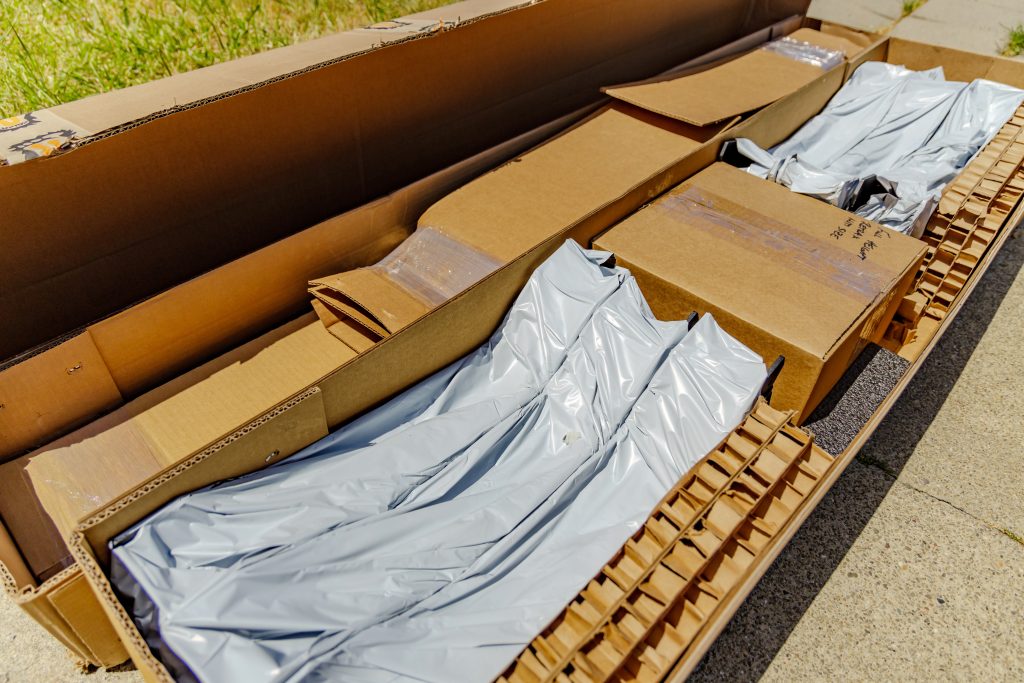
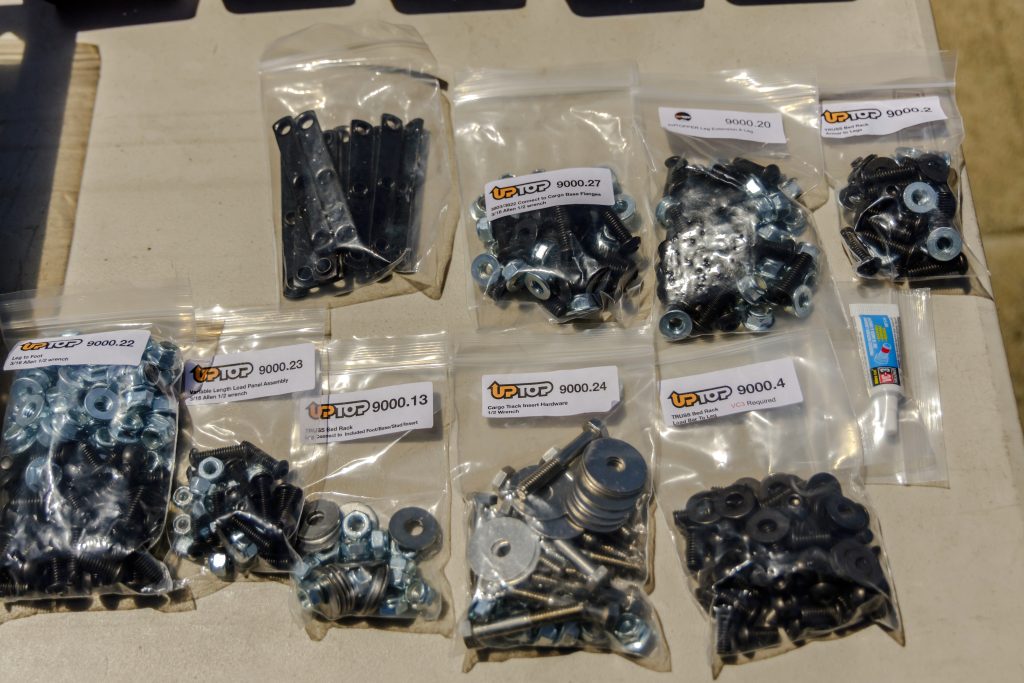
I want to highlight, as you can see in the image above, how well all of the parts are packaged by the upTOP team. Ensure you have all the major components before assembling.
For the TRUSS bed rack, you should have (6) legs, (2) side armor panels, (3) load bars, and a box that has all of the hardware and mounting points.
Step 2. Apply Vibra-Tite
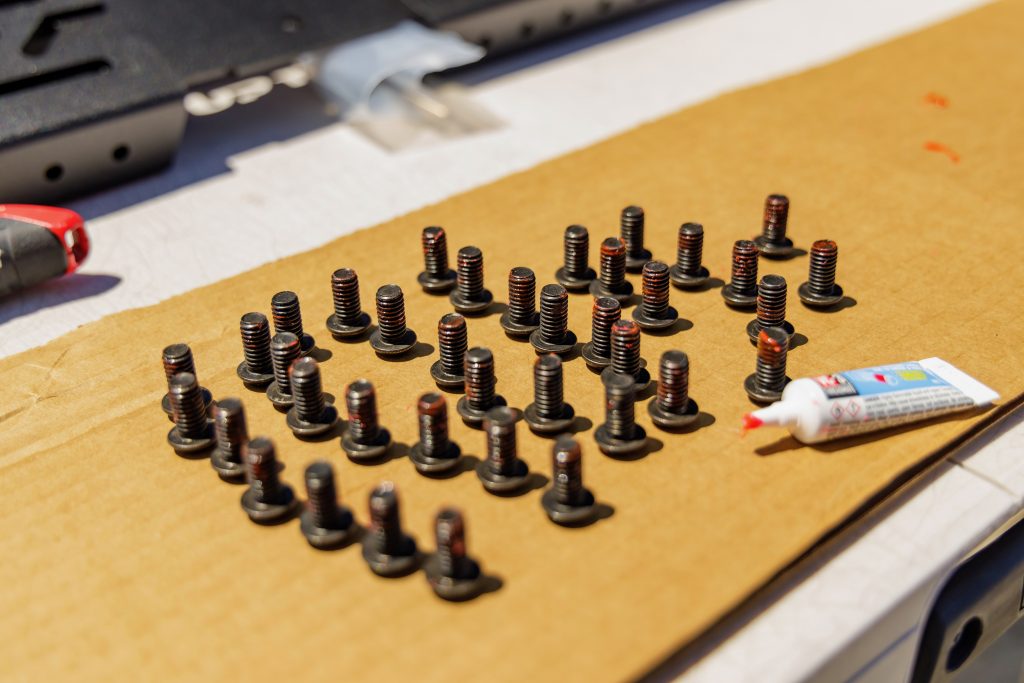
Take the bag labeled 9000.4 (rack load bar to leg) and apply the included Vibra-Tite VC-3 to all 36 bolt threads. They will need at least 20 to 30 minutes to cure. When working with VC-3, I recommend using gloves and also doing it on a disposable surface as it’s a glue-like compound.
Step 3. Install Mounts
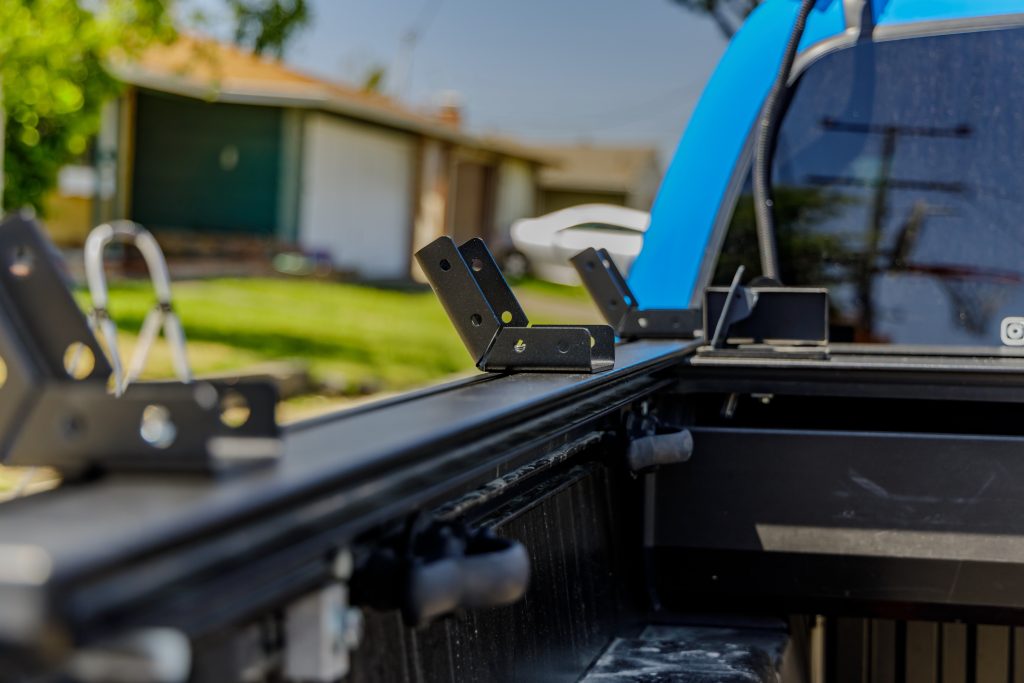
Take the Retrax T-Slot inserts and slide them on. You should insert (3) on each side and space them out somewhat evenly; you will have a chance to perfect the spacing later on.
Next, place mounting feet (3803) over the T-Slot inserts using the washers and bolts from hardware bag 9000.13 (rack leg connect to included foot/base/stud/insert) and a 1/2″ socket and ratchet. Leave the mounts loose enough to adjust spacing for final placement.
Important: For other racks, you may need to use a different hardware bag, but specifically for the Retrax inserts, make sure you use 9000.13. The other bolts will not work.
Step 4. Attach Legs
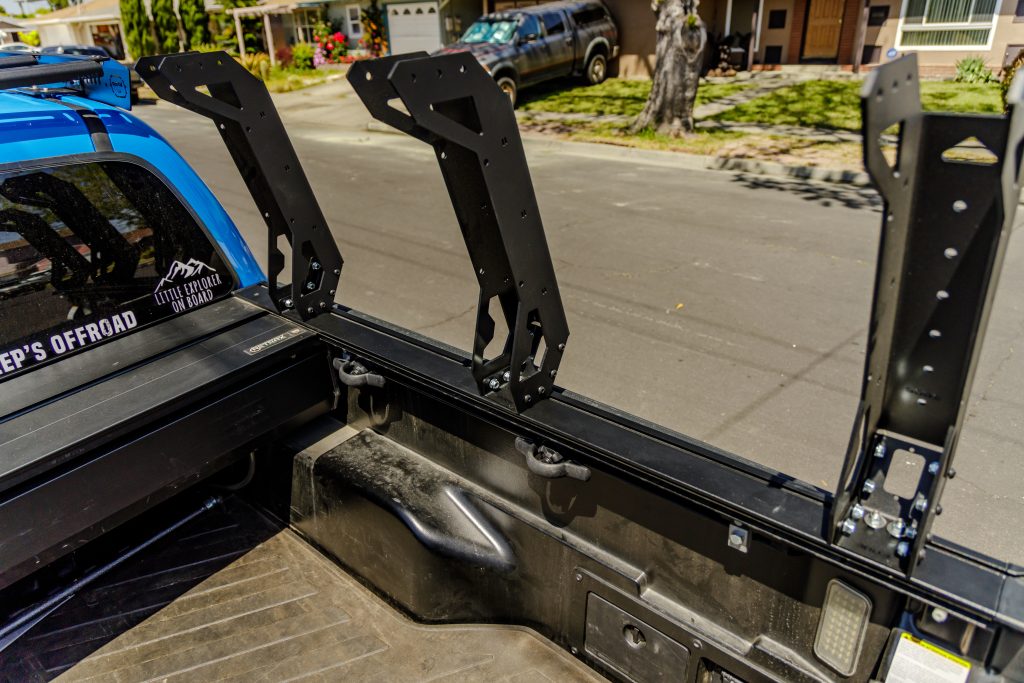
Grab the legs (3802) and hardware bag 9000.22, and attach them to the mounting feet. This step will be somewhat tedious because there are (8) bolts on each of the legs. To tighten down the bolts, I used a 1/2″ wrench to hold the nut while using a 3/16 Allen socket bit and ratchet on the bolt. Again, leave everything loose enough for final adjustments.
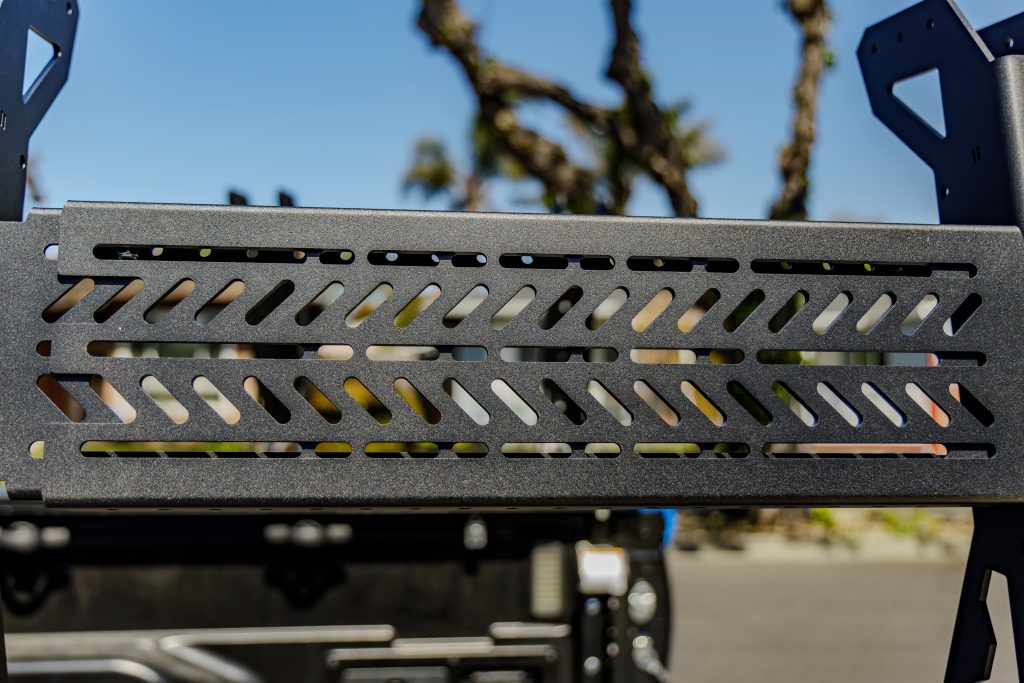
Step 5. Attach Side Panels
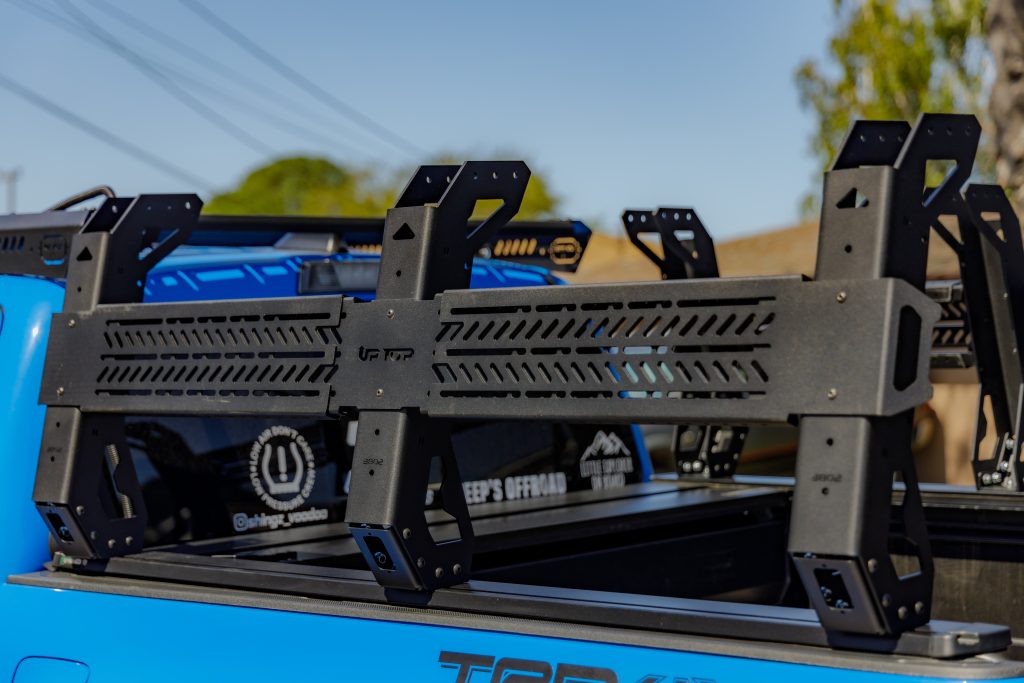
Since I was putting the rack together on my own, I decided to keep the side rails deconstructed to continue building this rack. If you have another set of hands, you could attach the side rails to the legs before mounting everything to the bed rail.
Attach the center side rail using the hardware from bag 9000.23 and the center side rail to the middle leg. You can choose to put it at whatever height you want. Attach the rail using a 5/32″ Allen wrench and a 7/16″ socket with an extension.
Once you attach the middle rail, grab the other side rails and slide them onto the center rail. Attach the side rails to the same height as the middle rail and loosely tighten them down.
Repeat the same process on the other side.
Step 6. Final Adjustments
With measuring tape, adjust the panels and legs for even spacing. The main measurement you will want to take is the distance from the front of the Retrax rail to the first leg. Once you’ve taken that measurement, the back two legs are fairly easy to adjust.
The only thing to be careful of when adjusting is that the rack is not too far back on the track and that the mounting holes in the rails are aligned so that you can pass a bolt through them.
To keep even spacing between the length of each leg, I ensured that the same amount of holes were exposed on each side rail from the center rail and double-checked the distance with the measuring tape. Once your adjustments are done, use the same nut and bolt from hardware bag 9000.23 and put one through one hole of the overlap for the rails.
Repeat the same process on the other side.
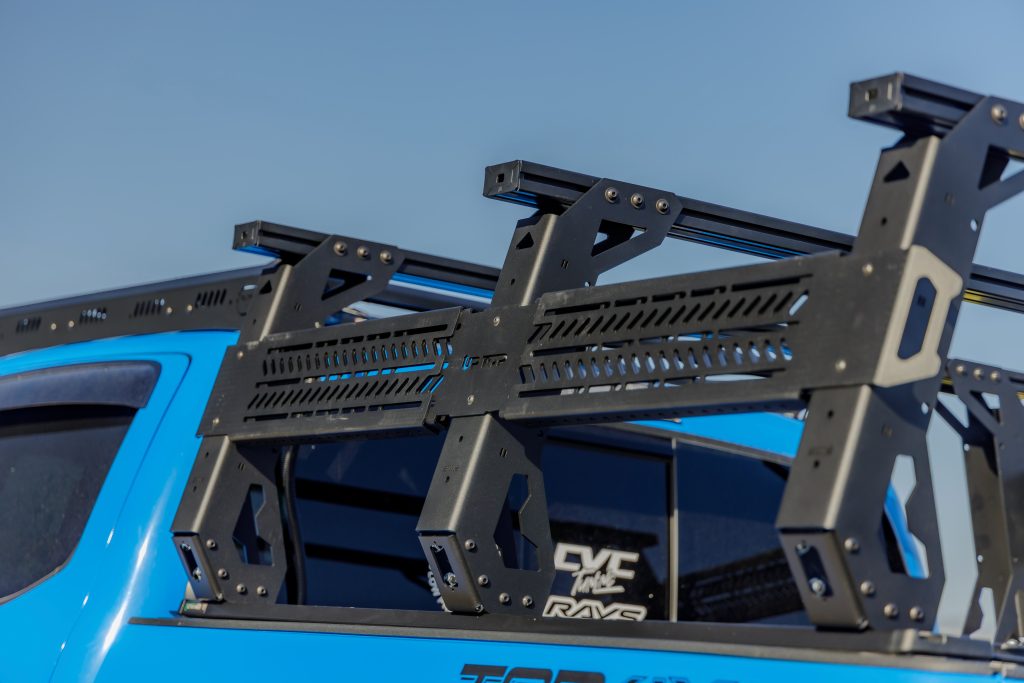
Step 7. Attach Load Bars
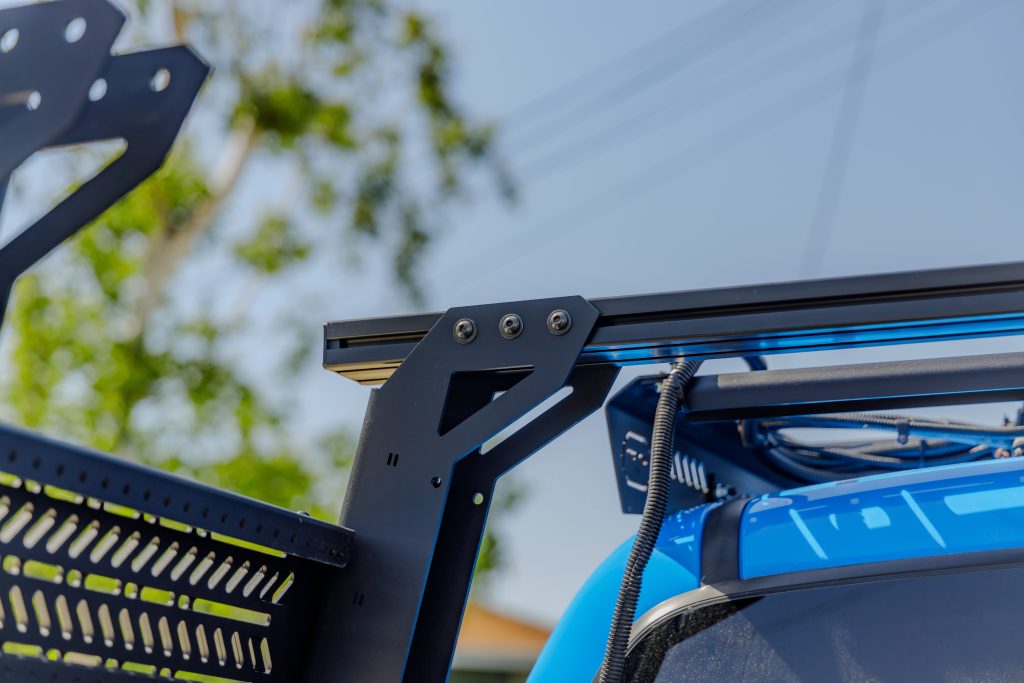
On the sides with only one track, slide (2) long bolts in each side of the load bar and install the end caps. Using the small bolts with VC-3 applied to them, add a washer and attach the load bars to the legs with a 3/16″ Allen wrench or a 3/16″ hex drive socket. Don’t fully tighten them until you have all of the bolts installed on the load bars.
Once you have all of the load bar bolts loosely tightened, make final adjustments for even spacing and start torquing them down to 14 ft-lbs.
Step 8. Torque Down Bolts
With everything in its final position, begin torquing down all of the bolts. For torque specs, see here. After that’s done, your installation is complete!
Initial Impressions
upTOP Overland makes very solid and thoughtful accessories for our trucks. A standout feature to me was the outstanding packaging and labeling of parts. This made the installation process go much smoother.
One of the biggest benefits of the rack is its modularity for several different configurations. For example, if I decide to part ways with my Retrax cover, I can buy different legs from upTOP to still use this bed rack. Or, if I decide to get a Tundra and buy a Retrax for that, I can reuse all of the parts.
This is an extremely sturdy bed rack with plenty of mounts and accessories to build it out for your needs. A big part of why I love upTOP products is their service, particularly Corey, who helped me a lot throughout my installation process. Not only are they responsive to messages and calls, but they know exactly what you may or may not need.
Final Thoughts
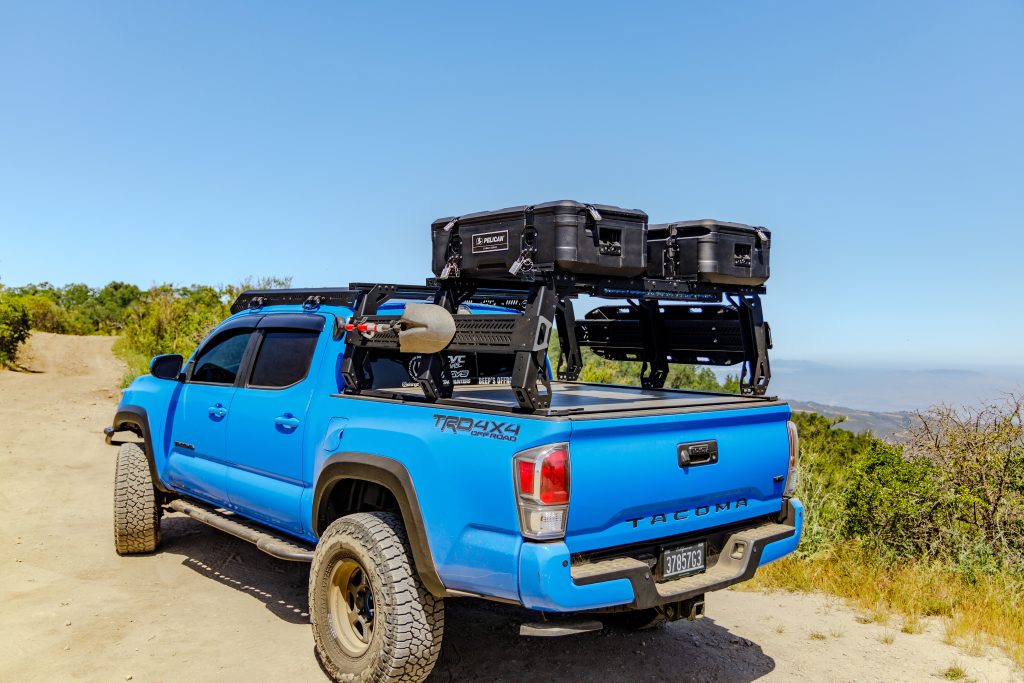
If you’re looking for a bed rack, I truly believe this is one of the best options available. upTOP designed it to be compatible with a wide range of accessories and mounts and has top-notch customer service. Also, compared to similar racks on the market, this rack is reasonably priced.
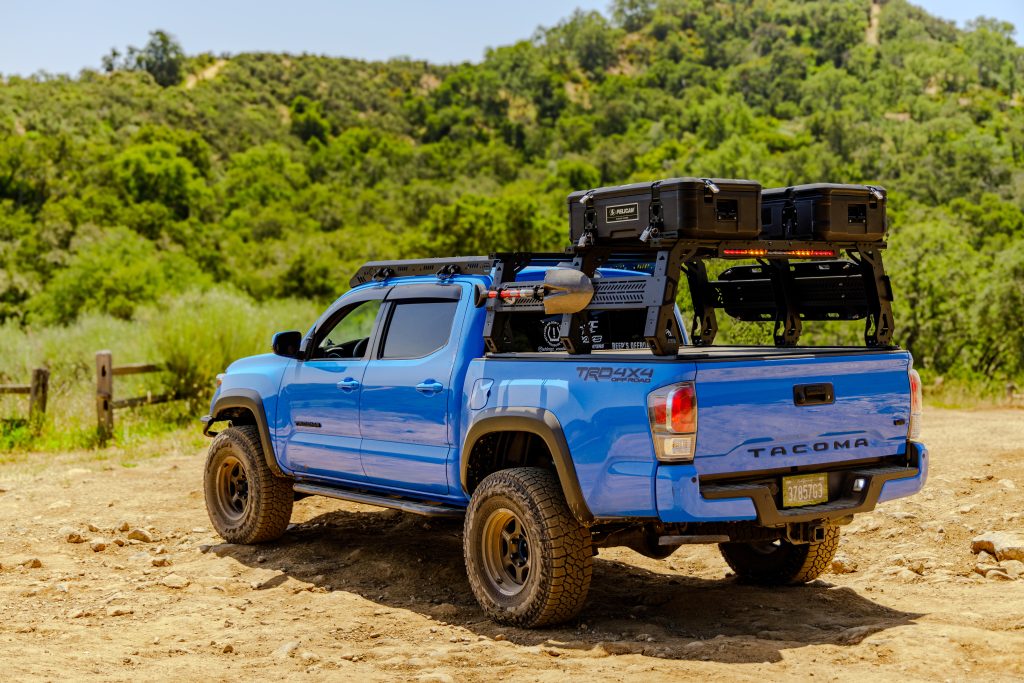
Its modularity is next-level and paired with their accessories and a Kilo roof rack, you’re ready to set off for any adventure.

Really enjoying the direction upTOP designs are headed. The new racks look awesome! Just noticed the chase light bar in the last photo… it looks amazing!