
OEM reverse lights are weak. They fail to provide nearly enough light when actually reversing the Tacoma. VLEDS set out to solve this issue with their super bright light system. The license plate mounted light bar (lp-reverse light system) puts out some pretty impressive lumens, making sure everything from California to North Carolina will be lit up when you are reversing. This is obviously a bit of an exaggeration, but you get the point, this little LED bar is bright.
This article will cover the 5500K LED LP-Reverse Light Backup System. This is going to mount onto the top of your license plate and tap into the reverse light circuit so it will automatically come on when you shift into reverse.
The high-quality, anodized, precision CNC’d aluminum light bar looks like a work of art. It’s clean, sleek, and once installed, you can barely see it’s there. The kit comes with everything you need for a quick and easy installation process.
This simple and trouble-free install will add lumens and unique touch to your truck. Let’s get started.
They now have an updated version. Check out the LPX Reverse Light Bar.
Find It Online (universal truck fitment):
- VLEDS.com: Check Price
Table Of Contents
Specifications & Features
VLEDS made a great auxiliary reverse light for any vehicle with a license plate. The system uses 72 powerful LEDs to produce 1800LM to make sure poor visibility is a thing of the past.
VLEDS is the originator of the license plate light reverse system. The first version came out about 10 years ago, and the one in this article is the latest rendition. Years of time and effort went into designing this LED bar, so you can rest easy knowing you’ve got the best! Don’t be fooled by imitators.
The installation is very straightforward and only requires that you tap into the reverse light circuit and mount the system to your license plate. That simple. The product also comes with a 3-year warranty, so you don’t need to worry about failures.
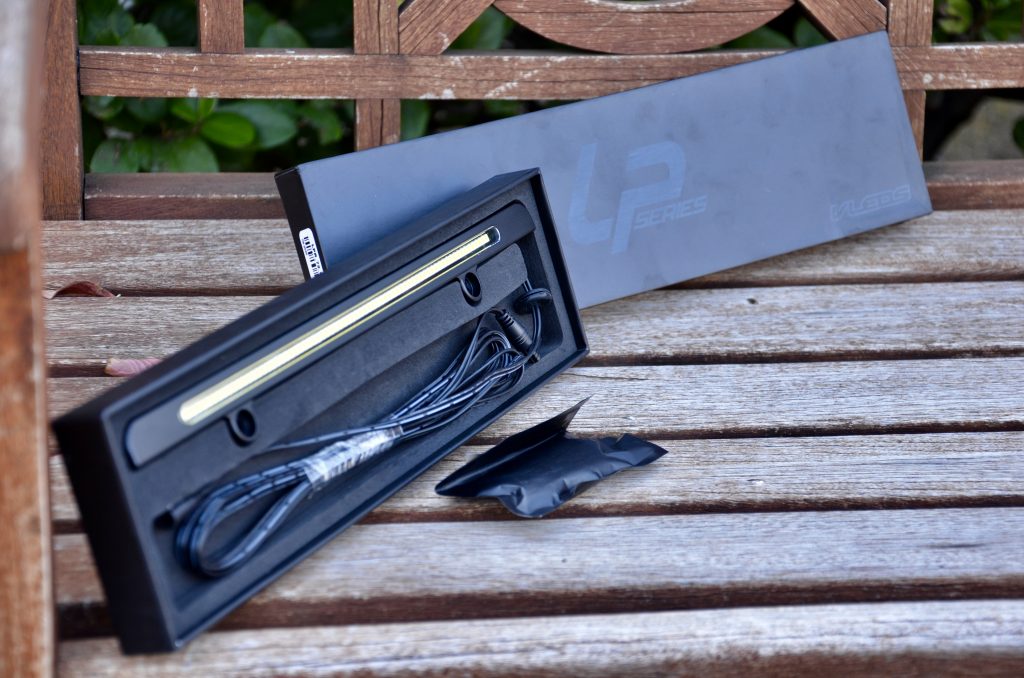
I have to mention, the packaging is super nice. You can see the attention to detail throughout.
Features Summary
- 1800LM Measured Output (5X brighter than average light)
- UV Resistant Polycarbonate Lens
- Waterproof, Potted and Sealed (IP68 rating)
- Made from All-Aluminum, CNC’d Materials
- Exterior-Grade Satin Black Anodized Finish
- Enhances Back-Up Camera View
- 2-Pin Waterproof Connector w/ 10-ft Extension Wire
What’s Included

Diving into the box, you’ll find the following:
- (1) LP Light Module
- (2) Stainless Steel Capped Screws
- (1) Allen Key
- (1) Duo-Tap Splice
- (1) 10-Foot Extension Wire
- (3) Small Zip Ties
Required Tools
- Phillips Head Screwdriver
- Pliers
- Wire Cutters
- Ratchet and 10mm Socket
The installation process is very straightforward and can be performed by anyone with access to basic tools.
Step 1. Remove Tail Light

If you haven’t already, go ahead and remove your license plate and license plate frame if you have one installed. Pretty self-explanatory.
This particular install is going to take place on the driver’s side taillight, but either side will work. You can start by opening your tailgate, where you’ll come to find a handful of screws. The only two you need to worry about are the second from the top and the second from the bottom, as circled in red in the image above.
Once the screws are out, you can pop out the light. To remove the light, there are two pins on the top and bottom of the light housing. Get a good grasp on both sides of the light and slowly work it out by pulling with even pressure. The light should pop right out.
Step 2. Unplug Light Harness

The lowest of the three lights is going to be the reverse light. While this part is optional, you can remove the harness from the bulb to make the installation a bit easier.
Setting the light aside, we are going to re-focus our attention on the light bar and getting the wiring harness ready.
Step 3. Duo-Tap Wire Splice

Grab the splice and your wires, and locate the two split ends of the wiring harness. There is no specific orientation the wires should be inserted, they should work in either orientation. However, it is useful to keep in mind that the solid wire is negative and the dashed wire is positive.
There are two holes on the top of the splice, insert the wires into them and push them as far down as they will go, as seen above. Take your pliers and start clamping down on the connector joint and stopping every once in a while to ensure it is being properly clamped down. Pretty simple.

Now that the splice is assembled, it’s time to move on to secure it to the reverse light harness.
Set the orientation as depicted above, or just reference the previous step to properly match up the positives and negatives. Once you’ve got the wires oriented within the splice, press down on the splice housing to tap the wires. Make sure the top of the splice is firmly connected to the bottom piece.

Above you can see the reverse light harness spliced with the new connection.
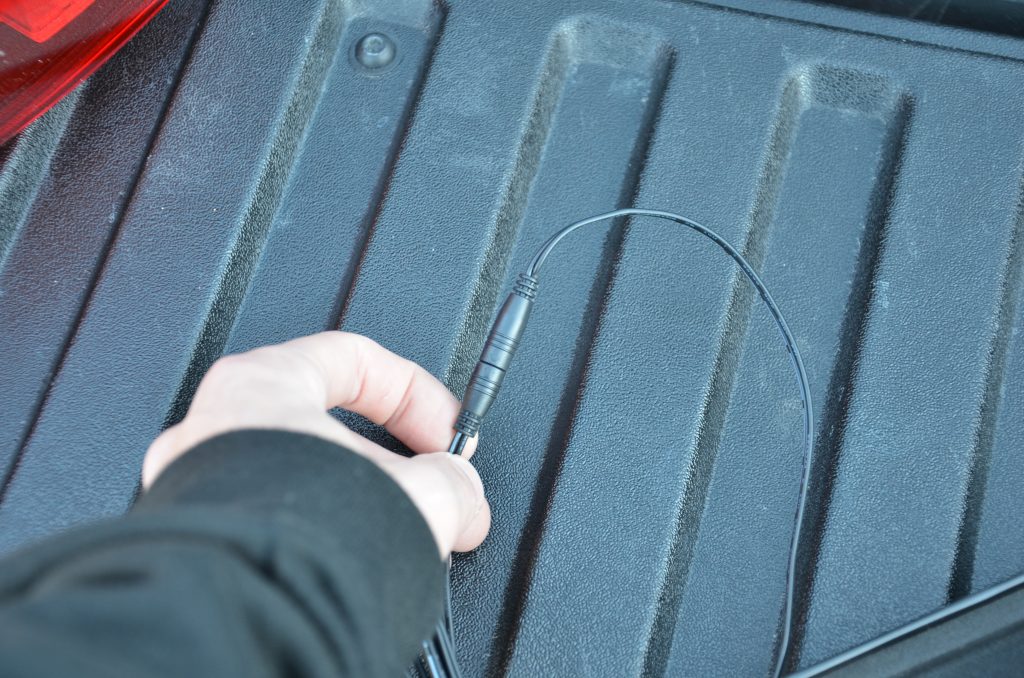
If you haven’t already, connect the wire on the light bar and the wiring harness to each other. There is a specific orientation; there are arrows that will line up.
Now let’s test the light bar. Head into the cab and shift into reverse. Have someone visually confirm the light bar turns on. If not, check all the connections and make sure they are properly secured.
Step 4. Wire Management

On the base to the area where the taillight mounts, there is a cutout through which the harness is fed. Fish the harness through and attach your new harness, with the first zip tie, to the big wiring harness.
You can add a tie a few inches down the bigger harness as well. Once you have the wires tucked away, go ahead and reinsert the taillight back into place.

Start working your way under the truck to finish up the cable management. Once you get there, the best way to route the cable would be up and over this cross member by the rear bumper. You can see the wire as it crosses over the cross member above.
Along the way, attach some more zip ties to the existing harness so the wiring is cleanly attached and you don’t see any excessive slack. The last zip tip, for now, will be close to the opening for the license plate. Go ahead and fish the cable out as well.
Step 5. Mount Light Bar
With the power wires properly oriented, go ahead and reattach the light bar to the harness.
If you so choose to run without a license plate frame, fish the excess harness back through the cutout and use the provided screws to secure everything.
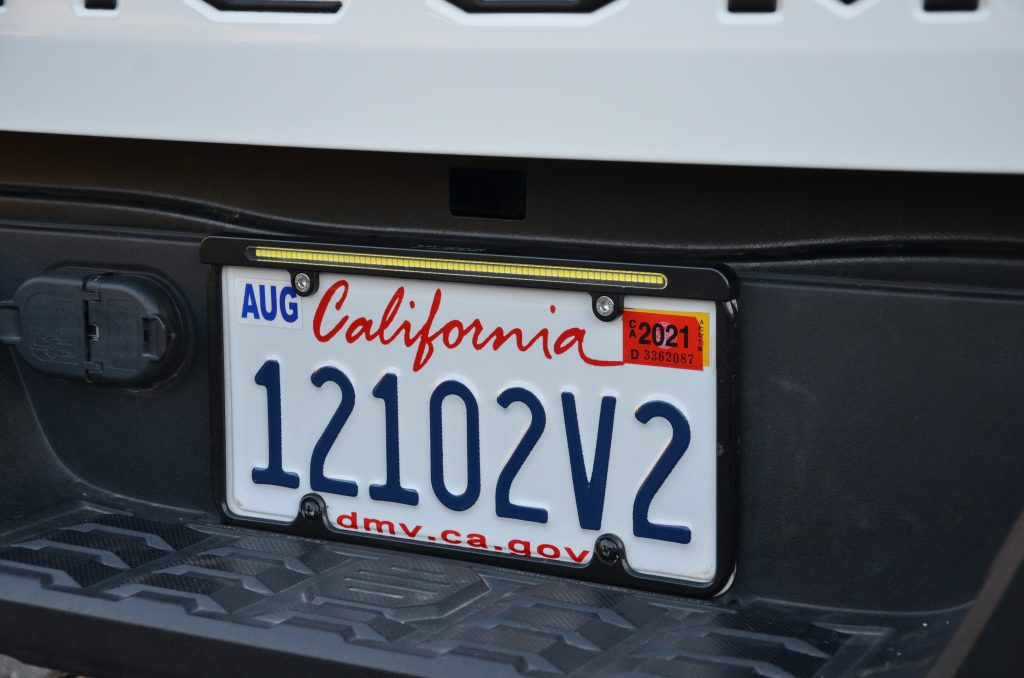
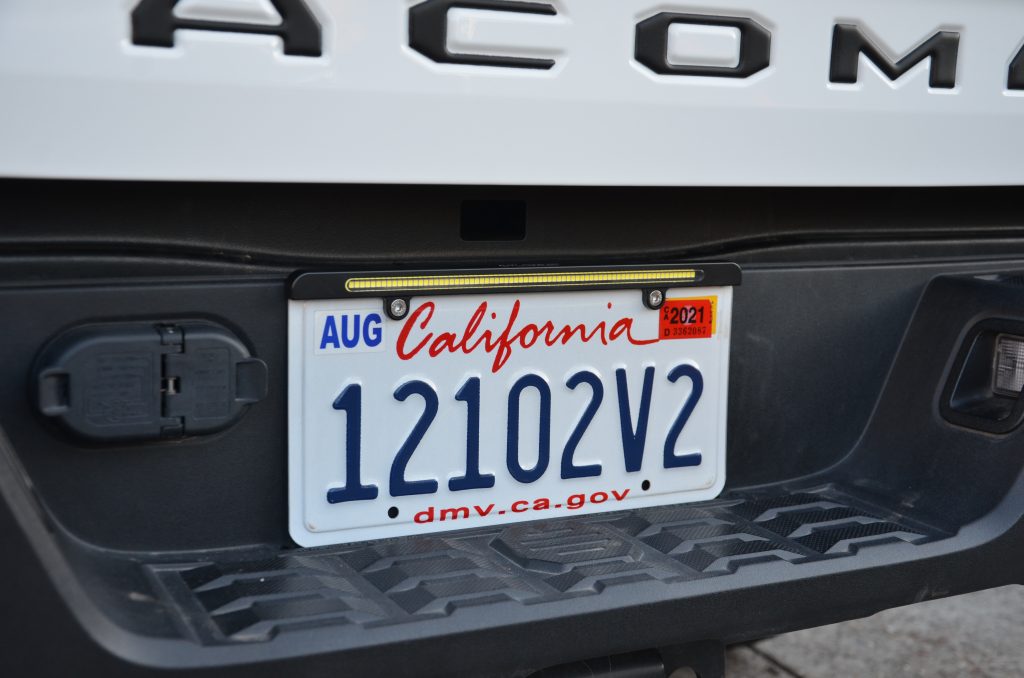
If you’re looking for a clean and stealthy light solution, then customizing your license plate frame with this reverse LED bar may be the way to go.
If you have a certain plate you want to run, you might be able to cleanly trim your license plate cover to fit around the reverse light bar.
If cutting and drilling really isn’t your style, then VLEDS offers a license plate frame that fits the light bar and looks very clean.
To finish off the cable management, bunch up the excess wire and zip tie it to the same wiring harness making sure it is clean, up, and out of the way.
OEM Lights

The key here is to pay attention to the two light poles and the back of the parking lot when comparing the above image of the OEM lights to the new VLEDS reverse light shown below.
You can barely make out the poles and the parking lot in the periphery of this image.

The OEM reverse lights barely hit the wall behind my truck.

VLEDS LPR

When you compare this photo to the one above it, it’s easy to tell that the VLEDS bar adds a whole light of additional light. And trust me, it’s even brighter and better in person!
Again, reference the perimeter of the shot and the ends of the parking lot to see the difference in light output.

With the LP-R system, you can easily tell how much more of the back wall and the parking lot is lit up.
The VLEDS light is so bright it drowns out the output for the factory reverse lights.

Final Thoughts
Seriously, this reverse light bar makes a massive difference. The light output coming from the bar is significantly brighter and much crisper, as compared to the stock. As many of us know, the Tacoma is notorious for dull light output. With the new VLEDS light bar, you are guaranteed brighter output ensuring objects behind you are properly lit when reversing.
This upgrade will brighten up the image that is produced from your backup camera, making sure you can see all objects while reversing. Paired with some LED reverse lights, this is sure to be a quality upgrade that improves visibility with a sleek look.