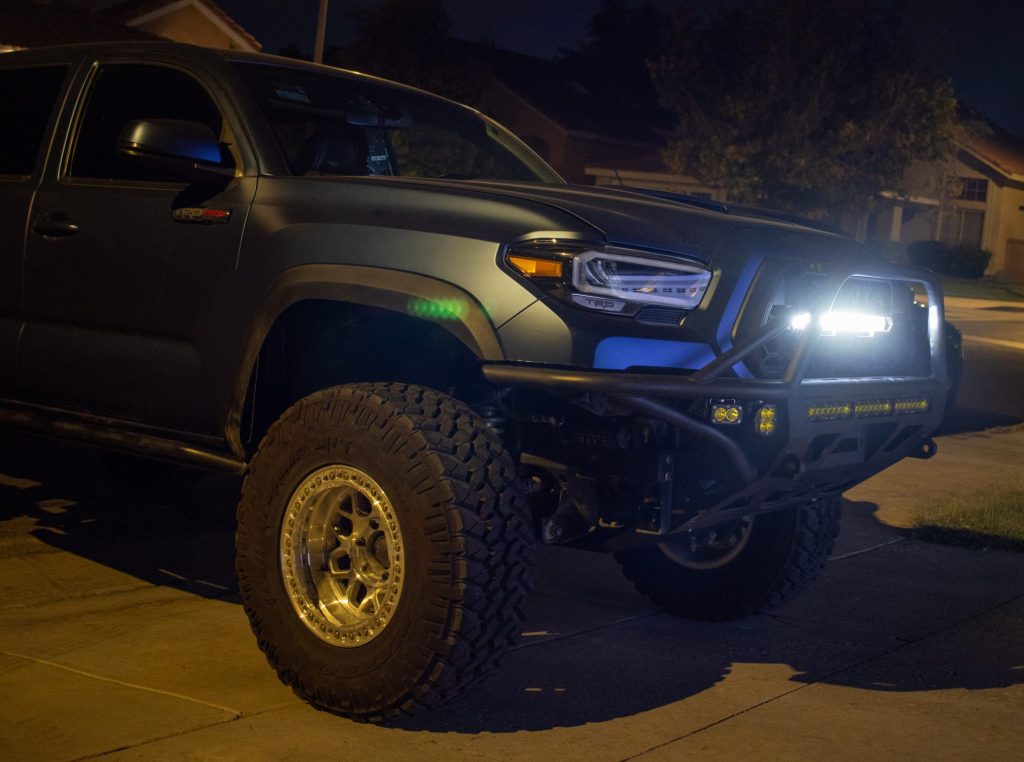
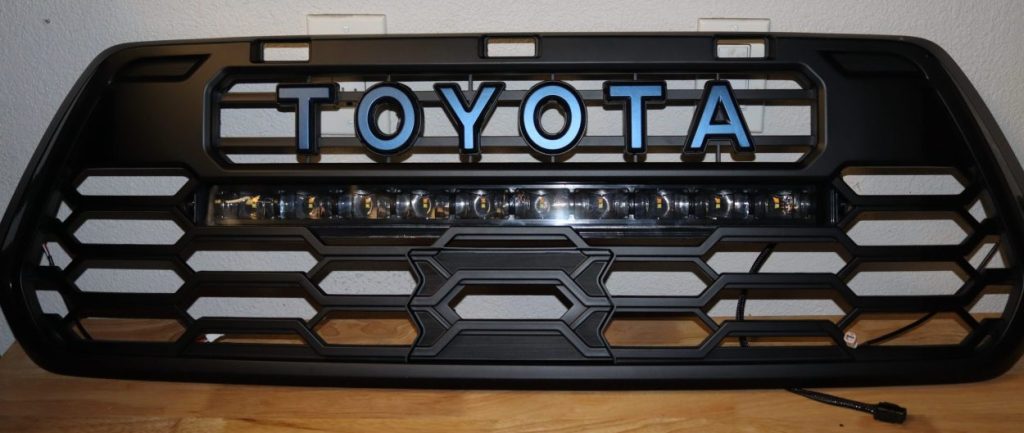
As a Tacoma owner, you know there is no such thing as too many lights. As we have run out of mounting locations, we are always excited when a new product hits the market. This is where the YotaVerse V2 Pro Grille with LED Light Bar enters the chat.
As the name suggests, this grille has an integrated light, similar to those seen on the new Tundra and Tacoma TRD Pros. This kit includes everything needed for a quick and simple installation, including the hardware and a prewired harness.
Marie has previously covered an install and review for the grille itself, so this post will focus on the light bar and related components.
Features & Specs
- Beam Angle: 20°x8°, Combo
- Lumens: 2400 lumens
- Power (watts): 79.8
- Operating Voltage: 9-24V
- Current (amps @ 14V): 5.7
- Polarity: Polarity Specific
- Operating Temperature: -40C to 85C (-40F to 185F)
- LED Emitter: Luxeon Z ES
- Connector(s): Deutsch DT Input
- Materials: Aluminum PCB, Polycarbonate Lens, Aluminum Heatsink, Stainless Steel Brackets
- Cooling: Passive, heatsink
- Intrusion Ratings: IP68 Waterproof
Table Of Contents
Installation
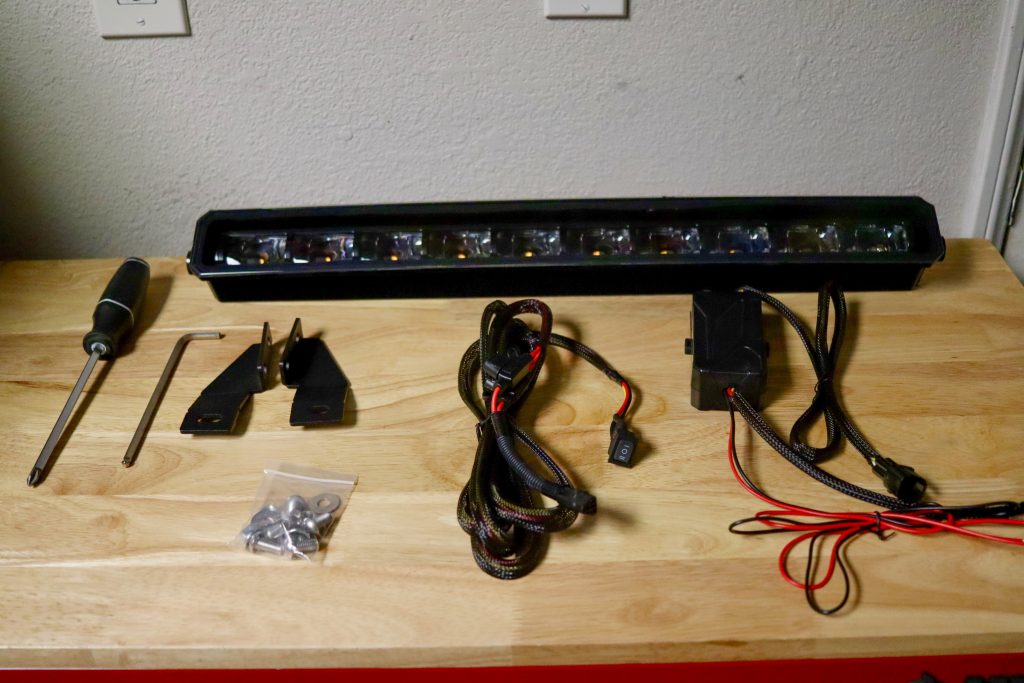
What’s Included
- 1 Light Bar
- 2 Brackets
- 6 Bolts
- 4 Nuts
- 2 Washers
- 1 Switch Harness
- 1 Module Harness
Required Tools
- Phillips Screwdriver
- 5mm Allen Key
- 10mm Wrench
Step 1. Remove Insert Screws
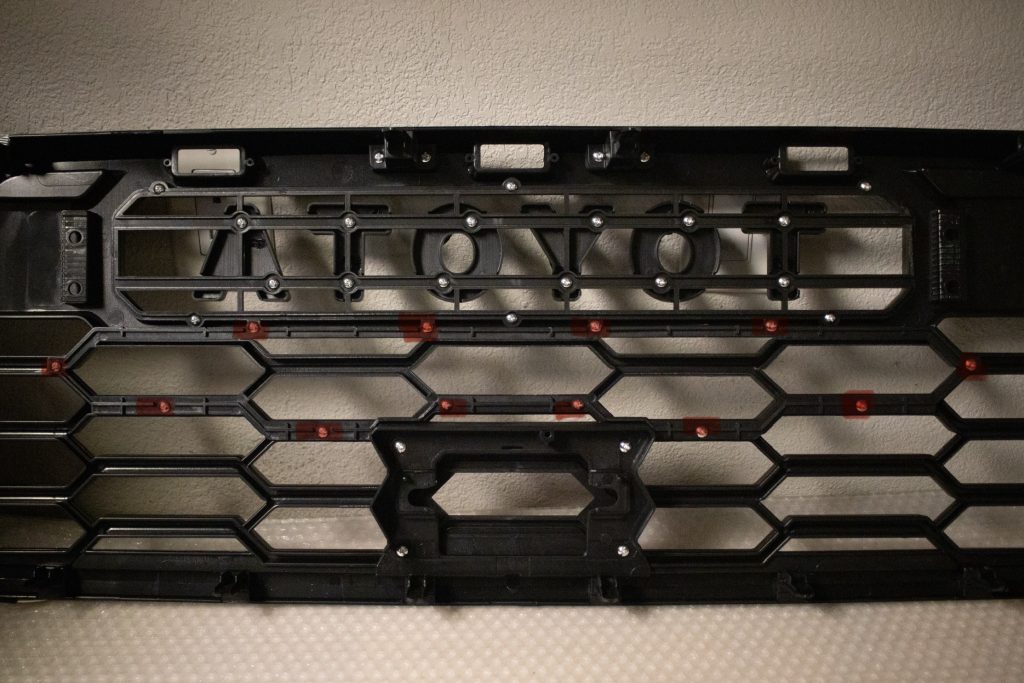
On the backside of the grille, between the emblem and the TSS sensor, you will find a total of (12) screws. Remove these.
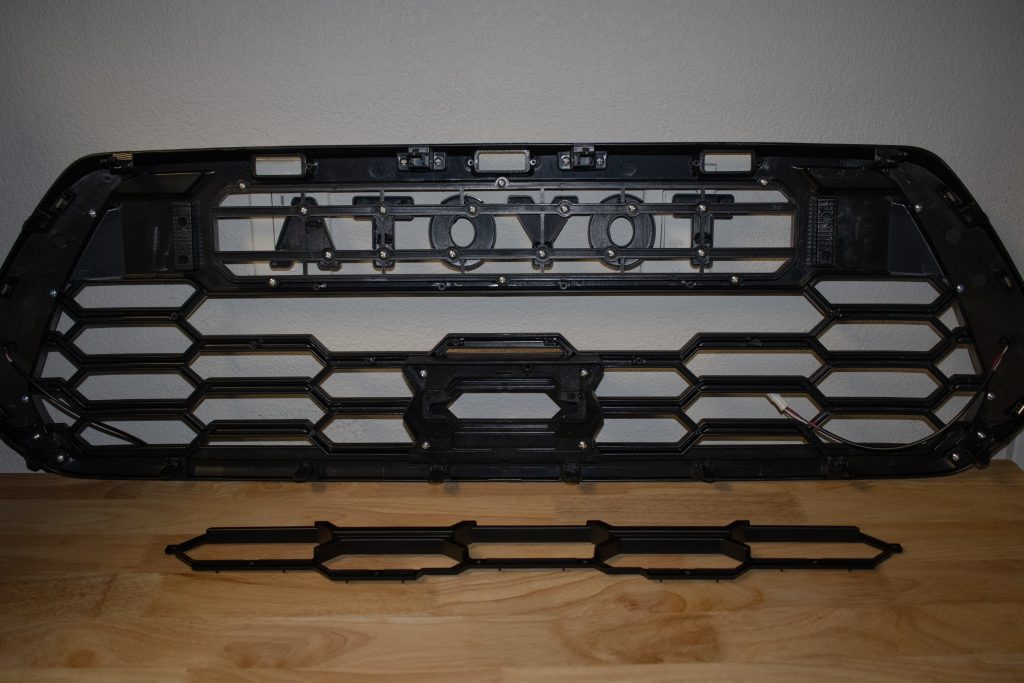
Once you have removed these screws you will be able to remove the grille insert that will reveal the cut-out.
Step 2. Install Brackets
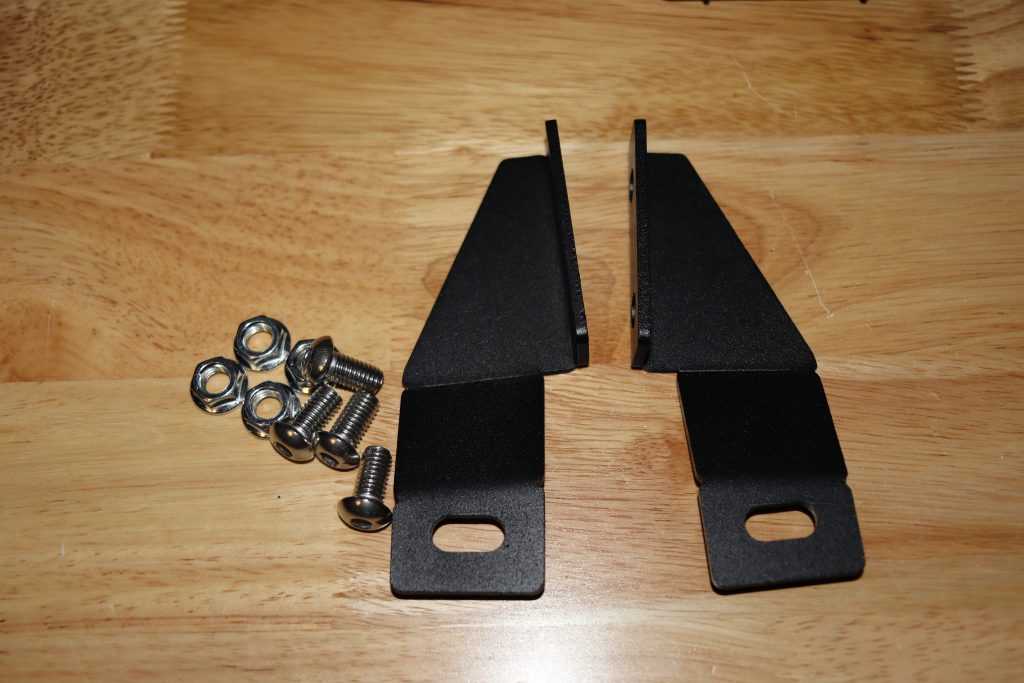
From the hardware pack, locate the (2) brackets, (4) bolts, and (4) nuts.
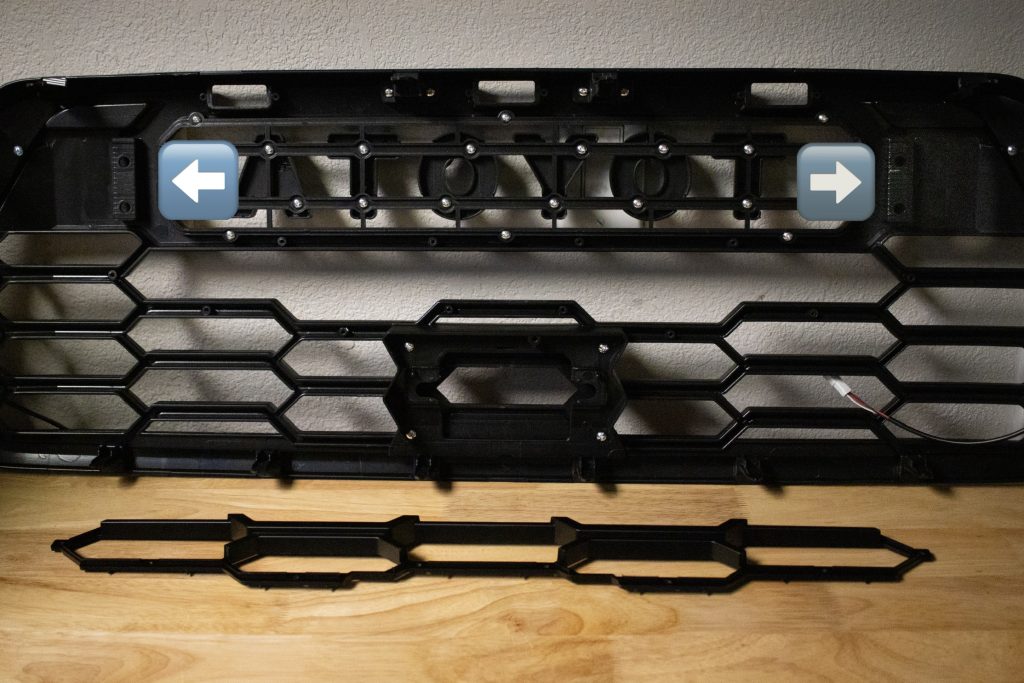
To the right and left side of the emblems, you will find two predrilled holes on each side. This is where you will mount your brackets.
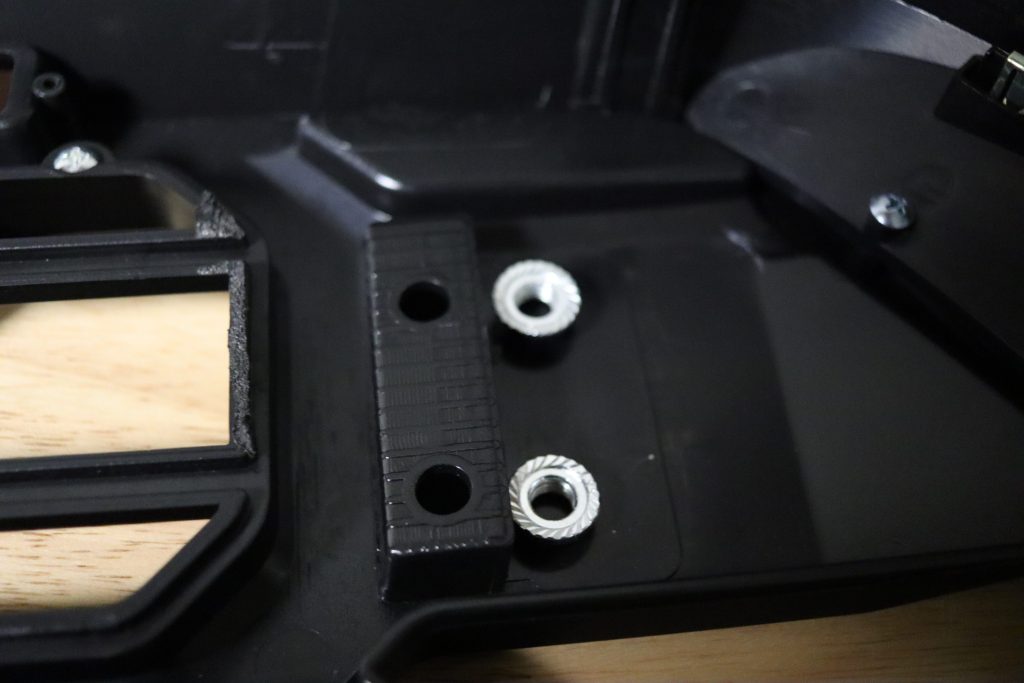
On one side, insert (2) nuts behind the predrilled holes.
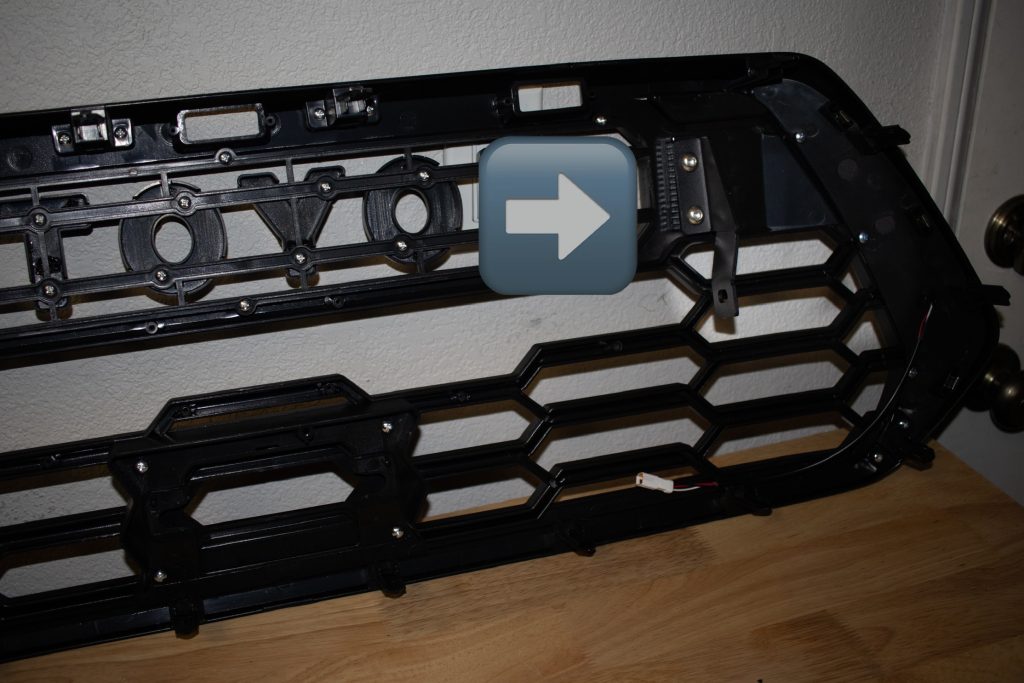
Lay down your light bar bracket on top of the predrilled holes and insert your bolts through, connecting with the inserted nut to secure it down.
Repeat the same steps on the opposite side of your grille.
Step 3. Mount Light Bar
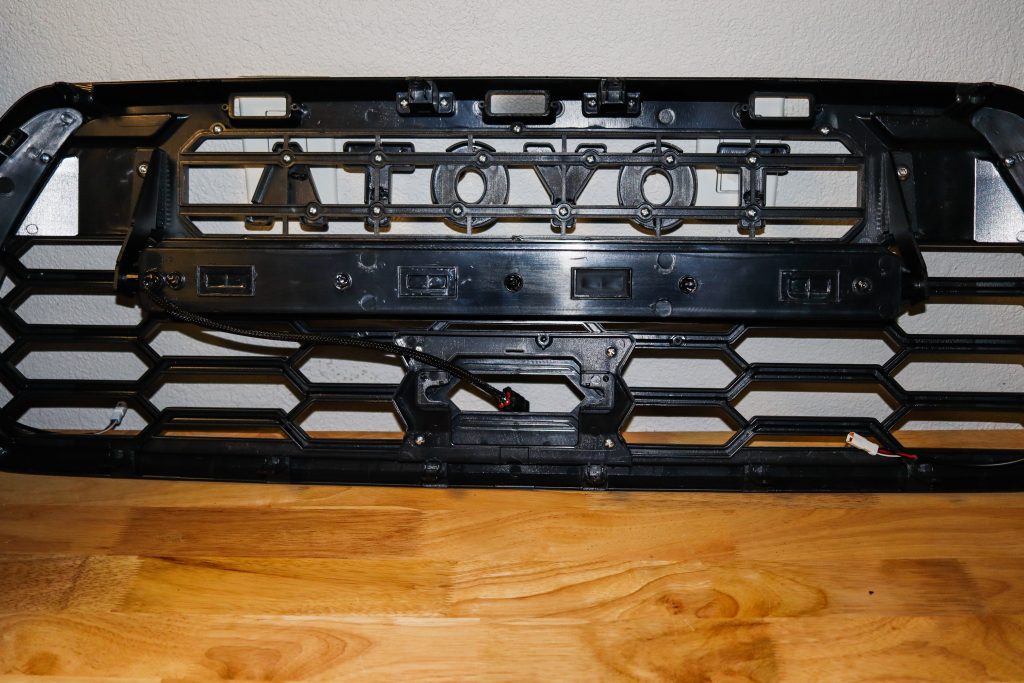
Locate the last (2) bolts and washers and position the light bar between the two brackets, lining up the holes between the brackets with the holes on the bar.
Use the supplied bolts to secure the light bar to the brackets. The bar indicates which side is up and which side is down. You will insert (1) bolt on each side.
Step 4. Connect Wire Harnesses

The module harness has two connectors, one triangular and one square. This makes it easy to see which connector goes to which harness.
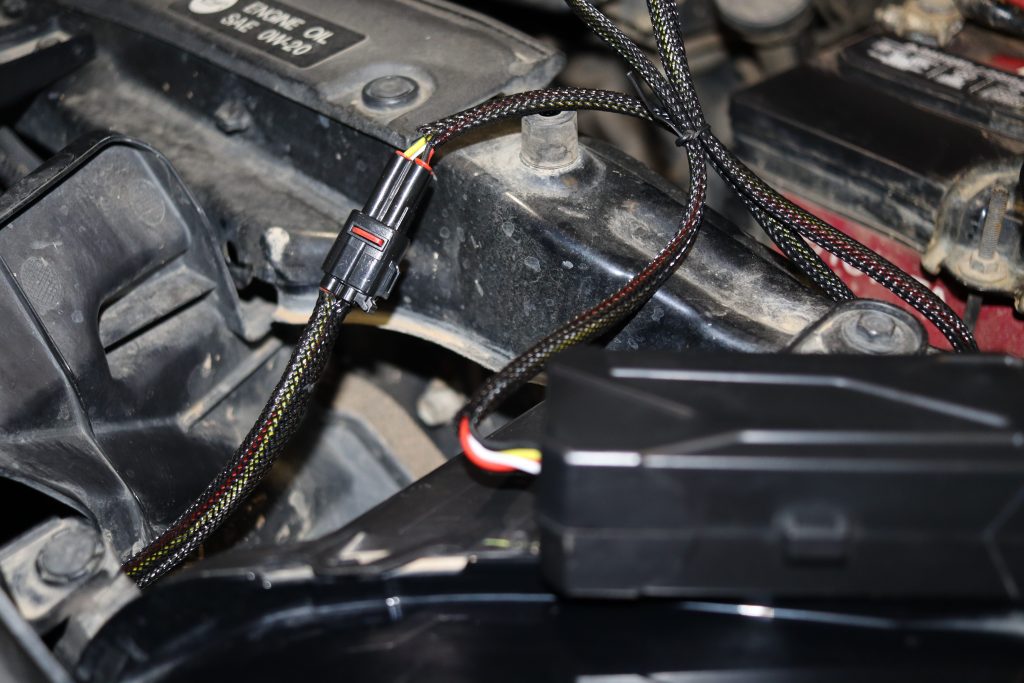
Connect the triangular one to the switch and the square one to the light bar.
Step 5. Connect Positive & Negative Ring Terminals
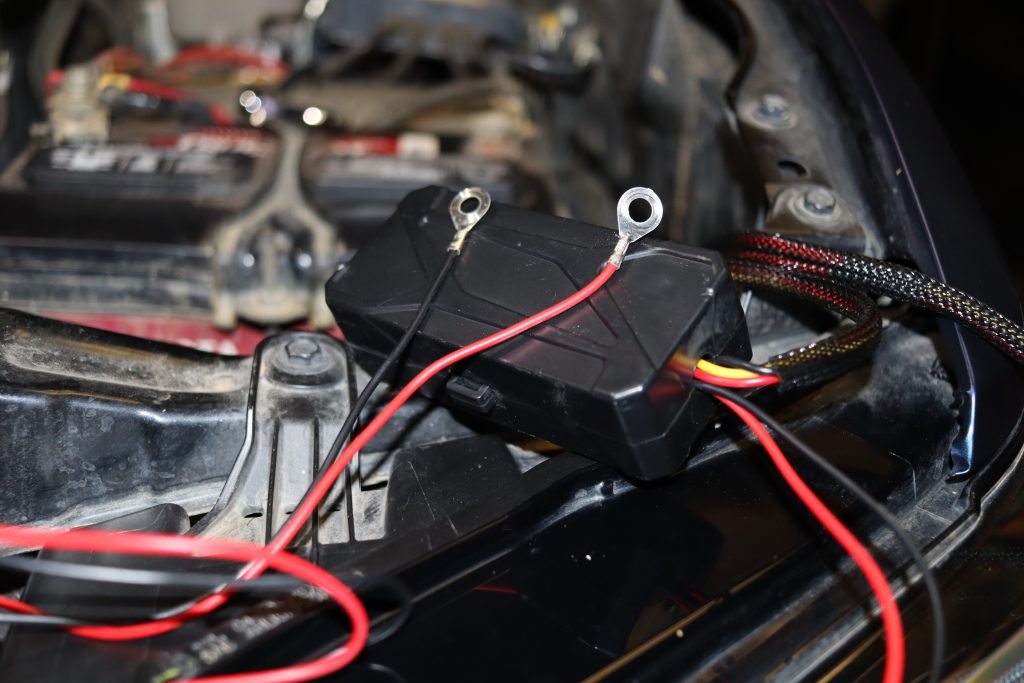
This step may vary depending on if you have a switch panel or a busbar. If you don’t, you can wire the ring terminals directly to your vehicle’s battery.
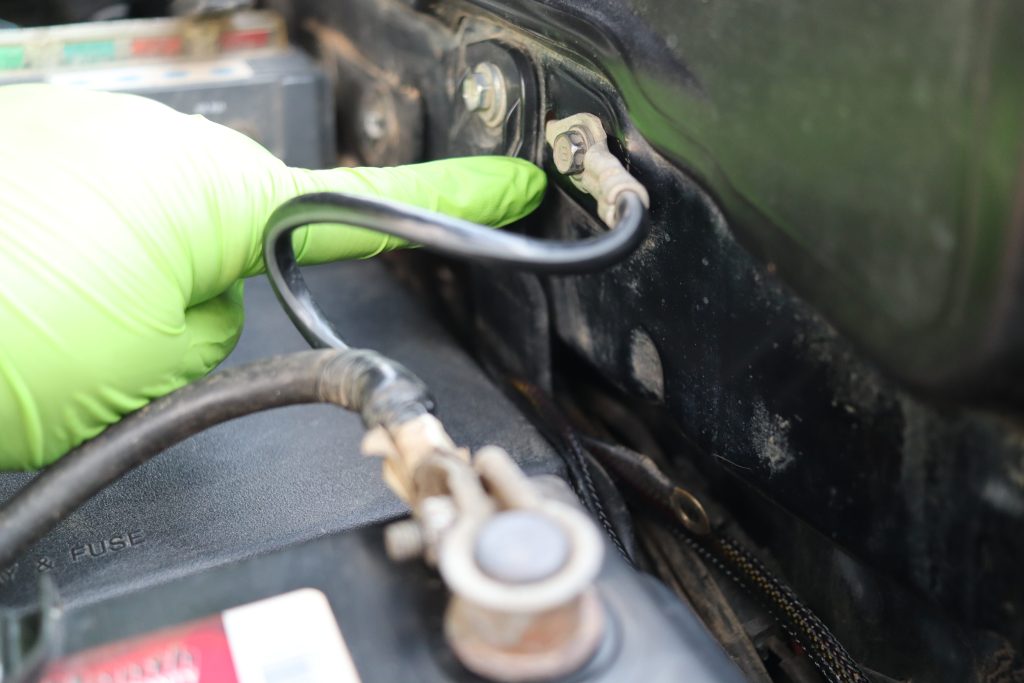
To connect the negative terminal, remove the 10mm bolt to the right of your negative battery terminal, holding down a black cable.
Once you have removed the 10mm bolt, stack the black wire ring terminal on top of the existing cable and reinstall the 10mm bolt into the fender wall.
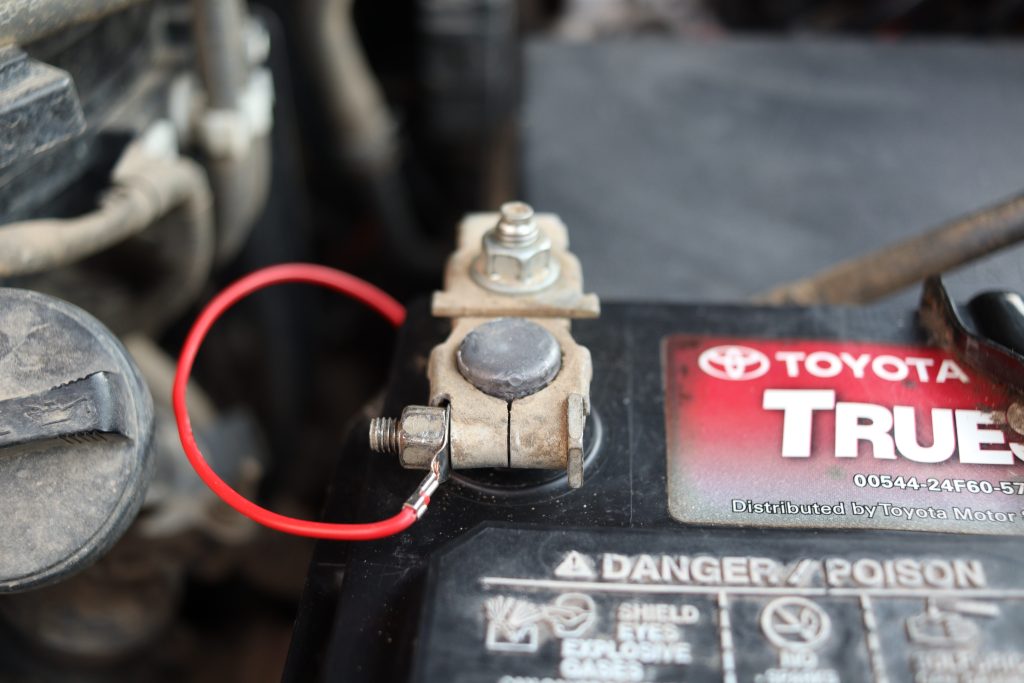
Next, remove the 10mm nut from the positive battery terminal (the one on the side).
Once the nut is off, insert the ring terminal from the red wire and reinstall the nut.
Once this step is completed, your light should have power.
Step 6. Fish Switch Through Firewall
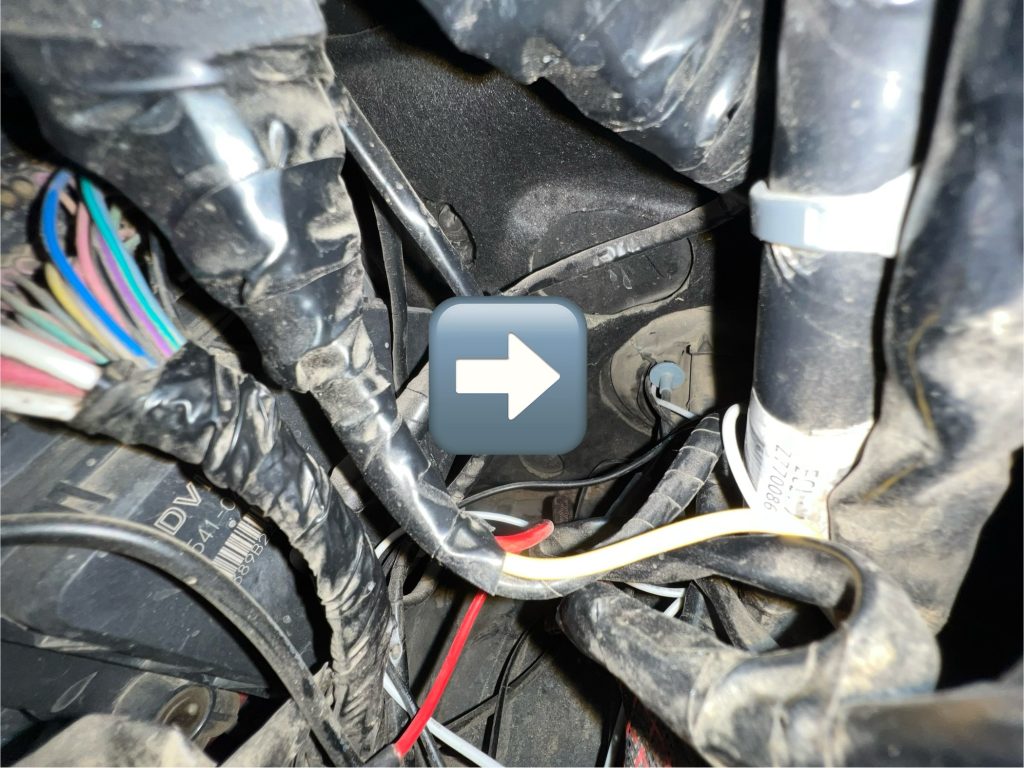
If you’ve never fished anything through the firewall, take a Phillips head screwdriver and punch a hole through the firewall gromet. This will create a hole to fish your switch into the cab of your truck.
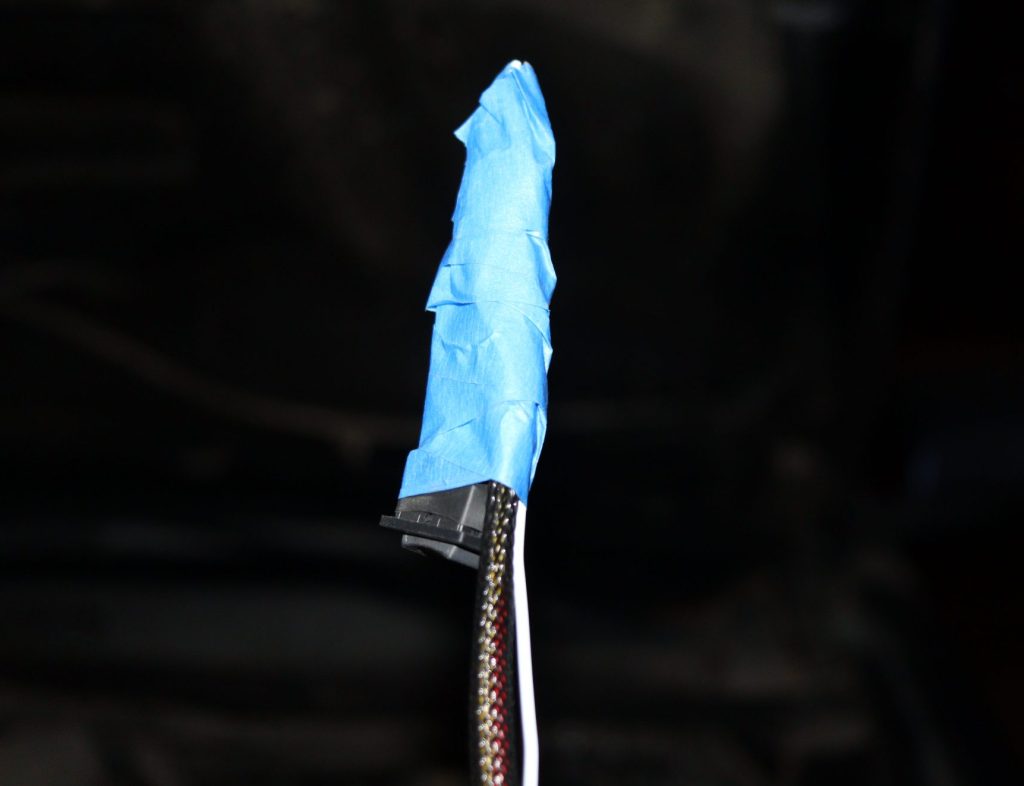
To make things easier, grab a wire hanger, undo the hook, and straighten one of the edges. Then, tape the switch to the end of the wire hanger. This will give you some rigidity when fishing the wire through the grommet.
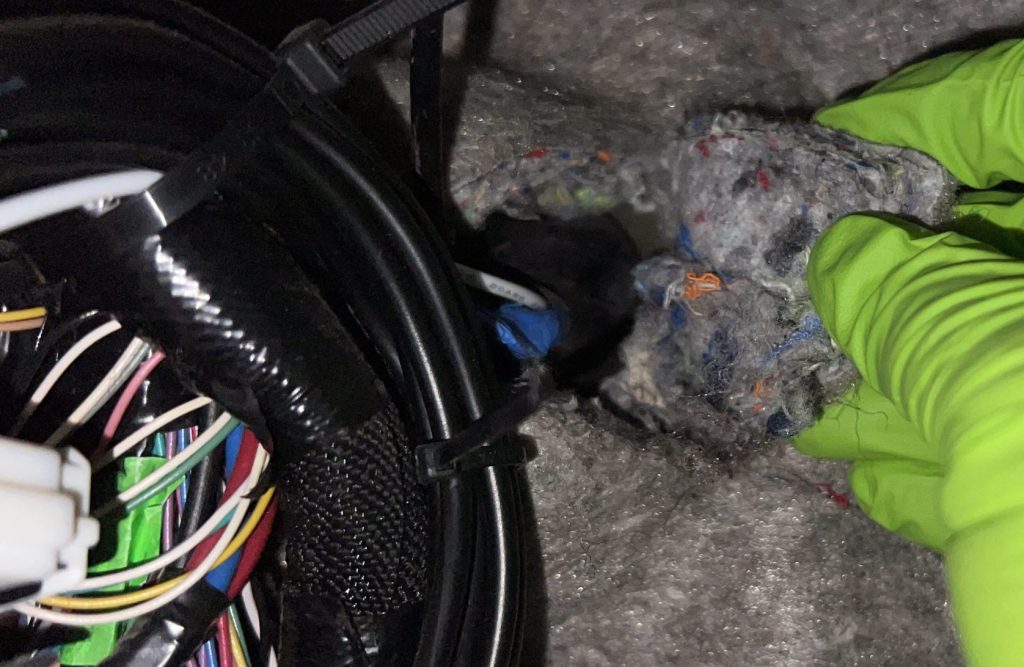
Once you have the hanger far enough in, you should be able to see the wire from inside of the cab, under the dash.
Once you have fully pulled the switch into the cab, remove the tape from the wire hanger and pull it back from the engine bay.
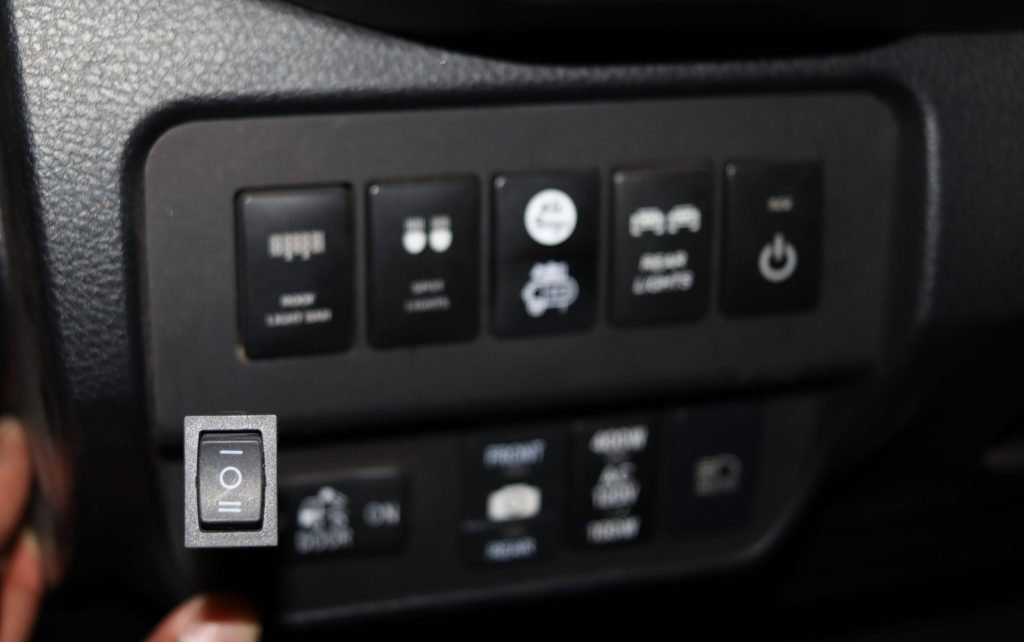
All that remains is determining where to mount your switch.
Test All Functions
Now that your switch is inside the cab, test everything out. The switch will have three positions – top, middle and bottom. The top position will turn on the white light, middle will be the off position, and the bottom will turn on the amber light.
Light Output
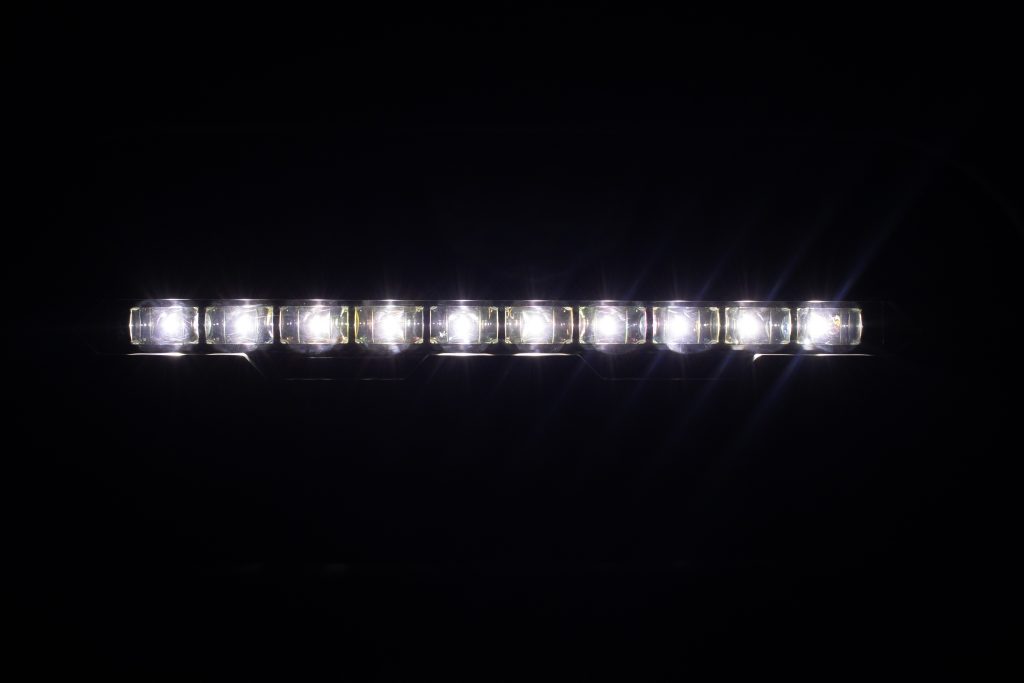
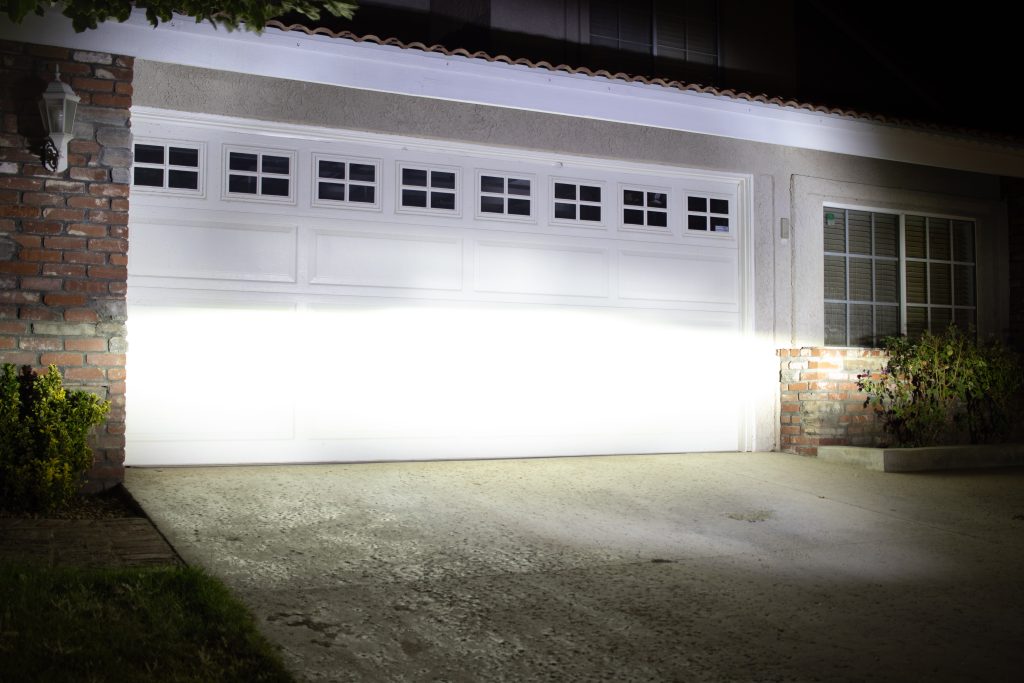
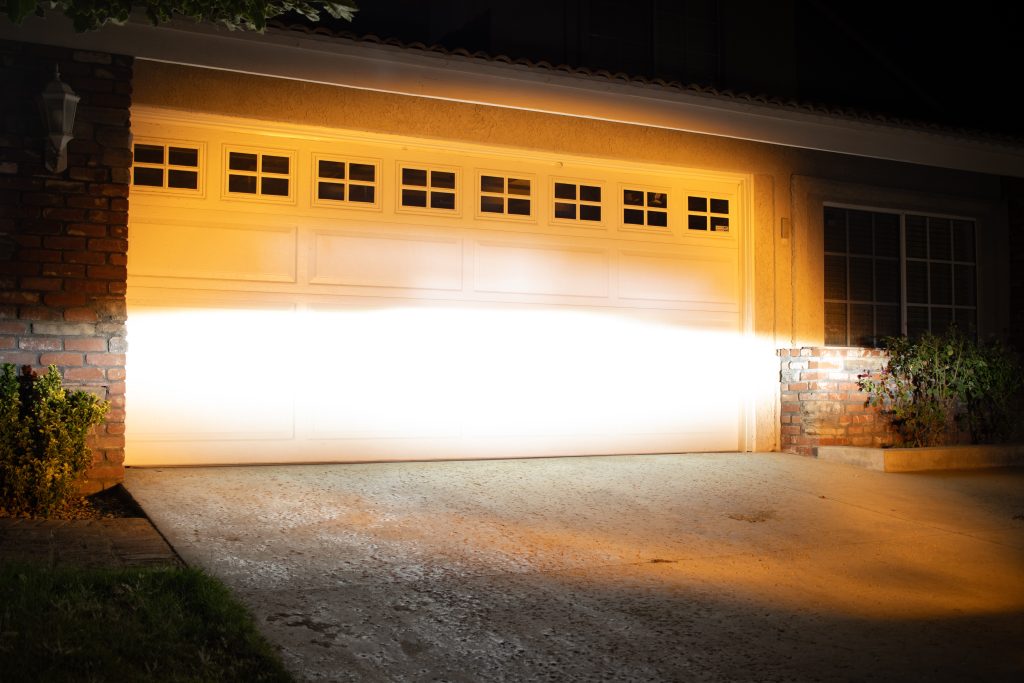
With the light on, I noticed that most of the light projected sideways rather than forward. I assume this was intentional so you could have it on without blinding the driver in front of you.
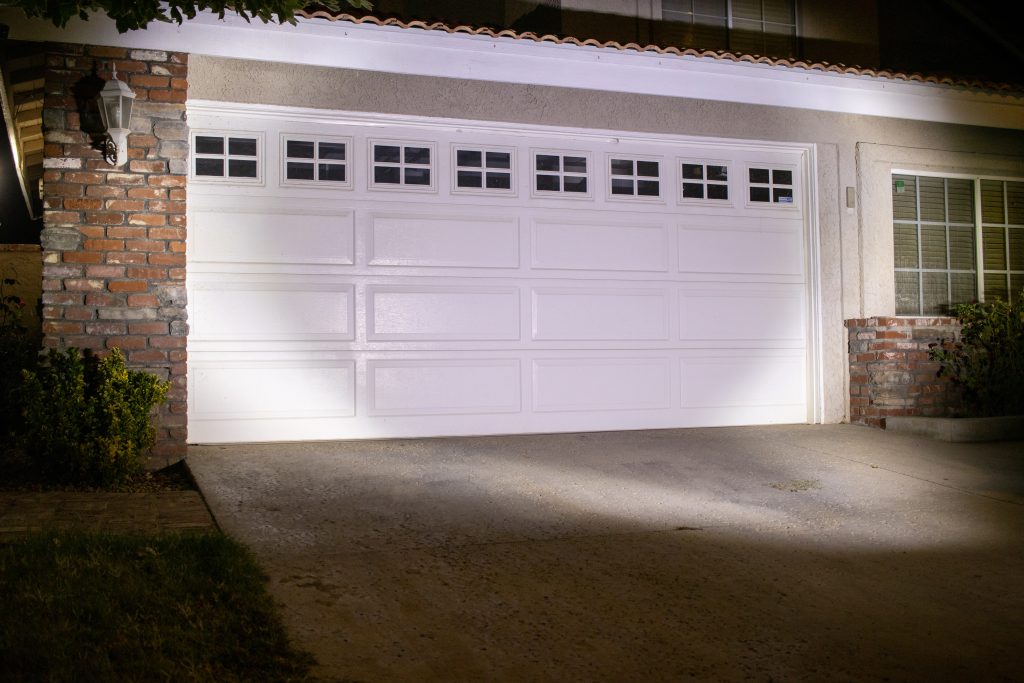
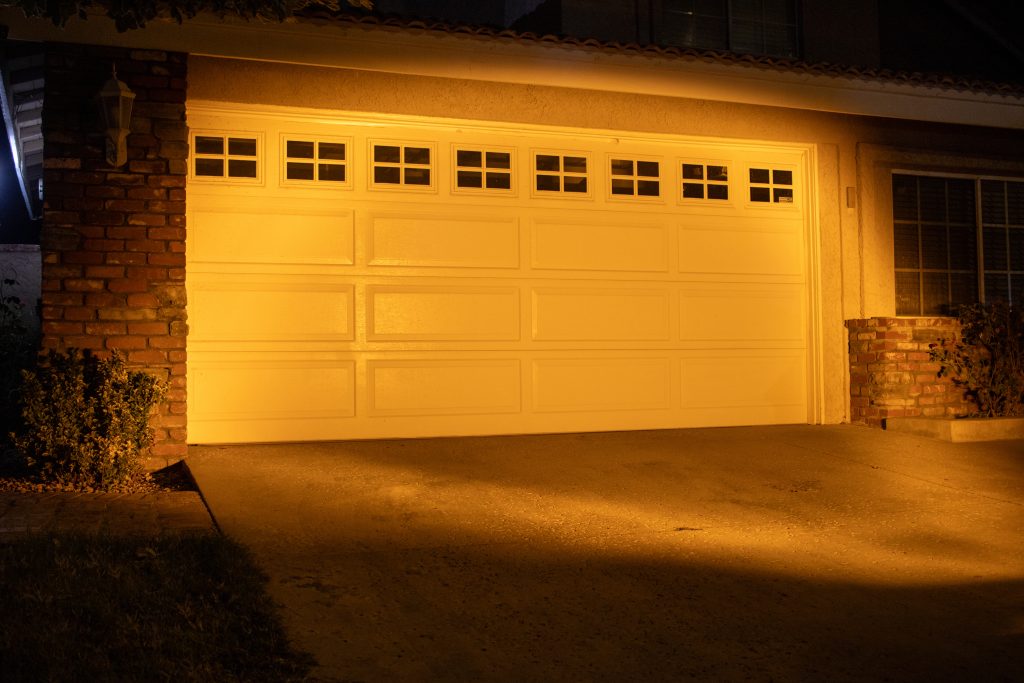
Once we pair it with the headlights, we can see that the light bar does provide some additional visibility where normal the headlights would not reach.
White Light
Amber Light
White Light w/ Low Beams
Amber Light w/ Low Beams
Final Thoughts
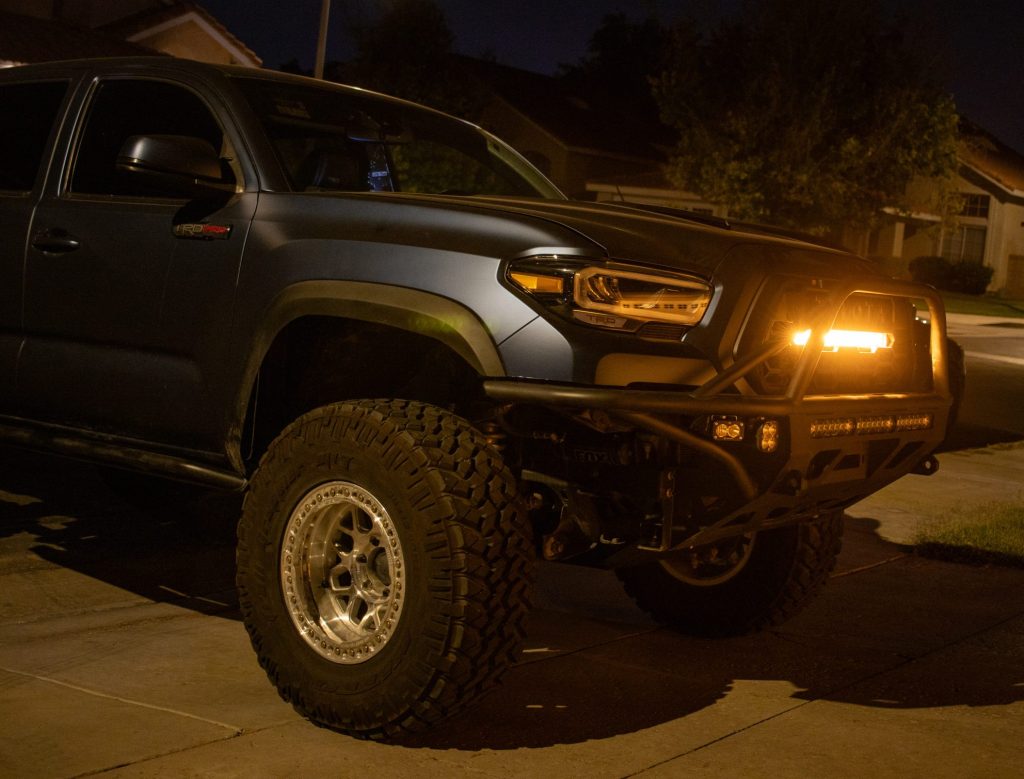
Aesthetically speaking, I really love the kit and its OEM+ design. The lens has this smoked out tint, blending in with the grille when turned off. This is a big plus because the lightbar doesn’t look tacky or stick out like a sore thumb.
As far as the installation goes, it was super simple. Even though no instructions were included in the kit, nor could I find any online, once I took everything out of the box, it was all pretty intuitive.
The light bar only produces 2400 lumens, so it’s not intrusive or obnoxious to other drivers. It complements the daytime running lights and also adds more visibility at night.
The only thing that would have made this kit better would have been if it came with an OEM-style switch button. This would have looked better compared to the universal switch in my opinion.
Overall, I am extremely happy with the kit as it gave my truck a whole new look and added more lumens (you can never have enough).



Anyone’s kit come missing the hardware pack? Got it in today and am missing the brackets
Just finished installing mine! I agree that the light throws out to the sides more. Understandable as if it had a hotspot in the center, you’d blind the surrounding traffic. I would like to tie it into a other function like the DRLs or fogs in the future.
It’s cool that the light bar has different color and output options.
Thanks for the install instructions and review. Don’t know if I like the switch that comes with the kit. Would the “Tall Style Dual Function Toyota OEM Style “AMBER & WHITE” Switch” work and do you plan on installing a different switch?
The picture of the switch I have is attached. Just need to go ahead and buy the light bar kit.
Hey Mike, did this switch end up working with the light bar?
I haven’t installed it. Been tied up with other projects around the house.
I am sure that switch would work. I did consider doing the same thing just haven’t had time to figure out how to wire it up.