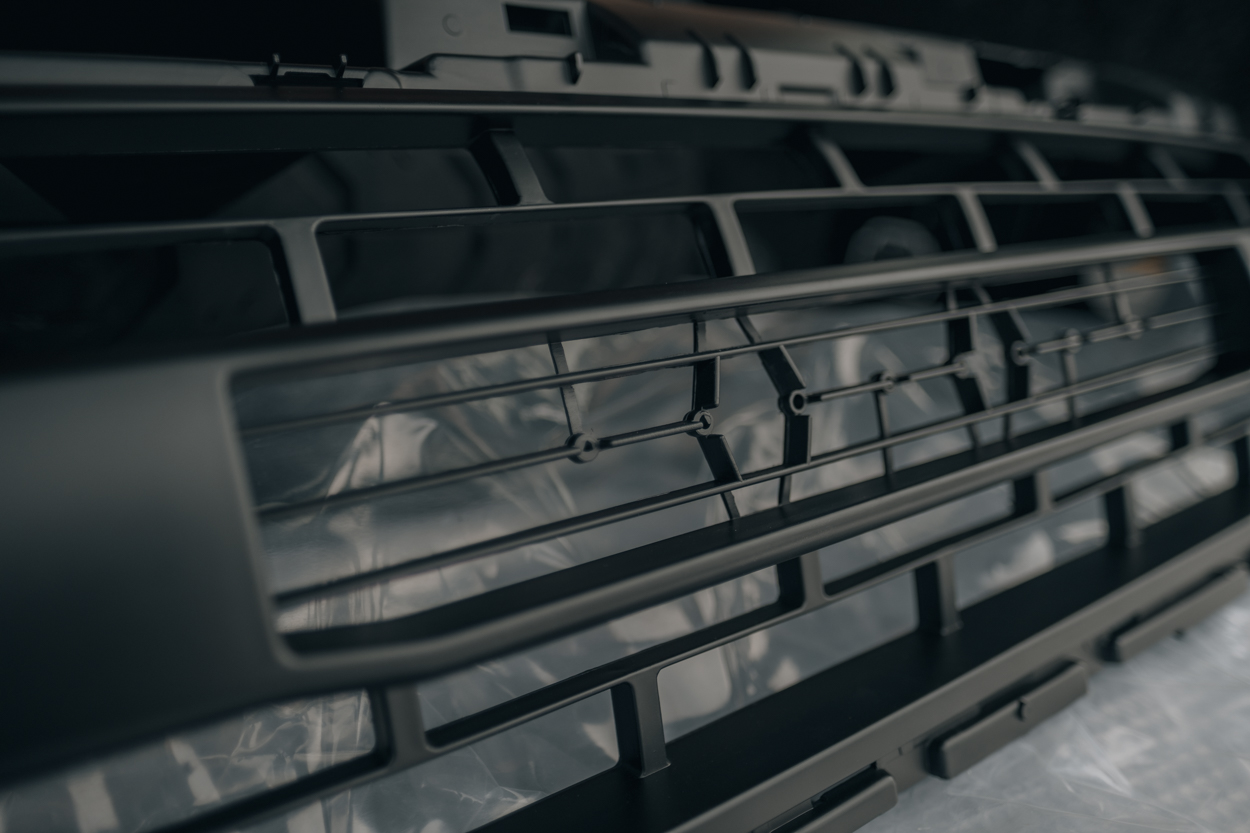
You might not know, but the first Tacoma TRD Pro model came out in 2015. With roughly only 1200 made, there aren’t many on the road anymore. So the 2nd Gen TRD PRO grille isn’t as popular as the 3rd Gens. But, hopefully, we can change that!
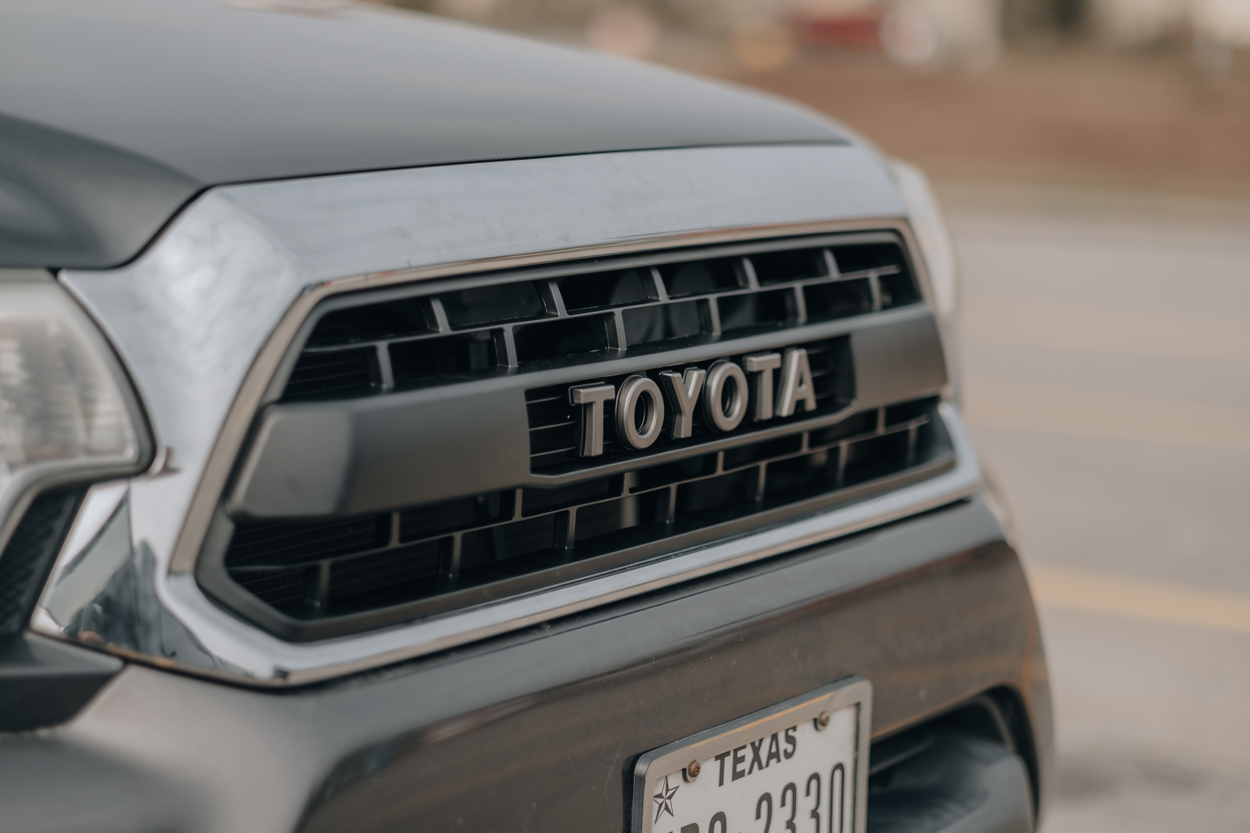
The replica TRD Pro grille will probably be one of the easiest and cheapest mods you’ll add to your rig. It really changes the front end, making it stand out but while staying subtle at the same time.
As for cost, these go for under $120 just for the insert. If you have a chrome outer, you can always get it color matched or purchase them already painted from the dealer.
It is made of high-quality ABS plastic and feels/looks well built. Fitment is also spot on, with everything clipping into place really easily.
Find It Online
- 2012-2015 Tacoma: Check Price
- 2005-2011 Tacoma: Check Price
Table Of Contents
Installation

Not much is needed tool-wise. The entire grille is mostly held by clips, Torx head screws, and metric botls.
Required Tools
- Flathead (multi-use) screwdriver (optional)
- Plastic pry/trim tools (preferred)
- Torx head T20
- Metric Socket Set
Step 1. Unboxing

Right out of the box, you can tell the grille was packed very well.
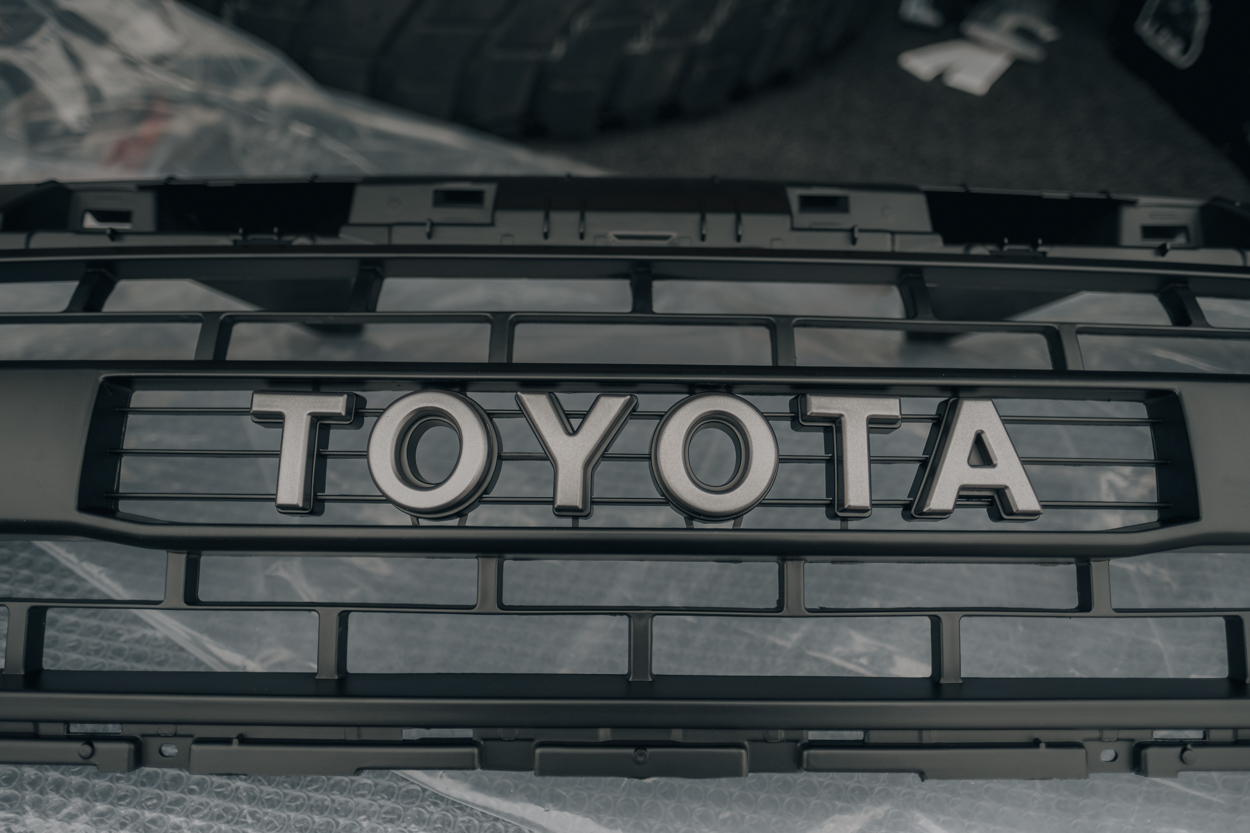
You will also see it doesn’t come with the TOYOTA emblem installed.

The Toyota logo letters come in a separate bag and they just screw onto the grille.
Step 2. Assemble

The grille will have predrilled holes to install the TOYOTA emblem.

Each letter of the emblem will also come with predrilled holes to make installation a breeze.

You will then place each letter in its designated spot.
Install with the provided screws.

Once completed, it should look like this.
That’s it! Now that the grille is assembled, it’s time to remove the factory one.
Step 3. Remove Factory Part

Removing the factory grille and insert is pretty simple, just gather your tools and pop the hood.

There will be 2 screws that attach the grille to the core support of the rig.
These screws can be removed by either a 10mm socket or a Philips head screwdriver. These aren’t mounted very tightly so it won’t take too much effort to remove.

The lower portion will be held by these clips.
A quick pull on the grille is usually what it takes to remove these but, you can also use your hands to help unclip it.

Now the grille can be removed from the rig so you can swap out the insert.

Place the grille face down so you can access the Torx head bolts holding the insert.

Using your T20 Torx bit, remove all Torx head bolts.
There should be a total of 12.

Once all the bolts have been removed, you will be left with a bunch of these clips.

To remove these clips, you may use a flathead screwdriver or your hands to spread apart the clips holding the insert in place.
Work your way around the grille unclipping all clips being careful to not break any.

Now you can remove the factory insert from the outer grille.
Step 4. Install Grille Insert

Now all you need to do is line up the TRD Pro grille insert with outer clips and press down firmly.

Once everything is clipped in and secure, you can install the (12) T20 Torx head bolts back on.

Next, just reinstall the grille back onto the rig.
Place the bottom clips in first then bolt the top part of the grille back to the core support with either a 10mm socket or Phillips head screwdriver.
That’s it, now you’re done!
Final Thoughts

Changing the factory over to the TRD Pro grille replica really changes the way the front end looks. Giving it a clean and subtle, yet factory look to it. This modification is a must, and it won’t break the bank.
Updating the grille on your Tacoma makes a big difference. The install is so easy—you can do it with simple tools in a parking lot. If you decide to paint match the outer chrome, it will flow that much better!

