

*** As of early 2022, JLT Performance is now call J&L Oil Separator Company. ***
First off, I need to clarify something. I’m not a mechanic. But the longer I have my Tacoma, the more I seem to learn.
For example, the JLT 3.0 Oil Separator solves a problem I never knew existed. But after some research, I knew it was something I needed to put on my rig.
Now, to understand what the JLT 3.0 Oil Separator does, you need to know just a tad about how your engine works.
So how does your engine work?
When your engine is running, heat is created (obviously). This heat vaporizes some of your oil (and fuel), which then needs to be vented to help with cooling and pressure buildup. Because of emissions regulations, that venting can’t just go out into the air. It needs to be contained.
So, to keep the system closed, this vapor is vented back into the motor through the intake manifold, then into your combustion chamber. In the chamber, it’s promptly combusted to send those gases out through your exhaust system.
From there, they get caught in your catalytic converter or end up as exhaust gases. But this is a dirty process. And it has two main side effects.
Problems with the combustion process
The first problem is that oil/fuel vapor in your intake manifold will mix with your gasoline and lower your octane. The second problem or side effect is gunk build-up in your combustion chamber, pistons, and valves. This can decrease the life of your motor and increase the rate of buildup if left unchecked.
This is where the JLT Performance 3.0 Oil Separator comes into play. JLT Performance offers their oil catch can for many makes and models. Today, we’re talking about the Tacoma but they also have a kit for the Toyota 4Runner, FJ Cruiser, Sequoia, Ford Raptor, and many other platforms as well.
Find It Online
- JLT Performance (now J&L OSC) 2016-2023 Tacoma Catch Can: Check Price
Table Of Contents
How Does It Work?
The JLT 3.0 Oil Separator removes those pesky oil vapors before they ever get to your intake manifold. It does this using its fine mesh stainless steel screen that catches the oil vapors and collects them until they fall onto a 1/2” thick honeycomb aluminum filter.
From there, the condensed oil droplets fall into the JLT 3.0 oil container. This tank will hold three ounces and will need to be emptied every 2000-3000 miles. It will then need to be cleaned every 10,000 miles, but this stuff is easy…I’ll talk about it later.
Unboxing
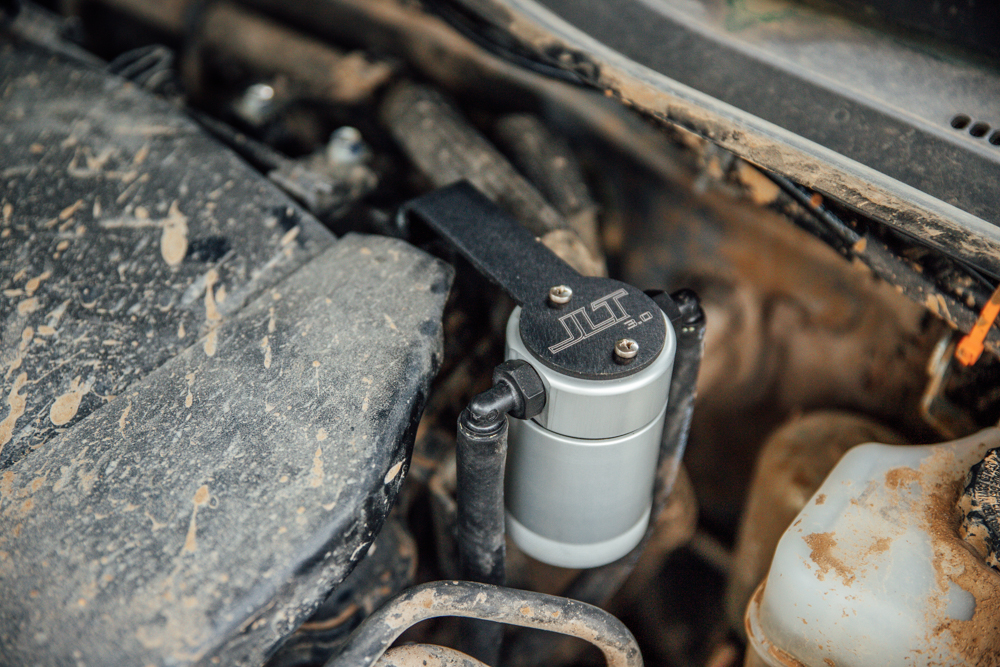
When you hold the JLT 3.0 in your hands, one thing is immediately apparent. This product is well built. Its solid billet construction is just as it sounds… solid!
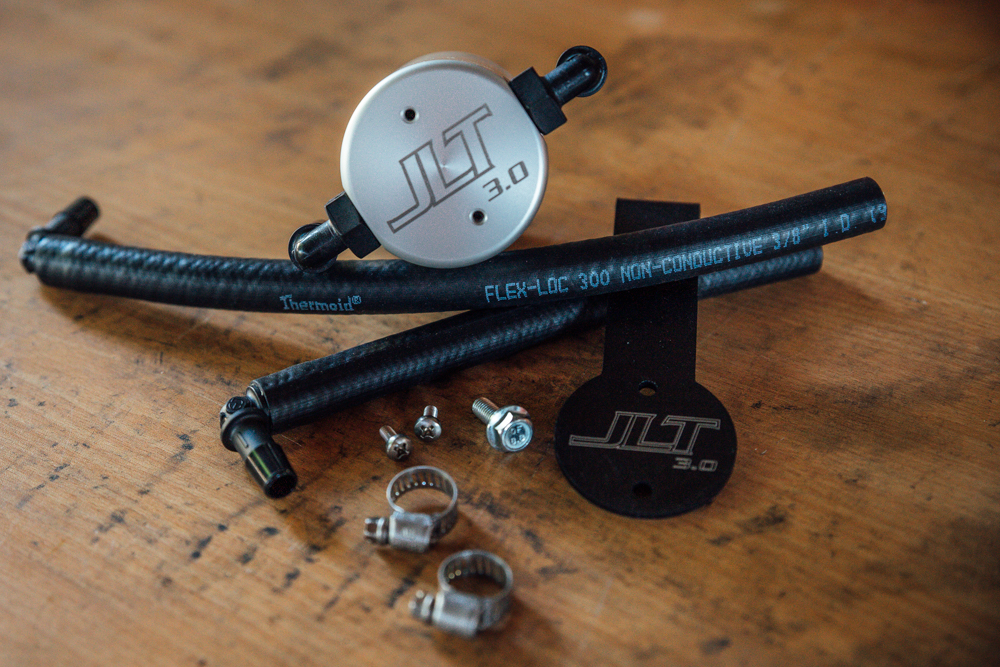
The fittings are top-notch, and the finish is beautiful to look at and touch. The tank unscrews smoothly and it even has an O-ring to keep it from leaking. In the box, you get the JLT 3.0 Oil Separator, a mounting bracket, two screws for the mounting bracket, a bolt to mount it to a factory spot at the rear of your Tacoma’s engine, and the hoses, and hose clamps you’ll need to install.
You’ll also get a set of very helpful instructions, and JLT even has a detailed install video on their website! Speaking of installation. Let’s talk about that. Because I know that’s what you’re really here for.
Installation
Installation is quick. I got mine done in 30 minutes. And that’s including the time I took taking pictures of everything.
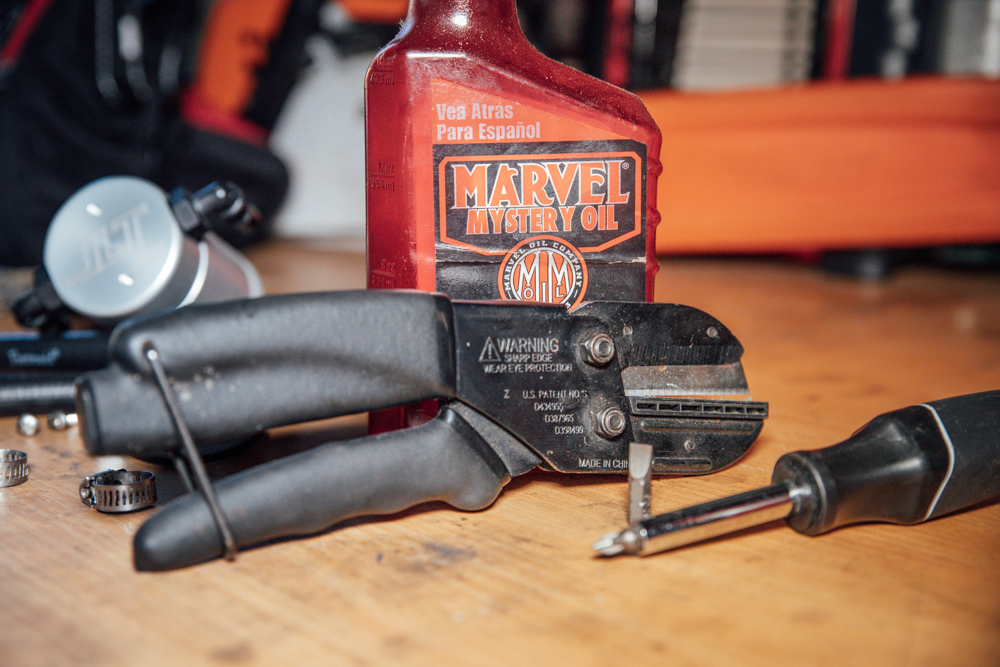
What will you need to get this thing installed? Not much.
- Flathead & Phillips (multi-use) screwdriver
- Hose cutter or sharp knife
- Plastic pry/trim tools
- Torx head T20
- Metric Socket Set
Step 1. Locate & Remove Hose
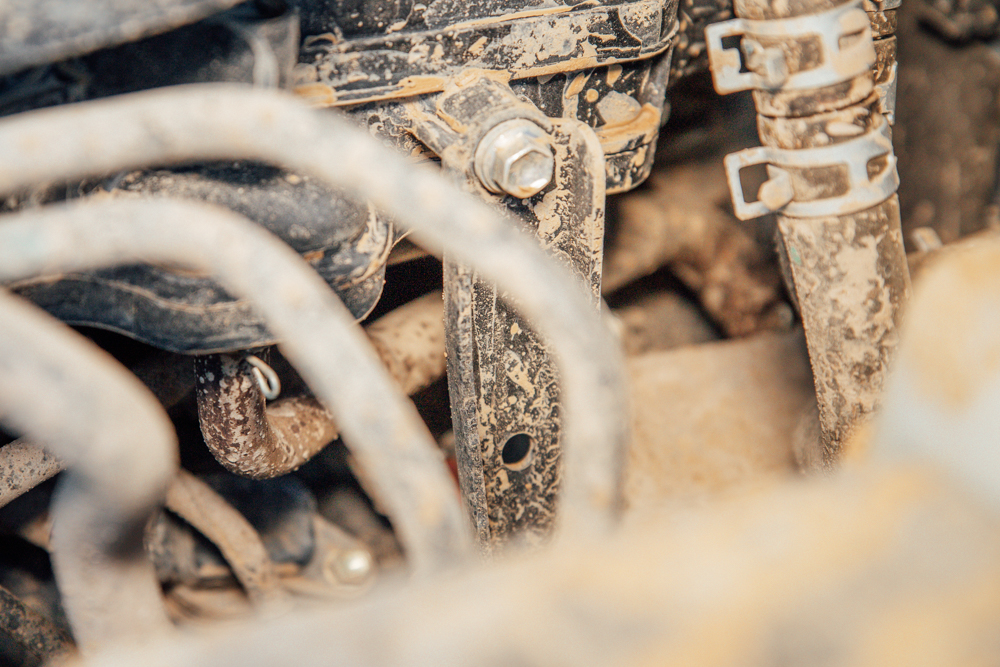
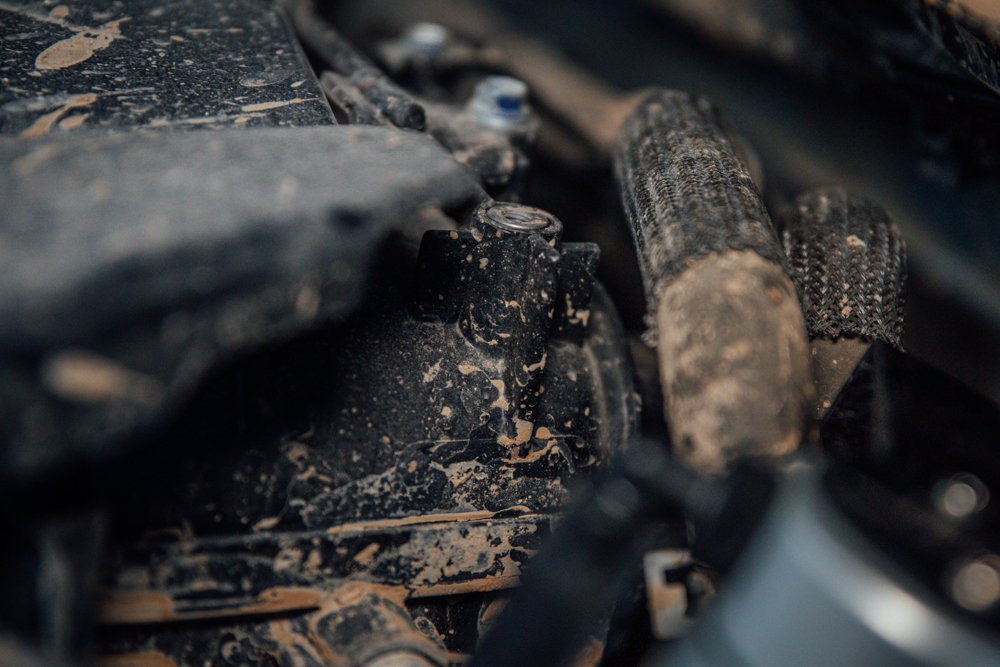
Locate the Positive Crankcase Ventilation (PCV) hose on the driver side of your Tacoma near the rear of the engine.
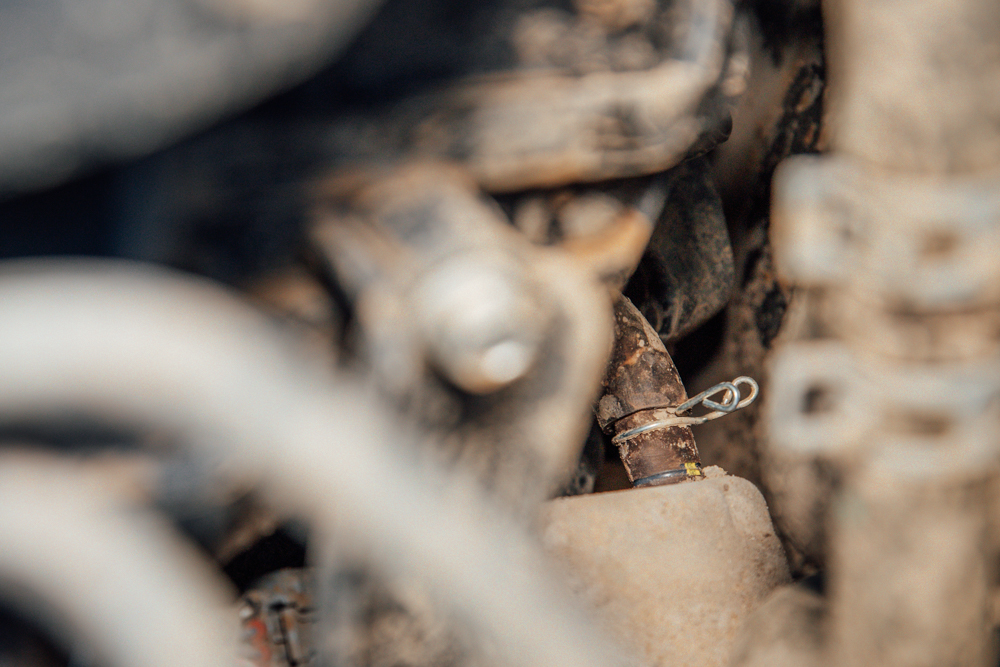
You’ll see it’s held in place with two spring clips.
Loosen the clips, and slide them off the fittings.
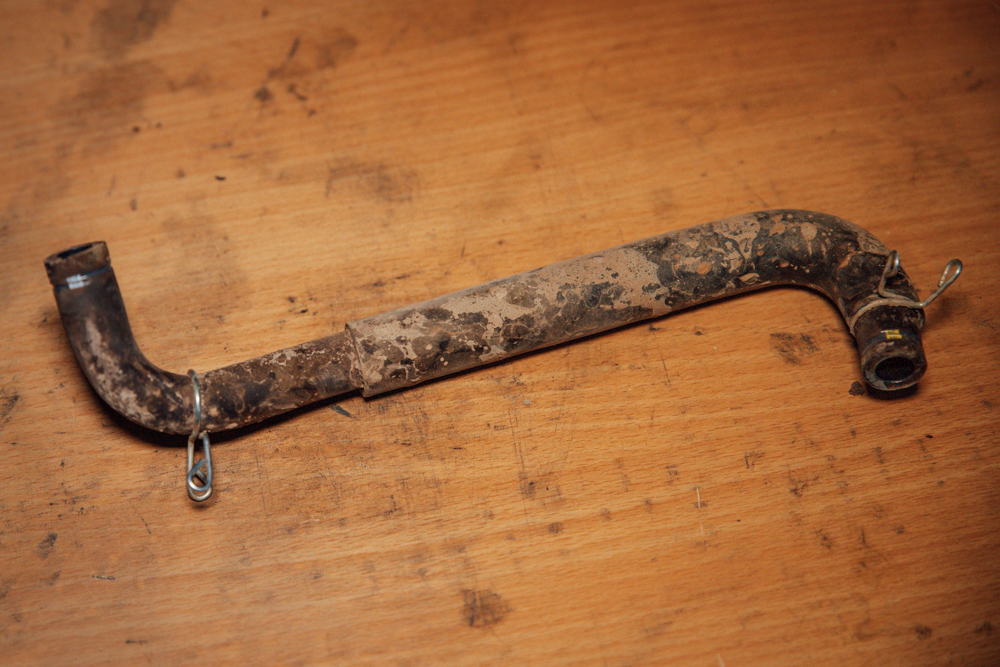
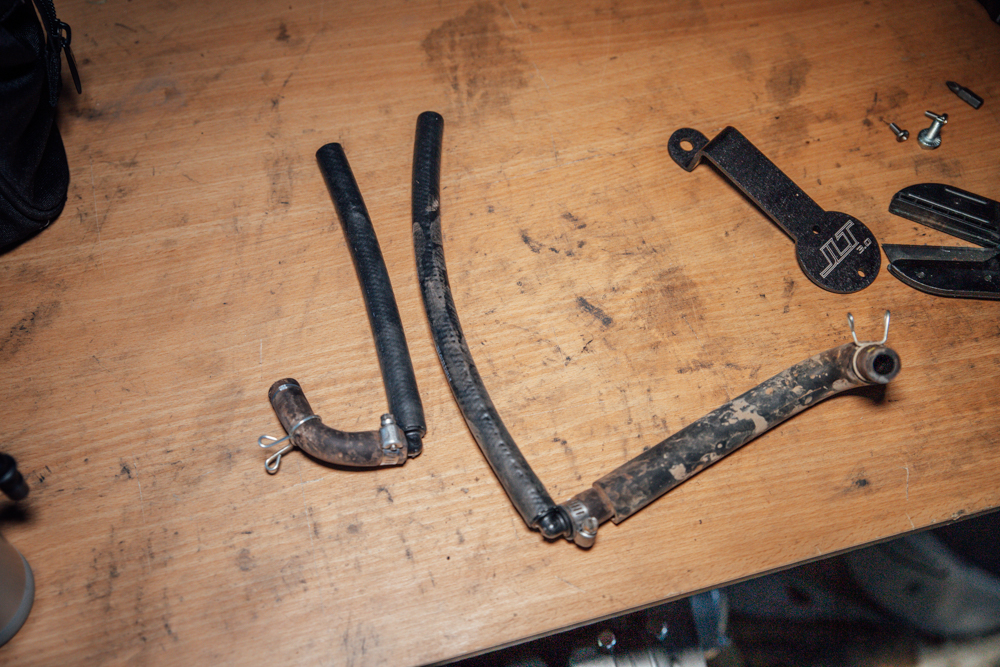
Removed hose as seen above.
Step 2. Cut Hose
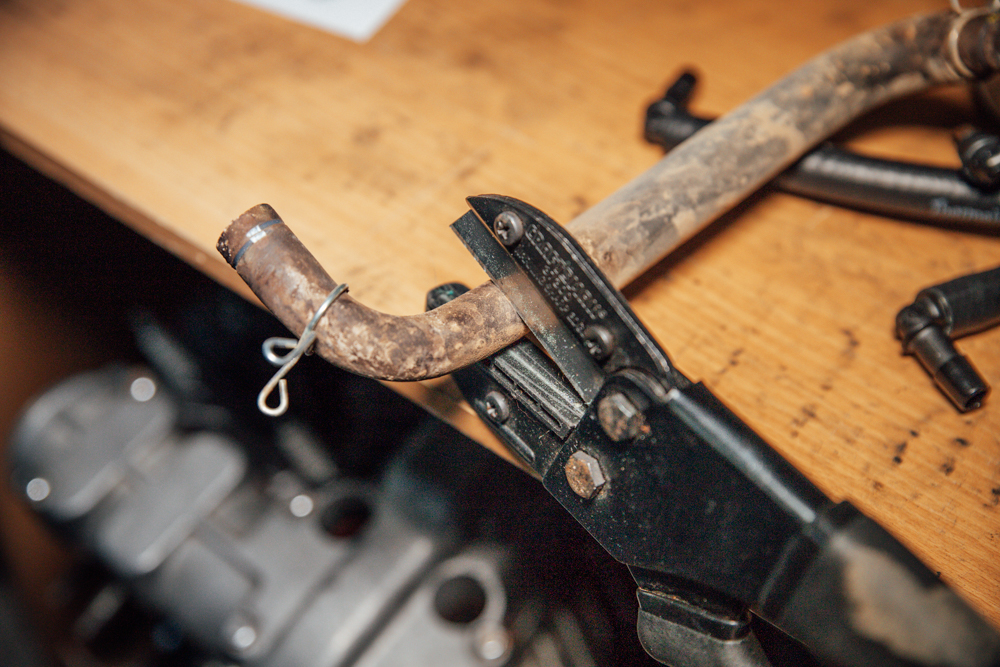
Cut the PCV hose in the center of the straight section on the intake manifold side, about 3/4″ from the thicker part of the hose.
Step 3. Slide On Clamps
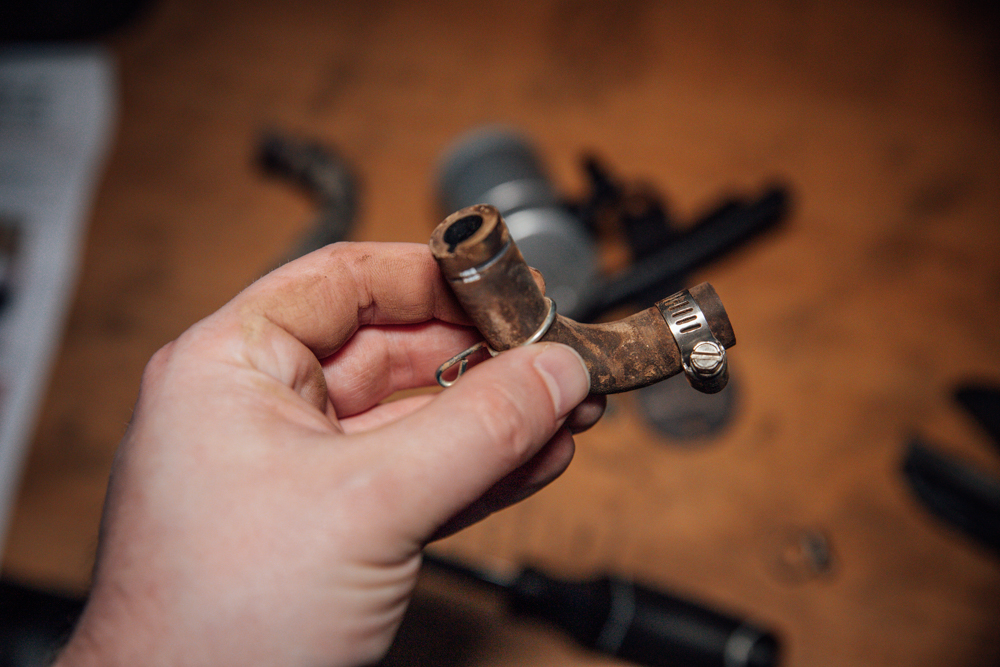
Slide on your hose clamps on either side of the PCV hose where you just cut.
Step 4. Attach Hose Extensions
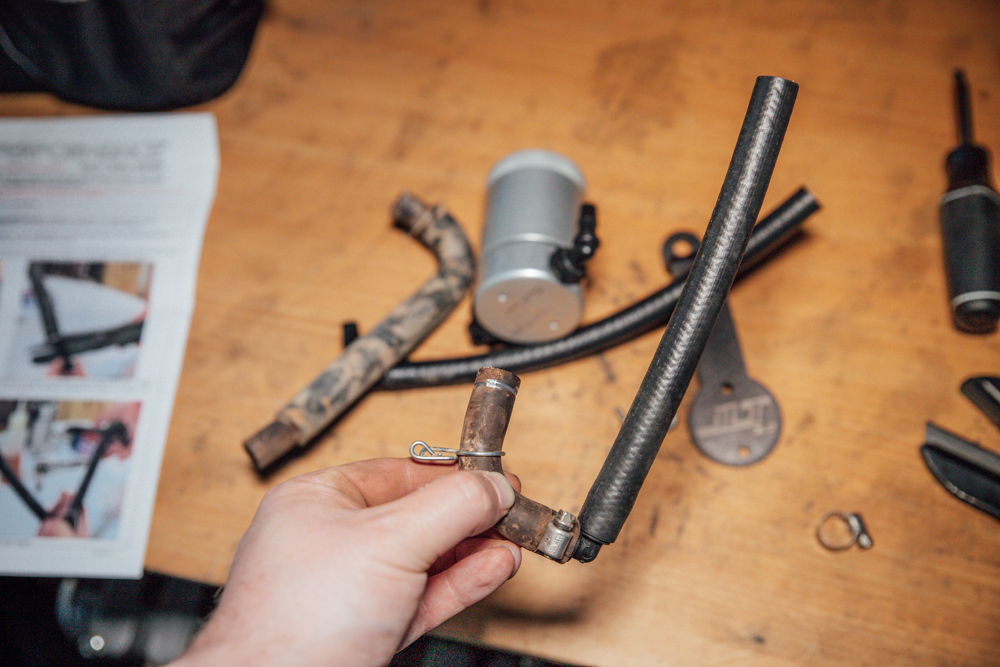
Take the two provided hoses with the 90-degree connectors and attach the connectors to the original PCV hose.
The shorter one will go on the smaller part of the PCV hose that connects to the intake manifold. Make this hose vertical so that the PCV line makes a “U” shape. The longer one will go on the longer one that leads to the valve cover. This one should also be vertical. Please refer to the photos.
Once you have these connected, make sure to tighten the hose clamps.
The clamps don’t have to be too tight, just enough to stop it from slipping off.
Step 5. Reattach Extended Hoses
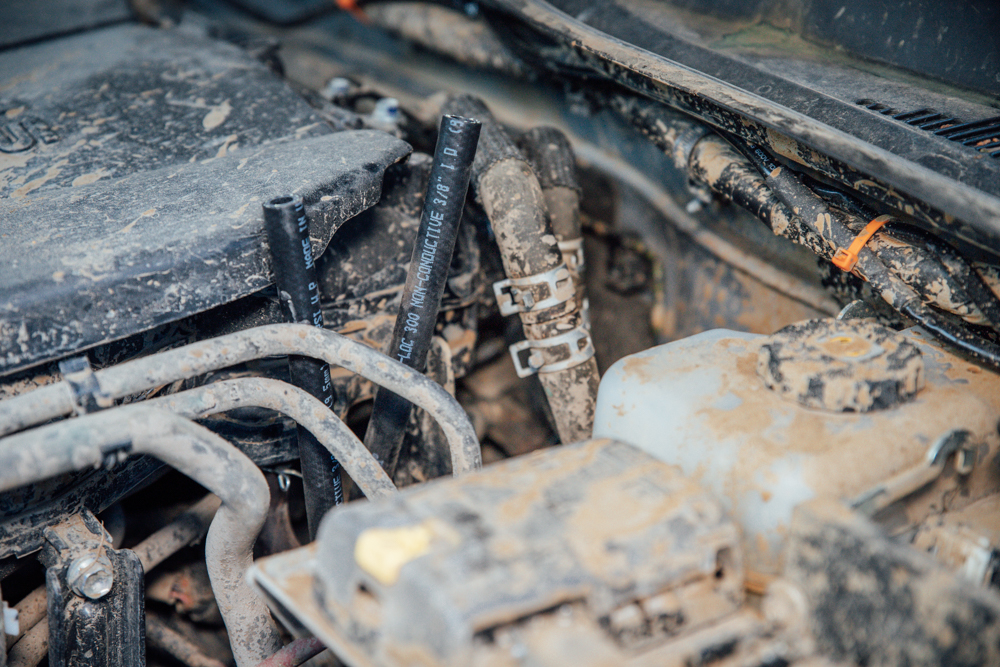
Now that you have your hoses ready, it’s time to reattach them to the engine.
Just slide them back onto the fittings they came off of and make sure to slide the spring clips back into place. Once that’s done, you should be looking at the two hoses sticking up vertically.
Step 6. Prep Oil Separator
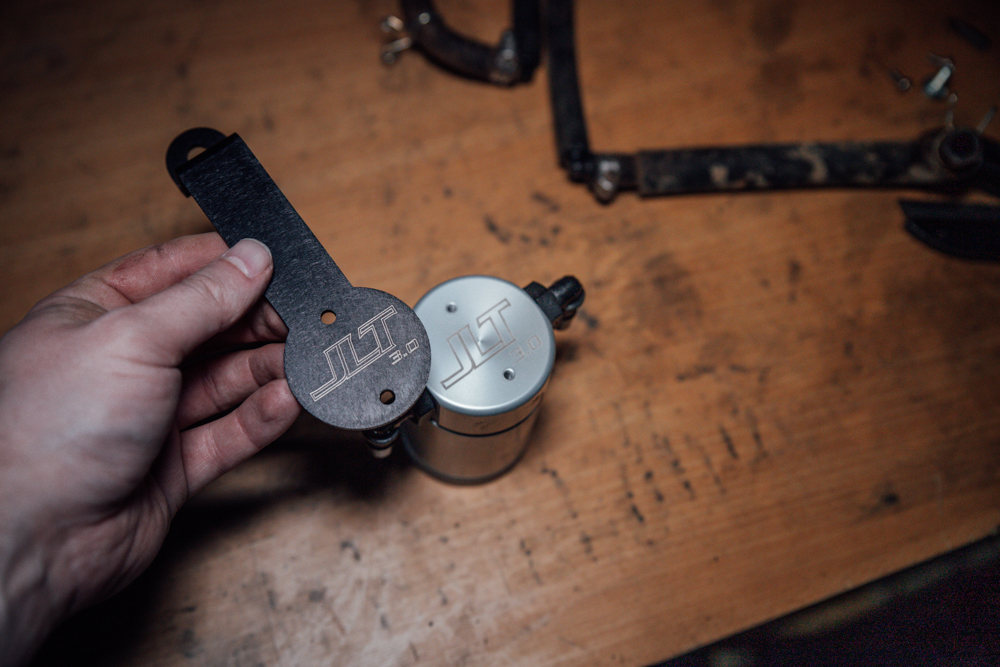
All that’s left is to attach the JLT 3.0 – but that needs some prep work.
First up you’ll need to attach the mounting bracket to the top of the oil separator. Make sure the logos line up and use the small screws to attach the bracket.
Step 7. Mount Oil Separator
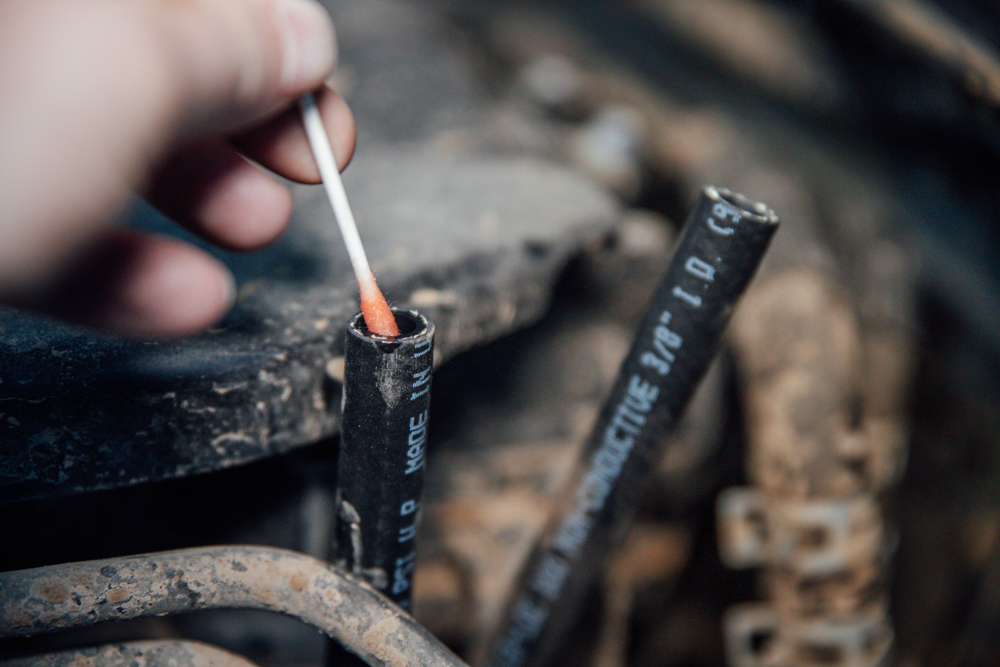
To attach the oil separator to the hoses, you’ll need some lubrication. Take your light oil and coat the inside of the hoses. A little bit goes a long way here. So, go easy on it.
Then just slide the hoses on the JLT 3.0. The hose coming from the intake manifold will go on the side closest to the J in the JLT logo. And the one coming from the valve cover will attach to the T side of the oil separator. These connections won’t need any hose clamps.
Step 8. Mount To Bracket
All that’s left to do is to finish attaching the mounting bracket.
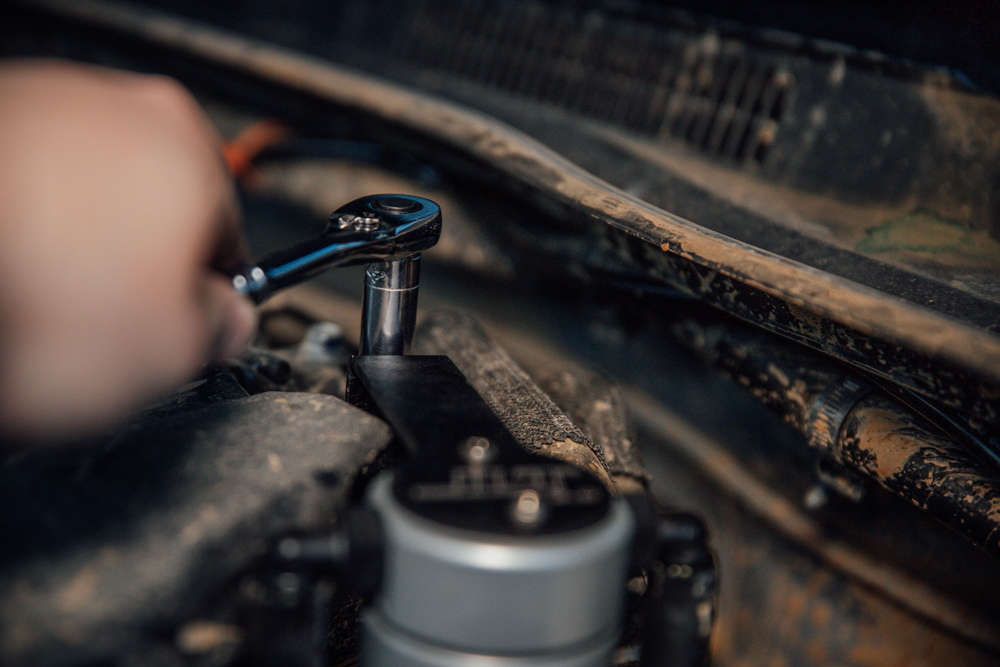
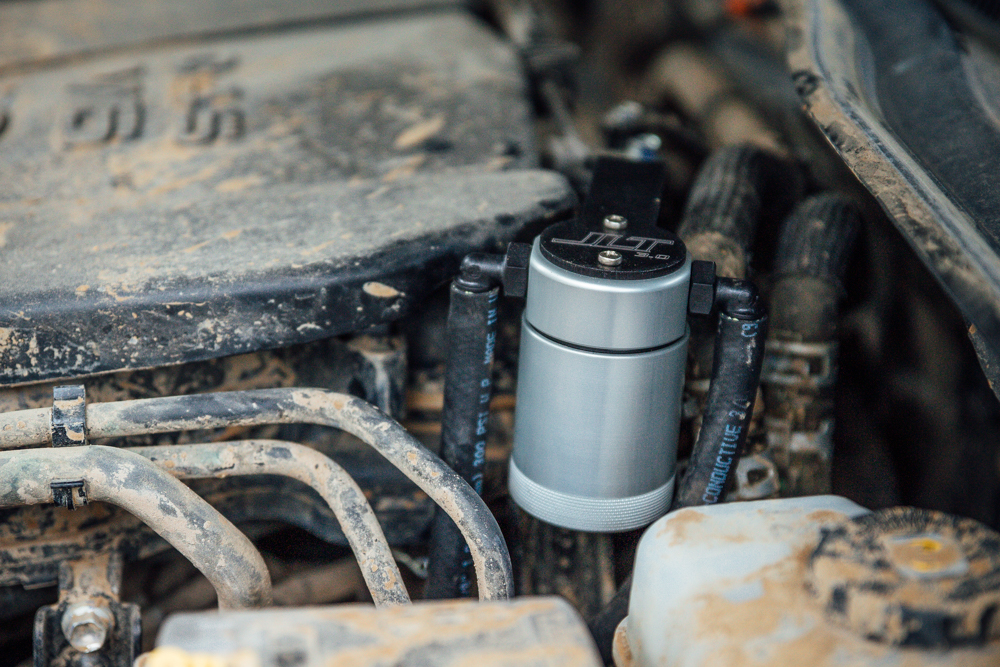
Take the 10mm bolt that came in the kit and use it to mount the bracket to the open bolt spot at the rear of the engine cover.
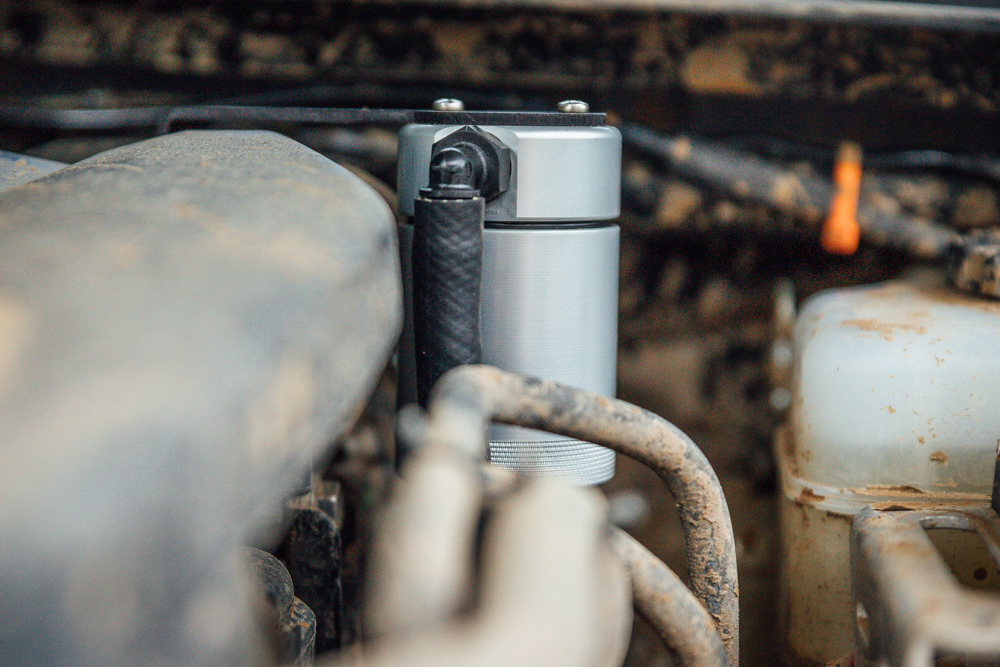
That’s it. Step back and think about how much cleaner your engine is going to run.
Maintenance
You will need to keep an eye on the oil separator. It will need to be emptied every 2-3k miles and cleaned every 10k.
To empty it, just unscrew the tank and dump it out into your used oil container. Cleaning is a bit more work. But it’s still not bad. Just remove the hoses, and unbolt them from the motor. Then run water through it until it’s clean, making sure you let it dry completely before installing it back onto your Tacoma.
You do not want to let water get into your system. I’d recommend letting it sit open for a few hours in a warm dry place, preferably in the sun. Once it’s dry, you’re ready to reinstall and enjoy another 10k miles of clean combustion.
Final Thoughts

With a good price, incredible build quality, and when you take into account what the JLT 3.0 oil separator does for your Tacoma, you can’t go wrong.
I can’t think of a reason not to have it. It even looks sexy under the hood. I’ve only had it on for about 50 miles so far so there’s just a touch of moisture in the can. I’ll be sure to add photos of what it collects in the coming month or so.
Can also use a carb/throttle body cleaner to use on filter? Eventually that mesh will get gummed up i wld think.
This thing works! Did a 3,0000 mile road trip driving through the mountains hard and at high speeds. Catch can was pretty much full when I went to dump it!
I went to empty my catch can and found my mesh screen filter down in the oil it caught. How can I stop this from happening again?
Hey Wally. I would get in contact with JLT!
solution looking for a problem.
Are you saying this is a bad idea? Or a good solution to a problem? I’m confused, haha.
Introducing more parts to a system introduces potential for problems down the road. (I think that is what he means, I’m just guessing).
I can understand that reasoning, however, this system is incredibly simple. If you understand basic vacuum mechanics, there really isn’t anything that can go wrong. There are no moving parts, it’s easily removed, and does not affect the flow of air through the system. Nothing but benefits as far as I can tell. And the amount of junk they collect is kind of surprising. Just my thoughts!
I agree, I am actually interested and tempted to try it out. I read the full article and wanted to join in a discussion.
My only hesitance is, I have a brand new 2021 Tacoma with ~2,000 miles on it, I don’t want to void any sort of warranty, 71 more payments and this baby is mine . . .
After 1500 miles on my ’18 f150 2.7tt, it filtered out over an ounce of sludge… The truck has less than 17k on it, still young and clean, very good investment.