
Having a truck bed is great until you need to haul gear or other contents in the rain or around town, and they are exposed to the elements and potential thieves. Tonneau covers are a great way to protect your truck bed contents, but some aren’t able to provide quality protection and don’t come with all the features you could want and need.
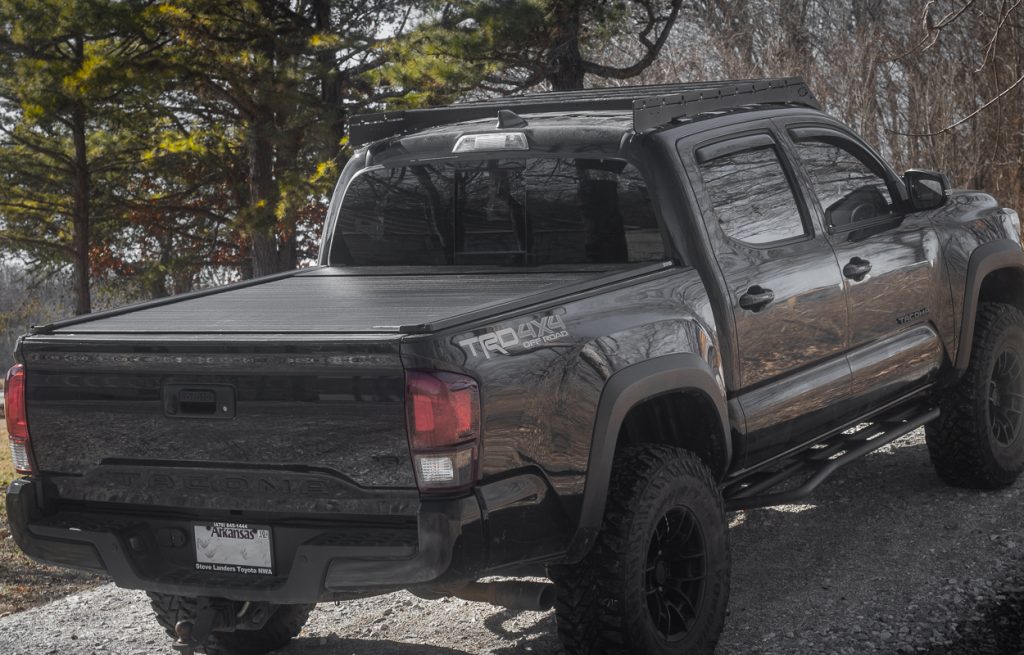
The RealTruck RetraxEQ Tonneau Cover is one of the most high-tech and feature-packed bed covers on the market. The app-enabled option comes with more innovative features than you could ever need while also providing high-quality protection that can take a beating.
Table Of Contents
Installation
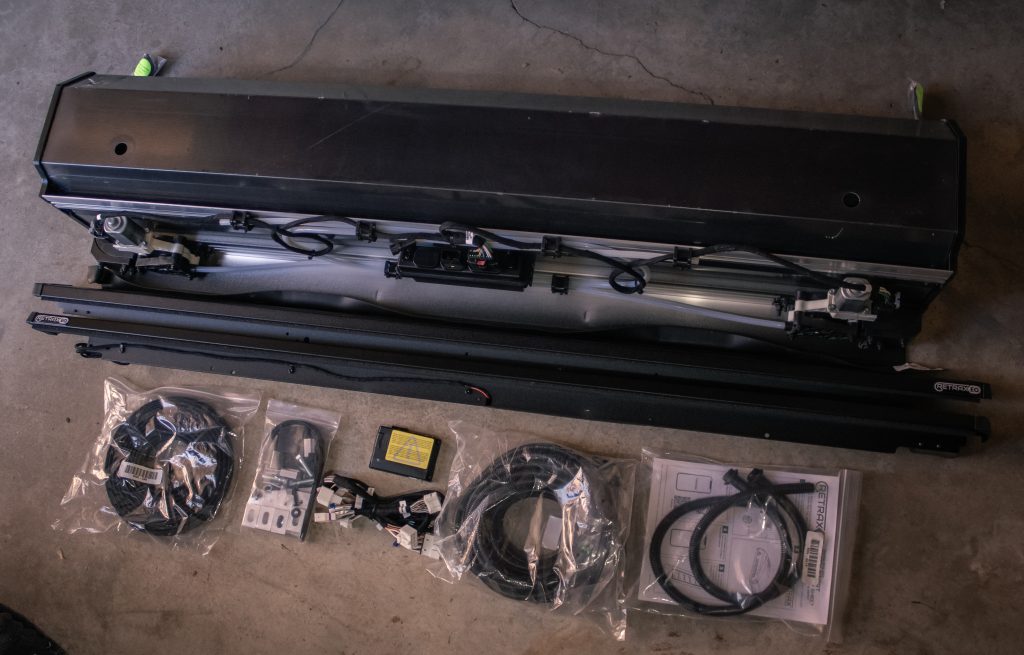
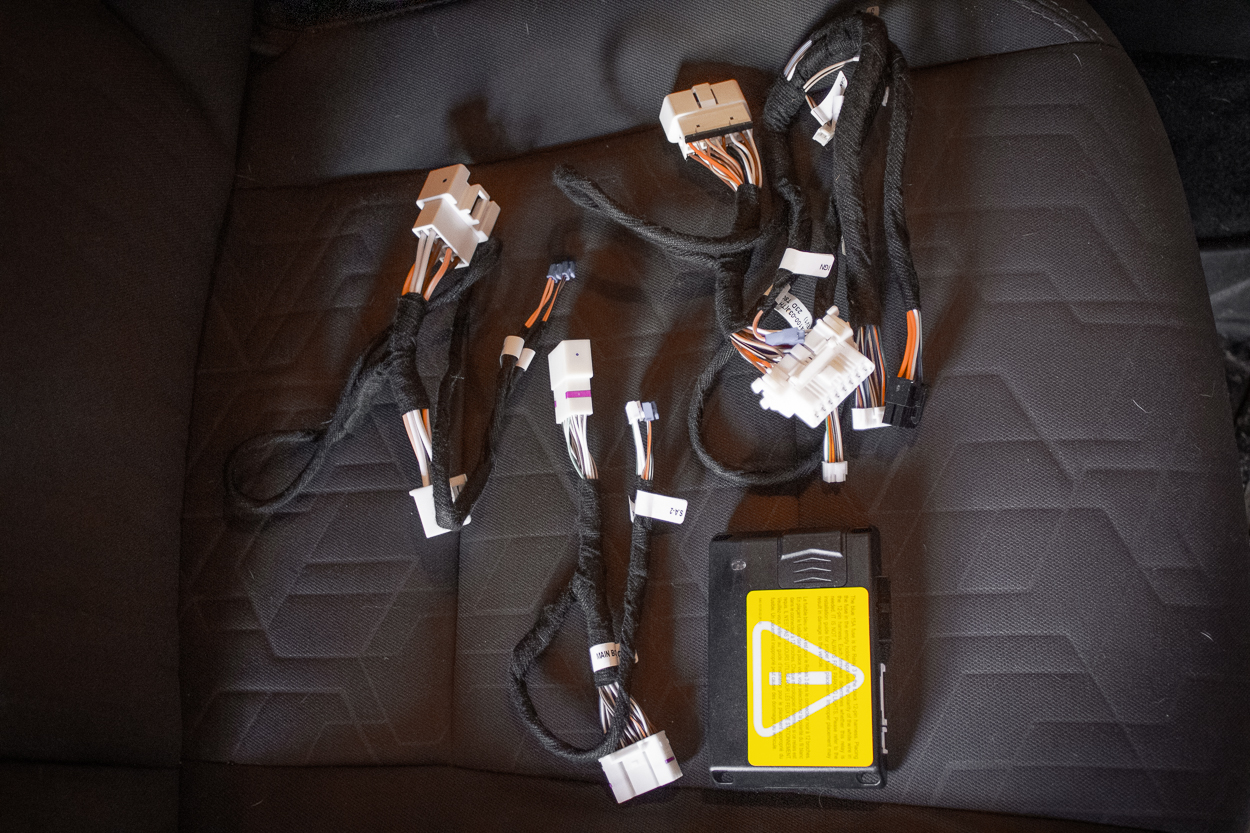
The kit includes the wiring harness, drain tubes, weather seals, side rails, vehicle module, and rubber stripping, all individually wrapped, making it easy to keep track of. It also comes with a general installation instruction booklet. Here are all the tools you will need to install your new bed cover.
Tools Required:
- #2 Phillips Screwdriver
- 9/6″ Wrench or Socket
- 3/8″ Wrench or Socket with 1/4″ Drive
- 1/4″ Drive Ratchet
- Drill and/or Impact
- Scissors or Utility Knife
- Tape Measure
- Deep well socket set and ratchet.
- Bit Extension for Drill/Impact
- Isopropyl Alcohol
- 7/16″ Wrench or Socket
- T-30 Torx Bit
- 11/16″ Drill Bit (Optional)
Step 1. Remove Front Tie Downs
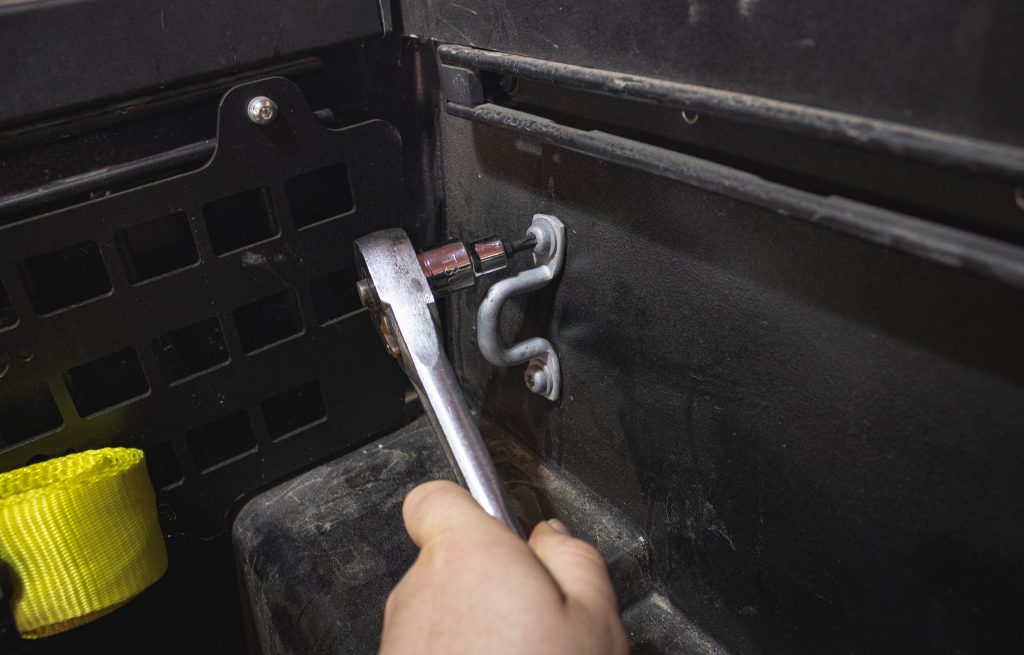
Using your Torx bit, remove the factory front tie-downs to make room for the bed cover’s canister. Be careful when removing these because they are very easy to strip.
Step 2. Remove Factory Header Rail
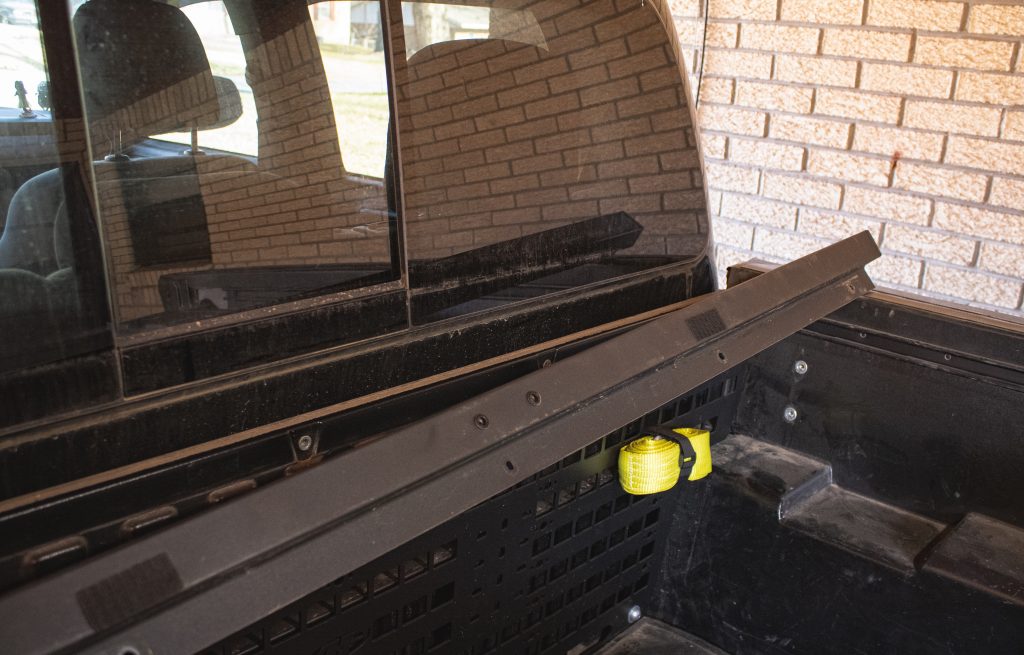
Remove the header rail located closest to the cab. To remove it, you must remove the (5) Torx bolts using your bit. In the pictures above, mine are the silver Allen screws since I have an All-Pro MOLLE panel.
Step 3. Install Header Rail Seal
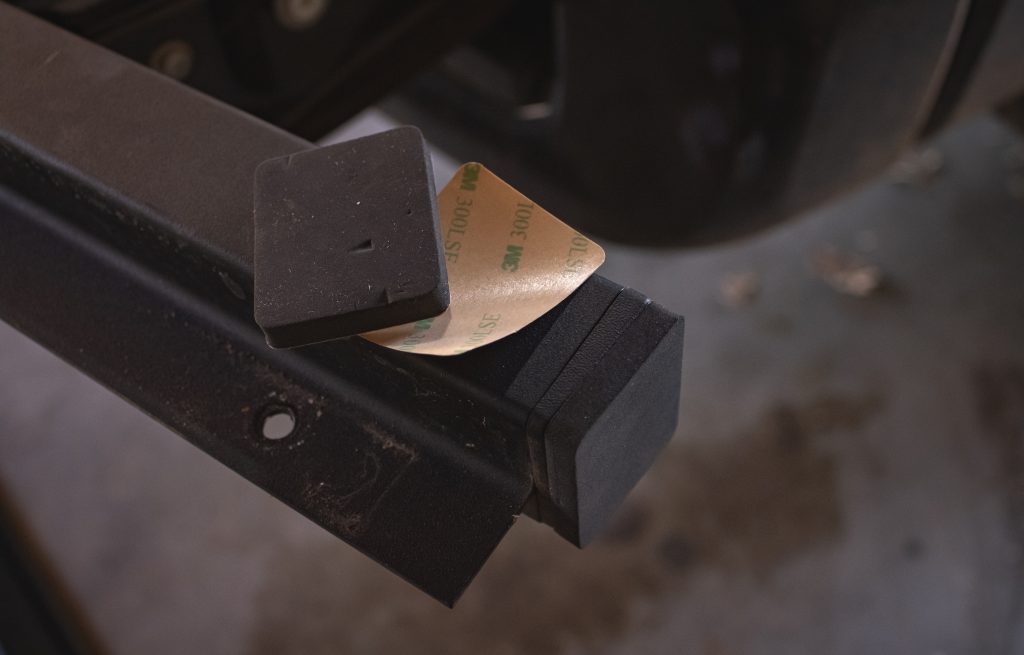
Using the two supplied weather seal pads, peel back the adhesive on the pads and stick one on each end of the header rail, as seen in the picture above.
Step 4. Re-Install Header Rail
With the weather-sealing pads installed, reinstall your header rail. It will be a little tighter going back in because it is a little longer than before with the pads.
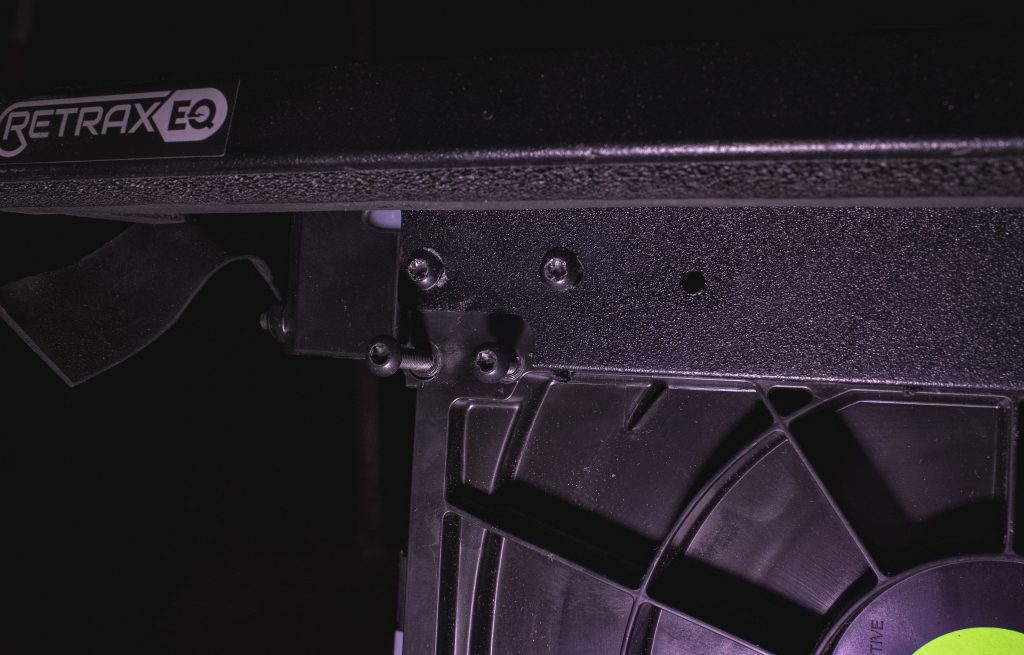
Step 5. Insert Mounting Cleats
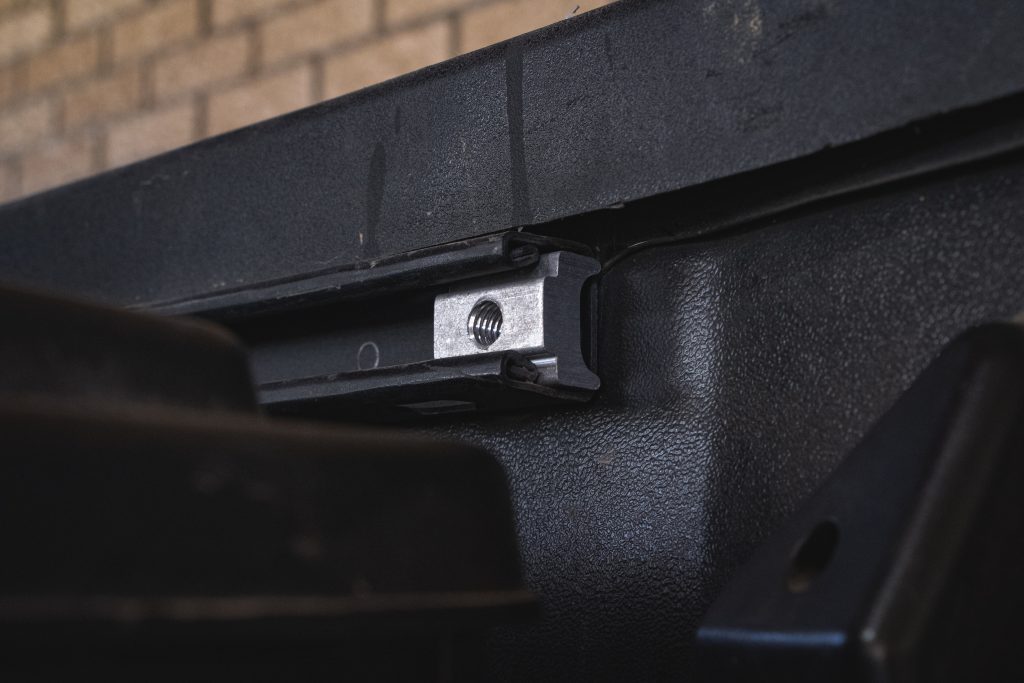
Start by removing the front end caps from your factory side rails.
Slide in the (4) supplied mounting cleats into the railing with two cleats on each side. You will want one cleat closer to the cab and one closer to the tailgate.
Don’t worry about the spacing just yet, as you will need to adjust it in the later steps.
Step 6. Bolt Spacers To Rails
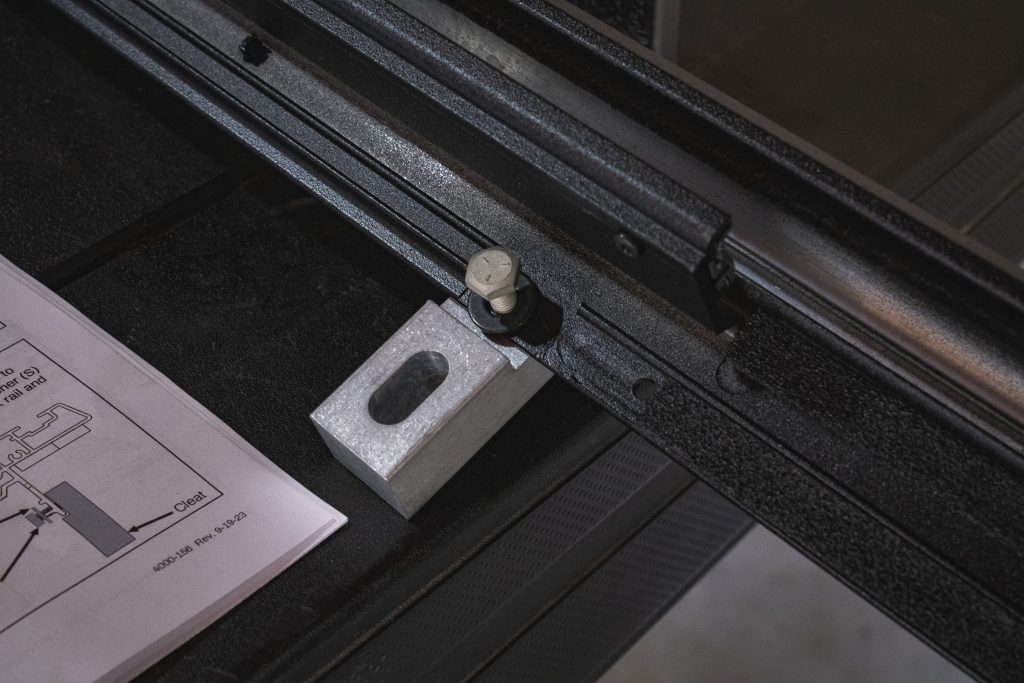
Using your socket, install (4) of the supplied spacers onto the side rails (2 on each side rail). You will mount these through the pre-drilled holes with the thickest part of the spacers facing the inside of the truck.
Step 7. Remove Shipping Brackets
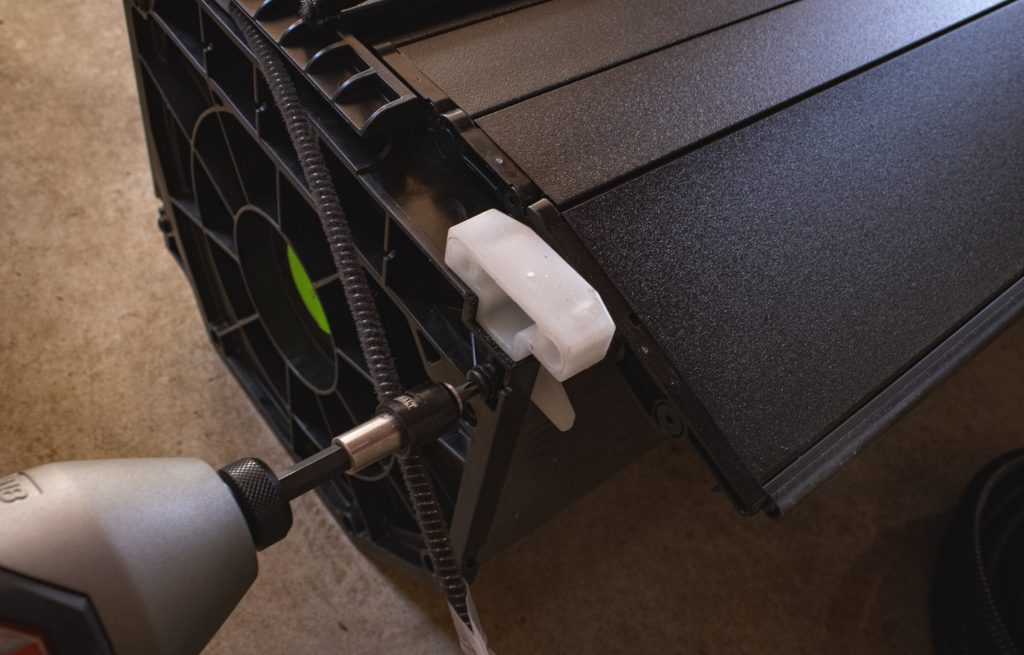
Using your Phillips head screwdriver, remove the (2) white shipping brackets from the canister. Hold onto these, as they will be used later.
Step 8. Add Side Rails To Canister
Start by sliding the cable into the rail channel on the side rails and securing them to the drive carriage, as seen in the picture above.
Pull the tail panel of the cover out approximately 4-6 inches. Now, guide the drive carriage into the rail channel. Repeat this on the opposite side.
Step 9. Mount Water Shield
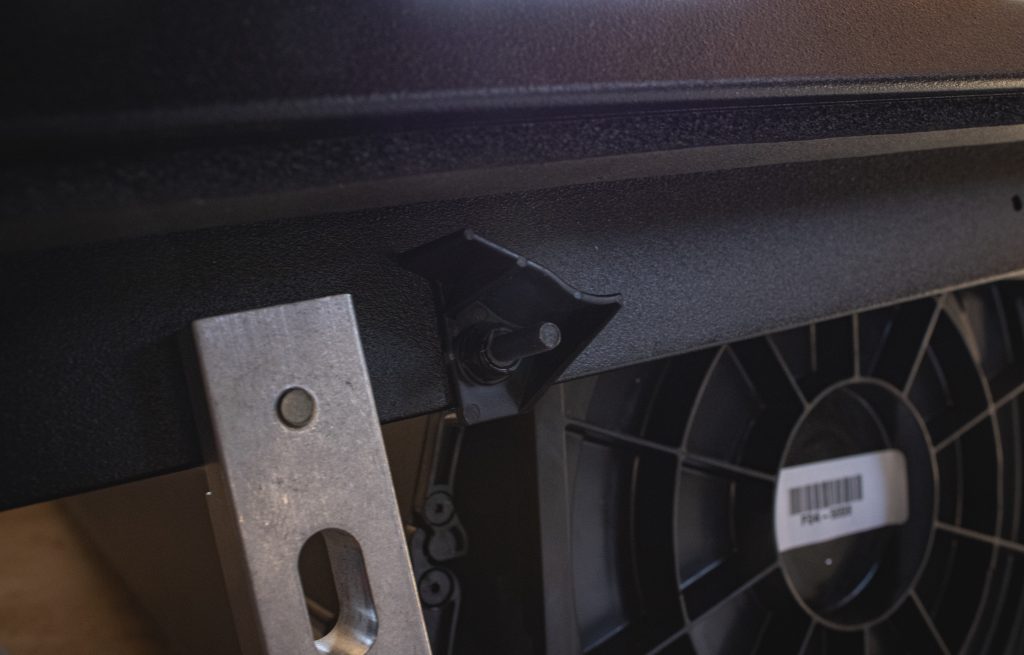
Mount the (2) water shields on both sides of the canister, right behind the spacer closest to the canister.
Step 10. Mount Side Rails to Canister
Secure the side rails to the canister using the supplied hardware.
Step 11. Attach Light Harness

Behind the canister, connect the wiring harness for the driver’s side light.
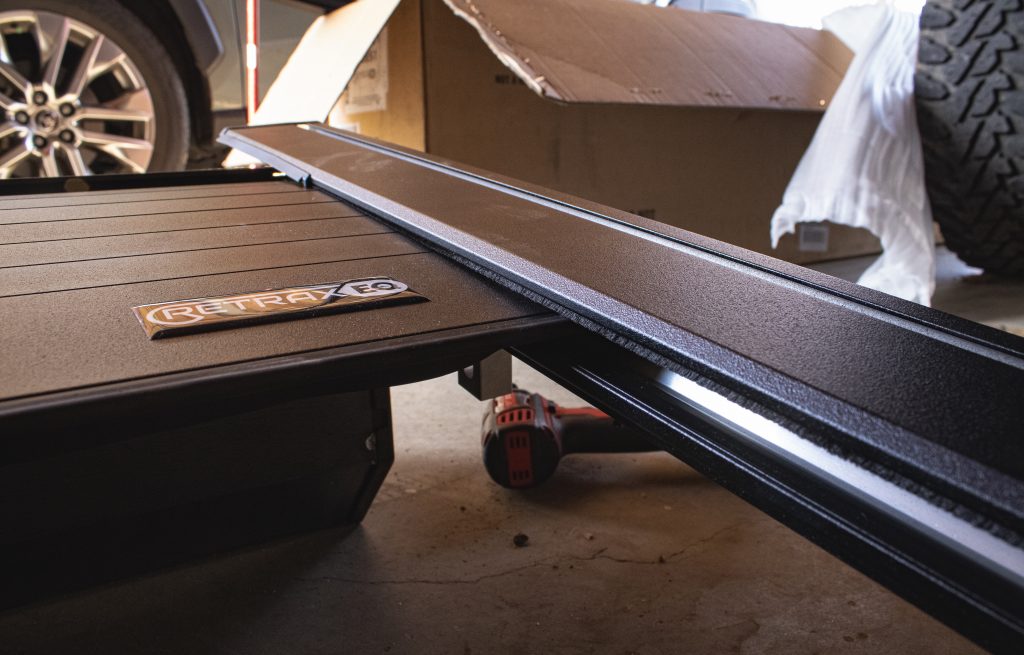
Step 12. Mount On Truck Bed
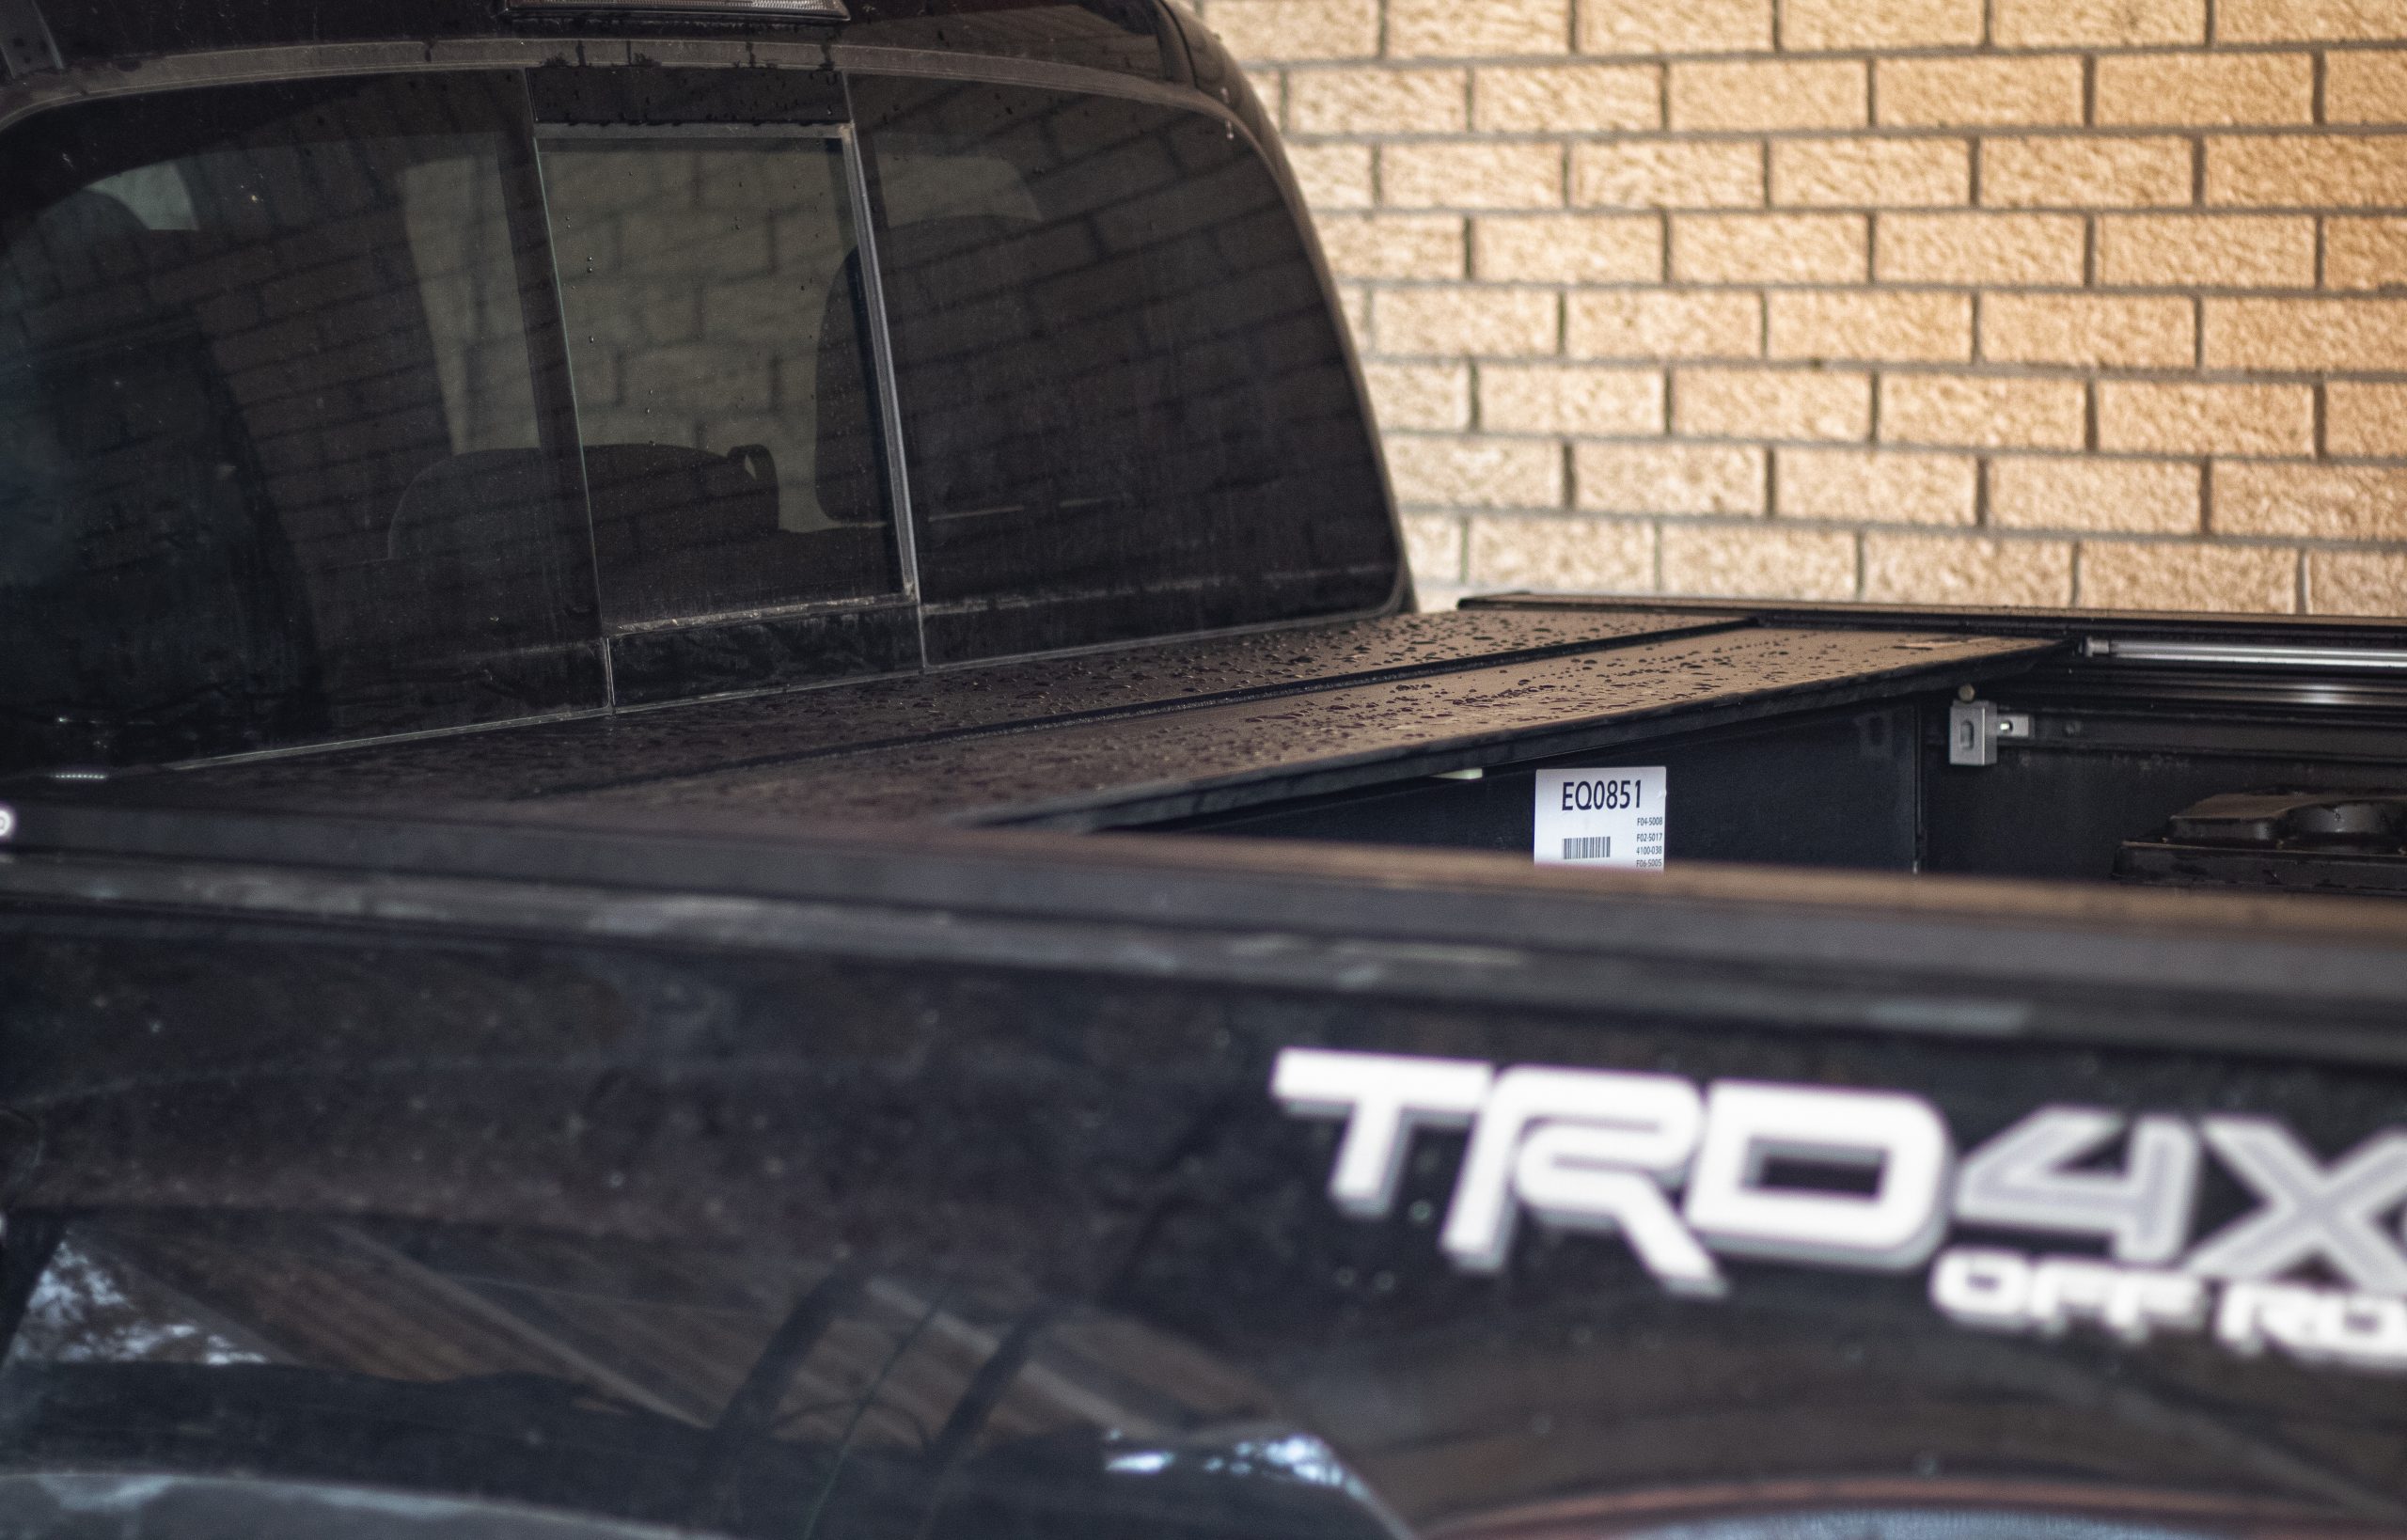
With someone else’s help, lift the canister and side rails into your truck bed. Make sure to leave a little room behind the canister for now so you can access the wiring.
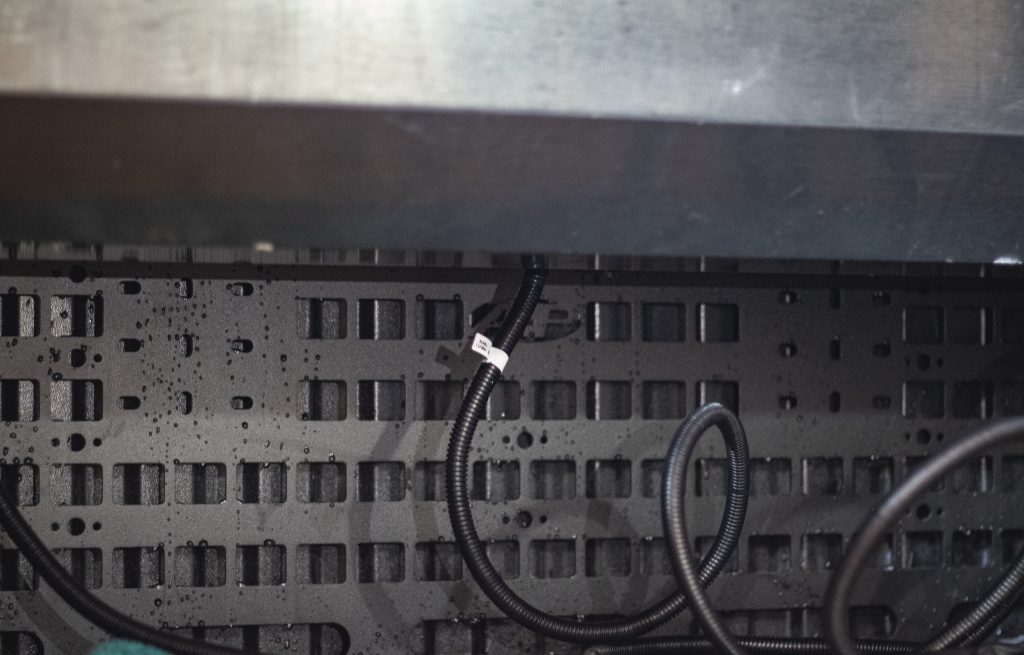
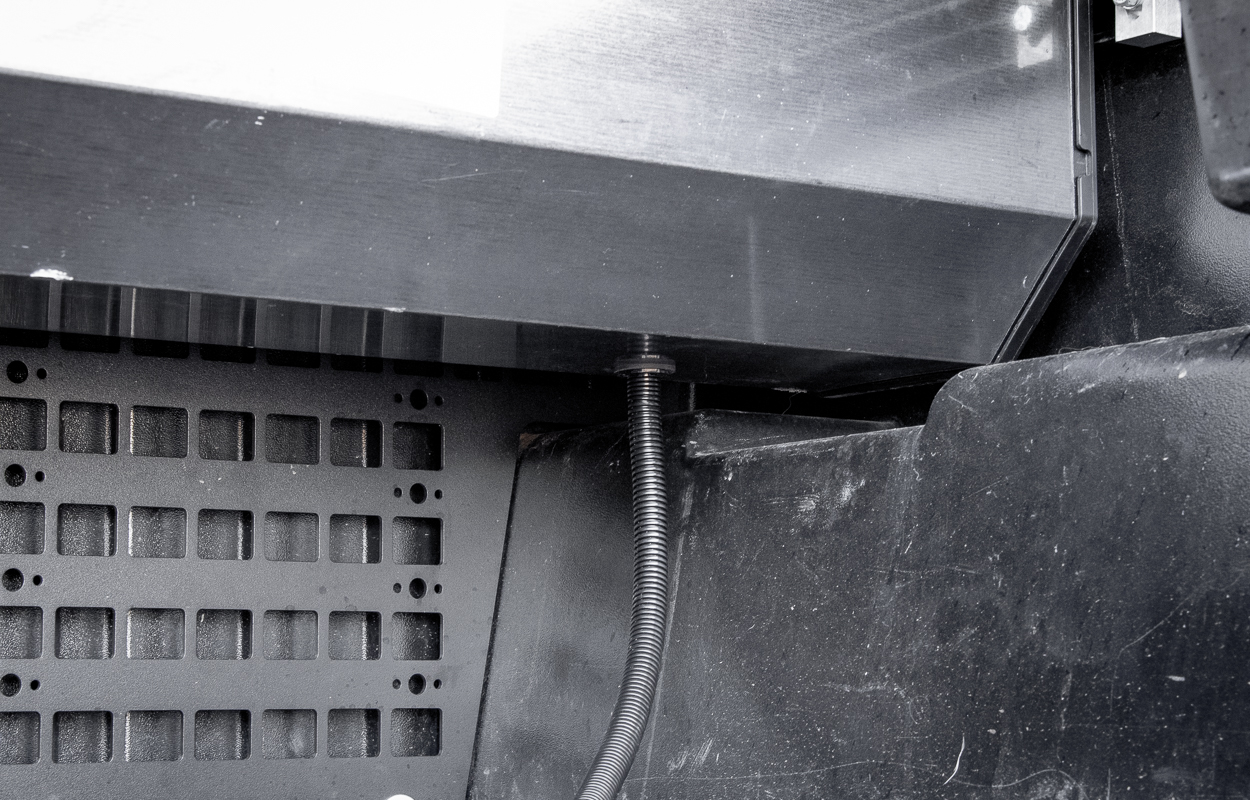
Step 13. Route Wiring Harness
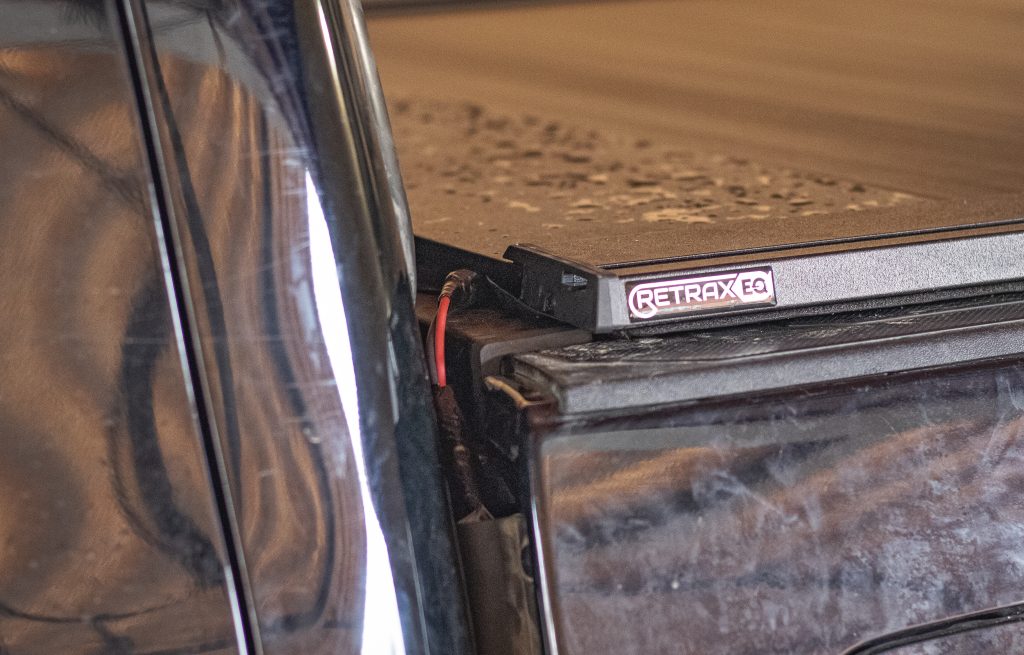
To route the wiring harness to the battery, you can route it through a hole in the bed or drill a hole yourself. Since I didn’t want to drill a hole in the bed, I ran it out the back of the bed closest to the cab, as seen in the picture above.
Be aware that routing it like I did, while a less permanent solution, may damage the weather sealing on the back of the canister.
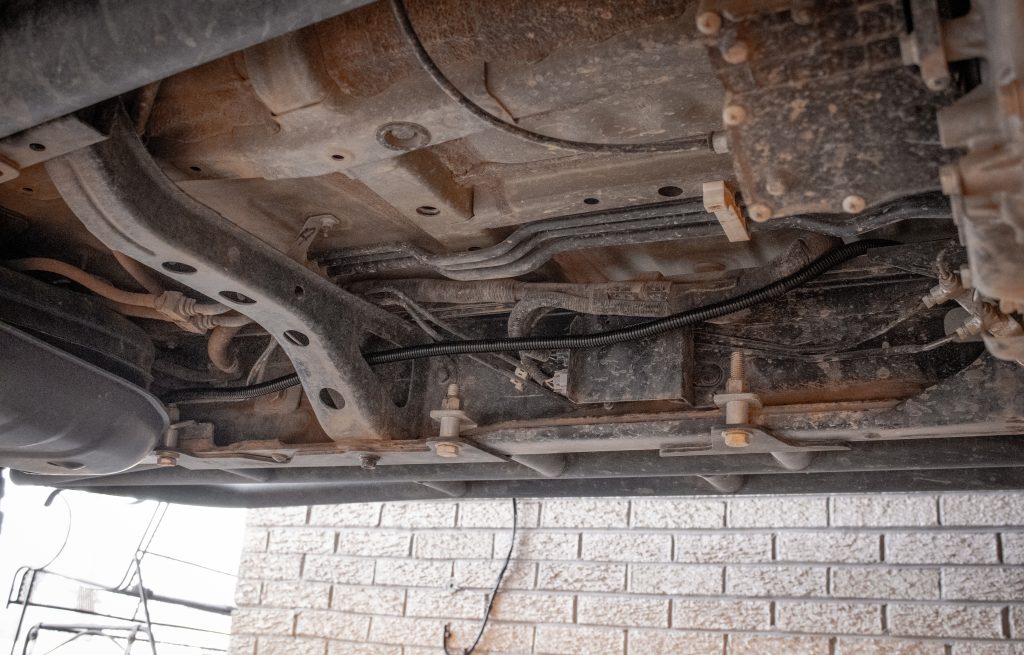
Run the wiring harness underneath your truck along the frame and into the engine bay. After routing it, secure the harness with the supplied zip ties.
Step 14. Connect To Battery
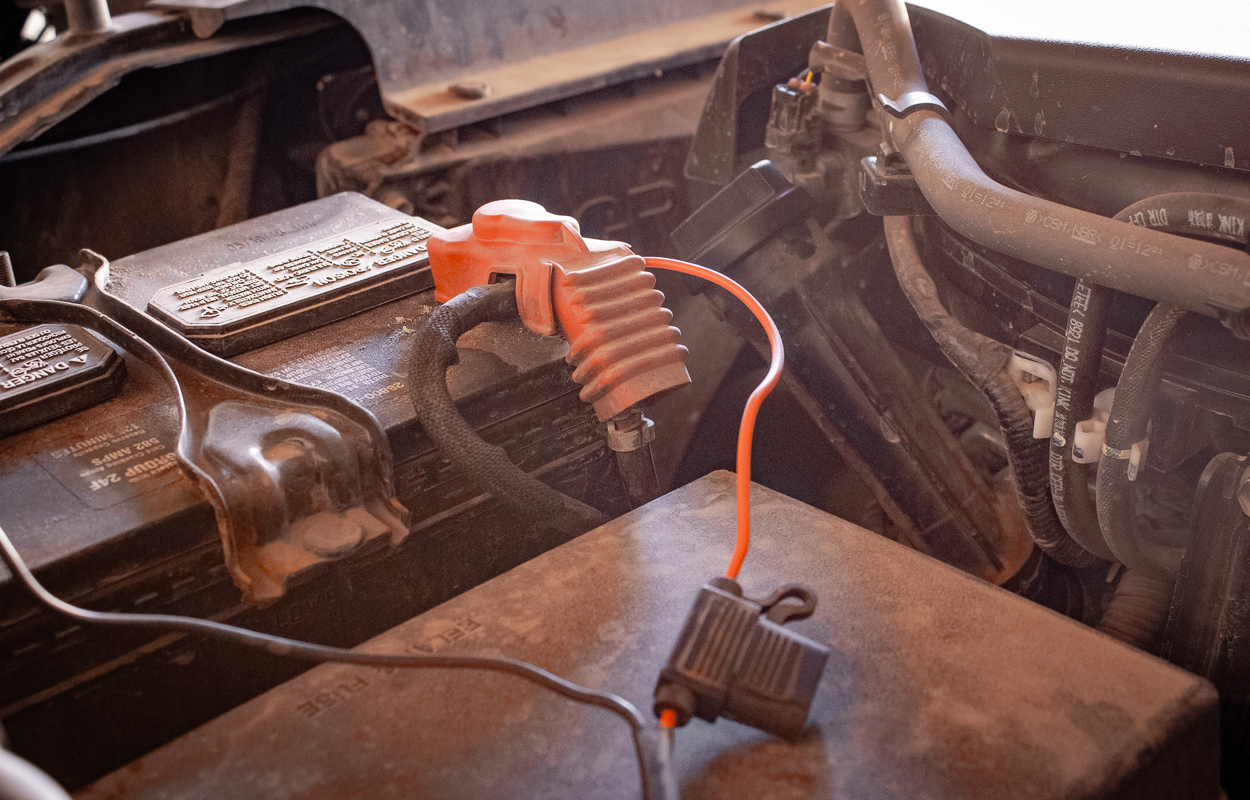
Attach the wiring harness to your battery terminal.
Step 15. Positioning & Alignment

Slide the rails and canister back towards the tailgate using the shipping brackets we removed earlier as a spacer.
Step 16. Attach Clamps To Bed Rails
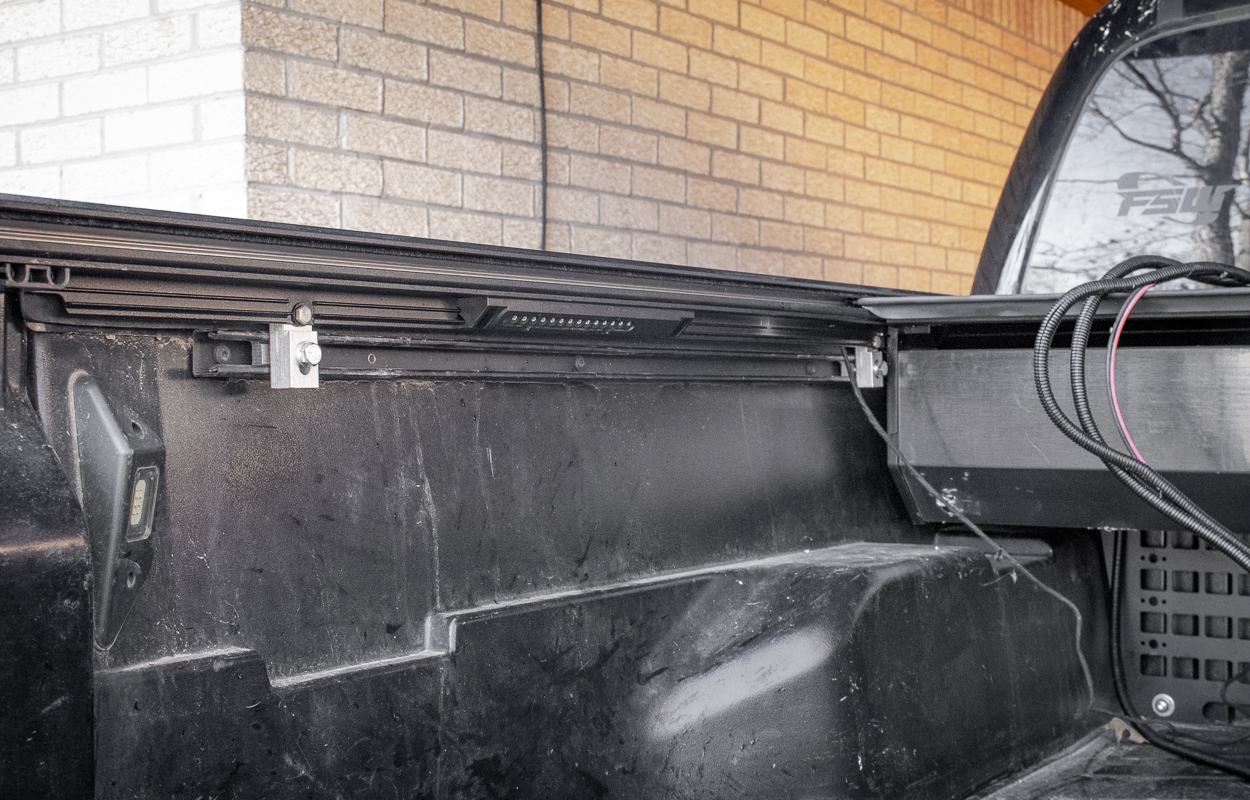
Secure the side rails by using the supplied bolts through the spacers and screw them into the bed cleats we installed earlier.
Step 17. Measure Rail Distances
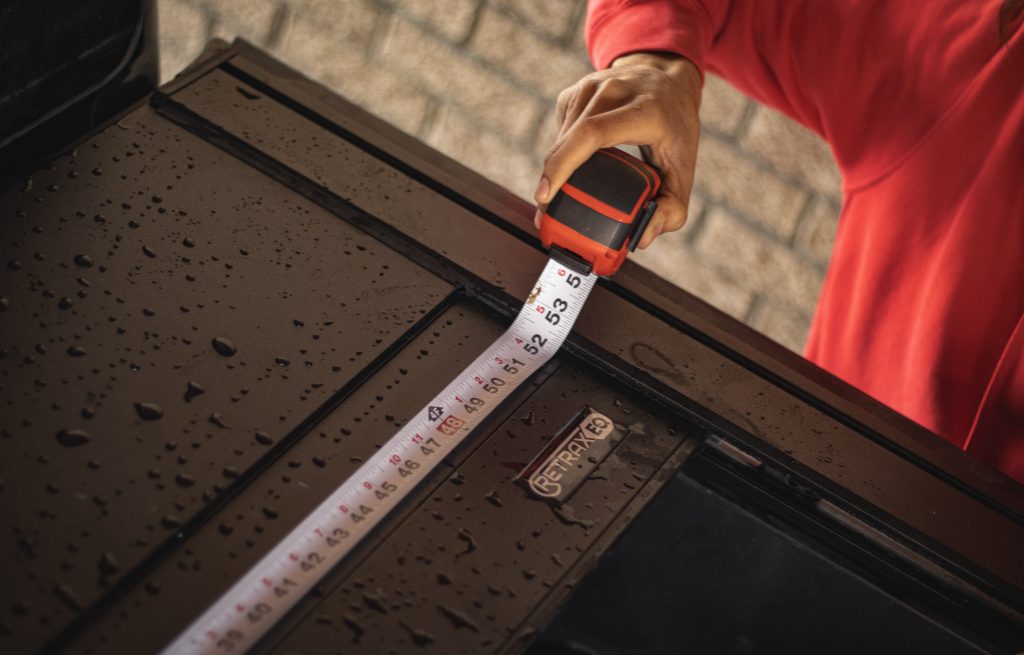
Measure the distance between the side rails at the top near the canister, in the middle, and closest to the tailgate to ensure they are all equal.
If they are not equal, adjust the tightness of the bolts you installed through the spacers and the spacing of the bed cleats. You can also use the additional supplied spacers if needed.
Step 18. Attach Wiring Connectors
Connect the other end of the wiring harness to the cover module on the back of the canister.
Step 19. Insert Drain Tubes
Insert the drain tubes into the bottom of the canister. You can run the drain tubes out of an existing hole in the bed or drill holes yourself.
Be careful if you do decide to drill holes. Make sure you are not drilling into any lines or wiring underneath the bed.
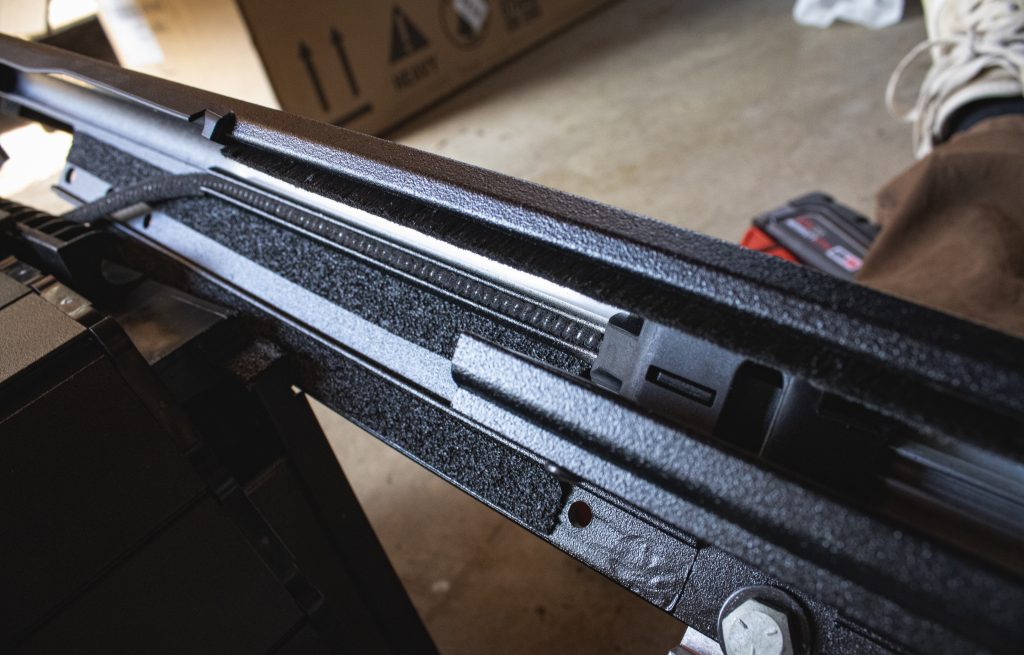
Step 20. Insert T-Slot Seals

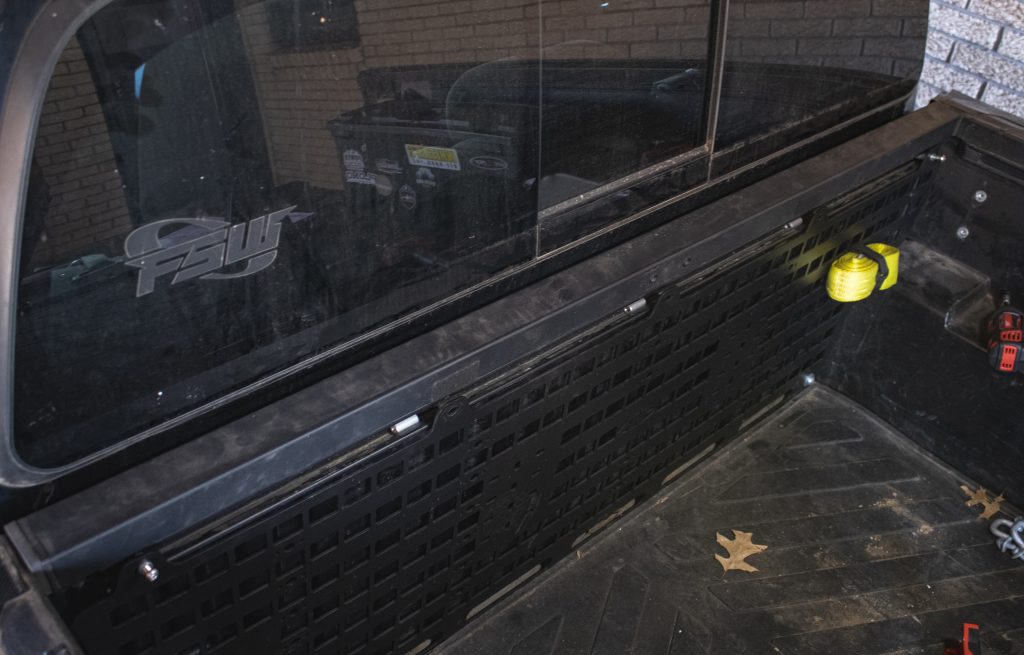
Insert the t-slot rubber seal into the slots on the side rails.
Step 21. Set Up The Module & Harness
The cabin module will need to be set up to control the bed cover via app. This is very dependent on your vehicle’s year, make, and model.
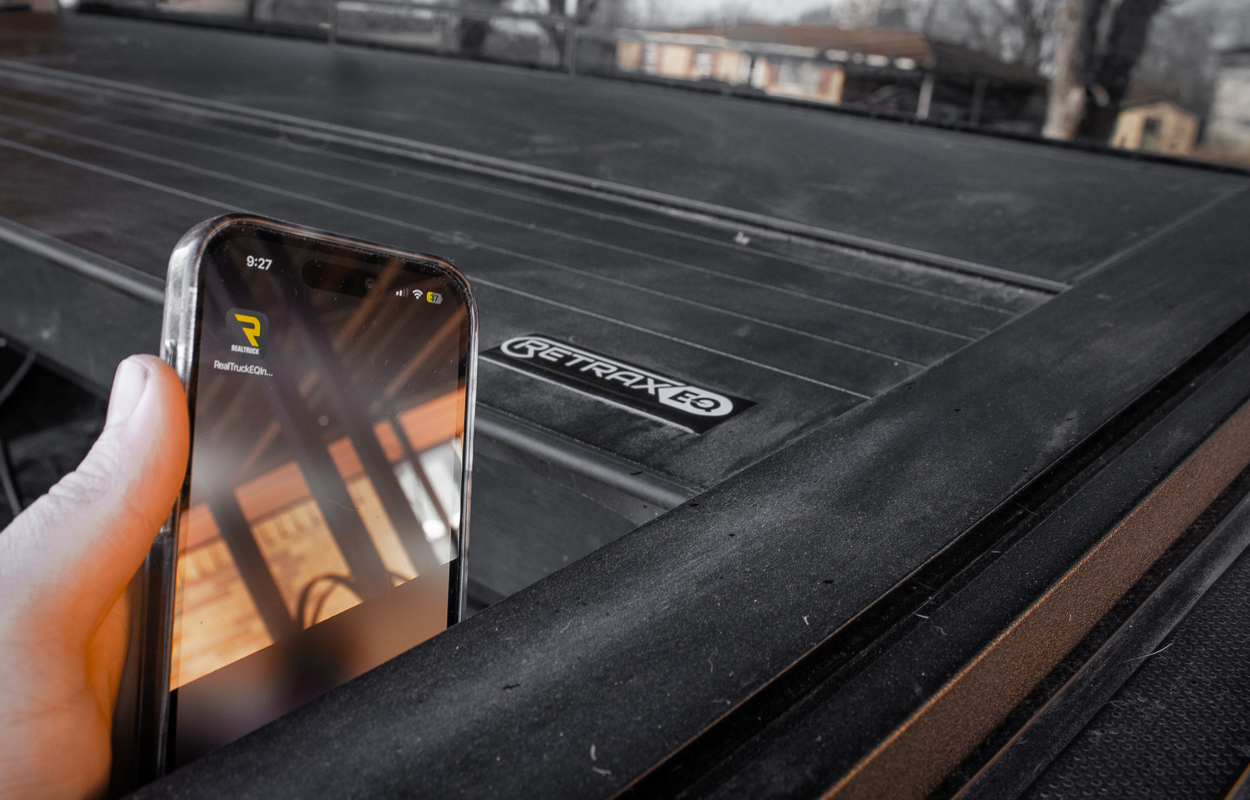
Follow the unique QR code in your installation instructions to set up the RealTruck app on your phone and install the module.
Final Thoughts
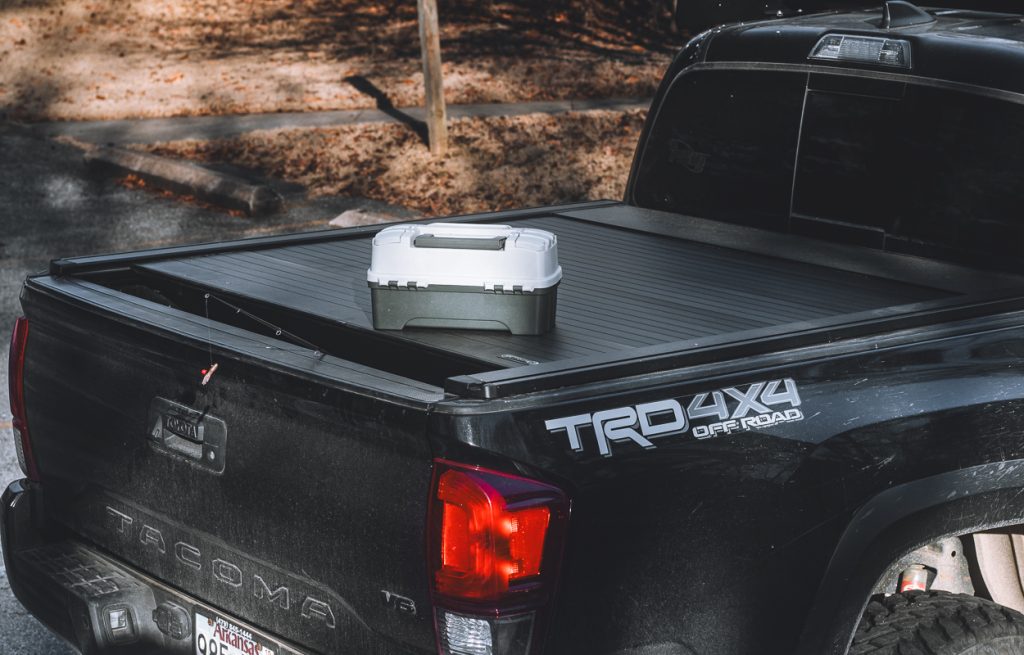
After using the Retrax EQ tonneau cover on my Tacoma for a while, I really enjoyed the features, accessibility, and protection the cover offered. The ability to control it using my phone was a game changer, especially if I forgot I had something in the bed and didn’t want to go back to my truck.
For someone who likes hunting, fishing, and DIY home projects, the cover was useful for just about everything. I could keep my expensive fishing or hunting gear in the bed without having to worry about someone getting into it. Hauling larger cargo was also great because I could use the cinching feature to hold my cargo to keep it more secure.
If you’re in the market for an extremely durable bed cover and want something with more features than you could imagine while being able to control it via your phone, I highly recommend the Retrax EQ. Be sure to check out my in-depth review here!