
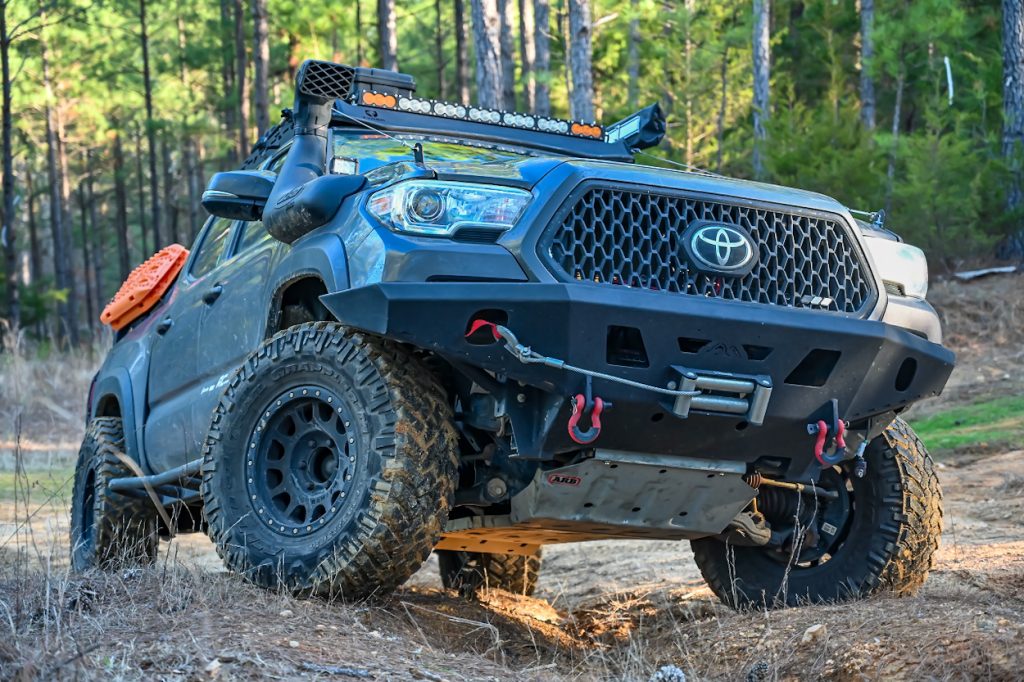
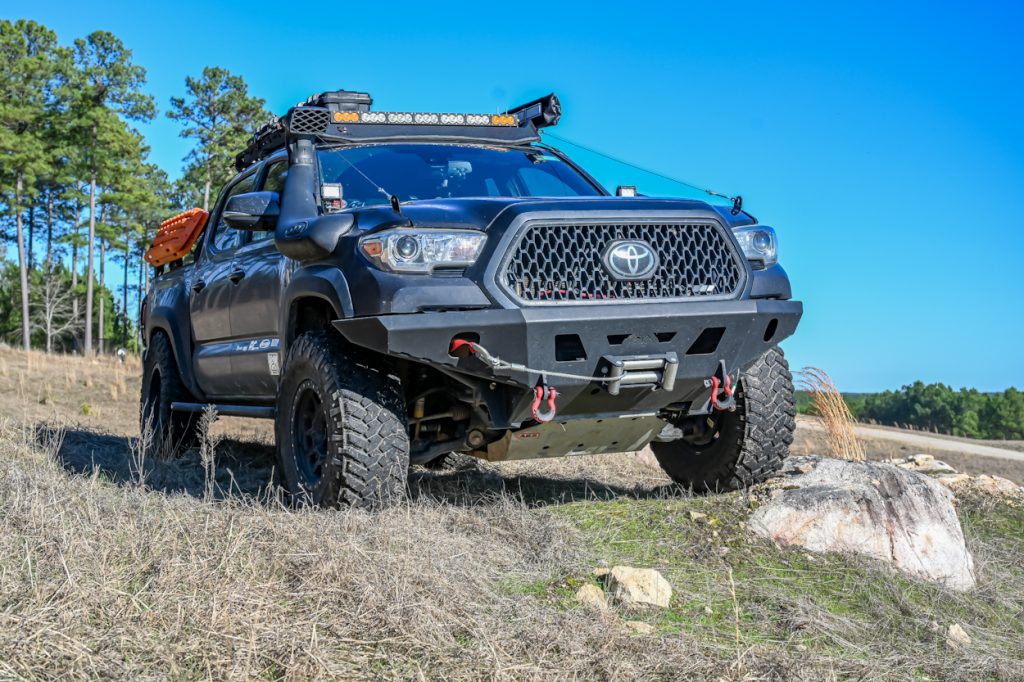
Like their hybrid front bumper for the 3rd Gen Tacoma, True North Fabrications also sells a bolt-on version of their plate bumper. It features a heavy-duty and high-clearance design that looks great and will stand up to just about anything.
I recently installed this on my 2018 with a 12,000 lb. Badlands winch and Baja Designs fog lights. In this post, I will go over its features, walk through the installation, and share my experiences with it thus far. I did not weld it myself, but that’s the main point behind this kit – a cheaper option that can potentially save you some money.
Table Of Contents
Plate Vs. Hybrid Bumpers
Before getting into the specifics of this bumper, I want to go over some of the advantages and disadvantages of a full-plate style such as this one.
Full width off-road bumpers typically come in one of two categories: plate and hybrid. The latter are constructed of mostly tube steel, making them lighter than the former. However, this also means they are not as protective as plate-style ones since there are large gaps in between the tubing. There’s also the apparent aesthetic differences.
On the other hand, full plate are made out of steel sheet metal. This one in particular is mostly 3/1″6 steel, covering up and protecting all the parts behind it. They also incorporate some tube too.
Features
- High clearance design for increased off-road capability.
- Laser-measured fitment, accurate within .005 inches.
- The frame mounting plate, winch plate, and the entire outer shell are 3/16″ HRPO steel.
- Inner vertical supports are 1/4″ HRPO steel.
- Shackle mounts are 1/2” thick HR steel with a 1” hole and are welded through to the winch plate.
- All tubing is 1.75″ OD 11 gauge ERW and is pre-coped.
- Fits a Warn M8000 winch or other winches with the same dimensions and bolt pattern (I chose the Badlands winch from Harbor Freight).
- Designed to fit Baja Designs Squadron Pros or other similarly sized light pods for fog lights.
- Weighs 120 lbs.
What To Note Before Ordering
- Trimming of the stock bumper is required for the correct fitment.
- It will work with stock-height and suspension-lifted vehicles.
- Will not fit body-lifted vehicles without leaving a gap.
- There may be small imperfections on the surfaces of the parts, such as small areas of surface rust or shallow scratches caused during the manufacturing and/or shipping processes.
- Grille guard tubing is not available.
Step 1. Remove OEM Components
This is the scariest part but it turned out to be much easier than I thought.
First, remove the front lower plastic cover by grabbing underneath the bottom edge and pulling it off. You may have to remove some clips from the bottom. Use a pry tool to remove the factory fog lights if needed.
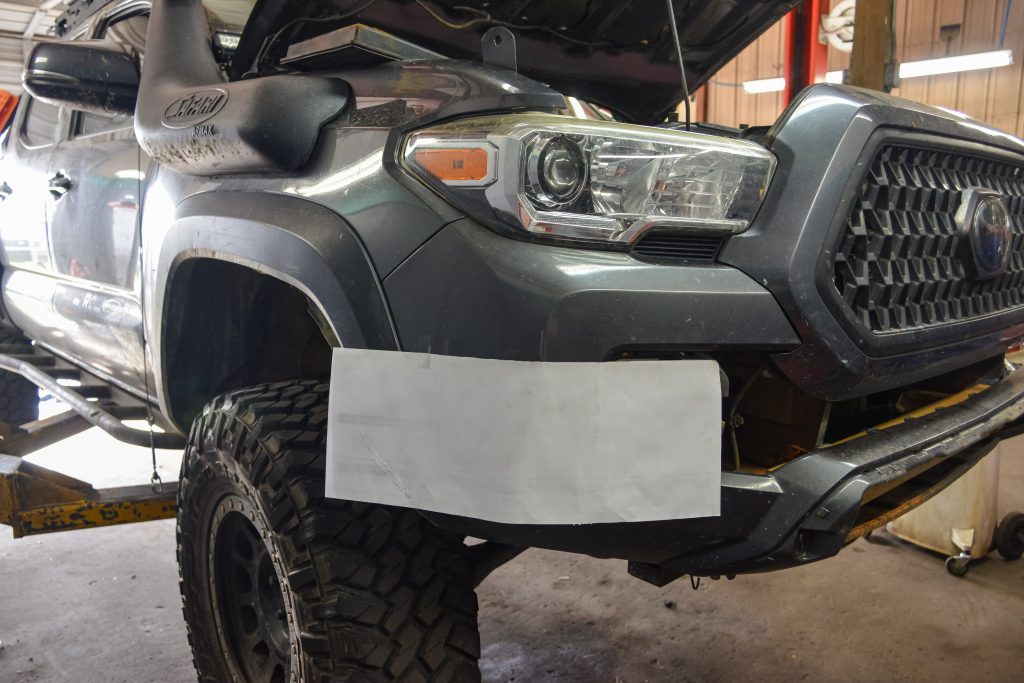
Step 2. Trimming Bumper Cover
Next, take some masking tape and tape off a straight line from the bottom of the grill bezel to the top of the fog light to the fender as seen in the previous image above. I used a piece of paper to ensure my line was straight across. Repeat for both sides.
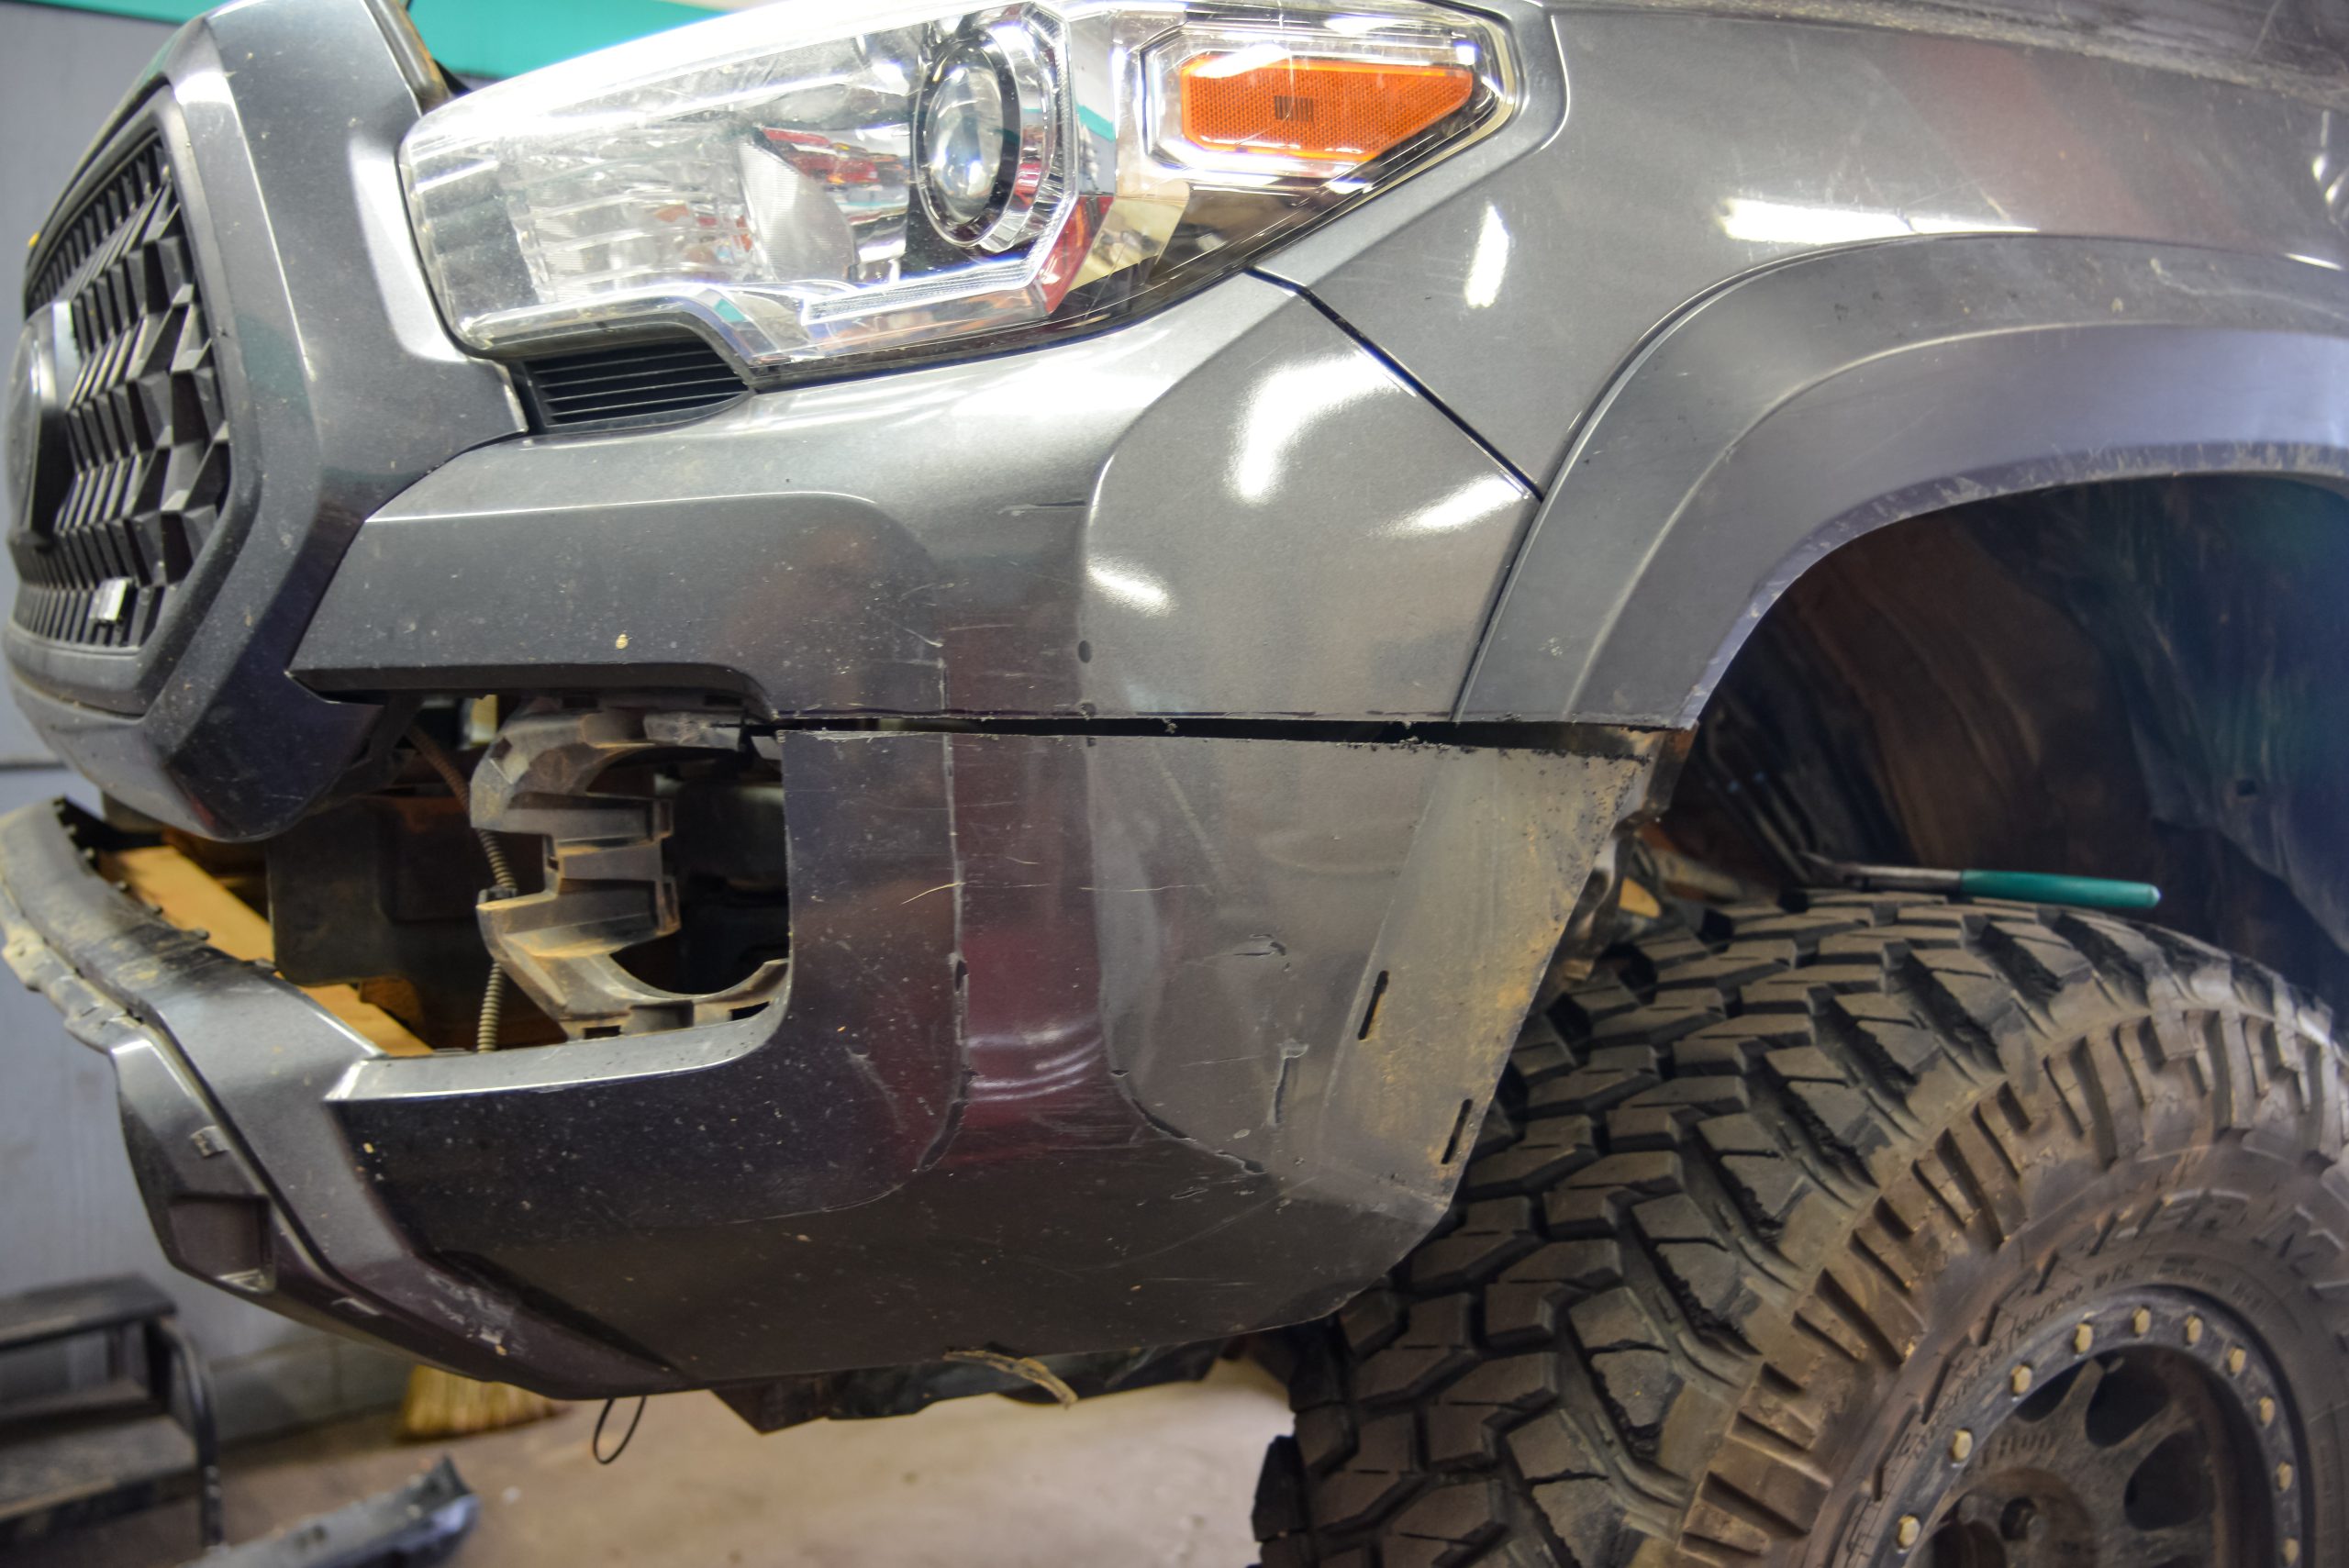
Take a step back and ensure both lines are the same on both sides. Then, grab a Dremel with a cutting, sawzall, or other cutting tool and cut along both lines.
Now that the bumper is cut to the fenders, remove the 10mm bolts holding on the factory one on from the bottom and sides. You may have to remove your front skid plate to access the bottom bolts. After removing the bolts, the rest of the OEM front bumper should come off.
Underneath is a plastic cover attached to the crash bar. Use a 14mm socket to and remove the (6) nuts holding the crash bar and crash bar brackets in place.
Step 3. Trim Fender Liners

Next, cut the plastic wheel well liner flush with the bottom of your fender using a saw, cutting wheel, Dremel, or other tool. You can use a heat gun to heat and bend the plastic liner for a more factory fit.
Step 4. Install Accessories
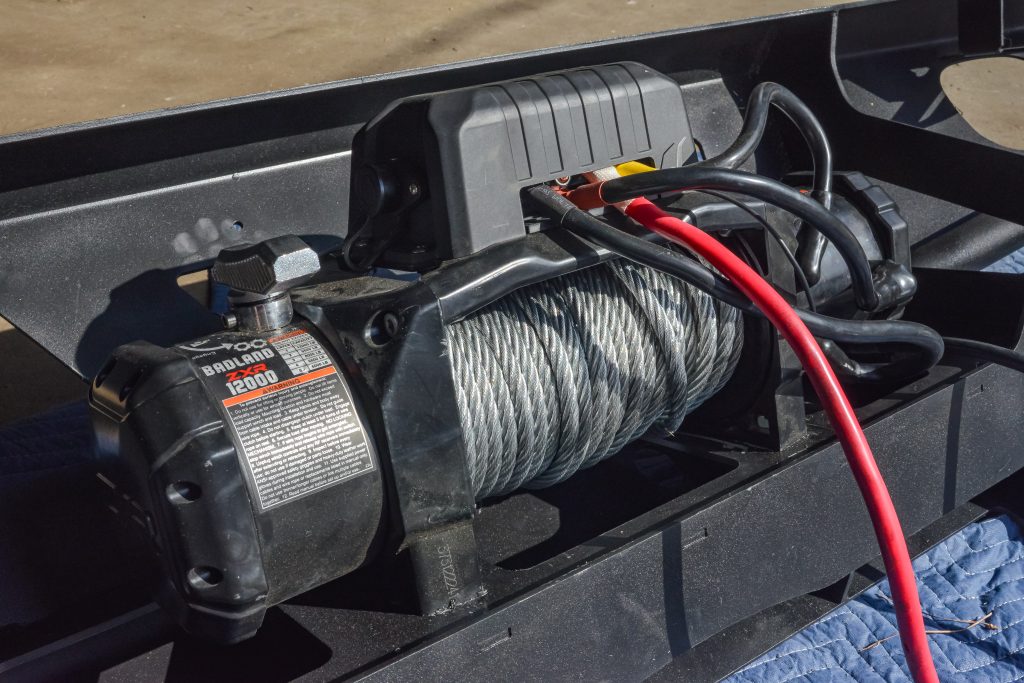
Before bolting the bumper onto the frame, install any accessories such as a winch or fog lights. My winch required me to relocate the control box.
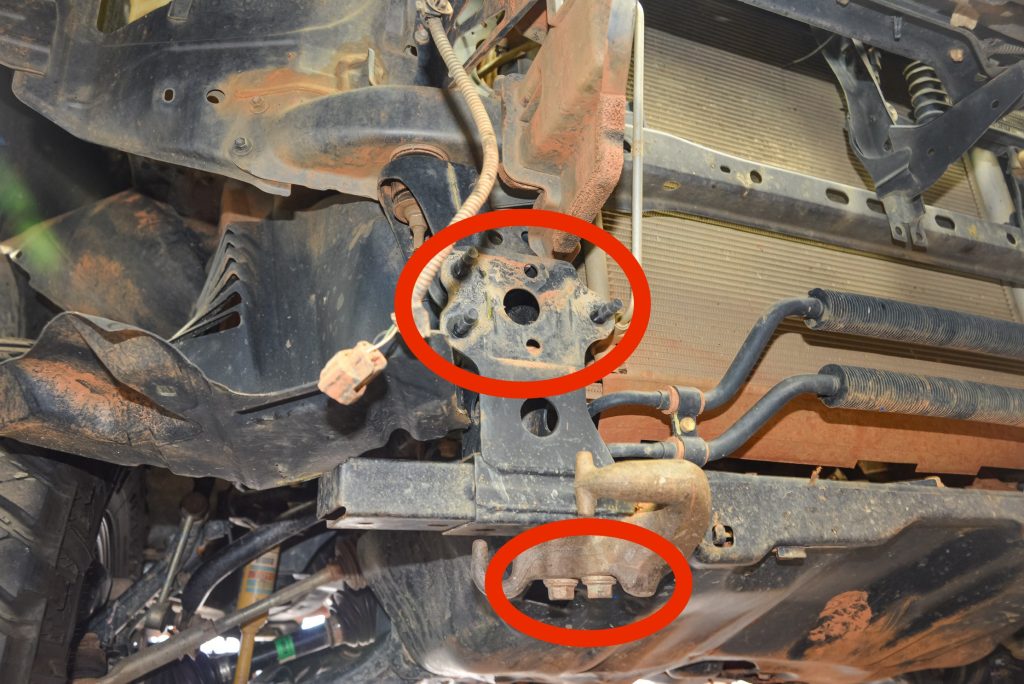
Before moving on, there are two small brackets to remount your transmission cooler. Unbolt your trans cooler, bolt the brackets into the factory bolt holes, and reinstall your cooler onto them.
Step 5. Mount Bumper
Reuse the factory nuts to attach the bumper to the (4) front-facing bolts attached to the frame. You will likely need a floor jack or engine hoist to help lift it and a second set of hands to position it into place. Hand-tighten the bolts for now.
After the front nuts are tightened, install the (2) bolts on the bottom.
Before fully tightening everything, adjust so that it sits just underneath where you cut the fenders. There should be a small gap (about 1/4″-1/2″) between the bumper and body panels. This will account for body flex while off-roading.
Final Thoughts
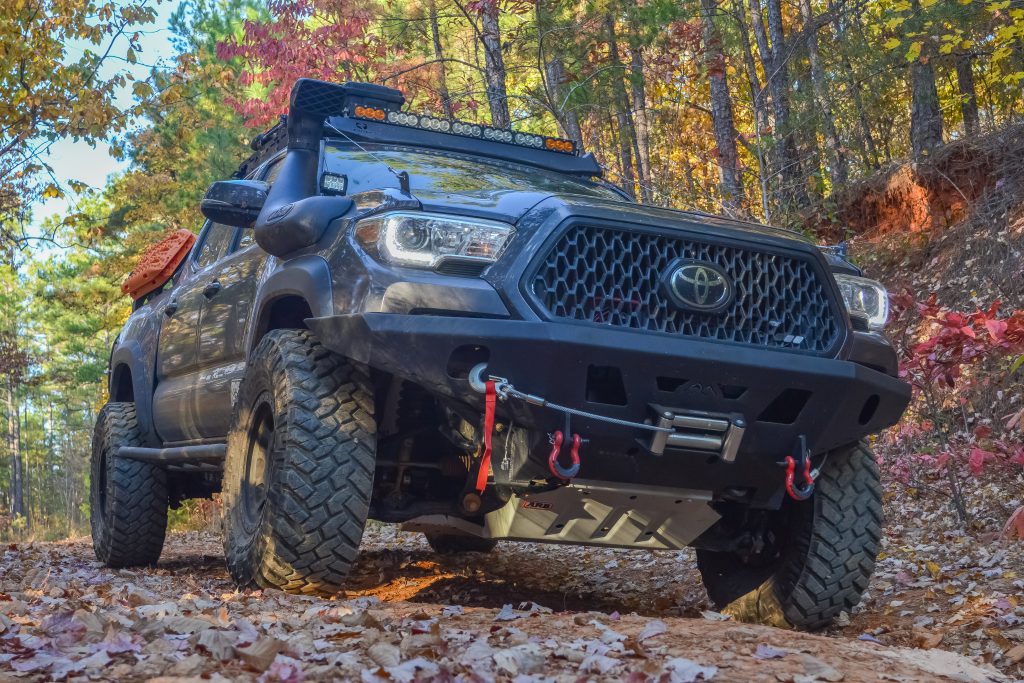
Overall, I would recommend this to any 3rd Gen owner looking for a heavy-duty choice. Installation was pretty straightforward and similar to any other full-width option.
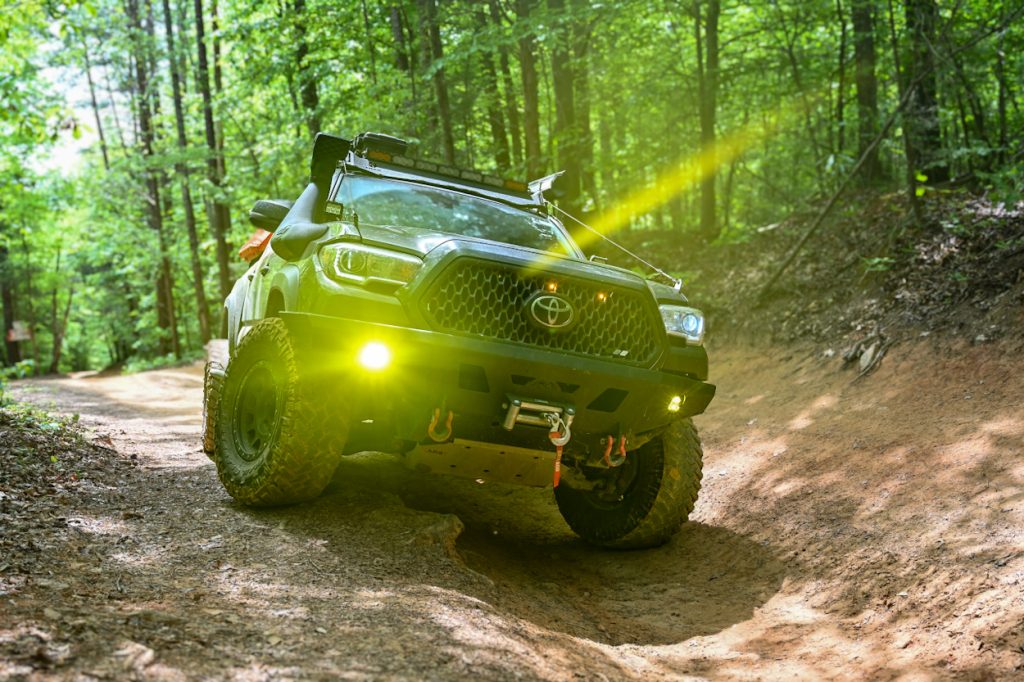
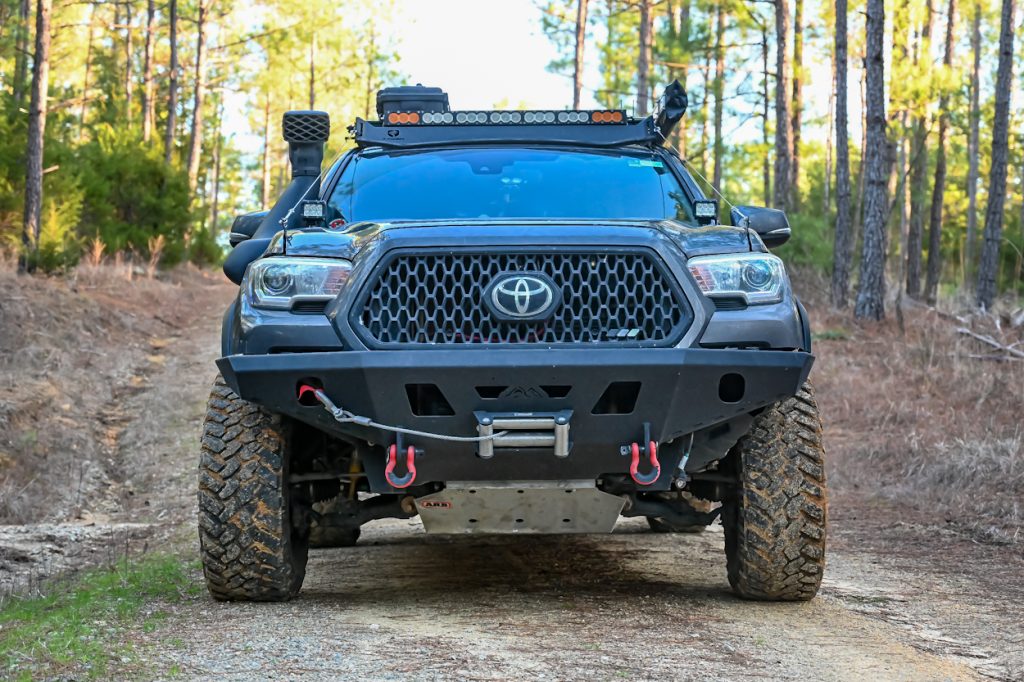
With so many on the market, I can’t say this is the absolute best option for everyone, but it does exactly what I need it to. That includes protecting my vehicle from impacts both on and off the road, providing a strong winch mount, and looking great overall.
Not too many DIY options on the market. This one looks great!