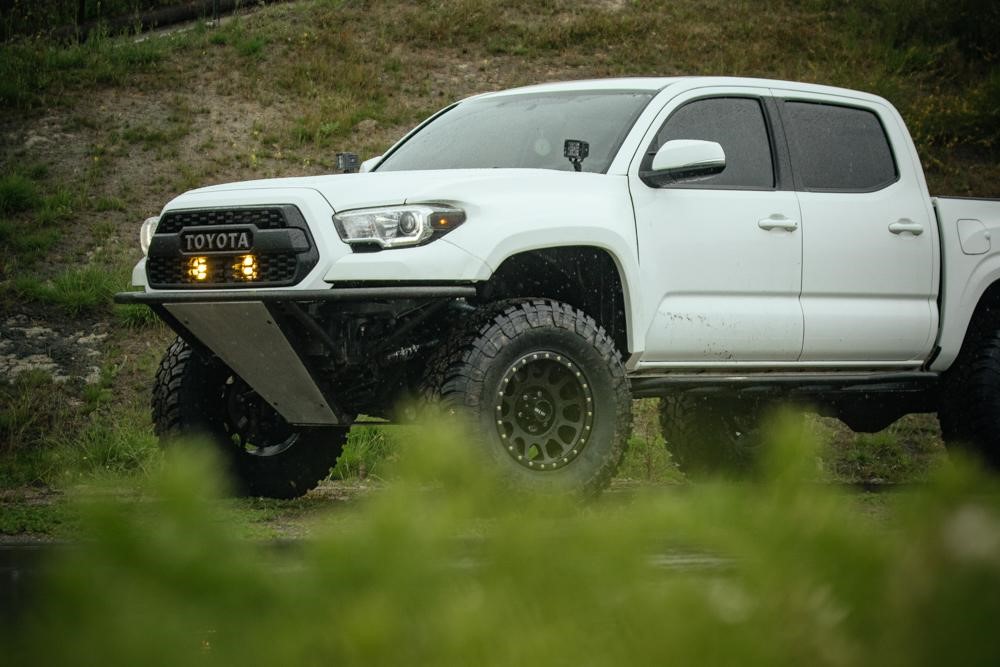
We’ve all heard or seen it asked before… How do I fit larger tires? And “what’s the largest tire size I can run” on the Tacoma?
Are you running in circles trying to figure out what you’ll need to clear 35s? Well, you’ve come to the right place.
The time has come, you’re ready for bigger tires and bigger adventures, but you’ve questioned countless times about what tire size is right for you. If you’re asking yourself if you can fit a 35-inch tire on your 3rd Gen Tacoma, this article has you covered.
In this post, we will be going over every step you will need to take to fit a true 35” tire on your truck. The questions that may be running through your head might sound a little like the questions we had at first, and if so, we have the much-needed answers.
Questions You Might Be Asking Yourself…
- What are the pros of going bigger?
- What are the cons of going bigger?
- Will I need to perform extensive modifications?
- Where will I rub?
- What do I need to cut and chop?
- What parts should I buy?
These are all valid questions and again, all of us at one point or another had to ask these questions. First of all, there are many different ways to run 35″ tires. The options below are not your only option, however, one direction you can take and more or less an “overview” on how to fit 35″ tires, not a complete step by step guide.
Product To Consider – C4 Fabrication OTF Kit
C4 recently designed a product that makes a lot of this process much easier – The OTF Kit (aka Oversized Tire Fitment Kit). Linked below!
- C4 Fabrication OTF Kit
- 3rd Gen: Check Price
- 2nd Gen: Check Price
This kit is also available for the 2nd Gen, as linked above.
Long story short – this kit provides many of the elements you’ll need to clear your tires in a convenient package. Check it out!
Table Of Contents
What To Consider
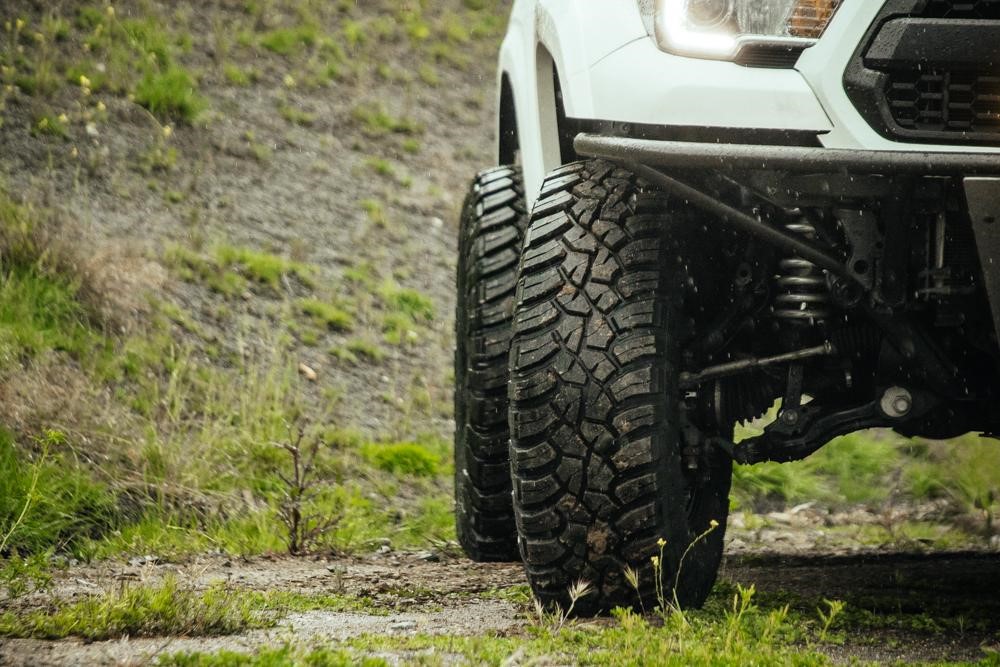
Running 35s is a big step.
Most people slowly step up their tire sizes as they learn which tire size will work best for them. As soon as you start to run bigger tires, you’ll see that more and more clearance is required. This inevitably means more cutting and pounding.
PROS
- Increased Ground Clearance
- More Surface Area Contact + Better Traction
- Thicker Sidewalls, Which Equals Durability/Puncture Resistance
- They Look Sweet!
CONS
- Decreased MPGs
- Less Power
- Lots of Cutting, Grinding + Pounding
- Requires Aftermarket Suspension
- More Strenuous on Driveline
- Needs Regear to Recover Power/MPG Loss
Main places where you can expect rubbing (basically everywhere):
- Front Bumper
- Fender Flares
- Cab Mount
- Pinch Weld
- Upper Control Arm (UCA)
- Body
- Liners
Personally, I have a high clearance front bumper and fiberglass fender flares, so those two did not apply to me. Both aftermarket options are built with larger tires in mind.
Areas To Address
Front Bumper
As far as the bumper goes, even stepping one tire size up from stock can cause rub at the OEM bumper, let alone 35s. You will need to do lots of cutting to fit these tires with stock bumpers. Most aftermarket bumpers on the market can easily run 35s without further modifications.
Fender Flares
The flares typically see rub along their interior perimeter, most frequently at the top and bottom, during full compression. Stock flares will require trimming along the entire length of the wheel well to avoid rubbing. Most people I have seen that cut their front flares take at least a couple of inches off all the way around the outside edge. You literally measure and mark 2-3″ around your fender and cut off the excess material. RipCord on Tacoma world has some good information on how to cut the flares.
Cab/Body Mount
The cab mount will rub during compression of any sort (and even without), especially while turning. This occasionally happens with 32s but almost always with 33+ inch tires. A cab mount chop will need to be performed to avoid this. There are several options for plates and even full relocation kits. The best option, which will allow for the most clearance, is the cab mount relocation kit. This one will most likely need to be done at a qualified shop. It requires the complete removal of the old cab mount and welding in an entirely new one with upgraded bushings and sometimes new hardware. A company by the name of Stellar Built in Sacramento is one example shop that can provide CMCs and CMRs for your Tacoma.
Pinch Weld
The pinch weld is next. This is a welded piece of the body that protrudes into the wheel well and interferes with the tires. This usually happens during compression on all oversized tires. You will have to create a series of cuts along the pinch weld and beat the cut sections flat with a heavy-duty hammer. Some people cut the pinch weld and hammer it back and some do not. You can argue the point either way. Regardless of whether or not you cut and hammer or just hammer, you will need at least a 4lb+ hammer to get the job done. The process is simple, remove your tires for the hub assembly and start smashing the weld in until its flat against the firewall.
Upper Control Arm
The factory upper control arm can be another point of contact. Depending on your wheels/offset, you may even rub on the UCA with 32s. The easiest solution is to add some sort of wheel spacer, an inch is usually enough. Other options include wheels with different offsets/backspacing. In some cases, especially if fitting 35s, the spacers may not be enough. Aftermarket UCAs take larger tires into account, most any company will provide you with enough clearance to fit 35s. UCAs will also help with improving caster. If you are looking to push your tires away from the firewall and cab mount, aftermarket upper control arms can help produce positive caster. Many aftermarket upper control arms offer this, Icon, Total Chaos, SPC, JBA, etc.
Body/Liner
Finally, and possibly unavoidably, at full compression, you may still rub at the extremes of where the truck’s body runs within the wheel well. The obvious first step is to remove the fender liner. This is not ideal if you are worried about extra dirt getting inside the wheel well. It definitely takes more time and attention to keep this area clean.
Removing the passenger fender liner will also expose the engine air intake. Also not ideal. Most people, at this point, would get a snorkel. Not just to keep out water, but excess dust. Some companies offer aftermarket liners.
This can ultimately only be remedied by cutting into the body itself and welding in steel in a manner that allows full wheel travel. This is referred to as “tubbing” the wheel well. Thankfully, this type of rubbing is very minimal and most people do not perform any modifications to this extent. It just isn’t necessary unless you are really pushing your truck and need maximum up travel.
That being said, let’s go through my process!
My Process
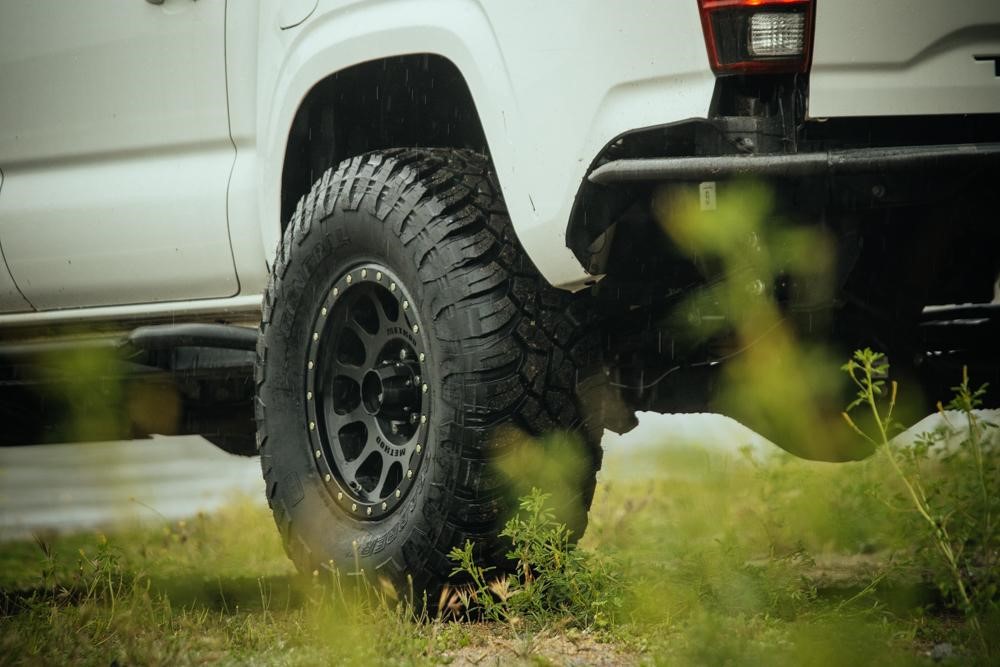
There’s no doubt that 35-inch tires are big, but by taking the proper steps and having a solid plan, its highly achievable.
The following is a brief overview of what I did to fit my 35s. Let’s get started!
Tools Needed
- Grinder
- Metal Cutting Disc
- Sanding Disk
- Hammer/Mallet
- Pliers/Vice-Grips
- Spray Paint
Part 1. Suspension Lift
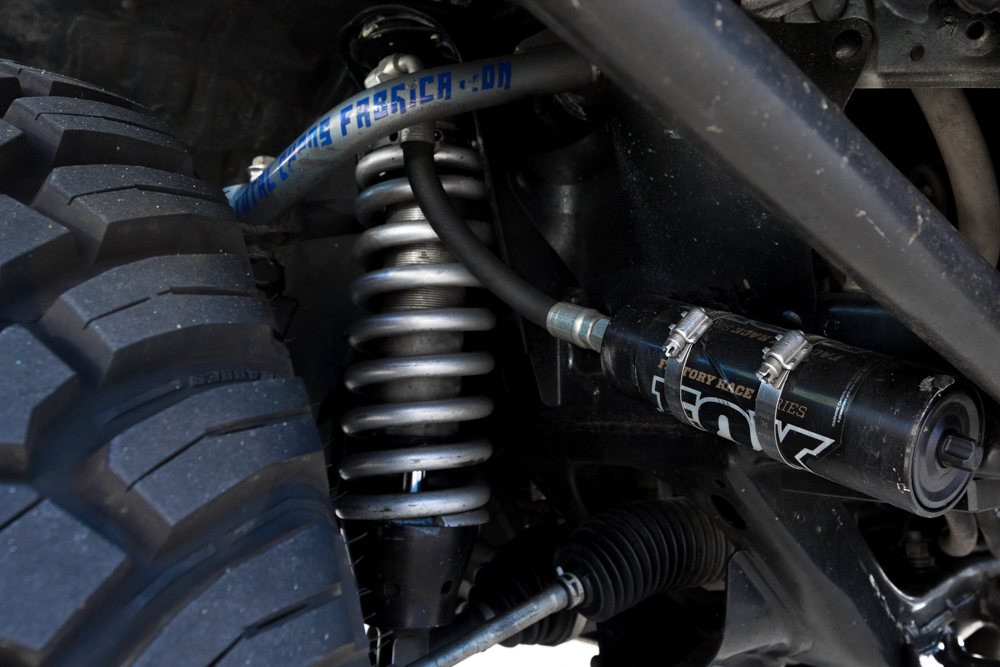
In order to fit 35s, your Tacoma is going to have to be outfitted with aftermarket suspension. The minimum lift required will be 2 inches, with 3 inches being more ideal. You don’t need to purchase an expensive setup to make these tires work. Any lift that gives you enough clearance will work here, even a spacer lift.
I also added some spindle gussets. This is not a mandatory part of making room for 35s, but these new tires are big, heavy and put a decent amount of increased load on the suspension components.
This modification is highly recommended so you never find yourself limping home after giving your suspension a run for its money. Spindle gussets have been known to bend after a violent drop, hitting a large obstacle on the trail (like a log) or after jumping the truck, even for short distances. Better safe than sorry, and it won’t break the bank.
Parts and Resources:
- Fox Suspension: Check Price
- TC (Total Chaos) Spindle Gussets: Check Price
- TC (Total Chaos) Upper Control Arms: Check Price
Part 2. Cab Mount Chop
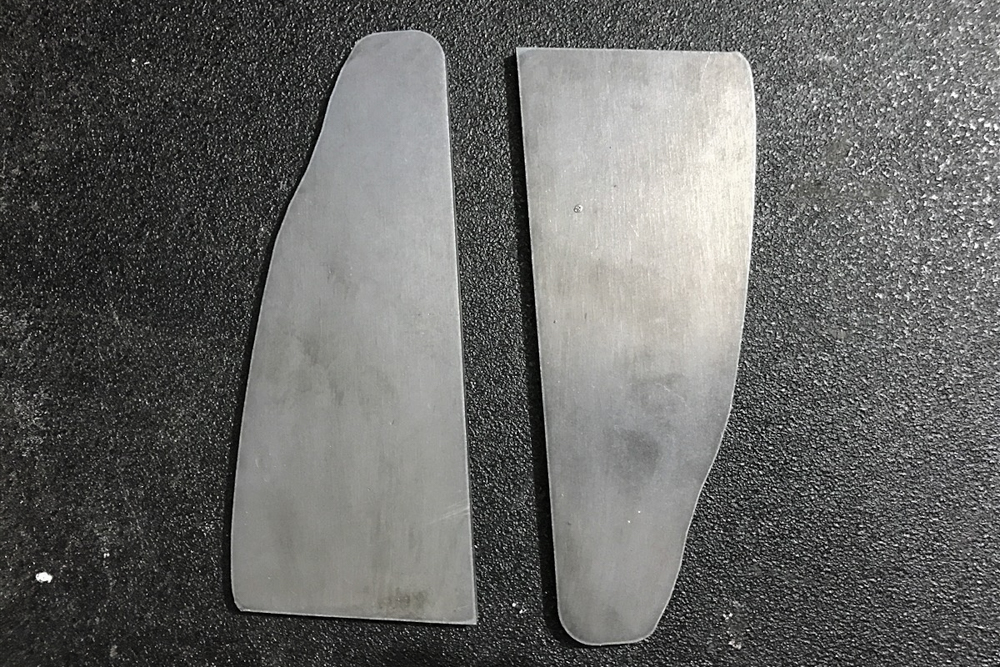
One of the most important locations that will consistently bother you when running larger tires is the body mount. Performing a cab mount chop is essential for creating the right amount of space for your tire to turn or fully articulate without making contact. I chose to go with the cutout method, not the full relocation. For my needs, I haven’t encountered any further rubbing.
The time has come, the grinder is out, and you’re ready to make some sparks fly! Let’s get to it.
If you are not experienced with metalwork and fabrication it is highly recommended to get a body mount chop done professionally. This is mainly due to the use of power tools, welders, and cutting weight-bearing parts of your frame.
You will be using your grinder and metal cutting disc to grind off the excess metal attached to the cab of the truck that sticks out past where the physical cab mount attaches. Once the excess metal is cut off, use your sanding disc to sand and grind down all sharp edges to ensure a smooth surface to weld your base plate onto.
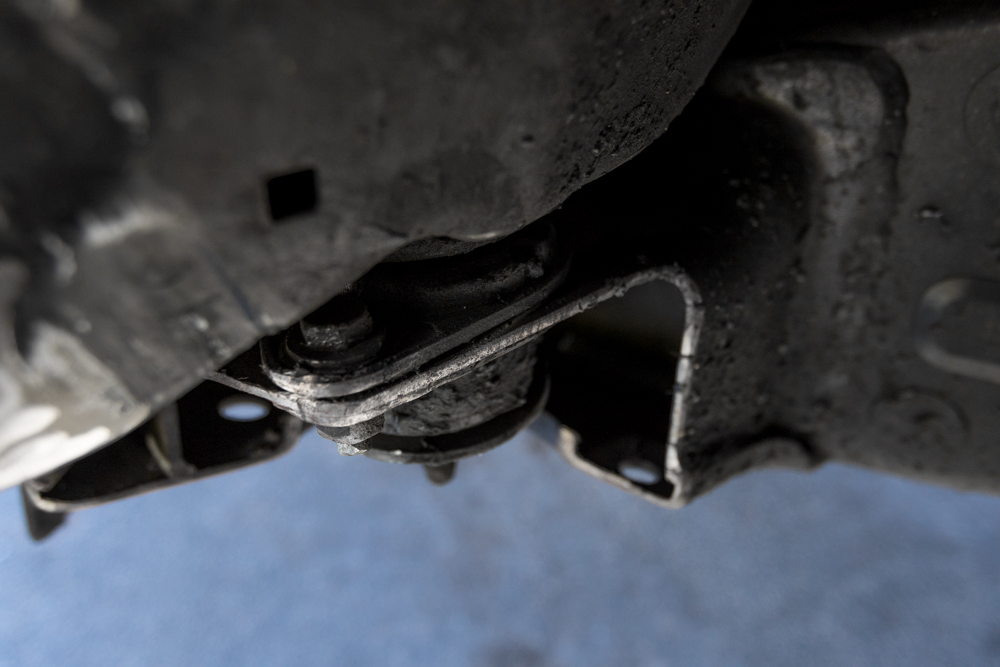
Once all excess metal has been cut off it is now time to weld on your base plate. The base plate overlays and covers what you have ground off to make it look clean again and of course, strengthen the surrounding metals again. Many online shops offer base plates with exact fittings to weld back in place.
Personally, I chose to leave mine as-is for now. Some argue that this compromises strength but I have not had any issues thus far. If you’re concerned or would like the peace of mind, we recommend some sort of filler plate.
You can search “3rd Gen Tacoma body mount chop base plates” to find which one works best for you.
Parts and Resources:
- Cab Mount Chop Kit: Check Price
- Grinder: Check Price
Part 3. Pinch Weld
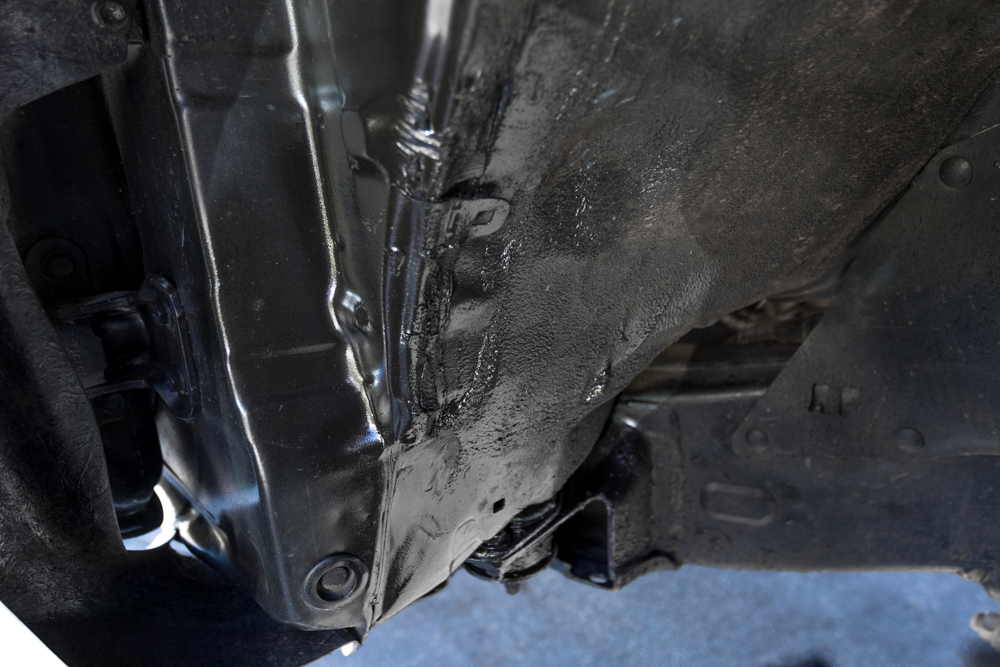
This was my final step to fitting my new 35-inch tires.
To begin, you will be cutting slits into the pinch weld with 1-1.5” inch gaps between each slit to essentially create multiple tabs. If you want to do fewer cuts, then you can do a cut every 3-4 inches. Some people are particular about introducing new areas for potential rust to form by cutting. This more so applies to trucks out in areas with harsh winters and lots of road salt.
The pinch weld is stronger than it looks. If you cut fewer slits, it will be more difficult to pound them flat. Smaller portions are much less resistant to bending than larger ones.
The next step is to bending each tab over to make them as flat as possible against the wheel well wall. You can do this by starting the tab bend with your pliers or vice grips and finishing it off by hammering it flat. You may be able to skip the plier step and just simply hammer it over and flat.
Spray Paint
Once you’ve completed all the necessary steps, it is now time to make it look like it came from the factory. Making sure all welds are cooled off, spray 2-3 layer of black spray paint over the entire body mount chop and also the pinch weld that you have now folded over. By doing this step it ensures no rust will appear on your exposed metal and also makes it look fresh and new again keeping everything clean and uniform.
Parts and Resources:
- Spray Paint: Check Price
- Undercoating: Check Price
- 4lb Hammer: Check Price
Final Thoughts
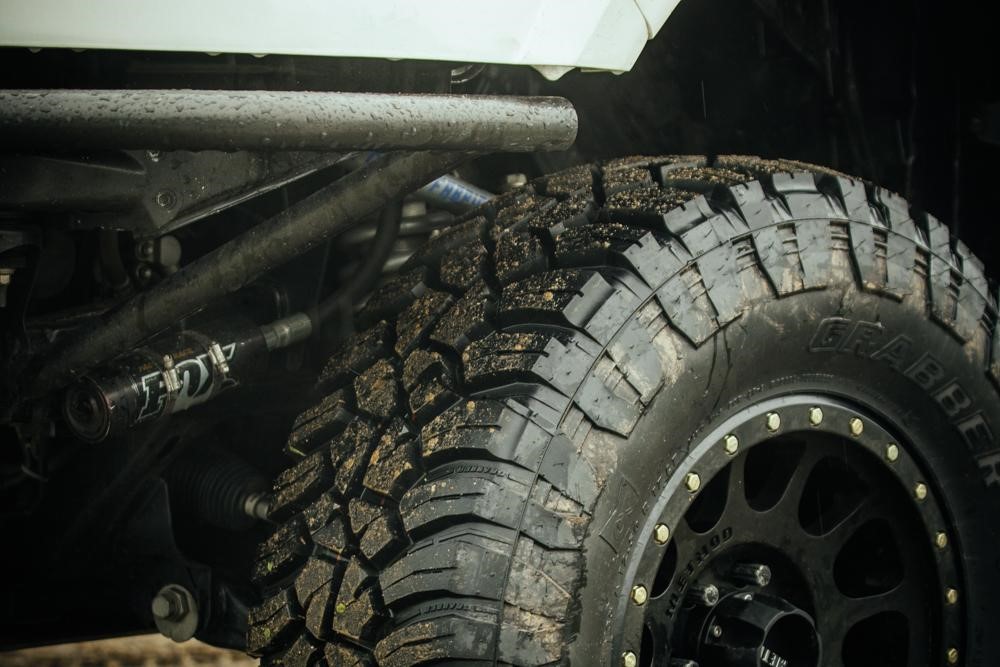
Cutting into your truck is not something most of us take lightly.
Hopefully, this guide has given you a few resources and general ideas on what it takes to pull off 35-inch tires.
Once all parts are completed, you should be running 35s more easily! Enjoy your new look and the capabilities of larger tires!
If you guys have any questions regarding this process – let us know.


What bumper is that I need it in the front
That was a nice detailed write up. I was wondering how much of a suspension lift is required so you don’t have to Chop the body mount and possibly some of those other mods like the weld seam and so on.
Hey Loren, the answer is a bit more complicated. Technically speaking, a suspension lift will not help with clearance. Here is why. While on the road, you may experience some “clearance” but if you off-road, the tire will still articulate up and down to its extremes. The lift will appear to clear the tires (at least partially) but in actuality, the lift really only provides some additional ground clearance. Technically speaking, if you want a setup with no rub at all, it shouldn’t rub too badly even with stock suspension. This is not a blanket statement, but I’m just trying… Read more »
Don’t forget to beef up your trunion’s! They will snap under hard use. Just putting it out there from experience. Or pack a spair in the tool kit along with extra CV and tie rods.
More pics of the tacoma with the tube bumper please and thank you
Very interesting. At first I was considering 33’s but I always wanted to run 35’s but worrying about the rubbings. Are you running the 35’s on 17’ wheels?
What offset and back spacing?