
The tailgate on the Tacoma is used for a variety of different things such as overlanding, off-roading, or as a work surface. After all, it can make the perfect campsite chair, dining table, cutting board, workbench, and so much more.
With all of these uses, you would think that the insert would be designed with this in mind. On the 3rd Gen Tacoma, however, it just doesn’t quite live up to these expectations.
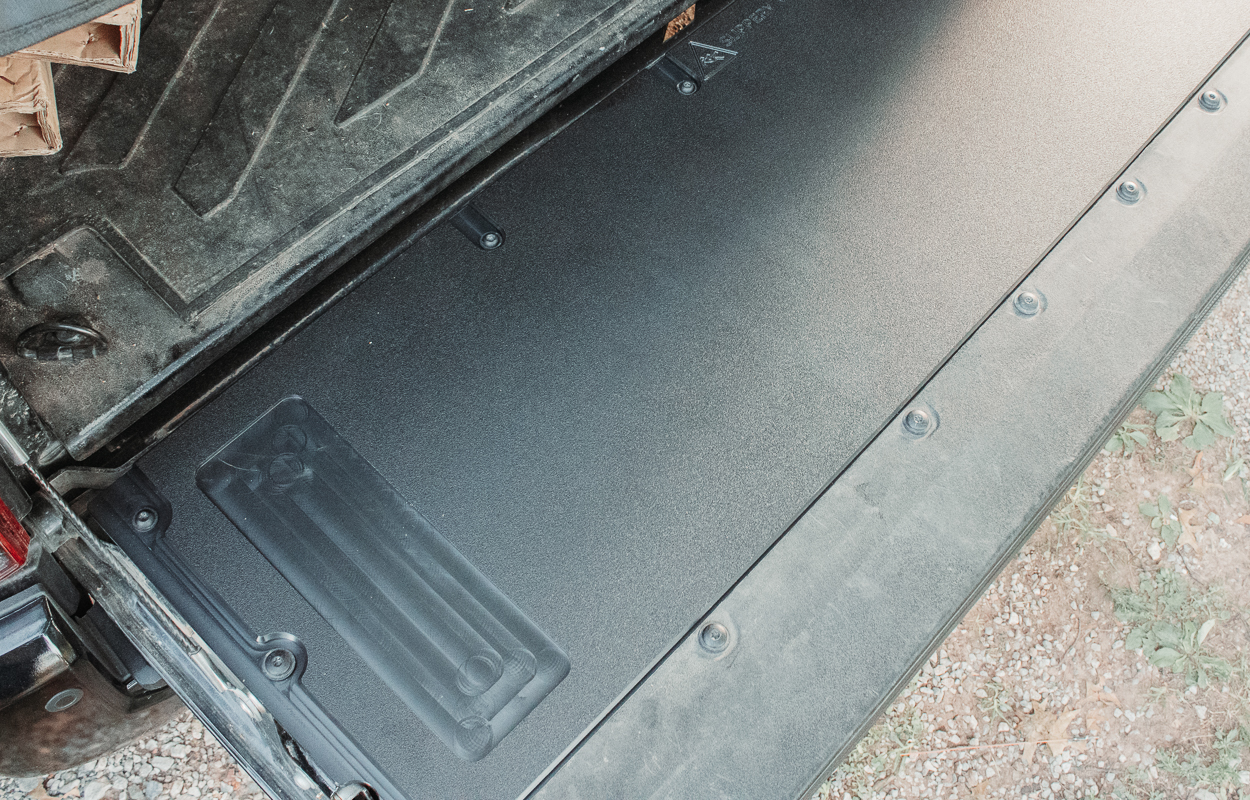
Due to the ridge-like pattern, it can make simple things like setting down a drink, cooking, or even just sitting very annoying, uncomfortable, and sometimes nearly impossible. The All-Pro Overland Tailgate Table solves these problems with an easy and headache-free modification.
Although I will be installing this panel on my 3rd Gen, it also works on the 2nd Gen.
Find It Online
- All-Pro Offroad Overland Tailgate Table: Check Price
Table Of Contents
Overview & Features

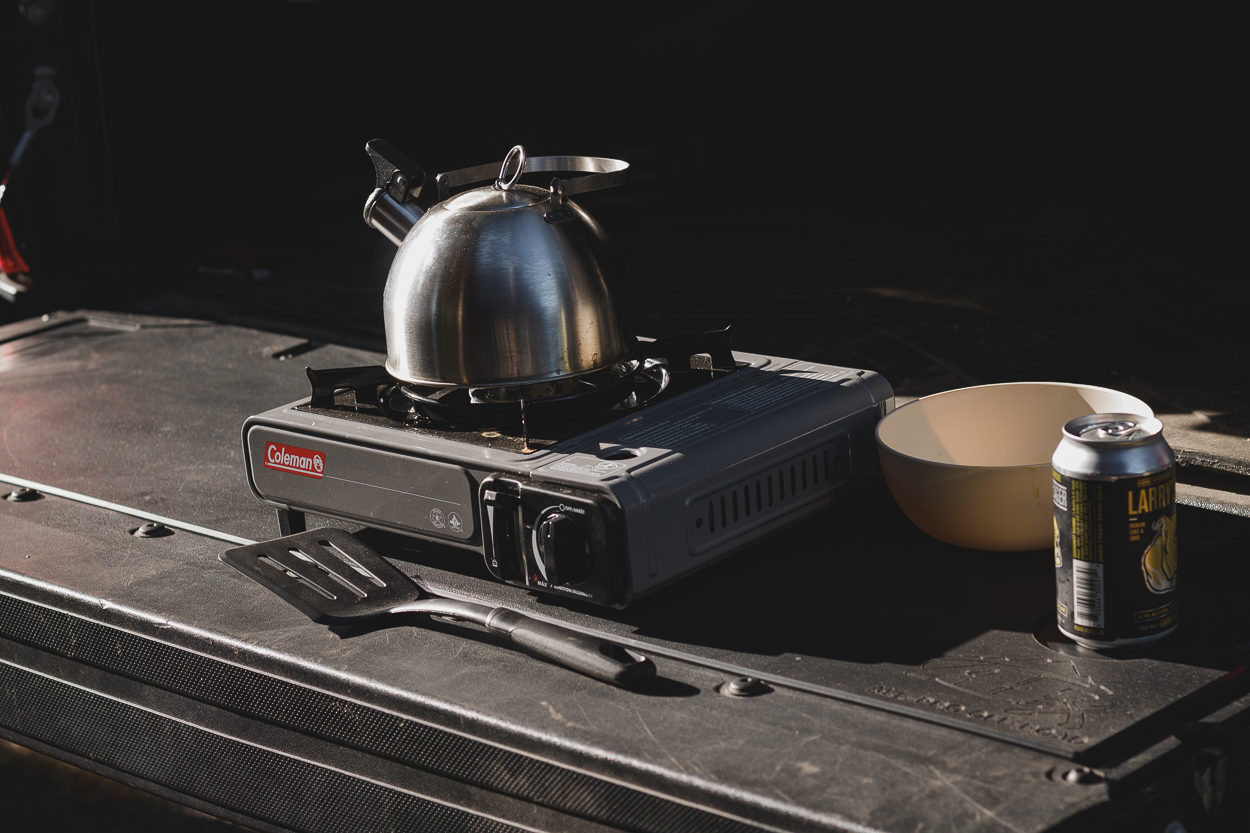
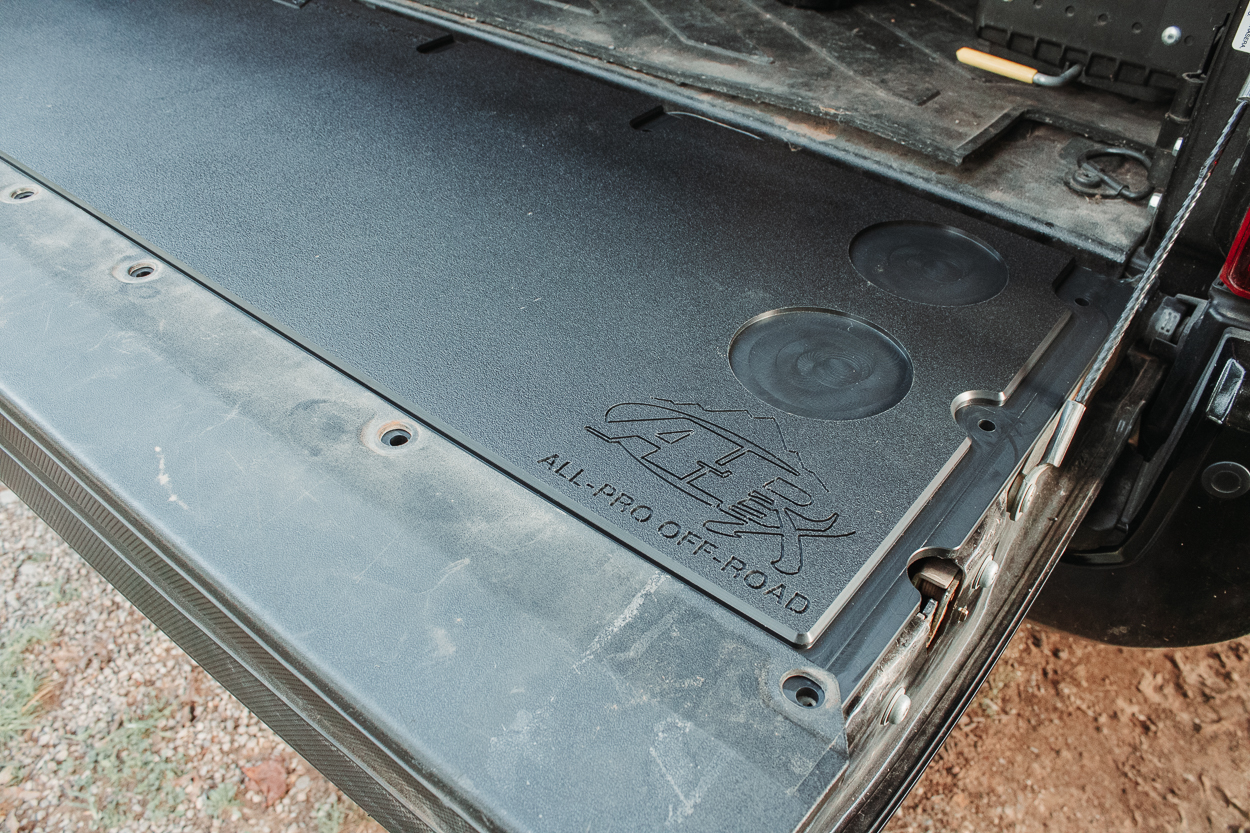
The All-Pro Offroad Overland tailgate table replaces the pretty much useless stock insert with a flat multi-functional surface. You can use it as a workbench, cooking station, dining table, and just about anything else that requires a flat surface.
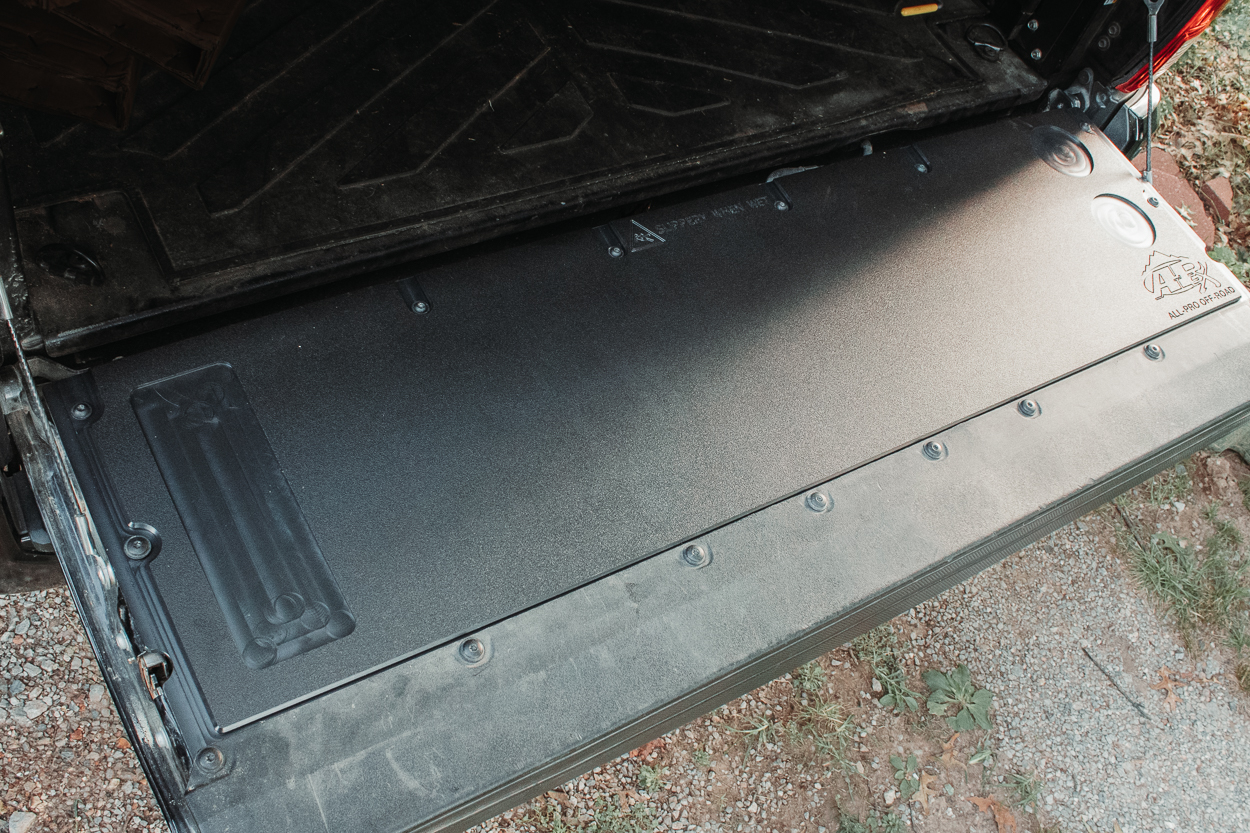
There are two different surface options to choose from. I chose to go with the smooth surface which features a large, flat space with two “cup holder” recesses and a rectangular slot for small items like your phone.
It’s worth mentioning that the surface can be pretty slippery when it gets wet. In case you forget that, All-Pro etched “slippery when wet” into the insert to remind you.
The other surface option is the divided cutting board. This replaces the middle flat surface with two square slots you can use as separate cutting boards. There are grooves around the cutting boards to keep liquids like meat juices from cross-contaminating other foods. It also comes with the same two cup slots and rectangular slots as the smooth surface option.
Both options are made from high-quality and food-safe materials that are made to resist cracking, chips, and de-lamination. They also come in four different color options: black, black with white accents, grey, and red.
Installation
One of the awesome things about the Overland Tailgate Table is its simple installation.
It took me less than 15 minutes and was honestly one of the easiest mods I have done to my Tacoma.
Tools Required
- T30 Torx Socket
- Ratchet Wrench / Drill
Step 1. Unscrew Bolts
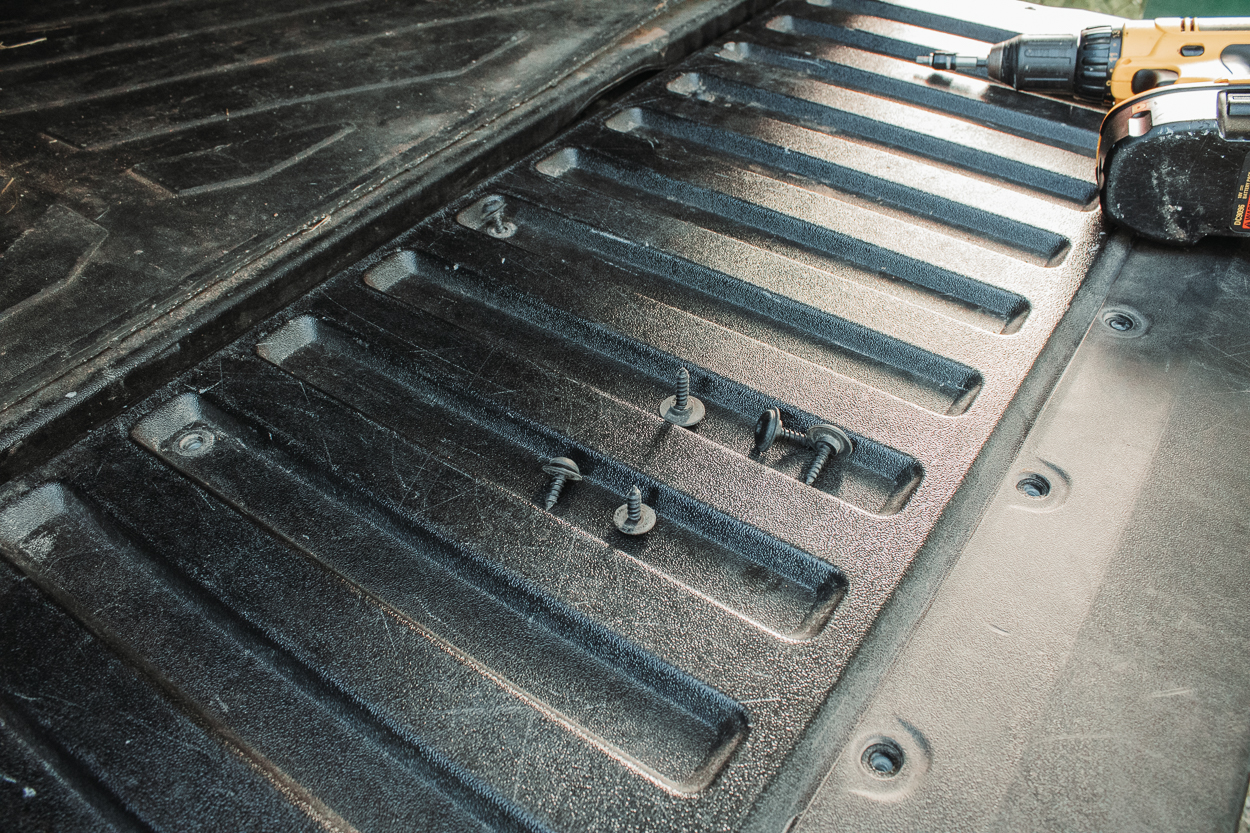
To start, you’ll need a T30 Torx bit. A lot of screws in the bed of the 3rd Gen Tacoma use this type of bit so you’ll get your use out of it.
Unscrew all 16 screws on the tailgate insert and place them somewhere safe as we will be reusing these to install the new table.
Step 2. Remove Stock Insert

After all of the screws are removed, you should be able to pull the stock tailgate insert up and away.
There shouldn’t be any force needed to remove the panel. If there is, check to make sure that you didn’t miss any screws.
Step 3. Install New Panel
Position the table in the same way that the stock tailgate insert was by lining up the screw holes with the mounting holes.
You may need to slip the top-facing lip of the Tailgate Table under the black tailgate cover to line up the screw holes.
Step 4. Hand Thread Screws
Use all of the screws from the original insert and start hand threading each screw into the mounting holes, about 3-4 turns. Hand-tightening each screw is important to make sure that the Tailgate Table doesn’t shift around and misalign your mounting holes.
When hand-tightening them, I suggest going in a crisscross pattern to ensure all sides stay aligned. Remember, the bolts with the larger head will go on the top holding the plastic cover on (closest to you).
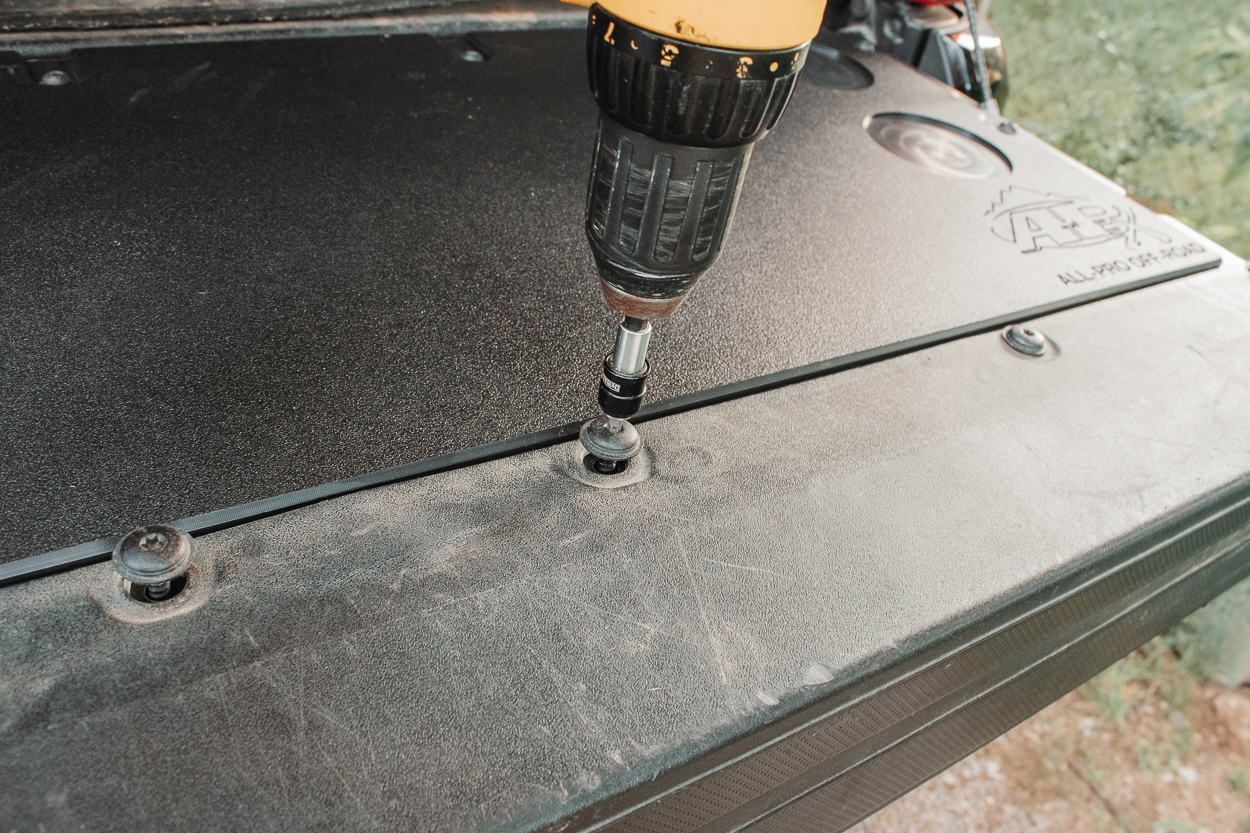
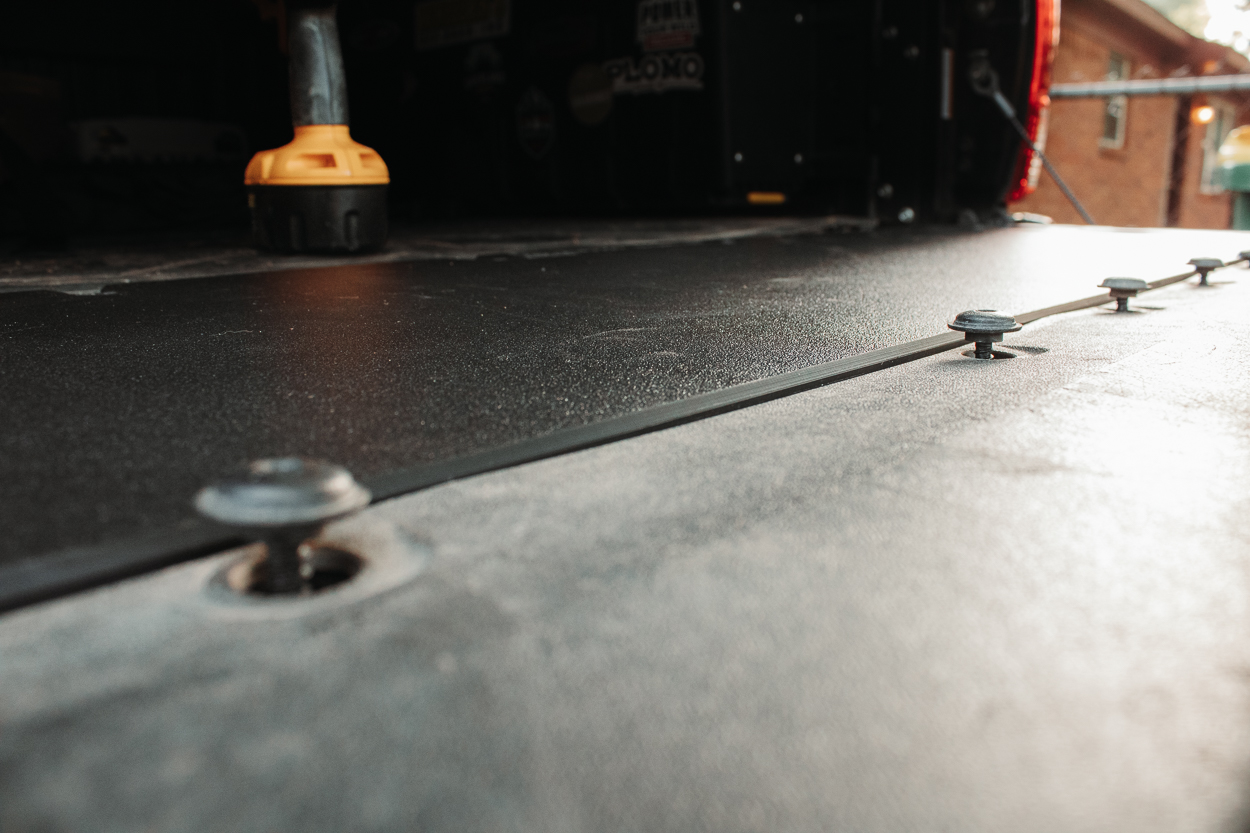
Step 5. Tighten Screws
Now that all of your screws are hand-tight, you can now start tightening them with a screwdriver. I recommend repeating the same crisscross pattern.
Be careful not to over-tighten the screws as these mount to plastic nuts inside the tailgate and can be easily stripped. If you’re using a drill like I did, I put it on the lowest speed and barely squeezed the trigger until I felt the screws snug up.
Once all of the screws are tightened, crack open a cold one and admire your new table!
Final Thoughts
After installing the Overland Tailgate Table, my truck is even more functional than before. Having a designated place where I can safely place drinks and cook on while also being super comfortable to sit on made me realize just how much I was missing by not getting one sooner.
I can’t wait to see what other tasks the new tailgate insert helps make easier. Having used it for some time now, I am confident the quality and durability will stand up to all of my future adventures.
Thank you for this great review. I installed the grey version https://allprooffroad.com/2005-current-toyota-tacoma-overland-tailgate-table-divided-surface-black.html shortly after it was produced to contrast with the black bed as I began setting up the 2009 Barcelona Red ACLB. (Thought about the red version but grey felt better to my eyes.) I used this as a worktable for cutting Hush mat sound insulation for the front doors and the (undivided) surface worked great.
Hey they have a Fully Flat surface option now! https://allprooffroad.com/2005-2023-toyota-tacoma-overland-tailgate-table-gray-fully-flat.html
Color options: Black, Grey, Red, Black-White-Black, Red-White-Red, and I imagine they’d accept suggestions for other options.