
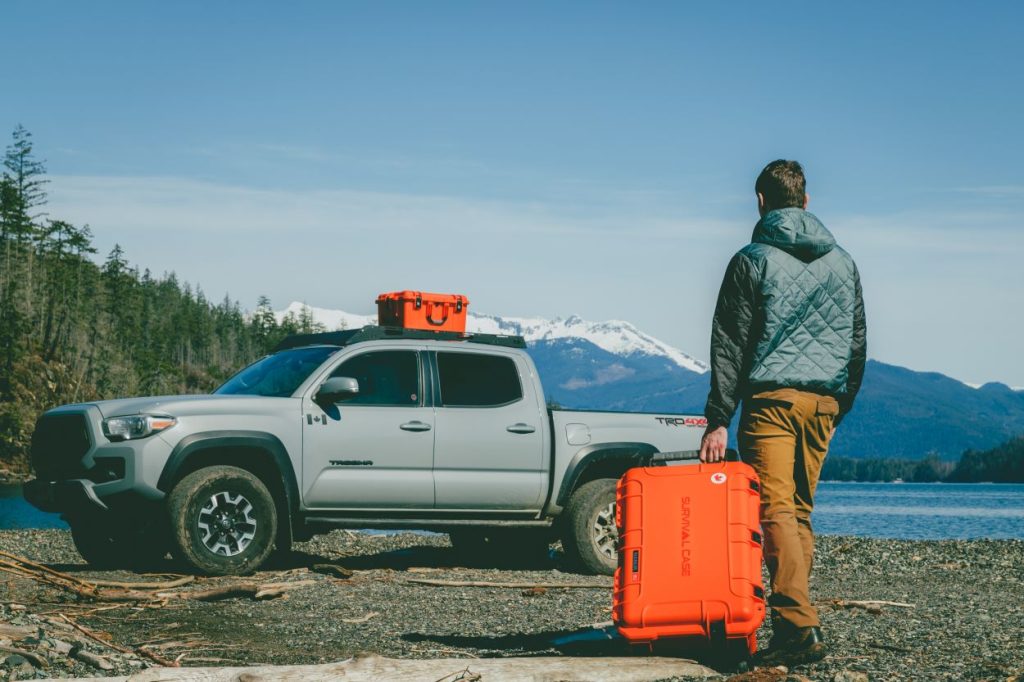
As off-roaders, we are always looking for different ways and/or places to carry our gear. If you go on longer trips or are someone who has a lot of equipment to take, a roof rack is the perfect solution.
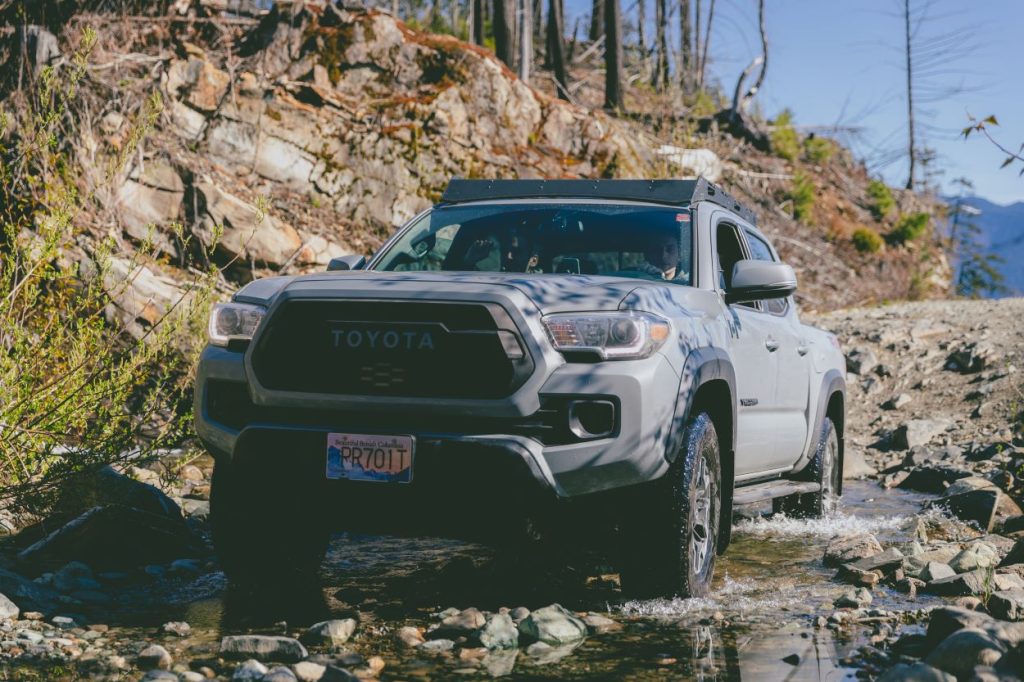
The Backwoods Adventure Mods DRIFTR rack is a solid option built to last as long as your vehicle and for a Tacoma, means a long time. It is highly adjustable to suit your build and comes with beefy 1×3 extrusions to handle high loads. Installing this rack is also quick and easy.
Table Of Contents
Why Add Roof Storage?
I have been looking for ways to free up some cab space for a while to take more people on my adventures. I also wanted somewhere to store clothes, recovery gear, and traction boards. The flexibility to mount a kayak, skis, or water tank was the cherry on top.
Roof racks also provide a great platform to mount light bars and chase lights. Since they are on top of the vehicle, the light from the light bars will bounce off fewer surfaces thus casting fewer shadows. The DRIFTR has cutouts in the rear fairing and slots on the front fairing to make mounting both a breeze.
Overview & Features
This roof rack has a couple of features that stand out. Like most, the rack provides a flat platform to mount all of your storage boxes and gear. Where it differs is in the cutouts for the rear chase lights and that it is very modular. For example, you can adjust the front fairing and the load bars to better fit your packing needs.
Key Features
- Chase light cutouts
- ¼” aluminum side panels
- 5 powder-coated extrusions (larger than industry standard) with included hardware
- Adjustable front fairing (comes with mounts for lightbars)
- No drill installation
- Made in the USA
- Compatible with sunroof and factory antenna
Installation
Tools Required
- Drill
- 7/8″ hole saw
- Knife (to help remove tape)
- Side cutter
- 10mm socket
- 7/16″ socket
- Ratchet
- 4mm Allen
- Scissors
- Marker
- Trim removal tool
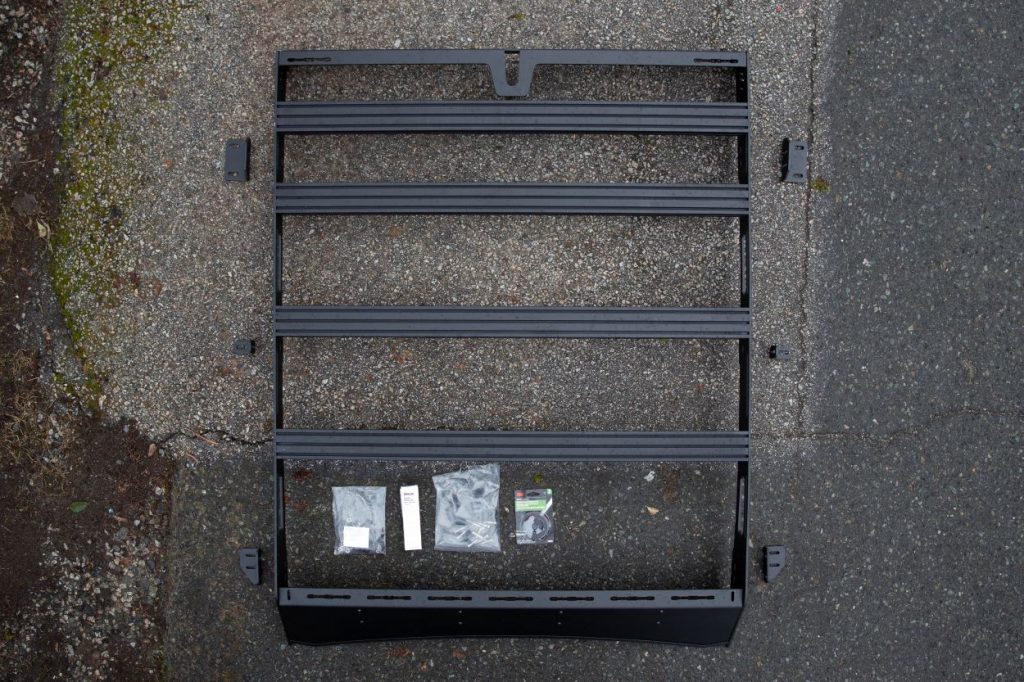
What’s Included
- Driver and passenger side rails
- Aluminum extrusions (5)
- Front and Rear Fairing
- Angle brackets
- Edge trim
- Fasteners
- RTV Silicone
- Thread locker
- 3M Tape
Step 1. Prepare Roof
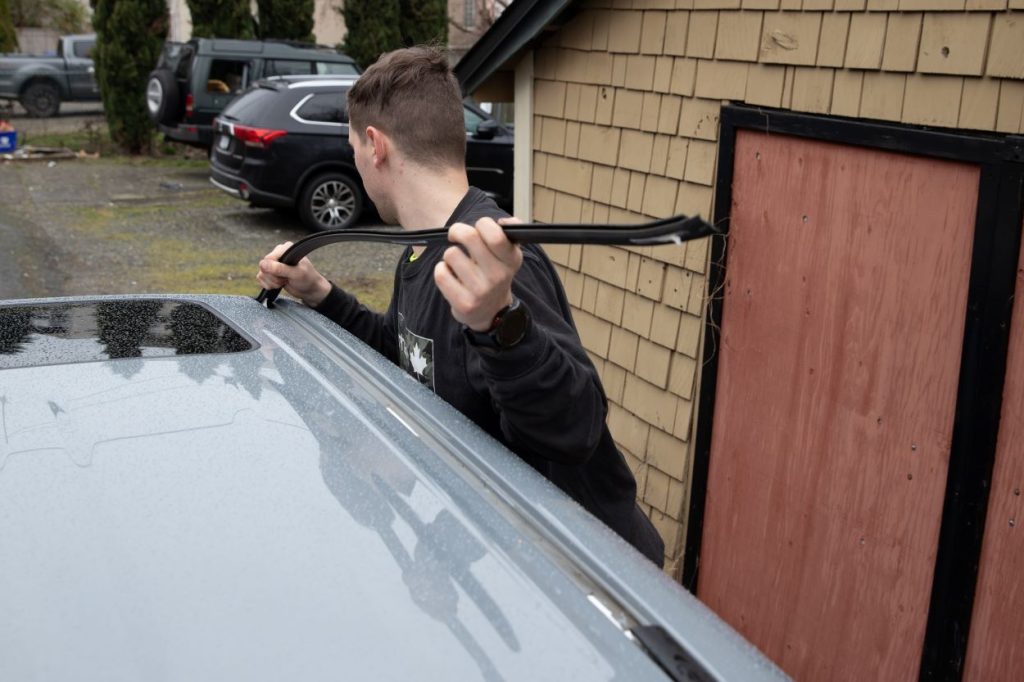
Use a trim tool to lift the rear edge and pull the weatherstrip up on both sides. These are stuck on with a double-sided tape. Find the area with a color-matched sticker and remove the stickers as well.
Step 2. Prepare Weatherstripping
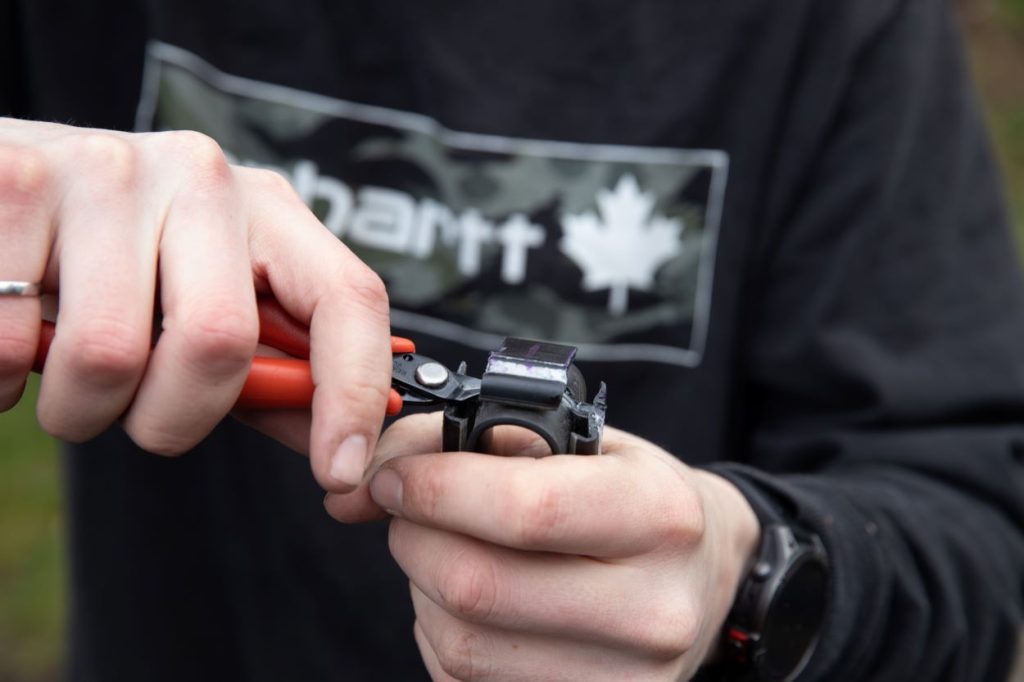
Lay the weatherstrips beside the holes and line the ends up. Mark the location for the threaded holes and transfer the lines to the bottom of the weatherstrip. Add roughly 1/2” on either side of the lines and trim away the bottom flange. Then, drill a hole with a 7/8” hole saw through the weatherstrip.
Step 3. Reinstall Weatherstripping
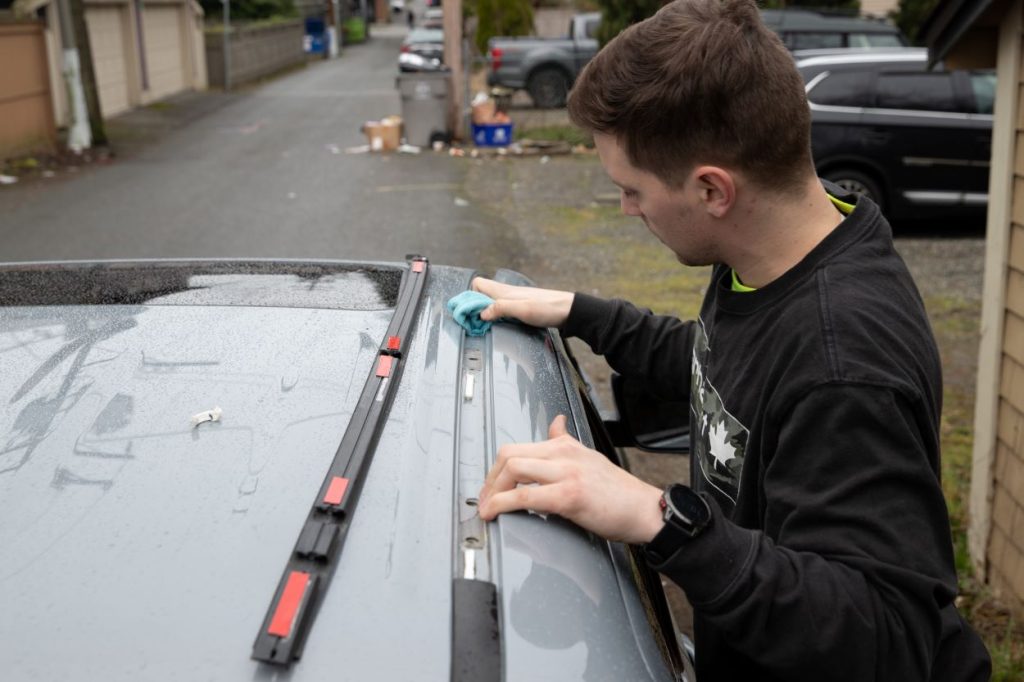
Clean the track with a rag and remove as much of the old tape off of the weatherstrips as you can. Next, install the new provided 3M tape. Reinstall the weatherstrip on either side.
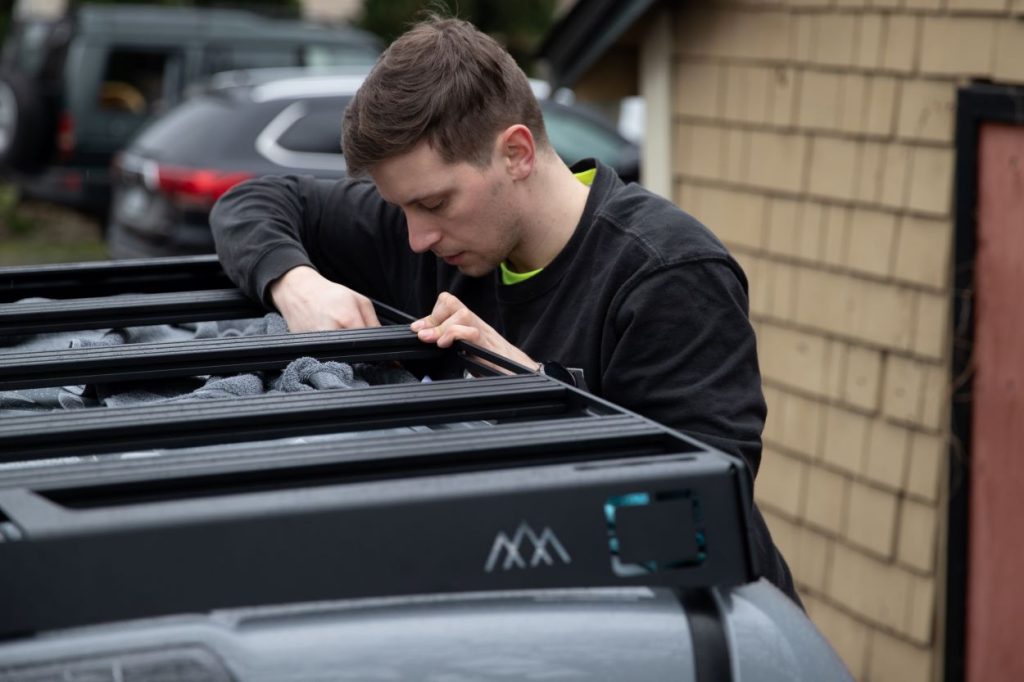
Step 4. Assemble Rack
First, assemble the front fairing. Slide a nut through the rails and fasten one of the aluminum extrusions to the back of the front fairing with the 1/2” long bolts and Loctite. Then, install the edge trim onto the curved, front edge of the fairing, trimming as needed.
Bolt the front and rear fairings to the side panels and then bolt the extrusions between. Leave all fasteners loose so that they can be adjusted later.
Step 5. Install Brackets
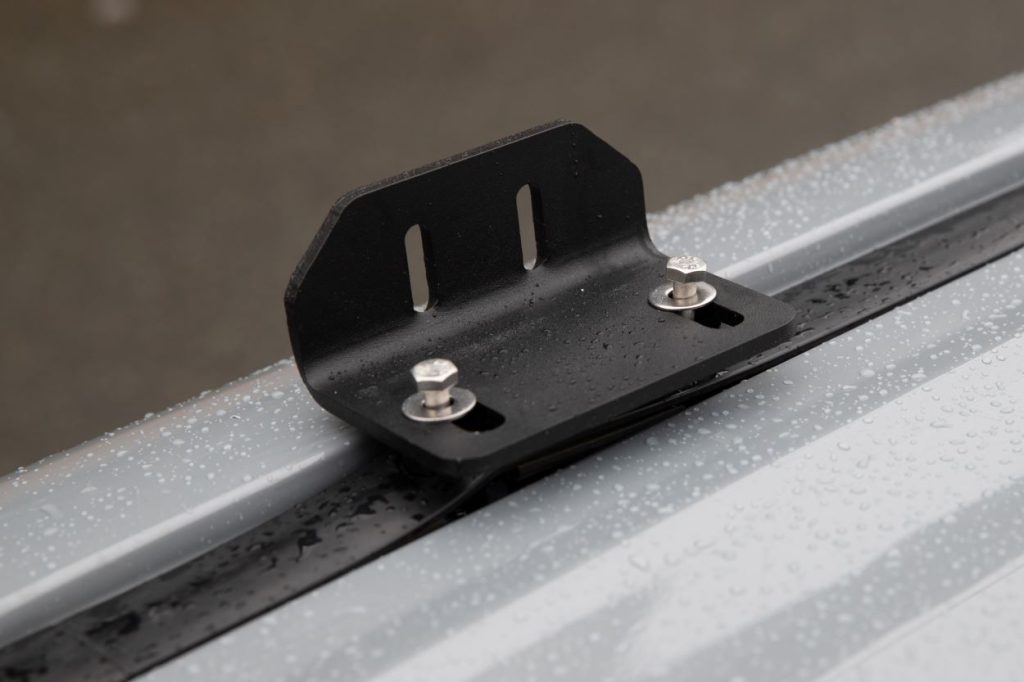
Use a clear silicone sealant and run a bead around each of the bolt holes in the roof where the circle cutouts were made earlier. Getting a little sealant into the threaded holes can help create a better seal, but do not overdo it. Finally, press the spacers onto the holes and start a long stainless 6mm bolt into the hole with the appropriate brackets.
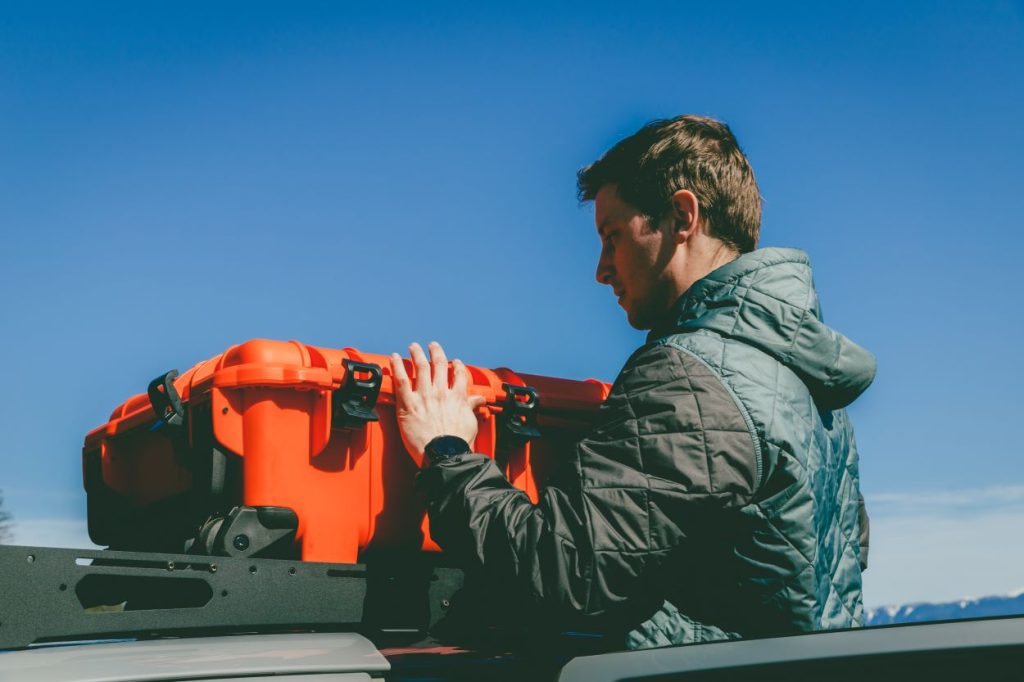
Step 6. Install Rack

I recommend a second set of hands for this part and placing a moving mat on the roof so you do not damage it.
Place the rack onto the roof brackets. When the rack is centered side to side, tighten the bracket fasteners. This rack can be adjusted to sit higher or lower depending on your preference.
Initial Impressions
This thing is a beast. The aluminum extrusions can easily hold a person’s weight and the included hardware makes fastening your accessories simple. While stout, the rack is also lightweight enough for a solo installation.
The kit comes with everything you needed including 3M tape, edge trim, and clear silicone. You typically have to get these items on your own at the hardware store. It also comes with all the hardware you need to be able to start mounting accessories right away.
Speaking of, with the included edge trim and the low-profile design, the wind noise is almost non-existent. It’s still there but is so faint that after closing the sunroof shade, it disappears at speeds under 45 mph. The trim and front fairing make a tidy package that enhances the look and functionality of any truck.
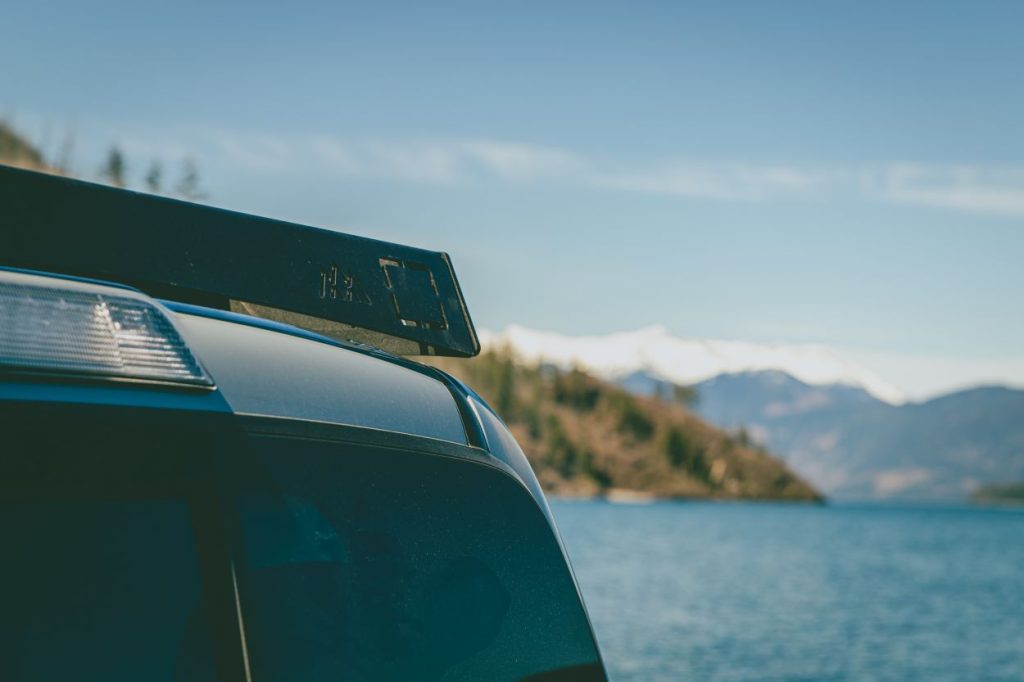
At its lowest mounting position, the DRIFTR roof rack is very low profile, adding less than 1/4” to the overall height of the truck. The rear fairing wraps around the rear antenna perfectly and does not interfere with the radio signal.
Some things to note (which apply to any option out there):
- It is recommended not to use a car wash that uses brushes as they will catch on the rack.
- Check the roof clearance of your garage or parking spot(s). I recommend loading your rack up and measuring the height to be sure it fits before heading into a parking garage.
Final Thoughts
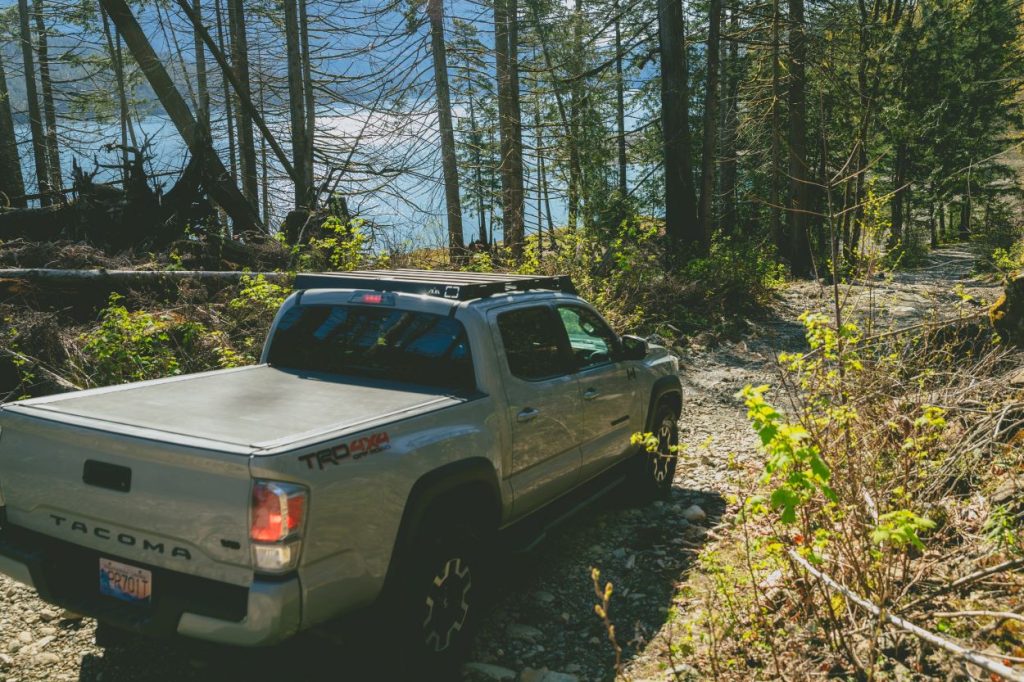
To conclude, the DRIFTR is a stout but lightweight storage solution that also improves the look of your vehicle. While its certainly an investment, it is worth the extra money for the added strength and modularity. The cutouts on the rear fairing will make chase lights look like they are meant to be there rather than an afterthought.
This rack would be a great addition to any rig whether a daily driver or a fully built overlander.