
I can almost guarantee at one point in your off-roading career, you’ll get some type of debris, whether it be a rock or branch, jammed up into your undercarriage.
During one of our most recent night runs, we were cruising on the trail, zero issues and then BAM, I hear a huge knock under my truck. A branch found its way up and under my undercarriage and locked in right up under my slider. Luckily nothing vital was hit, and the branch was small enough to break off and just get dragged along under the truck.
At that point I knew I had to get a little more serious about under body protection. Cali Raised LED offers a bunch of options for under body protection. We’re going to dive into their entire under belly which includes the front, transfer case, and transmission skid plates. These are part of the “collection” – you can buy them individually, or in a complete skid plate package. All the individual parts are linked below.
In addition to this guide, and my YouTube videos (linked below), check out the Cali Raised YouTube page for additional install resources.
Find It Online
- Cali Raised LED Skid Plate Collection (2005-2023): Check Price
Table Of Contents
Why Do I Need Them?
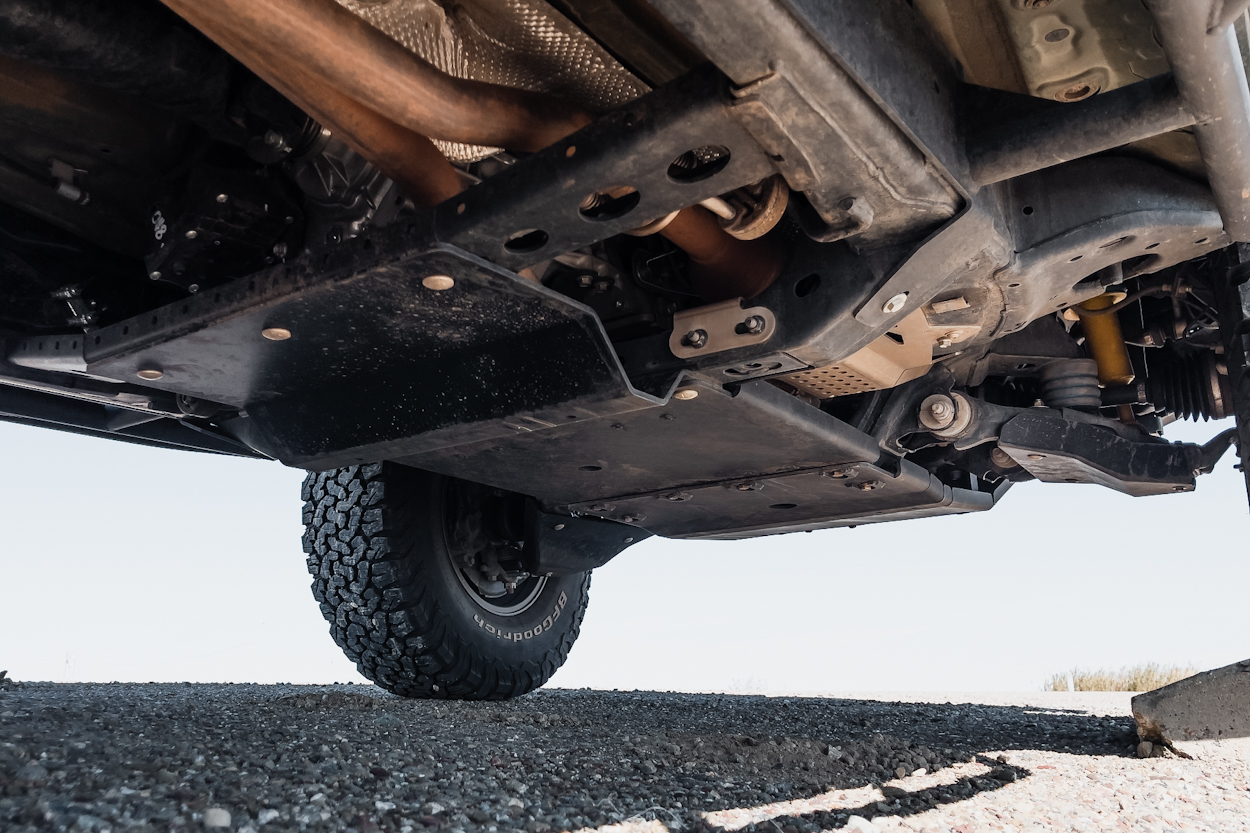
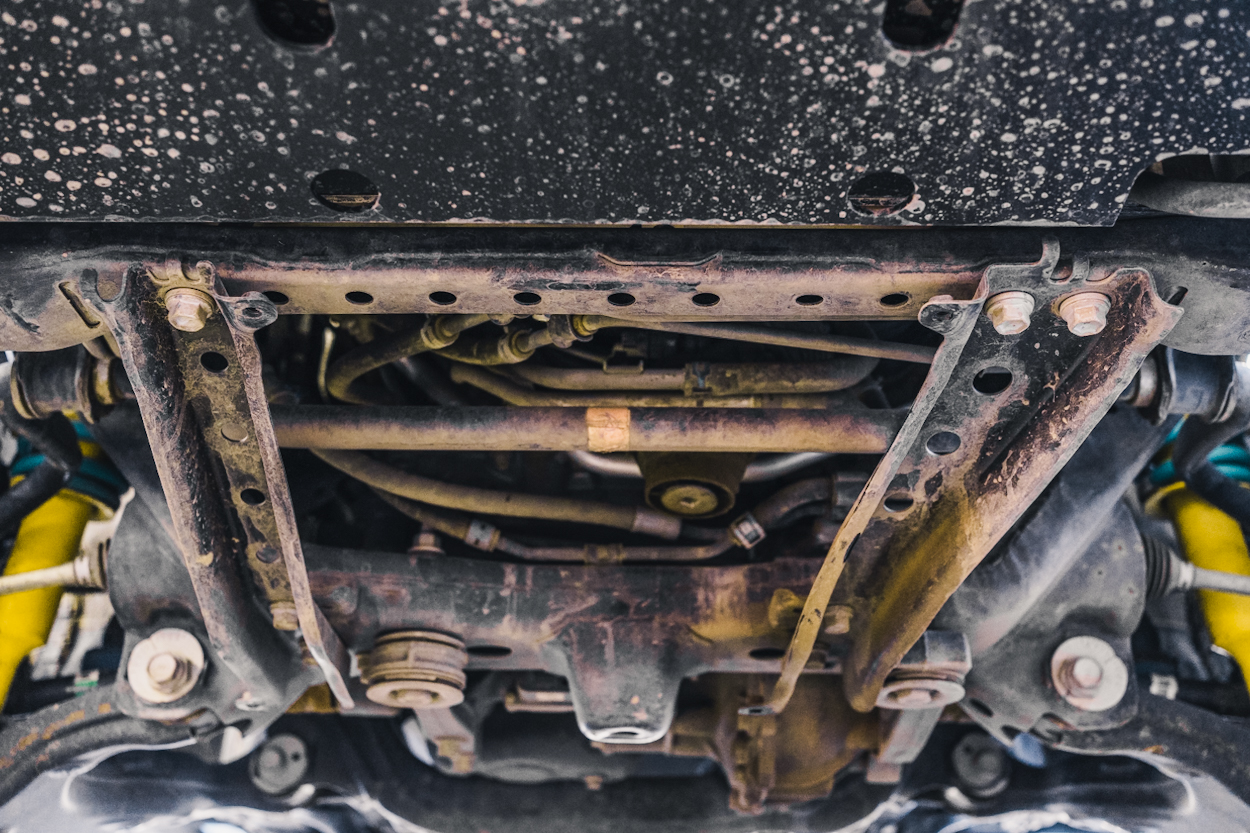
If you take a look under your rig, you’ll see a bunch of important bits that could make or break your trip if a big enough branch or rock were to get up and under there.
Imagine going on a run, not seeing that large branch that was in the middle of the trail, or cruising a unexpected rocky obstacle, and potentially doing serious damage! Needless to say, upgraded skid plates protect your hard earned investments.
The factory skids are super thin, and while they might be adequate for urban travel, they are beyond lacking when it comes to getting off-road.
The Cali Raised’s are super reasonable as far as cost goes, and they have every single component you could want. With options for aluminum or steel, depending on your particular use case.
Steel Vs. Aluminum
Steel is a much harder metal, much less likely to be dented or punctured. Since steel creates less friction than aluminum – it’s less likely to get caught up when sliding along an obstacle. Aluminum, however, is about a third the weight of steel which gives it the upper hand if you’re trying to save some weight, while still upgrading. However, since it’s softer metal it tends to stick to obstacles rather than glide.
There are a bunch of caveats when it comes to picking which type of metal you’d opt for. Generally if you’re consistently banging your skid plates, rock crawling, or sliding you’re under carriage across obstacles you’d probably want to go with steel. If you’re trying to save weight, and just need that extra protection for your overland trips, definitely opt for aluminum.
For more detail on this topic – check out steel vs. aluminum skid plates. We broke things down in much more detail there.
I ultimately decided to go with the aluminum option. Adequate protection for me with overall weight savings.
Features & Specifications
Note: This kit only work with 4WD Tacomas.
If you purchase the entire collection, you get the following:
- Front Skid
- Transmission Skid
- Transfer Case Skid
- Gas Tank Skid
- LCA Skid
Important Features + Specs
- Fits 2nd Gen (2005-2015) & 3rd Gen (2016-2023) Tacoma
- Completely bolt-on
- Your choice of finish (may be mixed and matched in any way)
- Steel and aluminum options
- 3/16″ steel
- 1/4″ 5052 aluminum
- Quick and easy install
- RAW or powder coated
- Made in America, with American metal
- LCA skids always come powder coated
- LCA skids and transfer case skid support are only available in steel
- Comes with Grade 8 hardware
Let’s get into the install!
Required Tools
- Standard toolbox
Step 1. Remove OEM Skids
The OEM front skid is two separate pieces. There’s a front portion and a rear portion.
Start by removing the two front bolts under the OEM skid plate, as seen in the shot above.
Follow up by removing the rear two bolts.
At this point the front skid should be hanging on the two hangers at the front.
You can now just lift and remove the front skid plate.
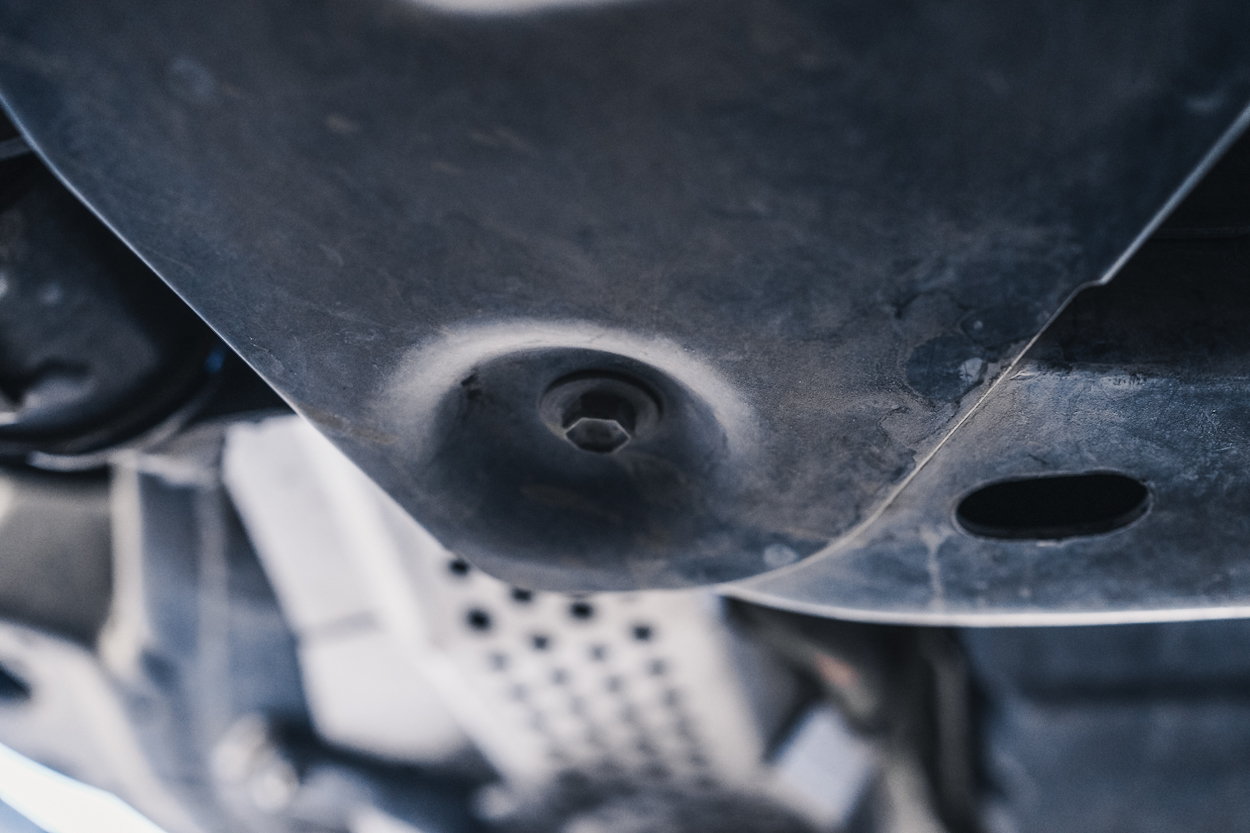
For the second part of the front skid plate, there are two recessed bolts in the front you’ll need to use an extension to get to them. Remove these two bolts.
Finally there are two bolts in the rear that need to be removed. The second part of the skid plate should just pop off once these are removed.
Step 2. Remove Front Braces
There are 7 bolts that hold in these two braces. 4 on the driver side and 3 on the passenger side.

Once you’ve removed the braces, save the hardware as 5 of these bolts will be reused later.
Step 3. Prep Front Skid Plate

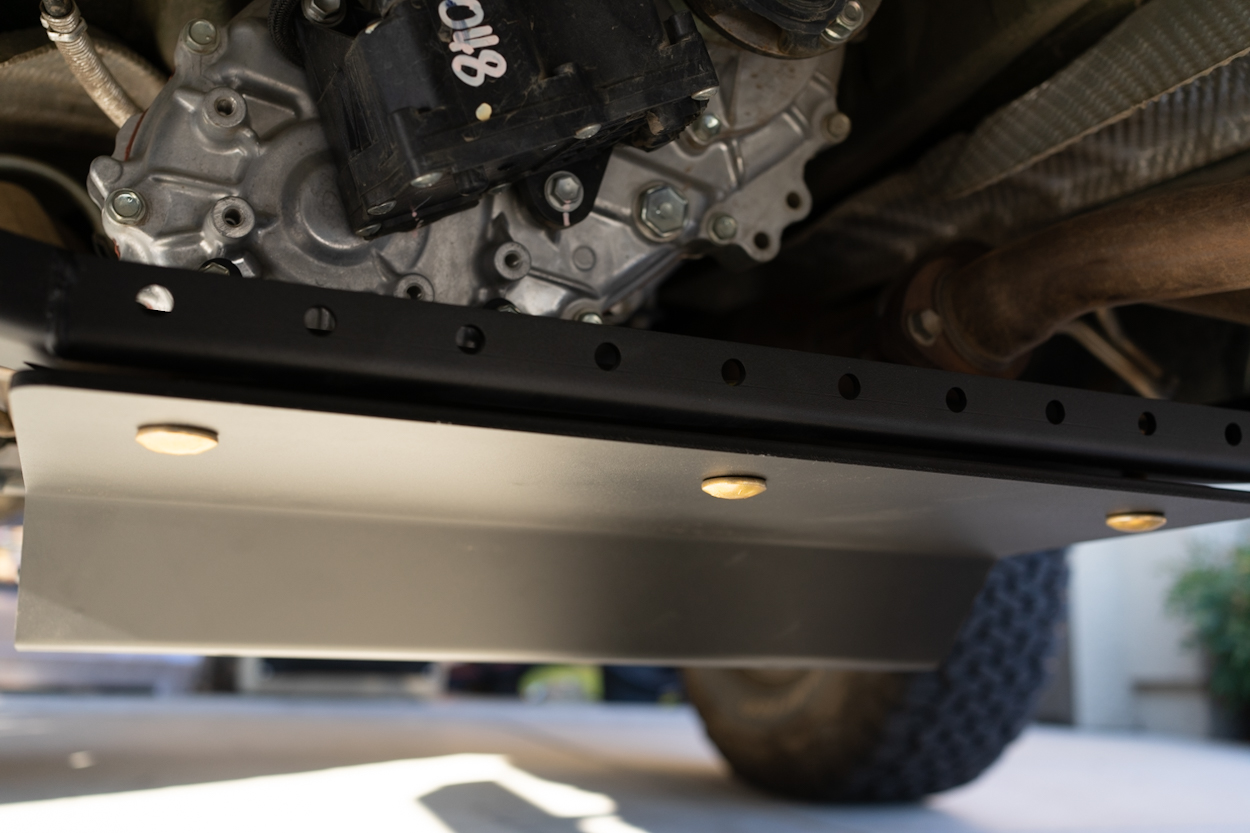
The oil drain door should be in your hardware bag. All you have to do is line up the bend on the door to the bump on the skid plate. You’ll know if it’s the wrong way. The door should sit flush.
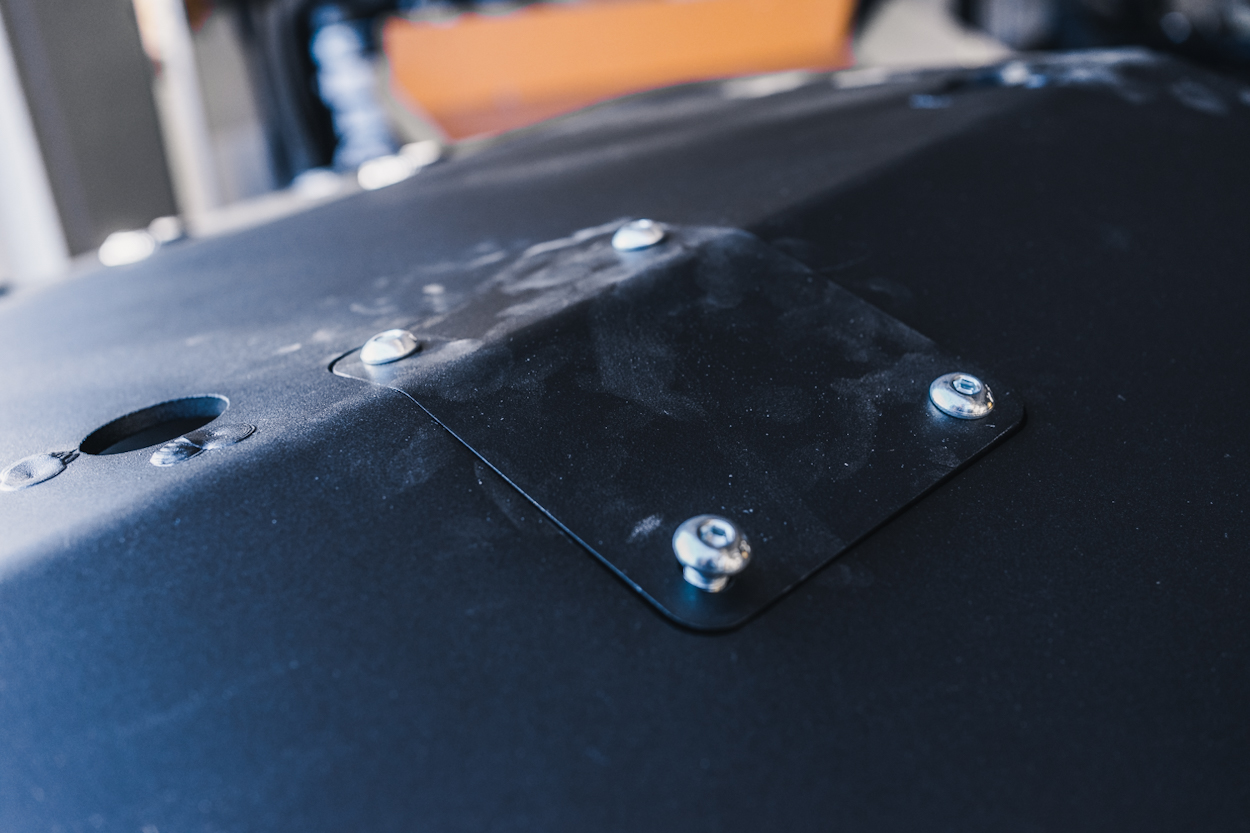
Take the 4 bolts included in your hardware bag and tighten down to secure the door to the skid plate.
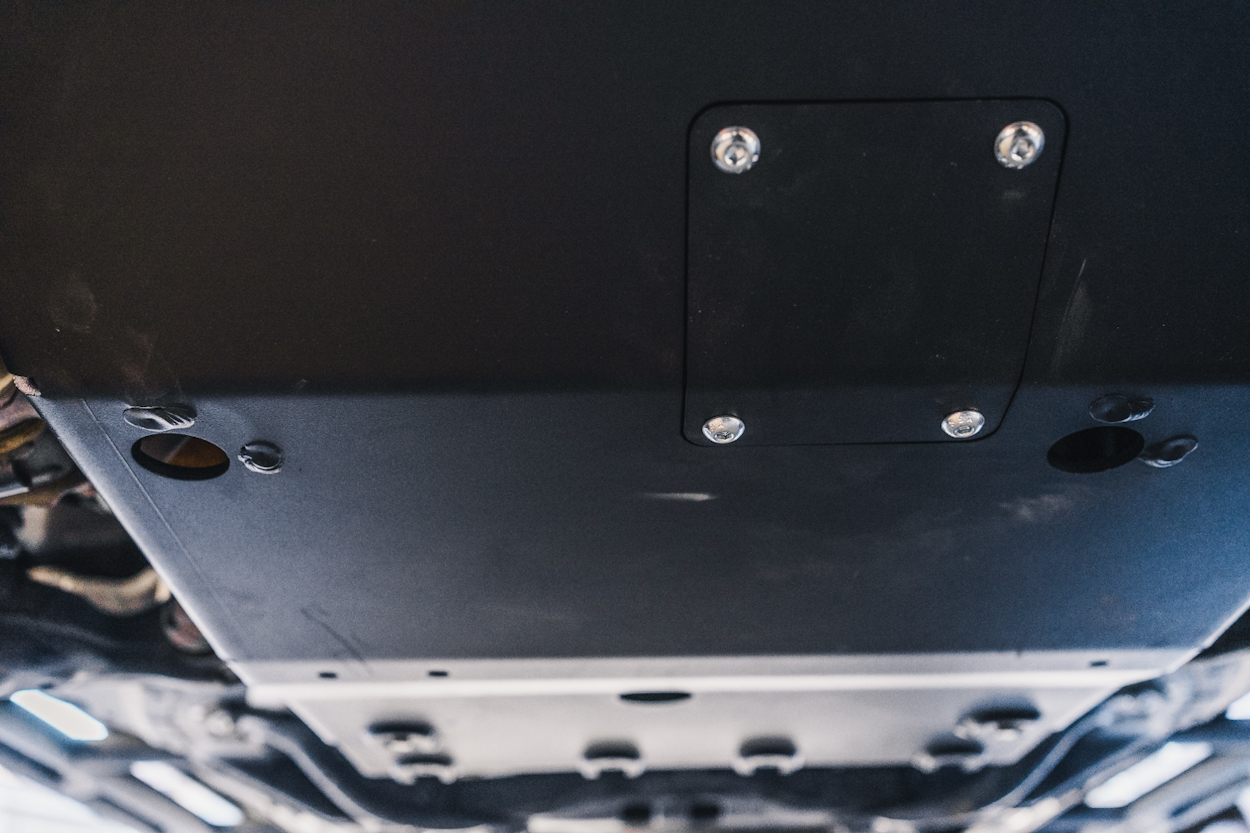
Step 4. Install New Front Skid

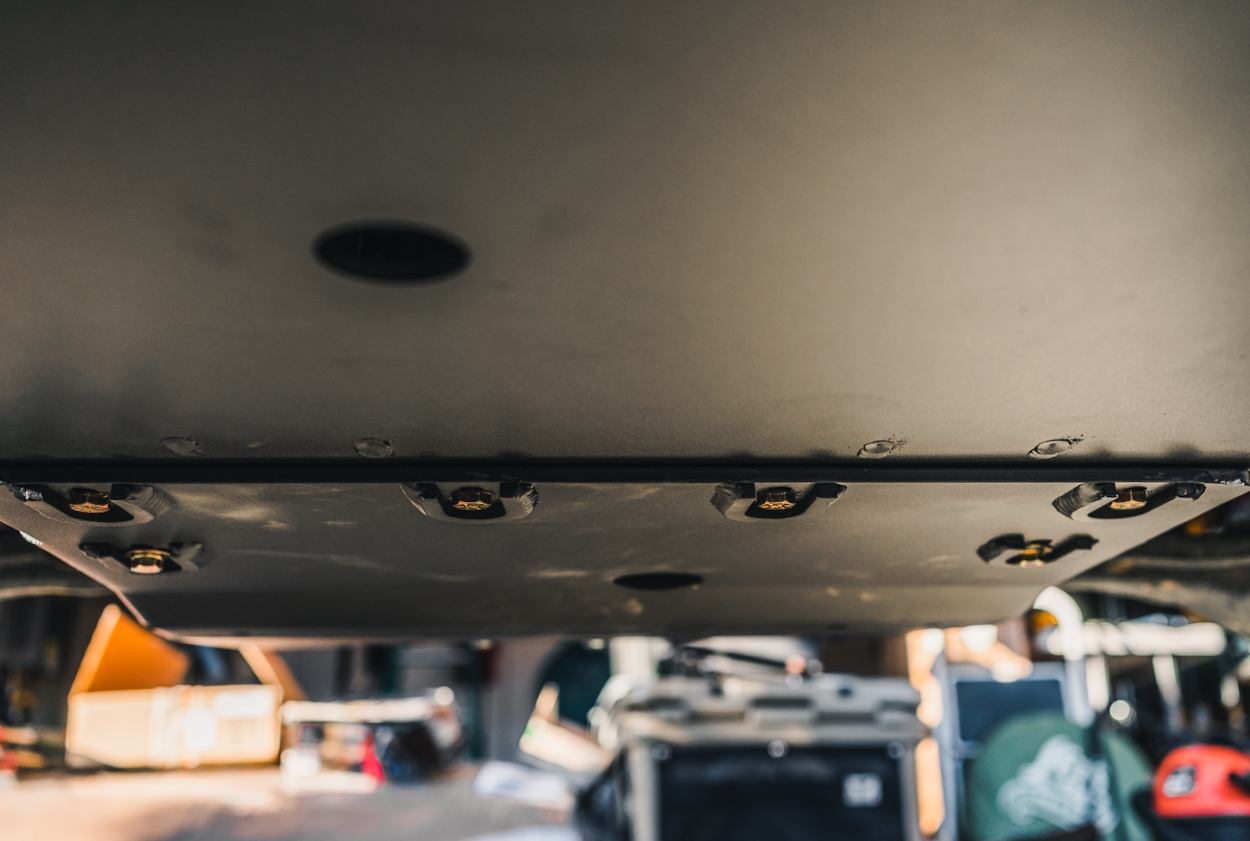
Take your new front kid and line up the holes in the front to forwardmost crossmember that was used to hold the braces you removed. Bolt in the three front bolts but leave loose for now. Seen above.
There are two holes under the skid plate that line up with the rear holes that were also used to hold the braces. You’ll need to use an extension and using two of the OEM brace bolts, bolt in and tighten down all the way.
At this point you can tighten the three bolts at the front completely.
Step 5. Remove Crossmember Frame Braces
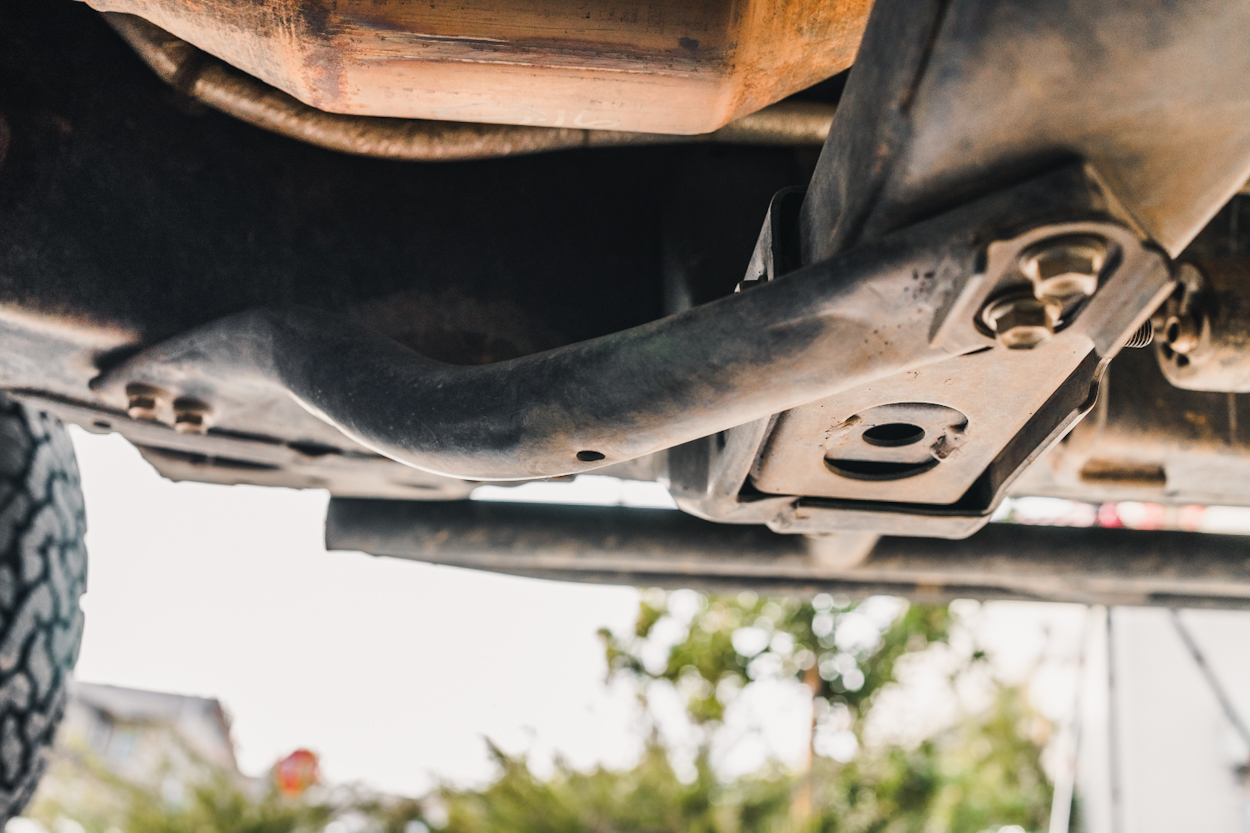
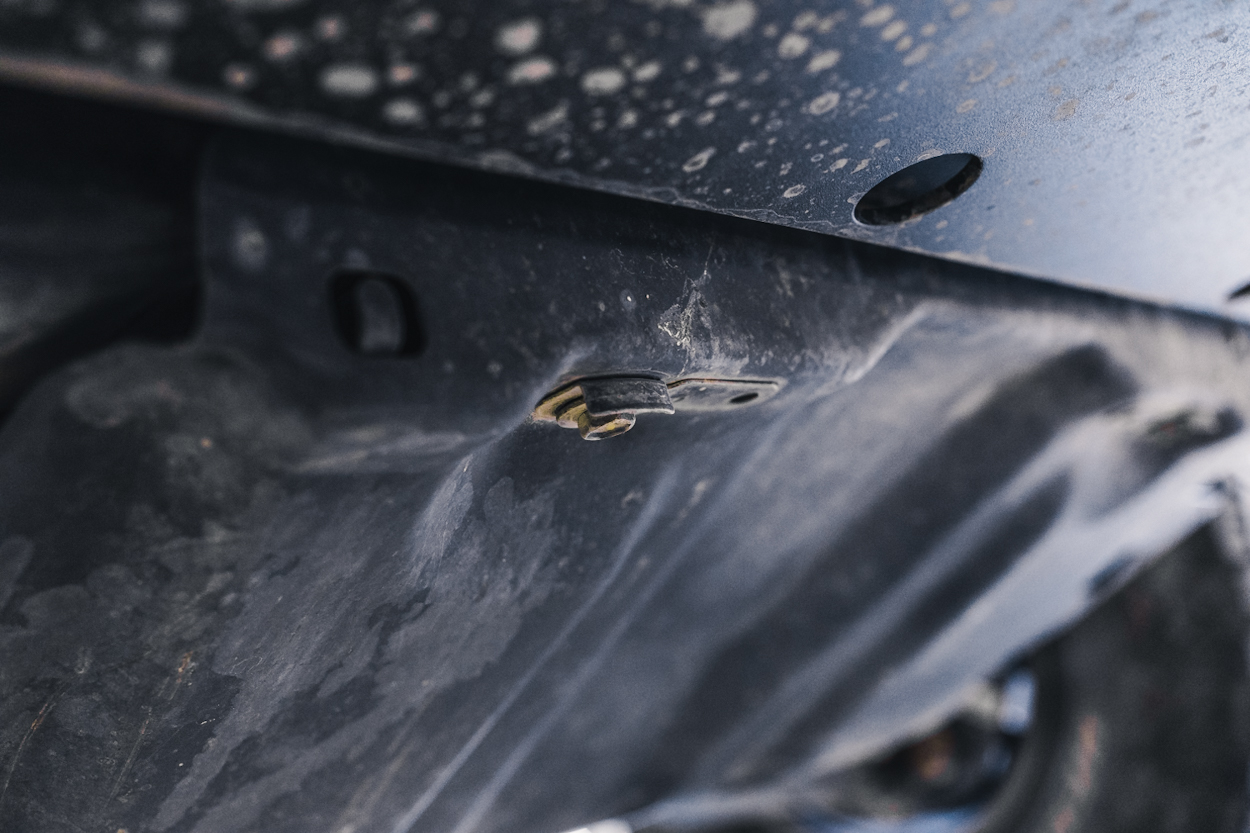
Moving on to the transmission skid plate. There are 4 bolts under the rig that hold in the braces that connect to the transmission crossmember.
Remove the two rearmost bolts.
Now for the front bolts. If you have something like the Cali Raised Catalytic Converter Shields, there may be two security bolts holding the brace to the shield. If you don’t, it should just be two regular bolts holding the brace in. Remove these two bolts and the brace, then repeat for the brace on the other side.
If you are running the cat shields, you can now reinstall the security bolts.
Step 6. Prep Transmission Skid Plate

Start by mounting the threaded clips (shown above) and lining up the holes. If you go a little too far, a flat head screwdriver will help you bring it back into alignment.
Step 7. Install Transmission Skid Plate
Take your transmission skid plate under the truck and slide it on top of the front one, between the frame and front skid. Then bolt in all four bolts using the hardware, washers and nuts provided. Tighten down enough to hold the transmission portion up, but still be able to move and adjust it.
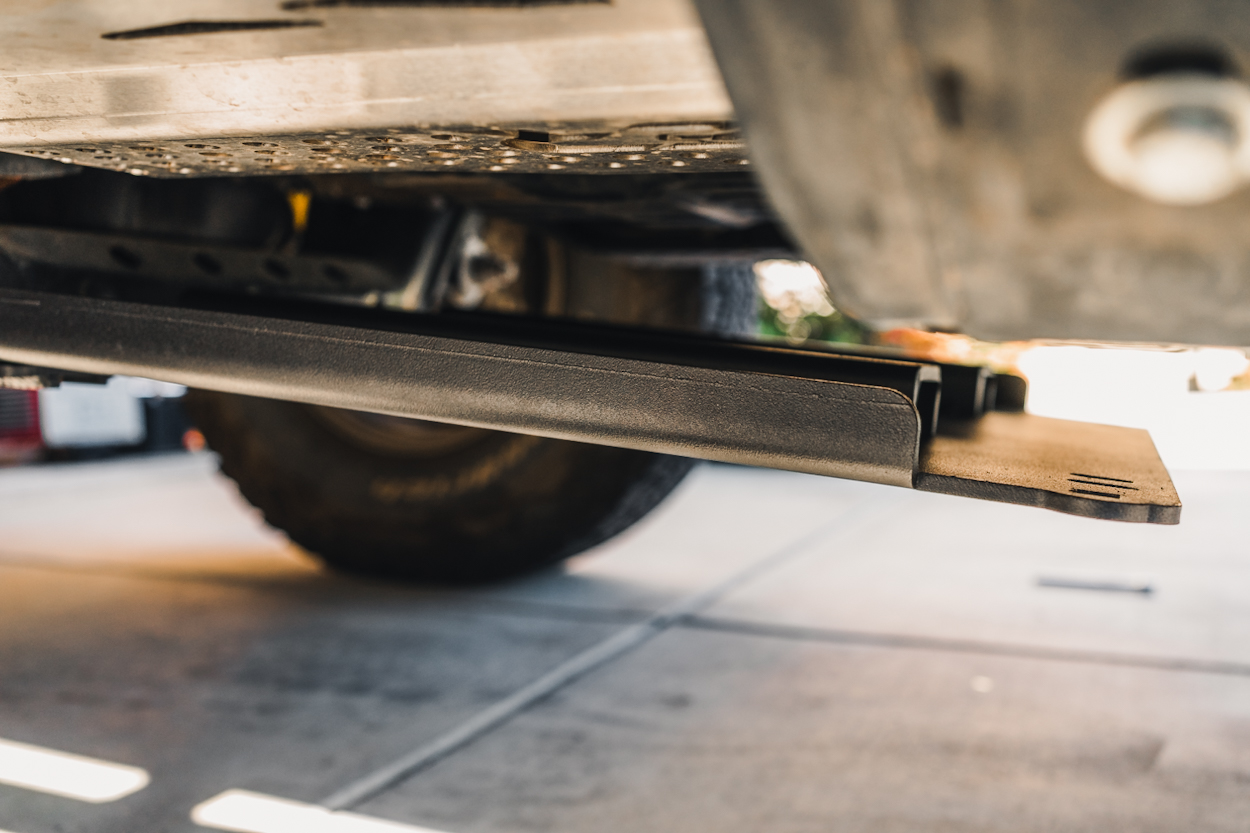
The image above shows the transmission skid hanging. Normally at this point we would bolt in that back portion, however, since we’re doing the whole belly collection together, we’ll omit that for now. But this is where you would stop if you didn’t have the transfer case skid.
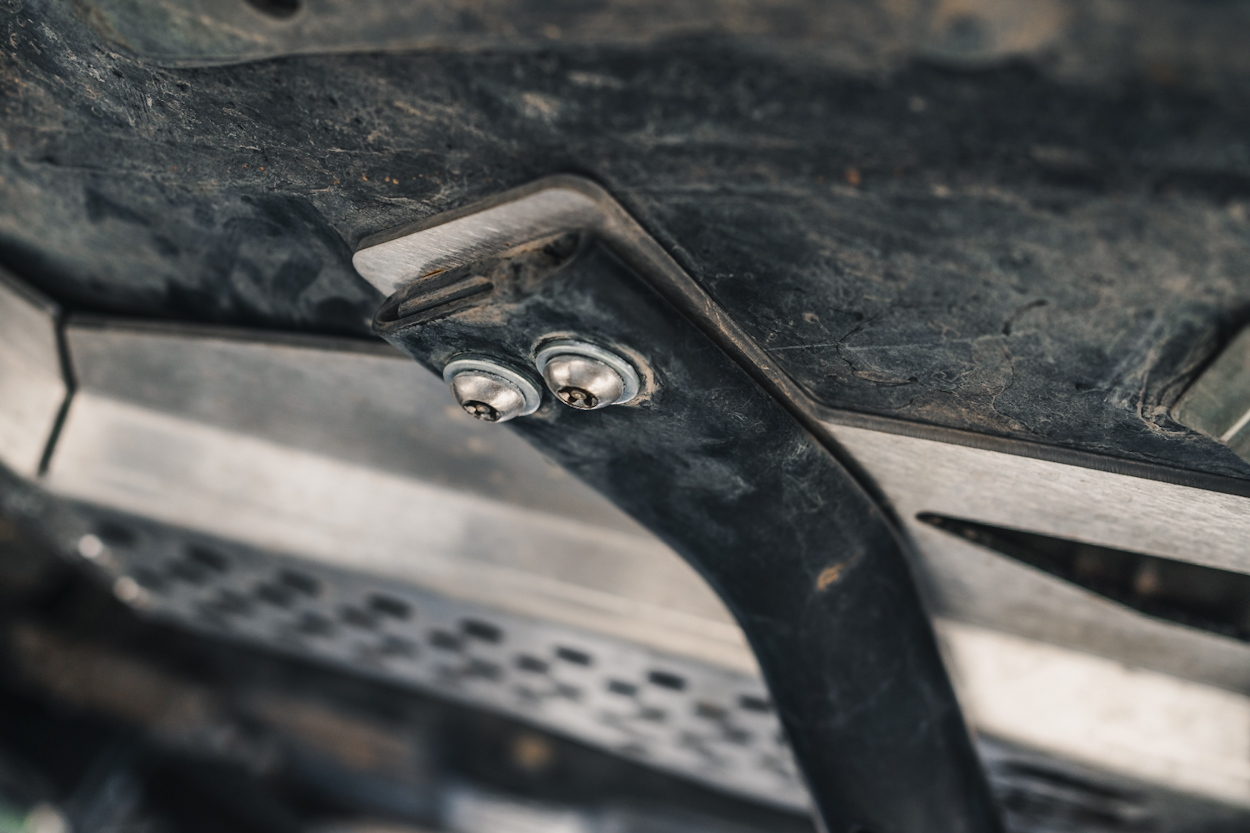
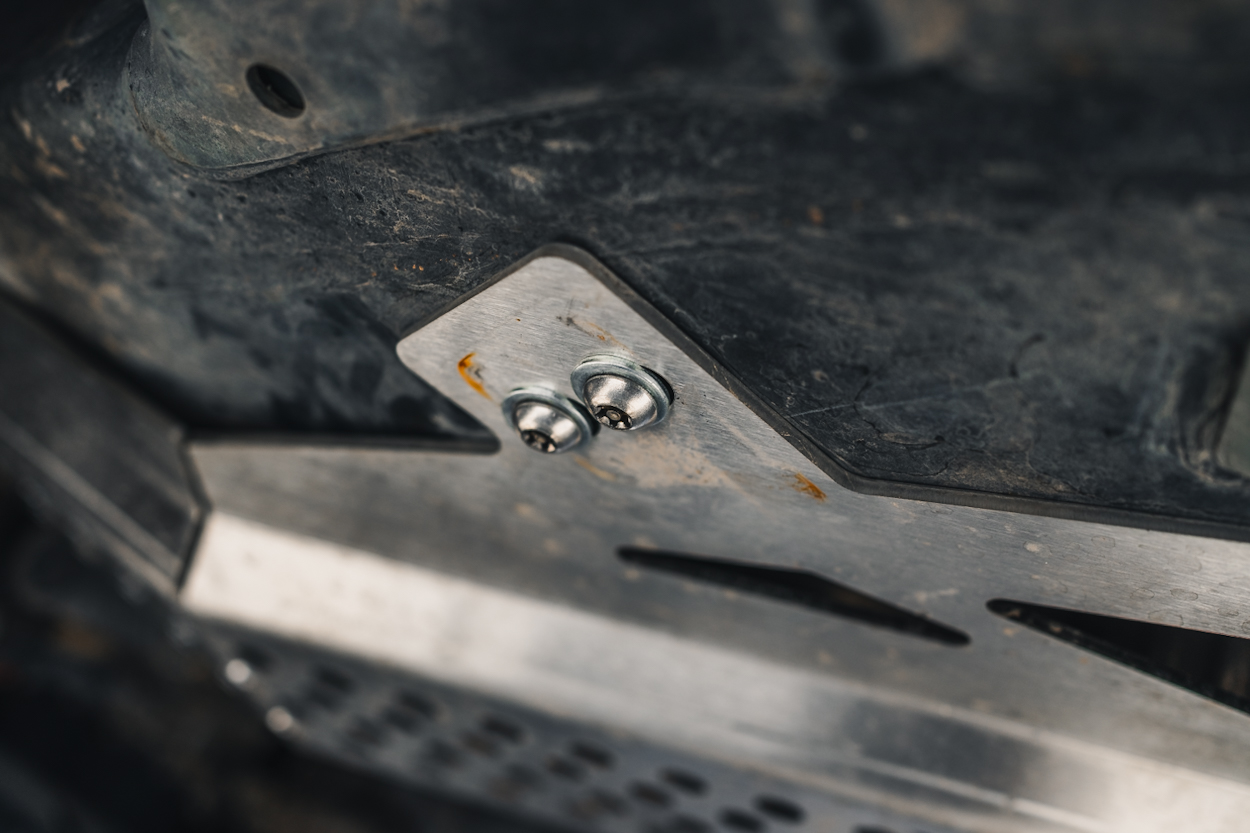
Step 8. Prep New Crossmember
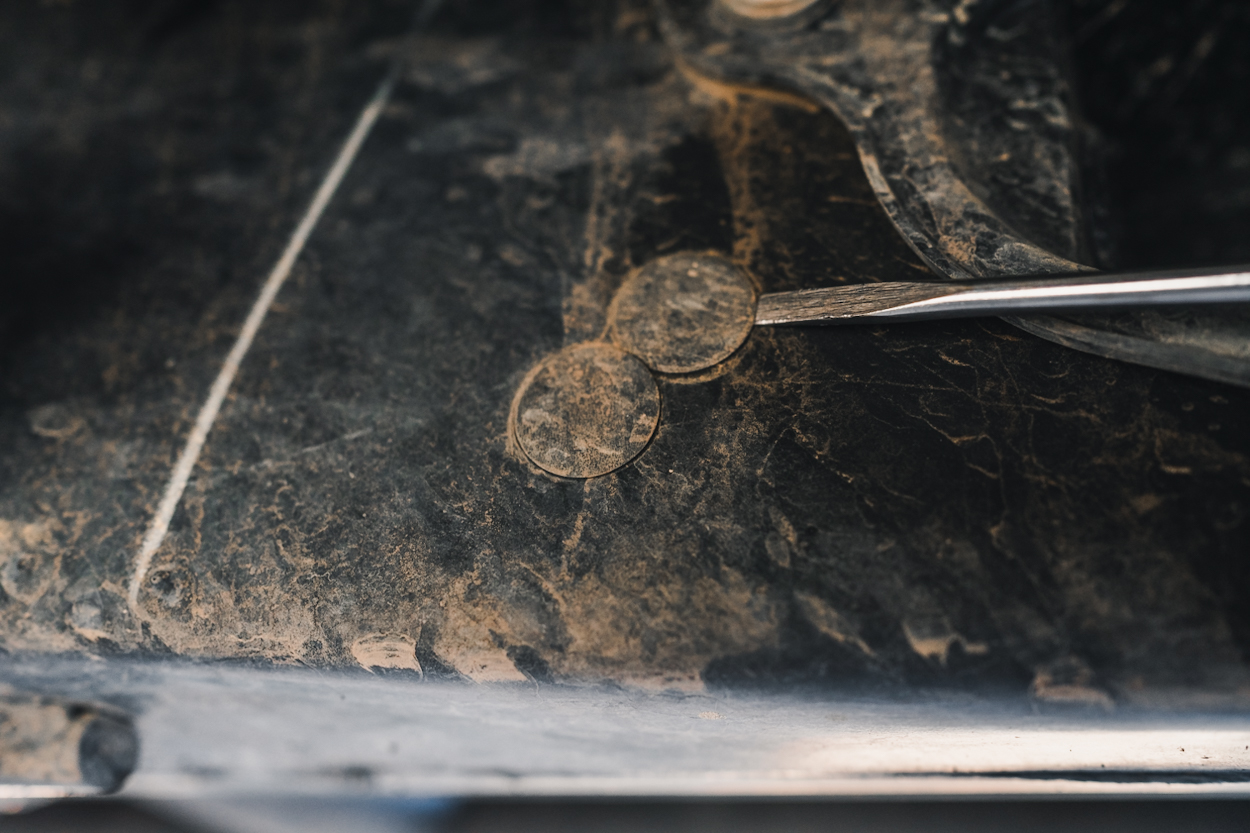
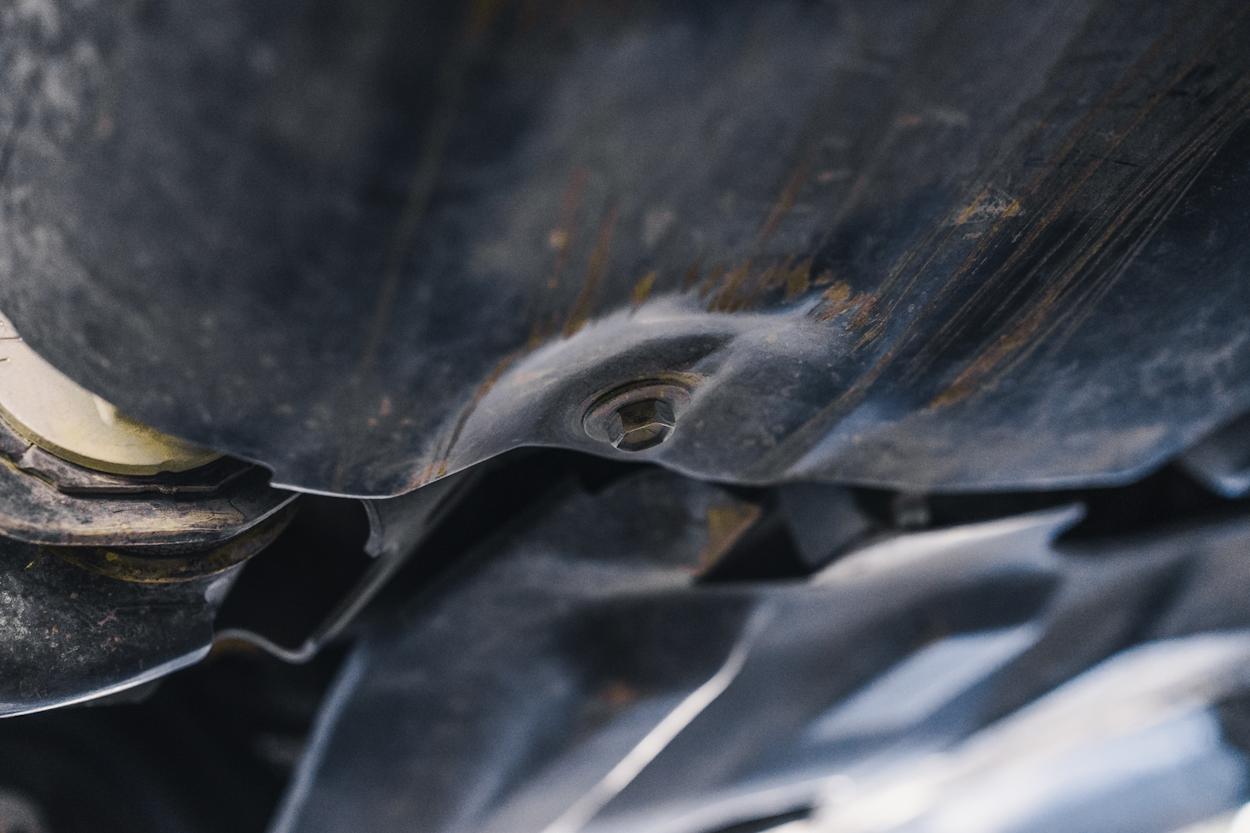
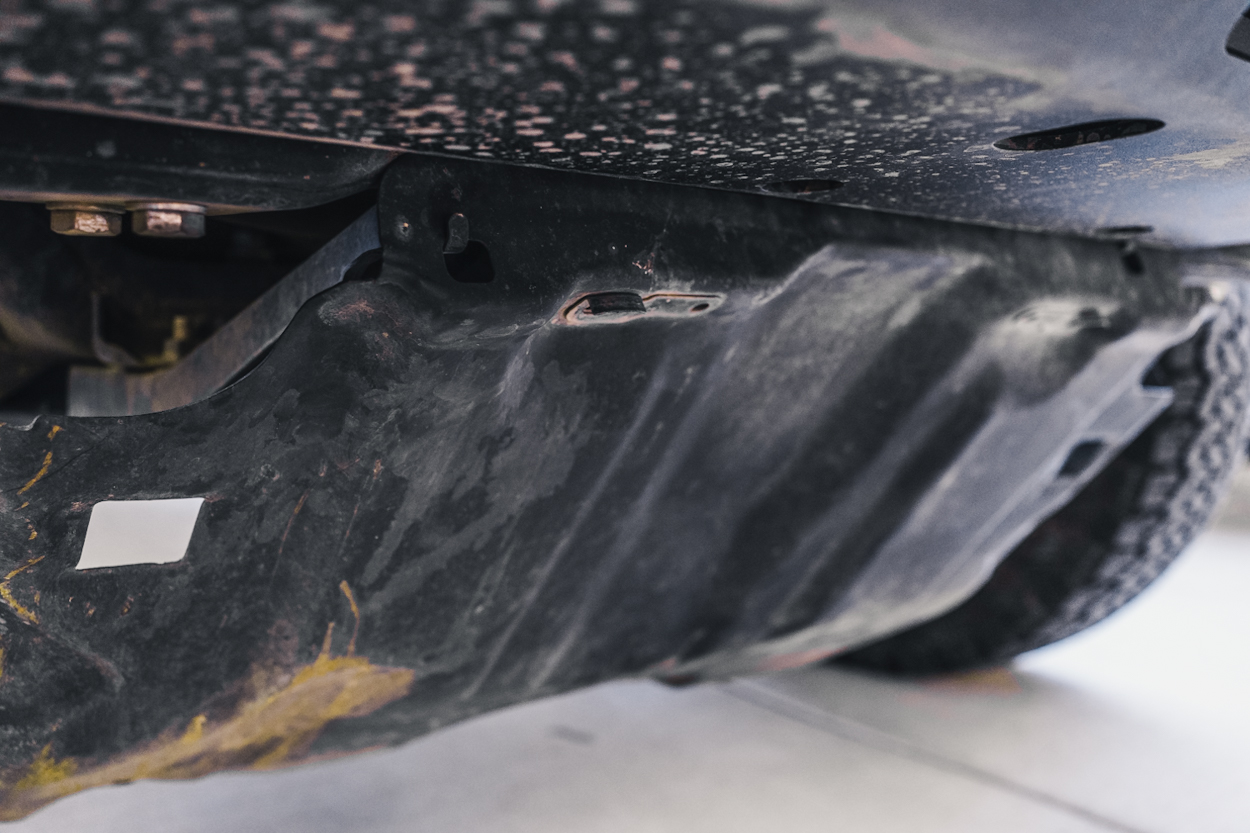
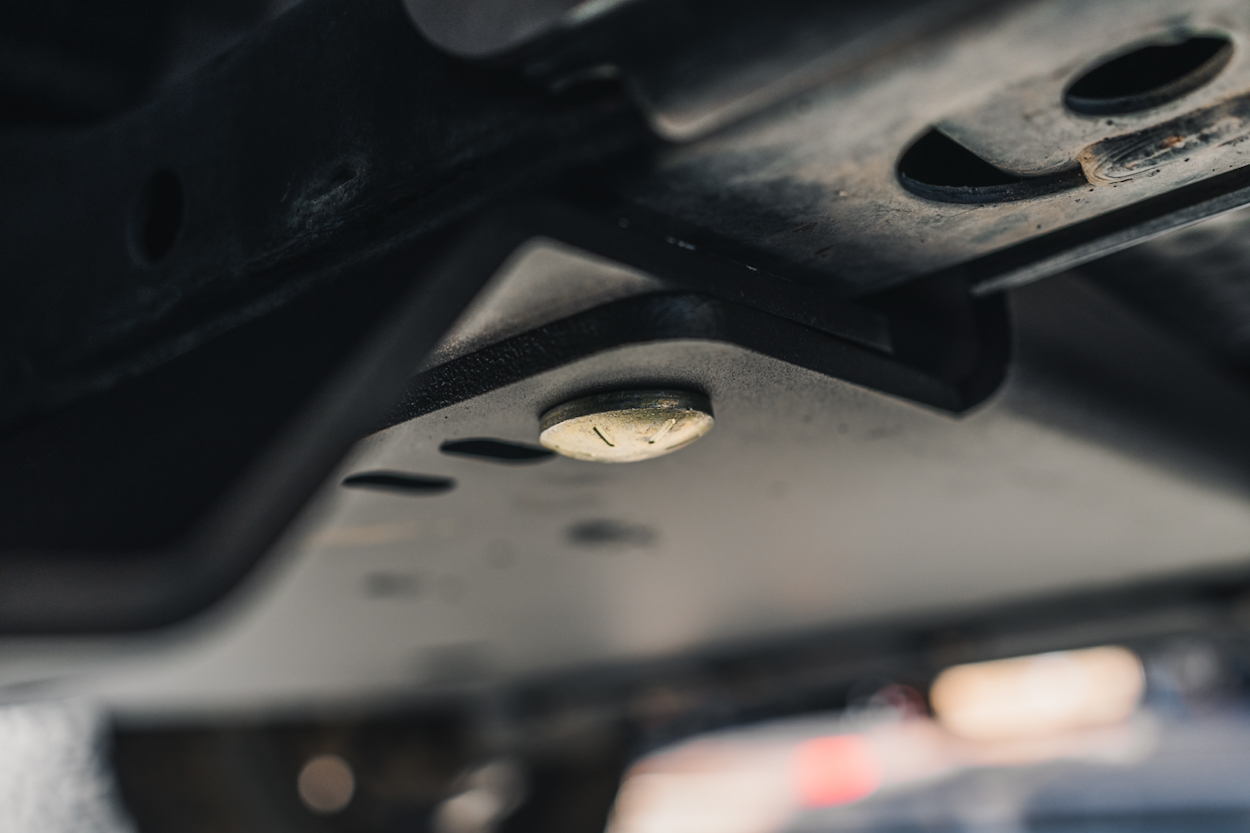
Use a flat head to remove these two circle stickers under the passenger side of the truck.
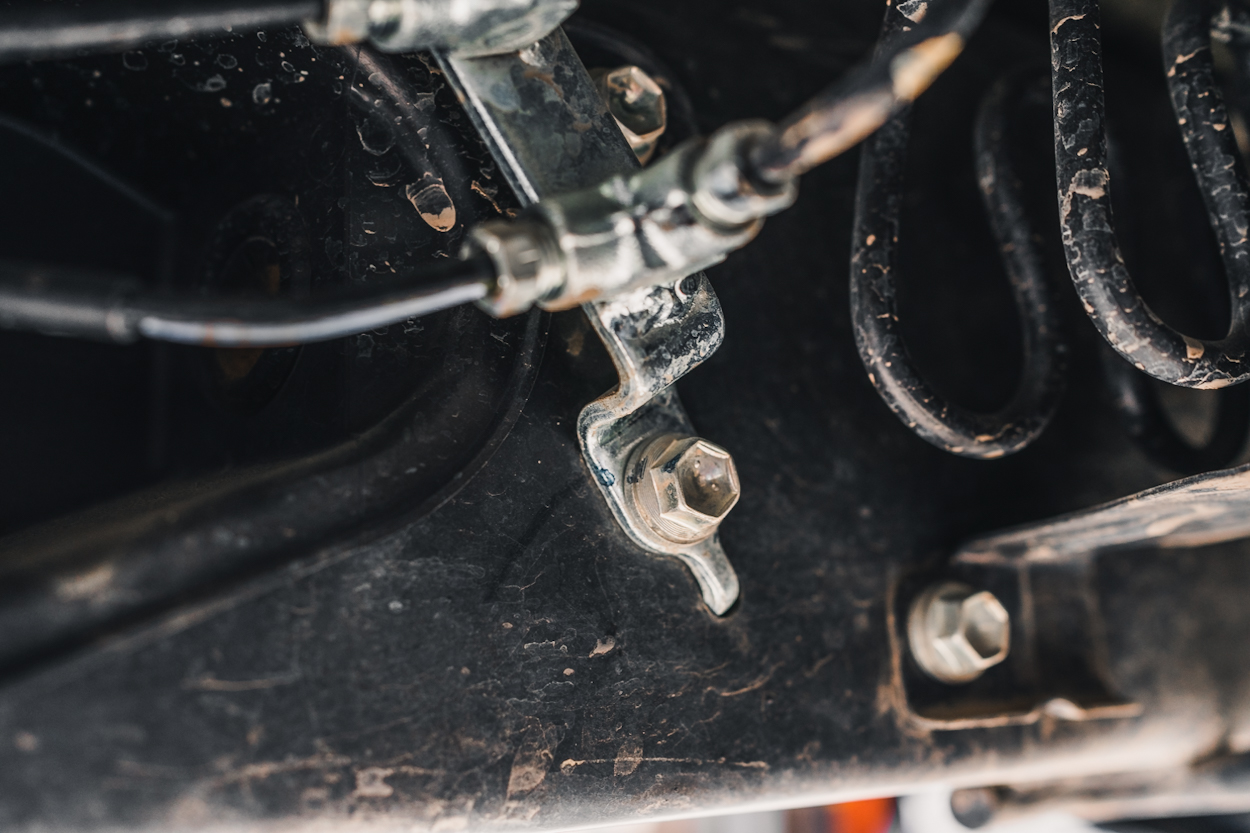
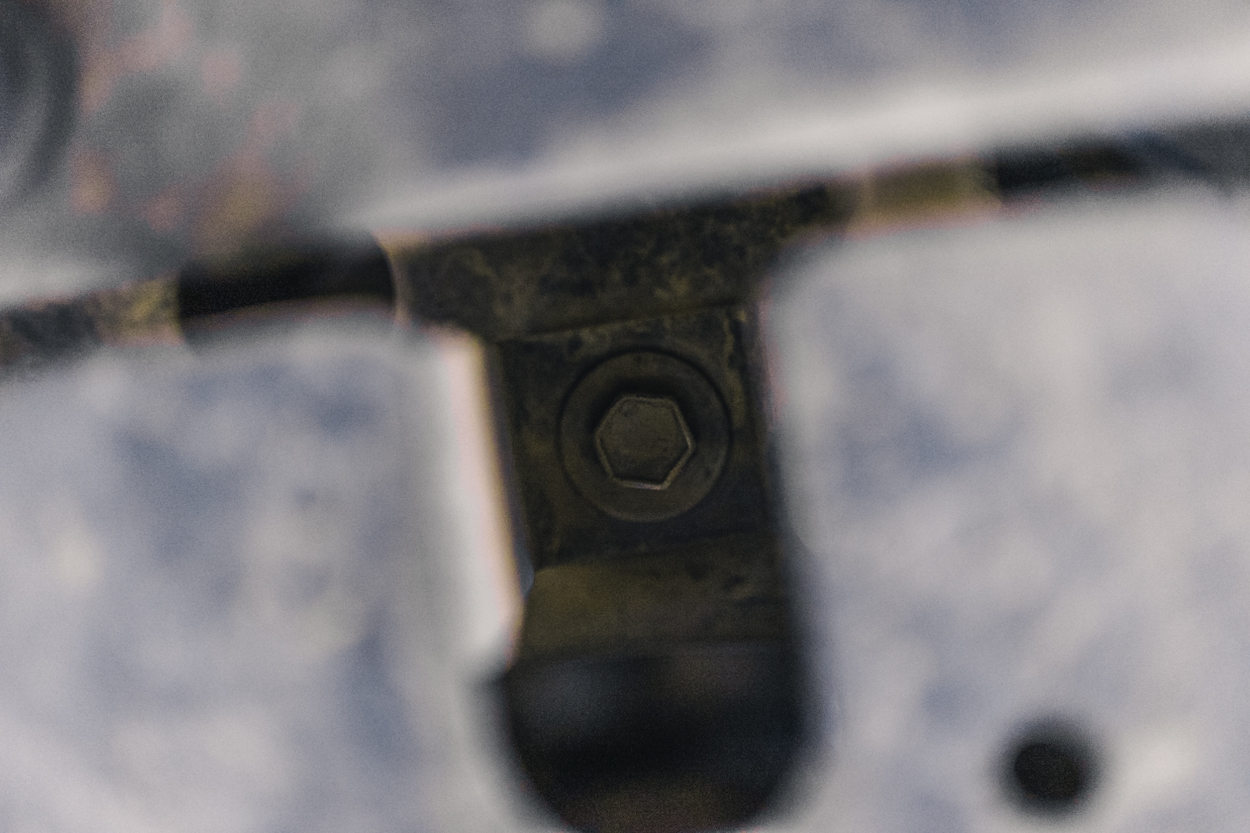
There is a bolt holding the brake line down, shown above, that needs to be removed.
Step 9. Install New Crossmember
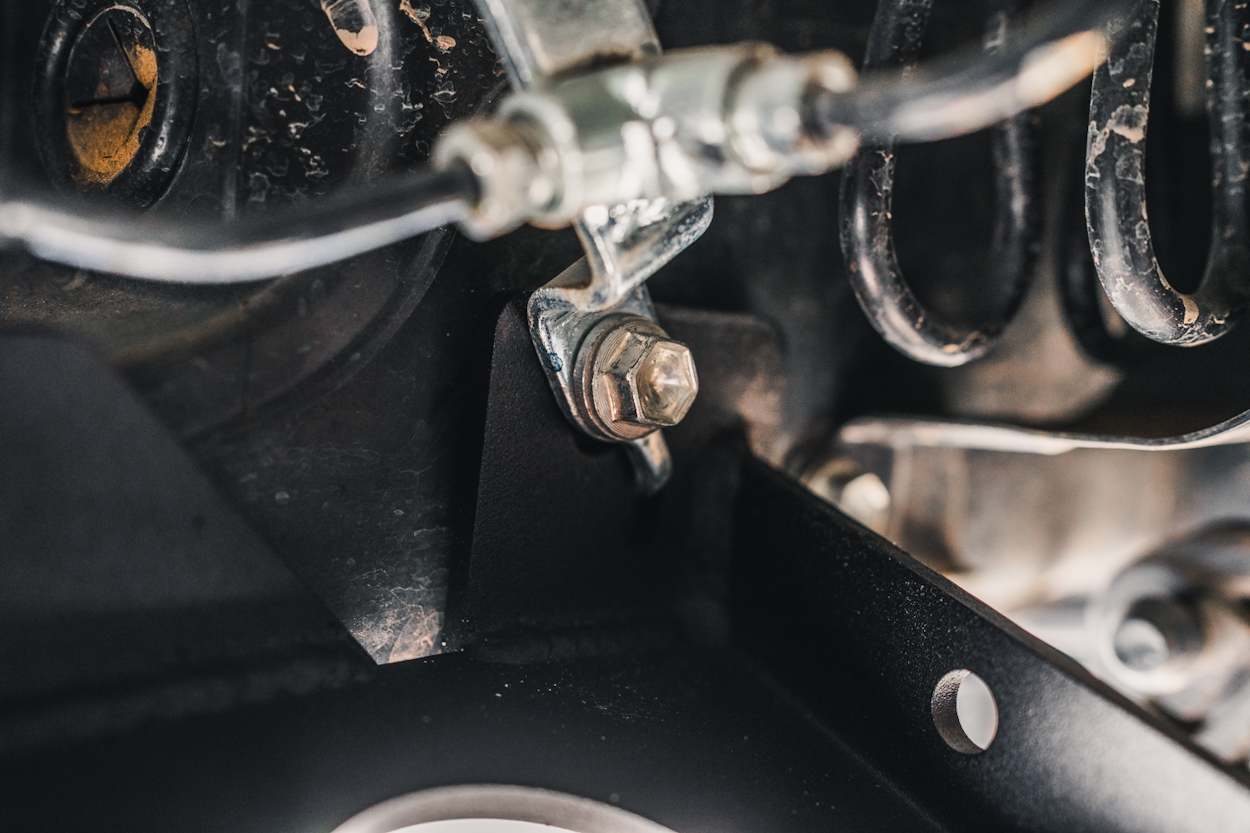
Start by pushing the crossmember up and lining it up with the brake line bolt you just removed. Reinstall the brake line bolt enough to hold up the crossmember, while still being able to be adjusted later.
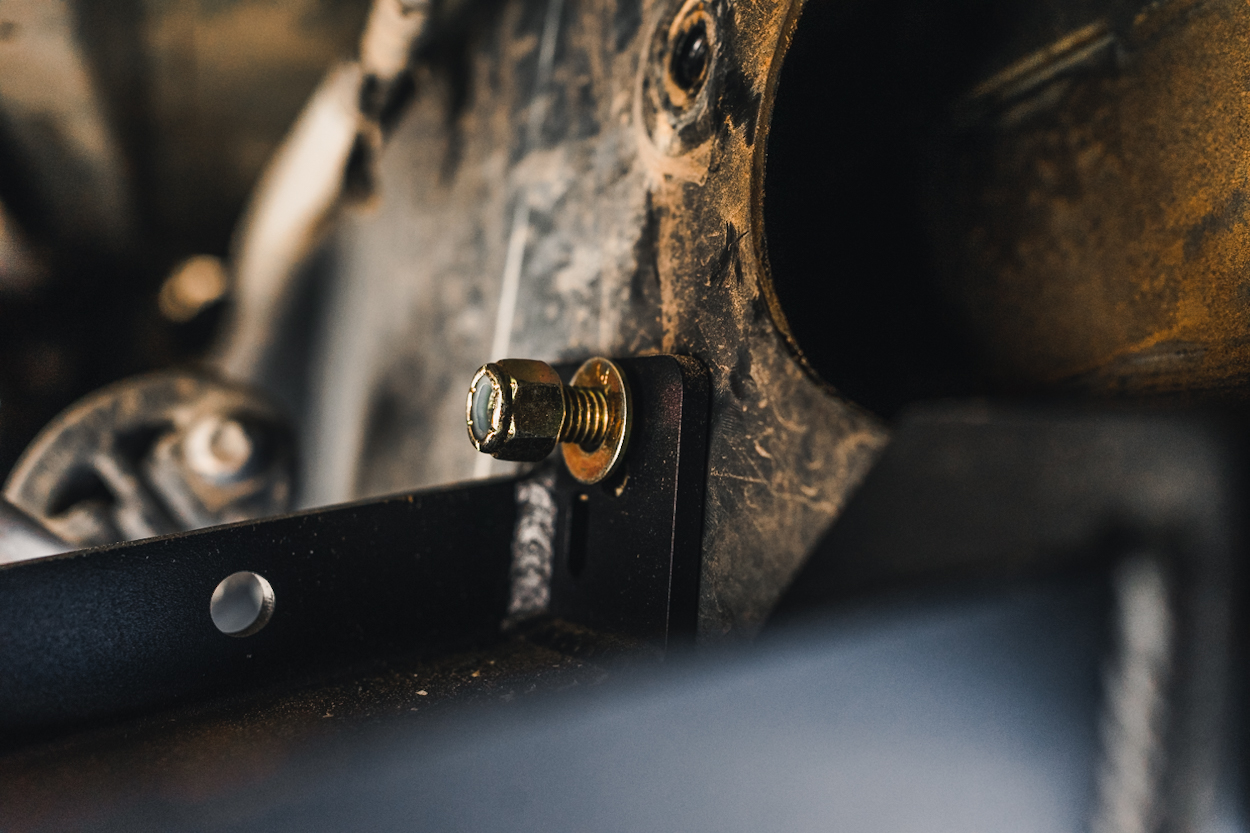
Going over to the opposite side, push the crossmember up and bolt it in to the open hole that was behind the sticker you had taken off earlier.
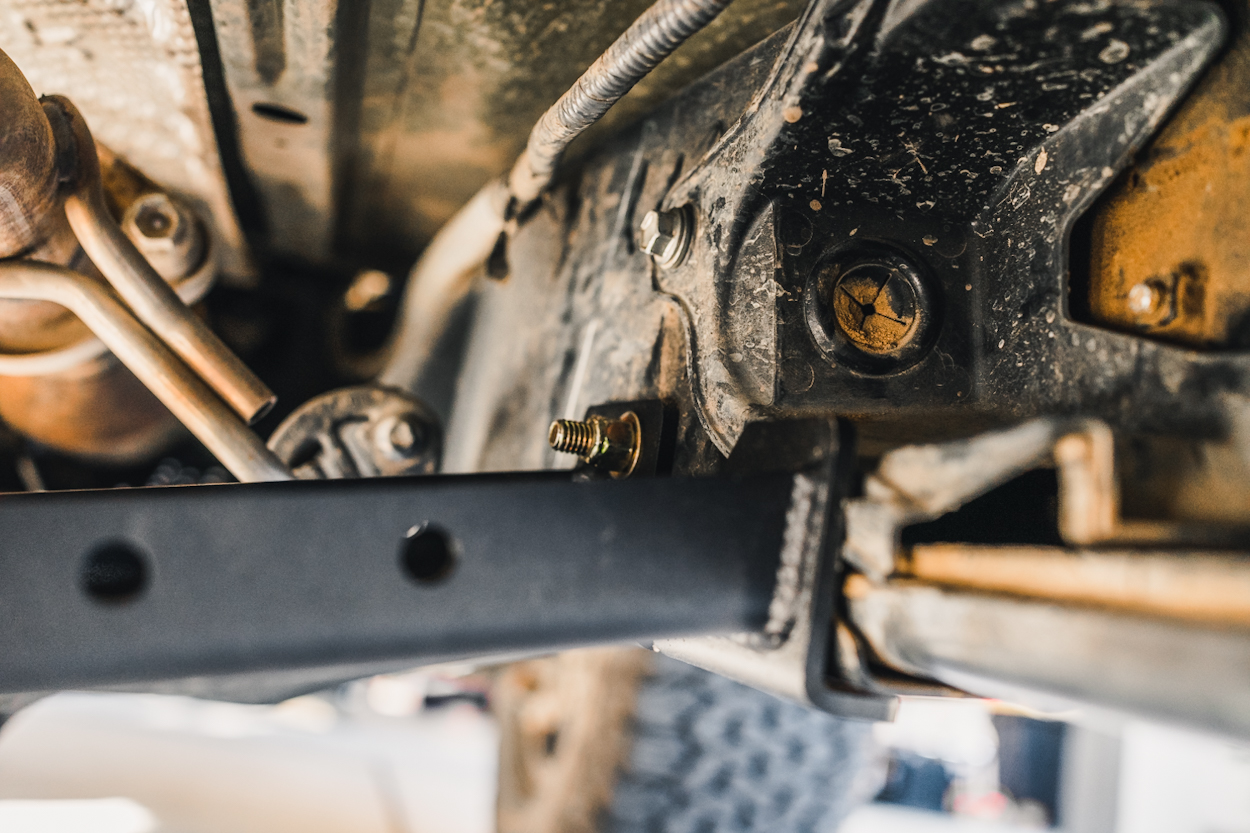
You can now push the crossmember up until it makes contact with the frame and completely tighten it down.
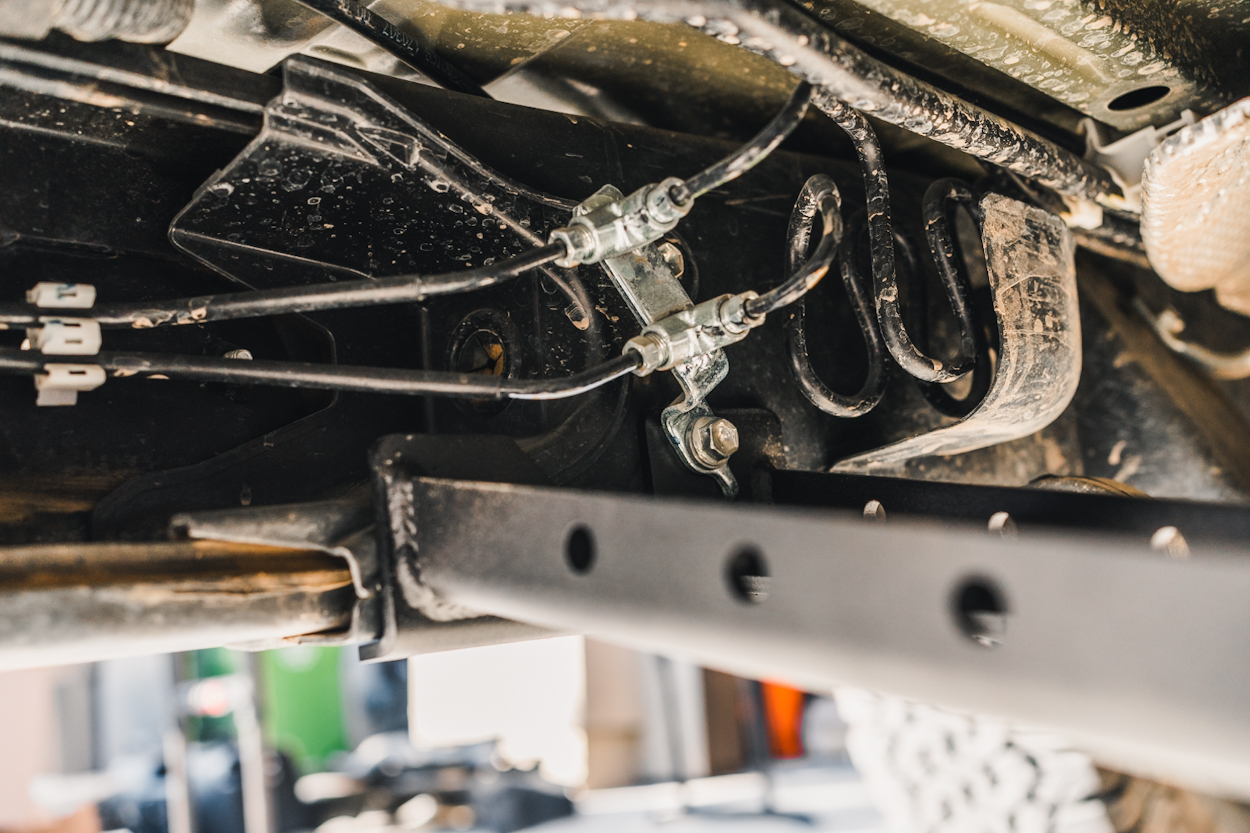
Going back to the brake line bolt, you can now push the crossmember up to the frame and tighten down the bolt.
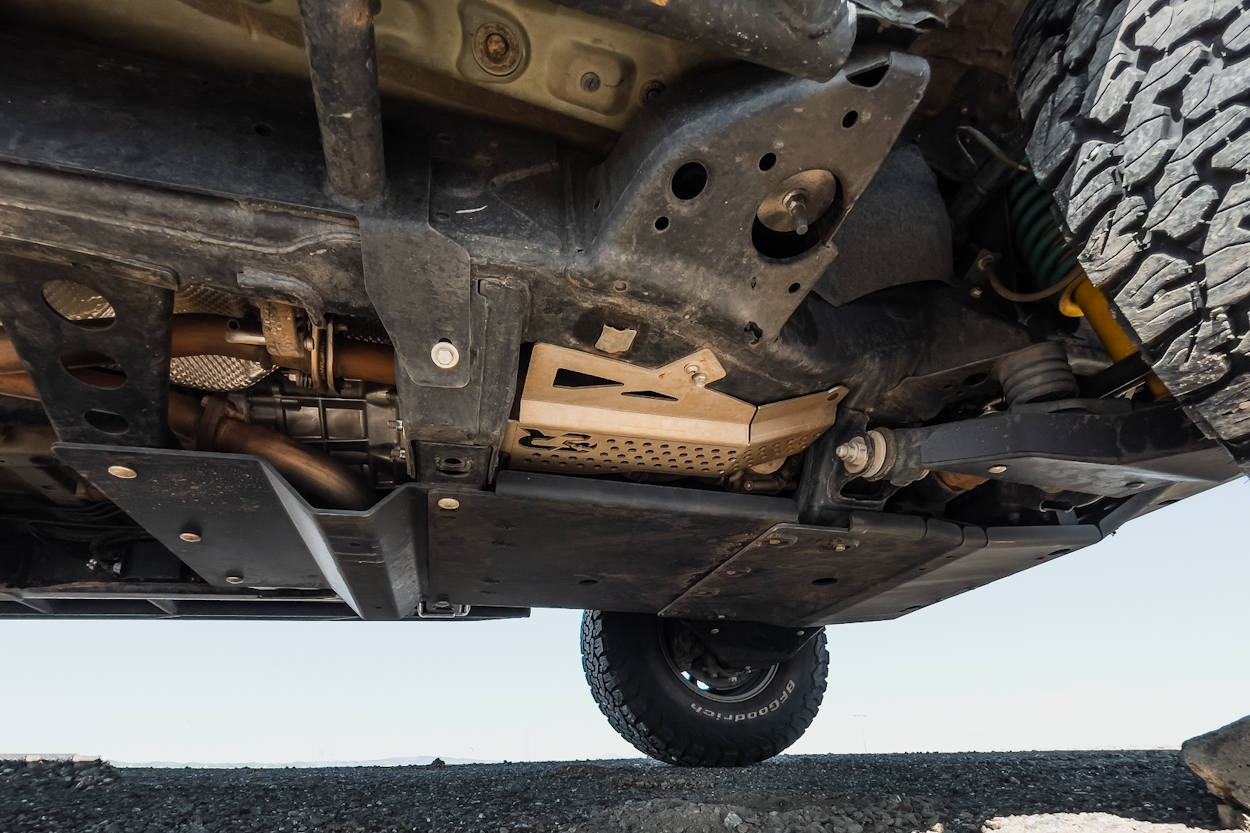
Step 9. Install Transfer Case Skid Plate
Take your transfer case skid plate under the truck. The front of it should be sitting above the transmission plate. Directly underneath the frame.
Insert the carriage bolts that came in the hardware bag through the transfer case skid and the new crossmember. lock them down with a washer and a nut.
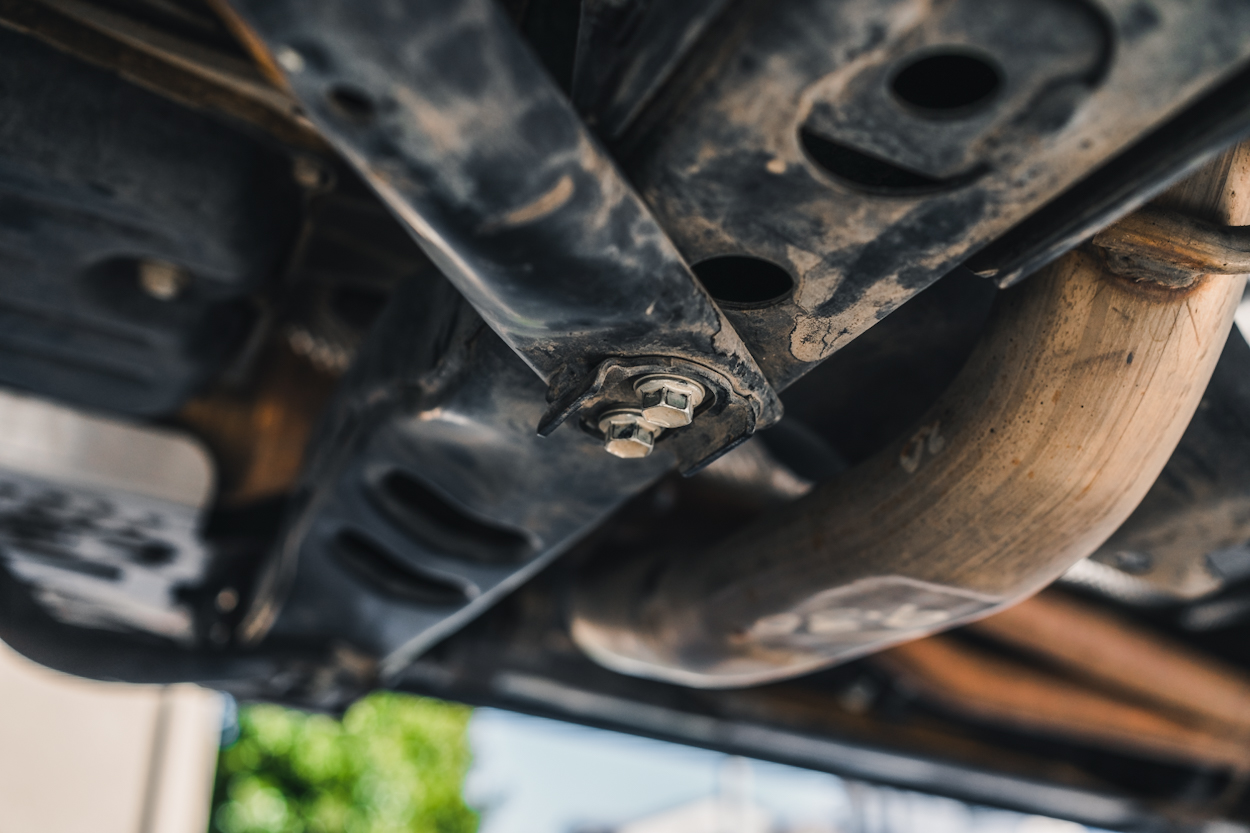
Step 10. Connect Transmission & Transfer Case Plates
You can now take a carriage bolt and slide it through the transmission skid, then transfer case skid, then crossmember on the truck and then finally through a flat square plate washer.
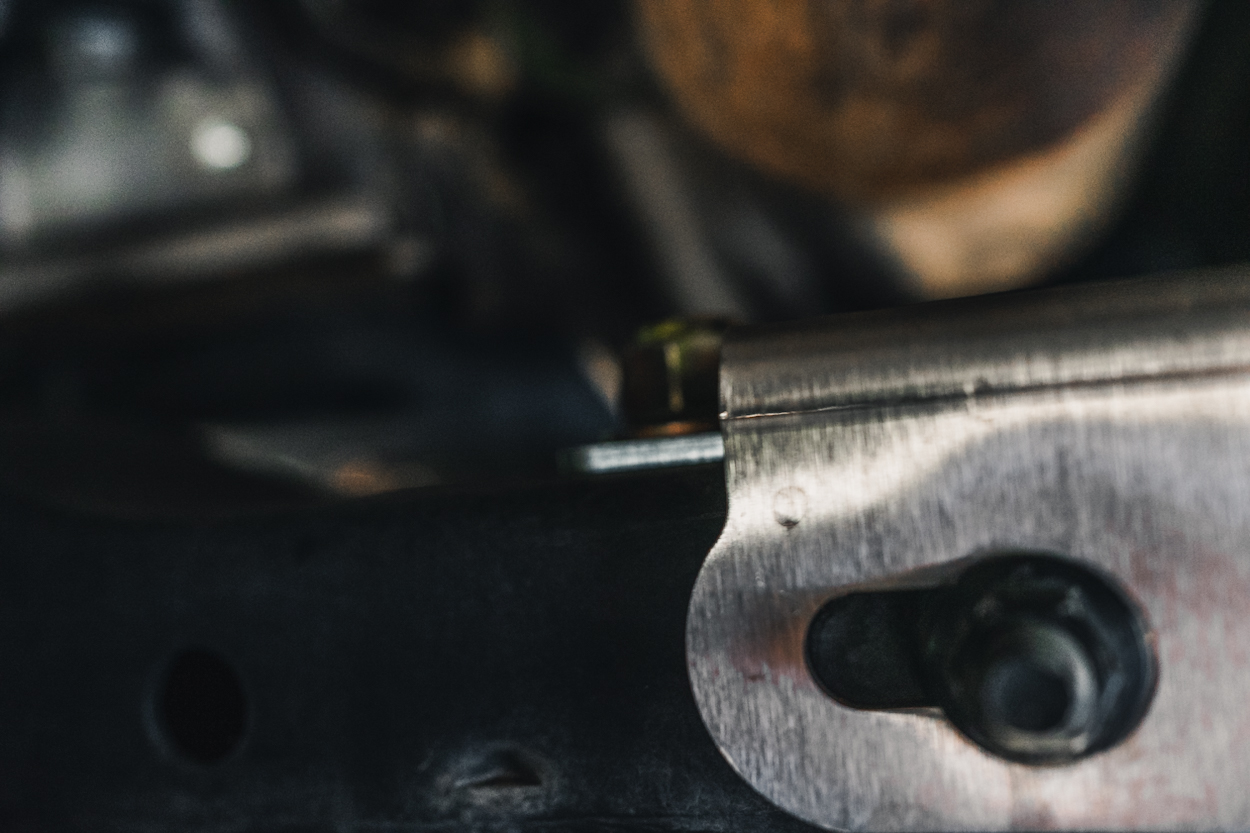
Tough to see, but you can see the square washer right under the nut, which is a bit out of focus here. Tighten this bolt down completely, then repeat on the other side.
Once you’ve tightened those two bolts down, you’re now able to go through the whole truck and tighten all of the nuts and bolts that were left loose for adjustment. That’s it!
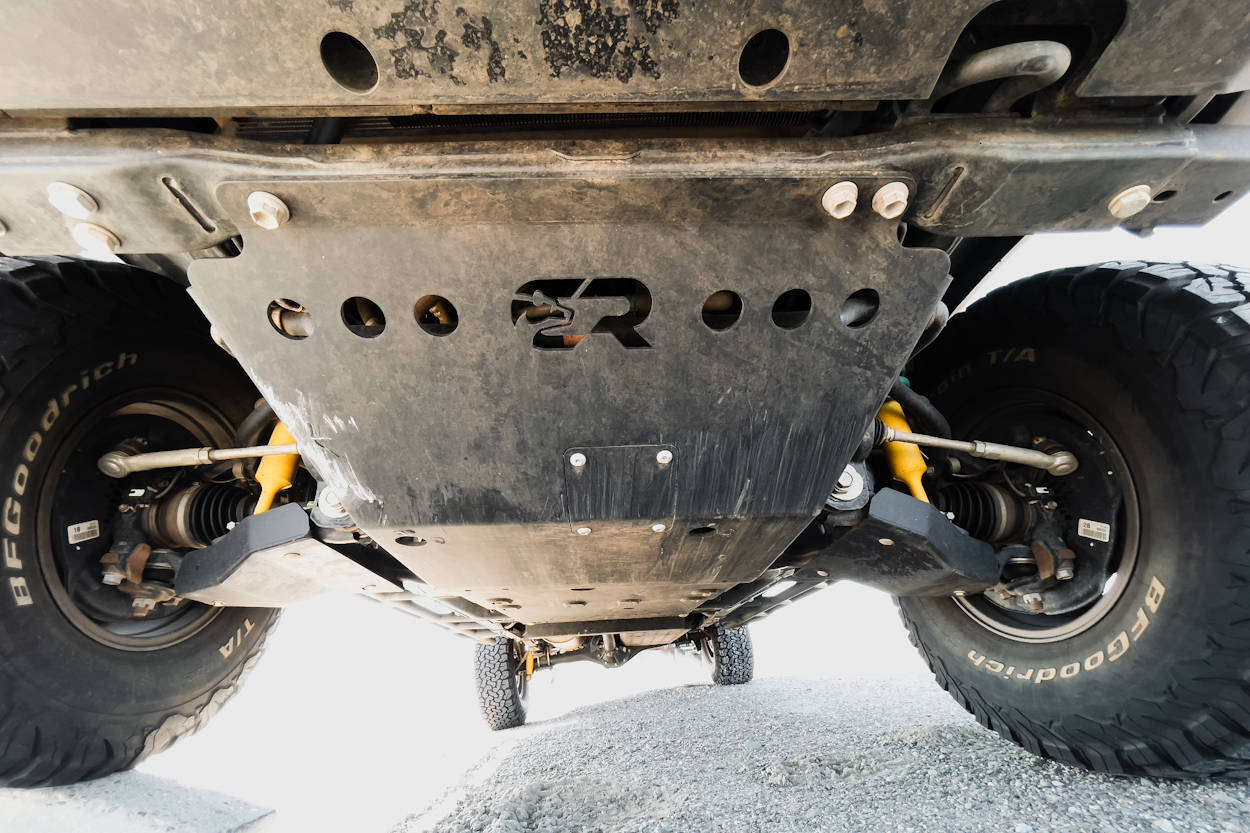
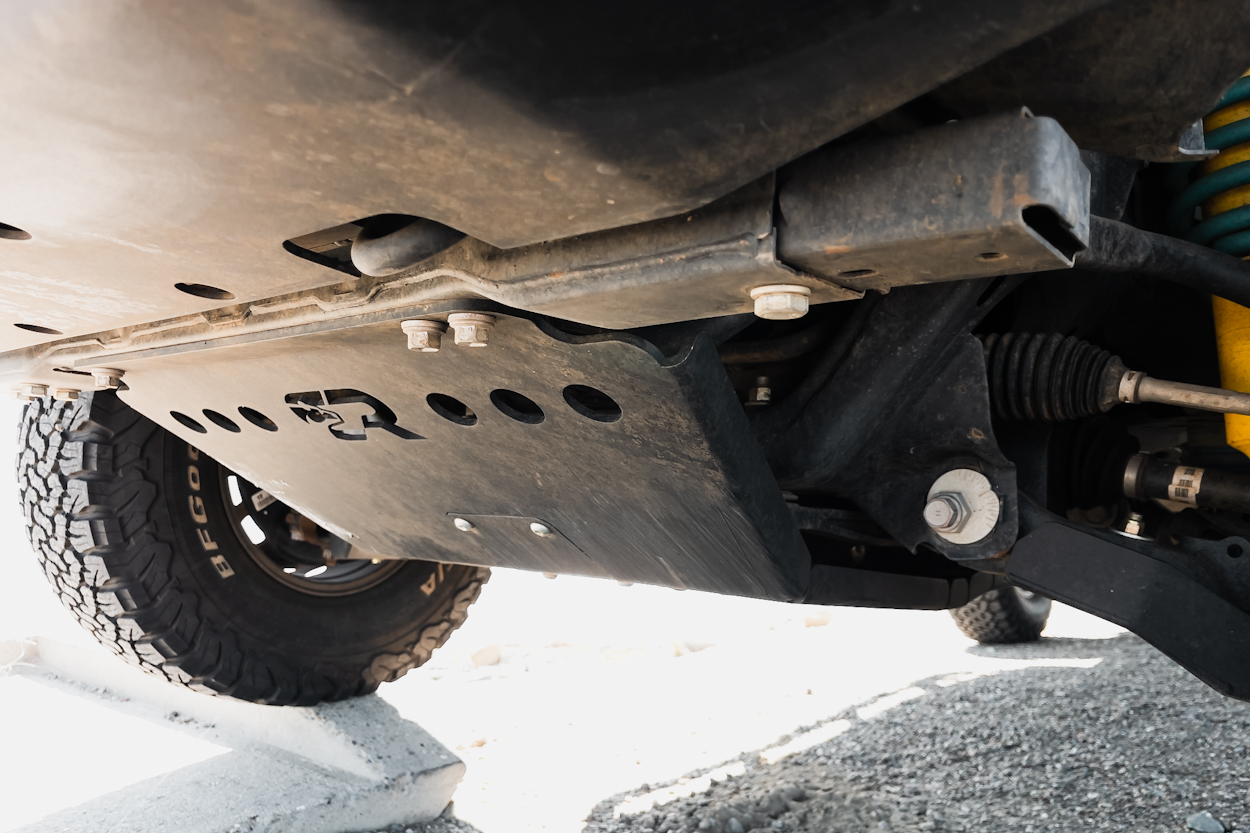
Final Thoughts
You can kind of tell that I’ve already put these skid plates to the test in a few of the photos up above! They’ve been slid on ledges and dragged across rocks. Aside from some easily repairable scrapes, they held up really well! No deformations and no dents after landing on a few rocks. Much more sturdy than the OEM sheet metal which dented the first time it made contact with a rock. I most definitely trust these skid plates to hold up and save the bits of the truck that are important.
If you guys are interested in any of these, make sure to give the guys at Cali Raised LED a visit at the links in the beginning of the article!
Great article for those learning the benefits of under armor protection. When I first started my wheeling adventures here in Lake Tahoe it became painfully clear that armor was a key factor for longevity. Only after a couple of runs on the Rubicon Trail did it take to realize under vehicle armor was just as important as my bumpers and sliders. My very first Tacoma build utilized an All Pro front bumper. The optional skid plates offered seemed to me, in the beginning, to be overkill. Two trail runs was all it took for me to get on the phone… Read more »