
Adjustable & Affordable Truck Topper Roof Rack
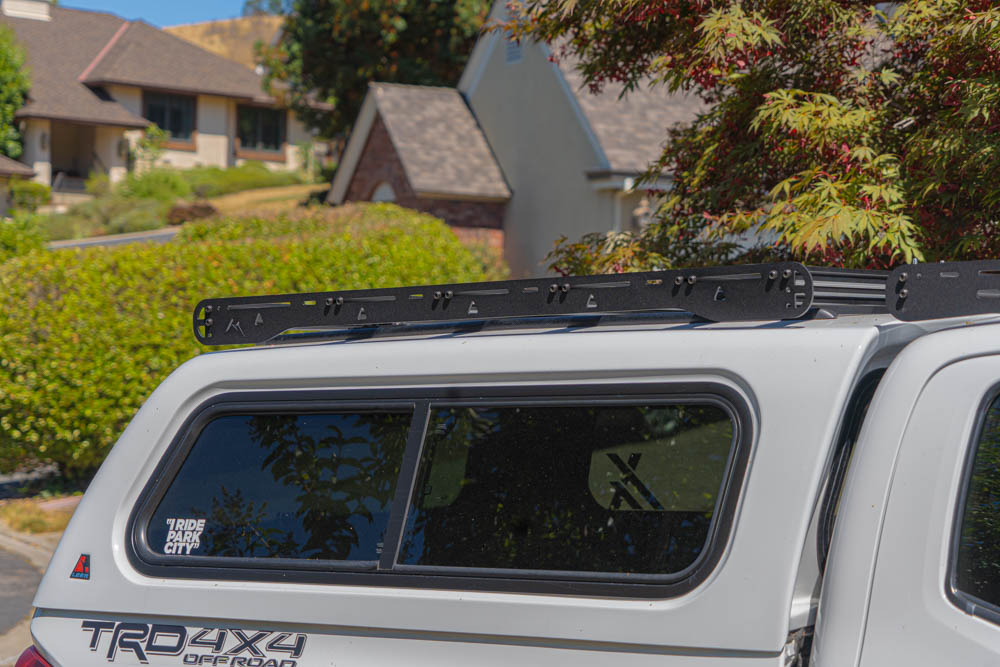
What rack setup is complete without a matching camper shell rack? By now, I hope you’ve seen the prequel to this article, the Martin Offroad Foundation Roof Rack. The Shell Rack is the perfect complement to that and provides you with a massive area to carry anything you need.
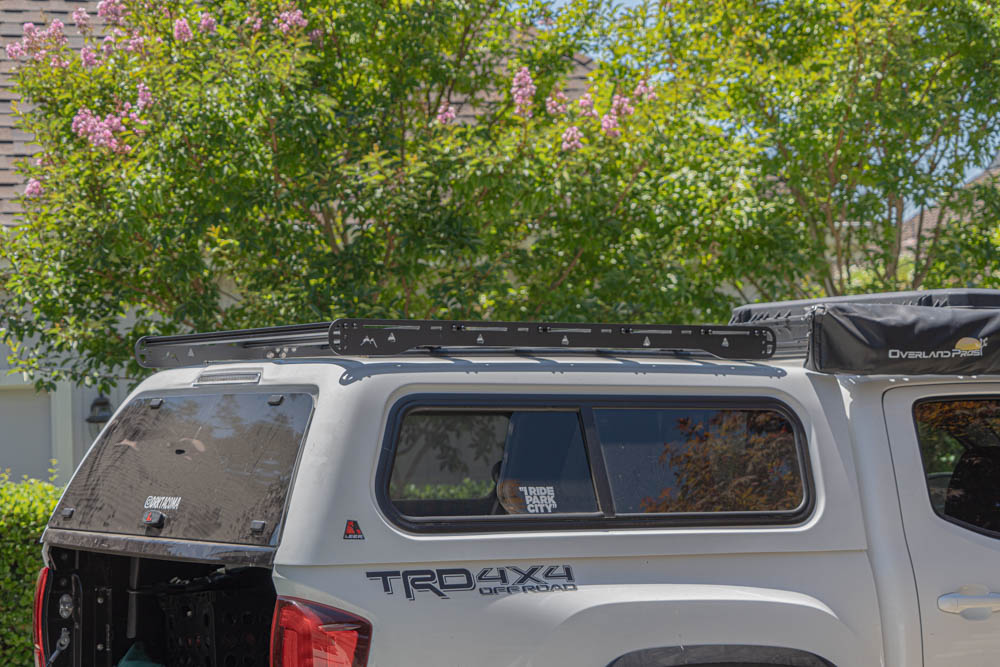
My camper shell by far has been the best mod I’ve done to my truck. Even still, though, I’m always thinking of ways to make it more useful. Following in the footsteps of its cab version, it employs extruded aluminum crossbars, slim side rails, and a low profile to match.
Let’s get started.
Table Of Contents
Features
Martin Offroad is known for its quality but well-priced roof racks and accessories. Their shell rack for the Tacoma is offered for both the short bed and long bed configurations. We’ll be covering the former in this installation guide.
Both rack variants share the following features…
- CNC Laser Cut 5052 Aluminum
- Stainless Steel Hardware
- Black Textured Powdercoat
- 6 Crossbars (Short Bed), 7 Crossbars (Long Bed)
- 1-2 Week Lead Times
Installation
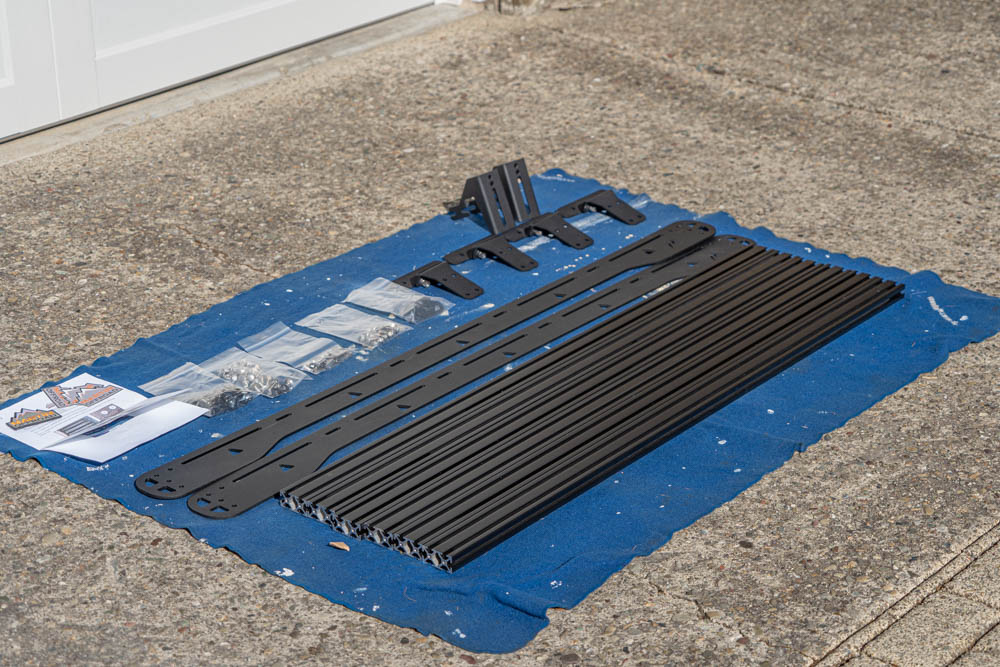
Everything came packaged extremely well! There was no powder coat damage or any other imperfections from shipping, which is always a relief.
Included with this rack will be your cross bars, two side panels, four pre-assembled mounting feet, and all your hardware + instructions.
Tools & Materials Required
- T-25 Torx bit
- Assortment of sockets
- Allen wrench set
- Drill (optional)
Assembly and installation of the rack took me 2.5 hours with an extra set of hands (highly recommended).
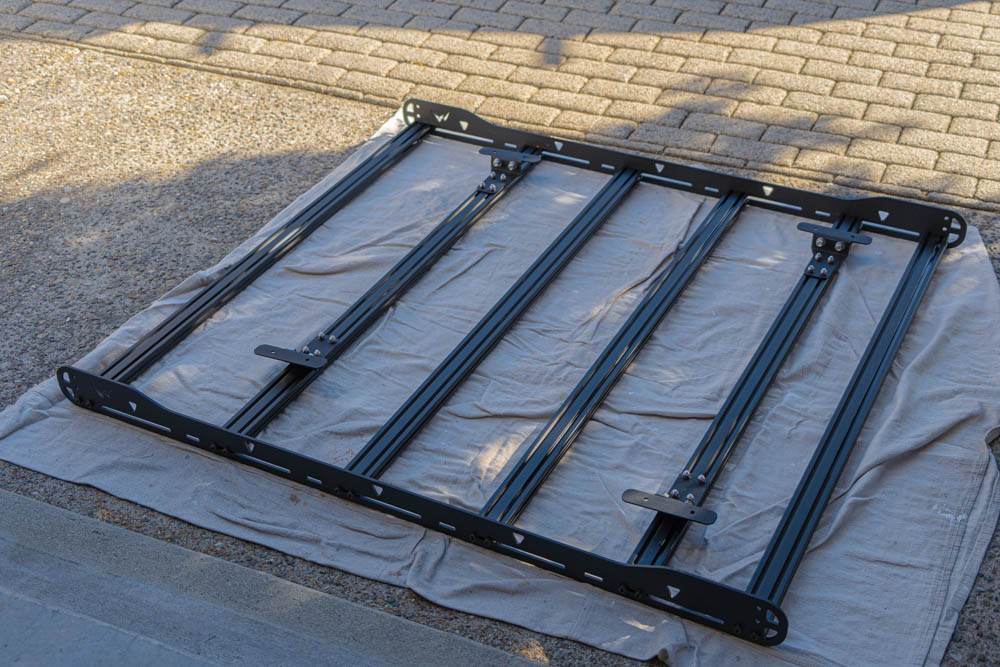
Step 1. Mock-Up Parts
To help get a better vision of how it was all going to go together, I laid the rack out with all the crossbars, side panels, and feet before assembly. I decided to mount the feet one cross bar in from the outside, this fit the rails on my camper shell best.
Step 2. Attach Mounting Feet
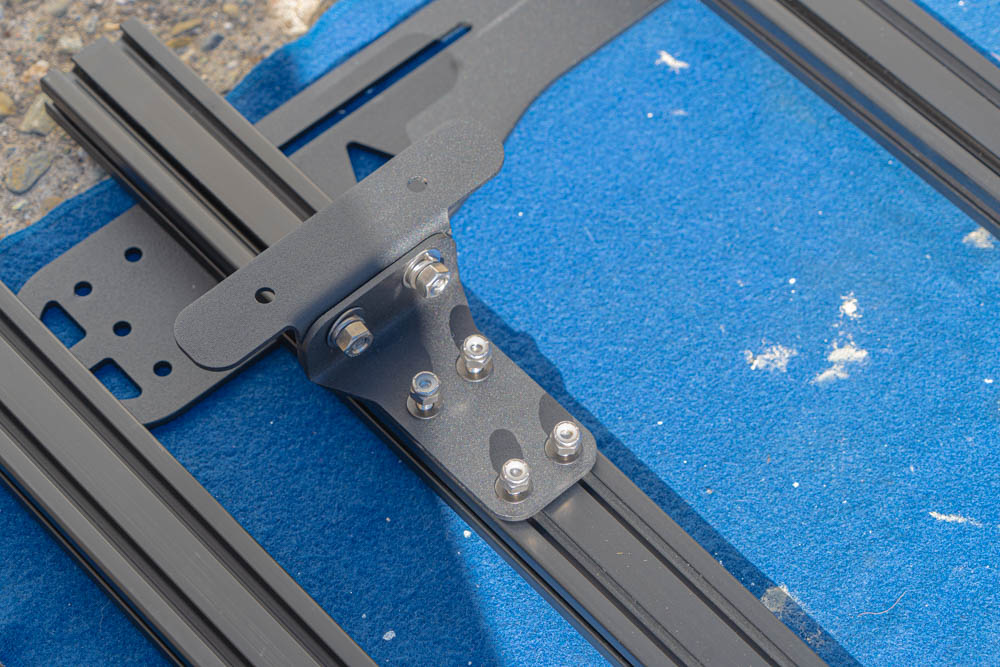
Using the pre-installed bolts for the mounting feet, slide them into the extruded aluminum slots for all four feet. I left the bolts a turn loose from snug to be able to freely move them during installation.
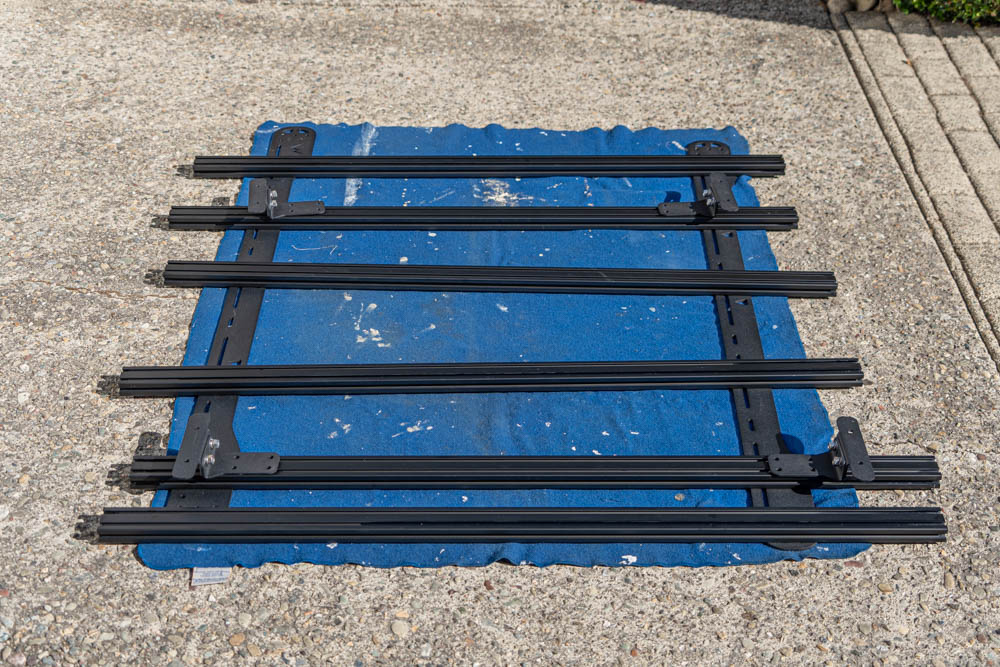
Step 3. Mount Side Panels
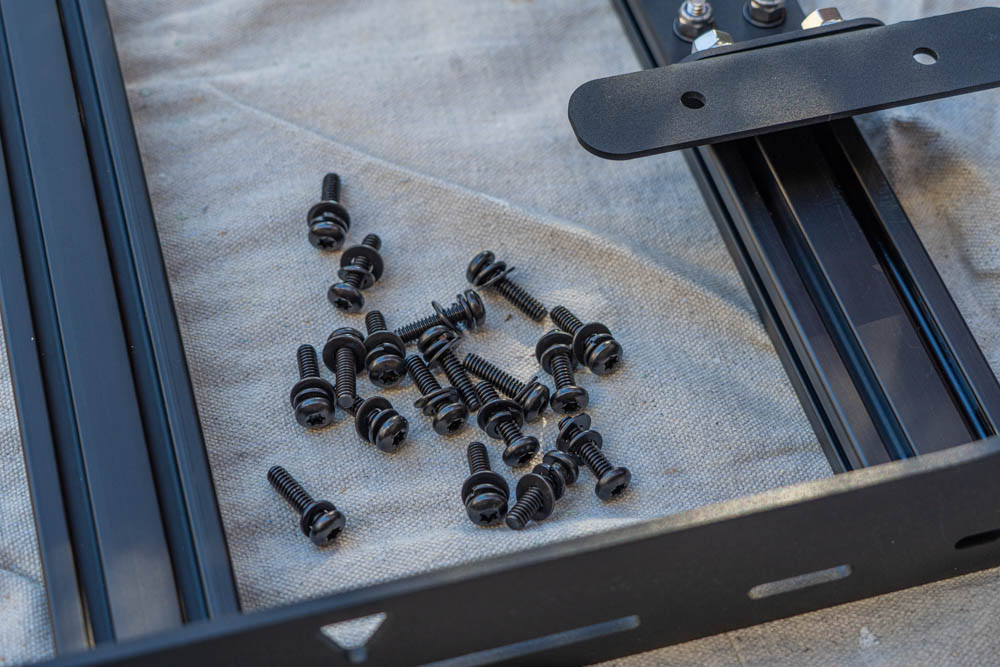
With the provided T-25 bolts, assemble the washers in this order; lock washer then flat washer. Repeat on all bolts.
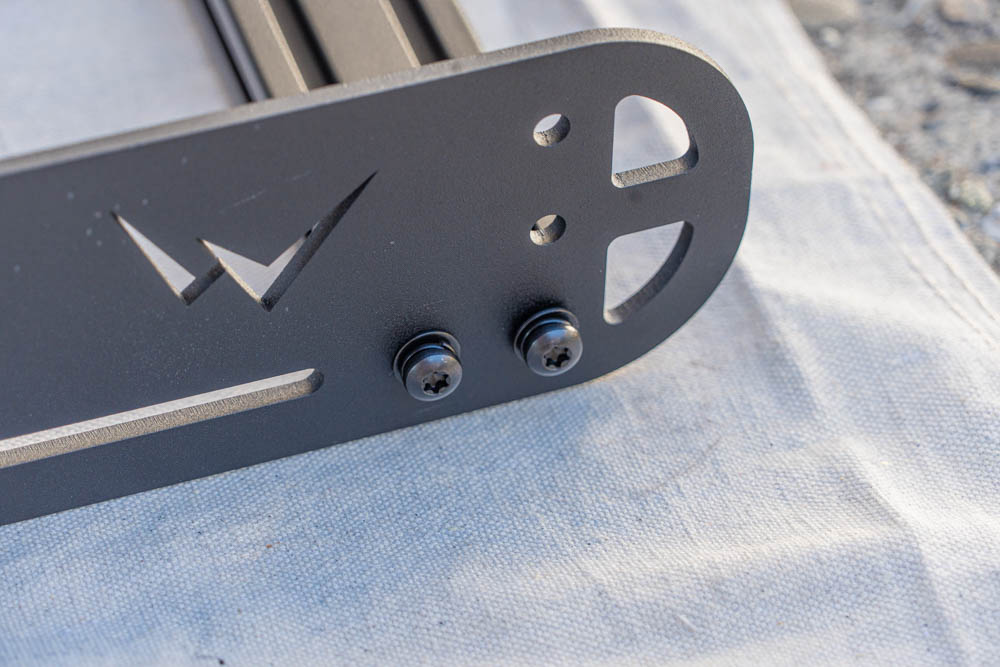
The side paneling has slots for you to freely position the cross bars. This gives you the freedom to mount a tent, gear, and accessories. For now, I just evenly spaced them apart.
Snug down on all bolts ensuring the it is sturdy and prepped to be put onto the truck.
Step 3. Install Rack
I highly recommend having a second set of hands for this step. I carefully lifted the rack onto my shell while holding it in the rough position where I wanted it to sit. Then, I positioned the mounting feet so that they and the rack were centered.
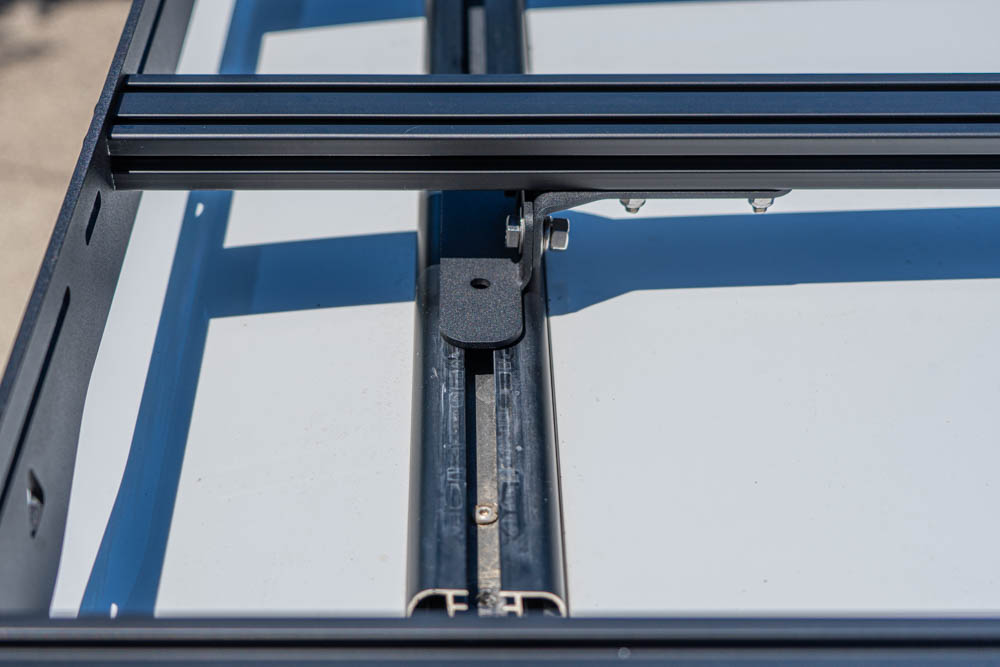
Next, I installed the provided slotted nuts that fit inside the shell rails. There are two per mounting foot for a total of eight across all four of them.
Finally, I snugged down all eight bolts securing the rack to the shell.
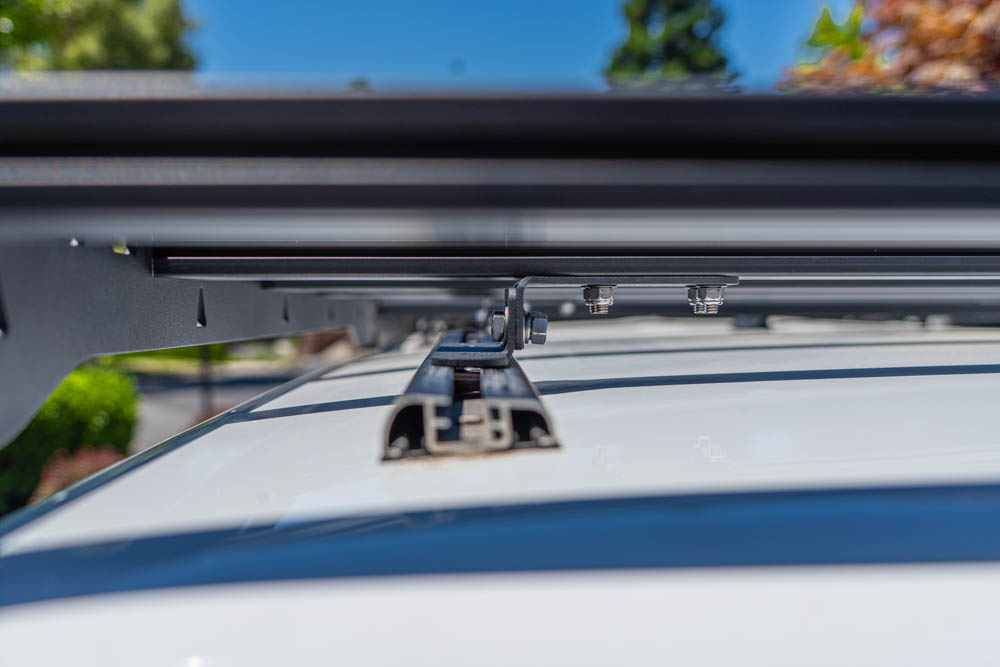
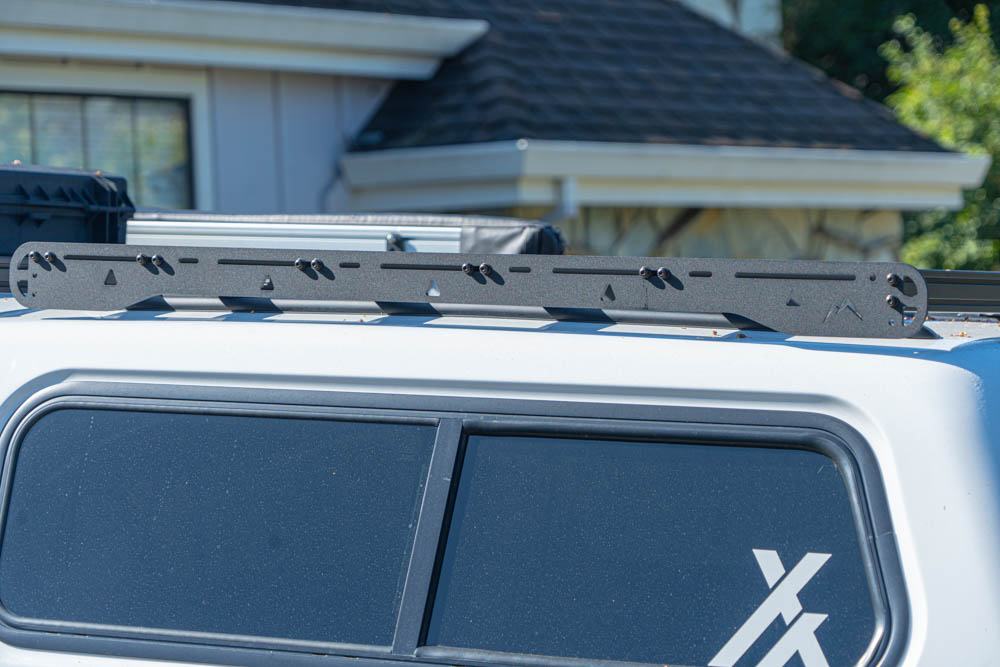
Step 4. Adjusting Height
The height can be adjusted by loosening the two bolts on each of the mounting feet. I put my rack in the lowest position which lined it up perfectly with the cab one.
Snug down all eight bolts for the height adjustment when you have it where you’d like. At this point, your rack is completely installed! Make sure to go back and do a bolt check ensuring everything is tight.
Review

This rack is awesome. I previously had a traditional crossbar setup that worked ok but it wasn’t good-looking, had limited functionality, and had a lot of wind noise. After running the new one, I questioned why I didn’t have a setup like this earlier.
There are a few key features about this rack that stand out to me solidifying its usefulness.
Modularity
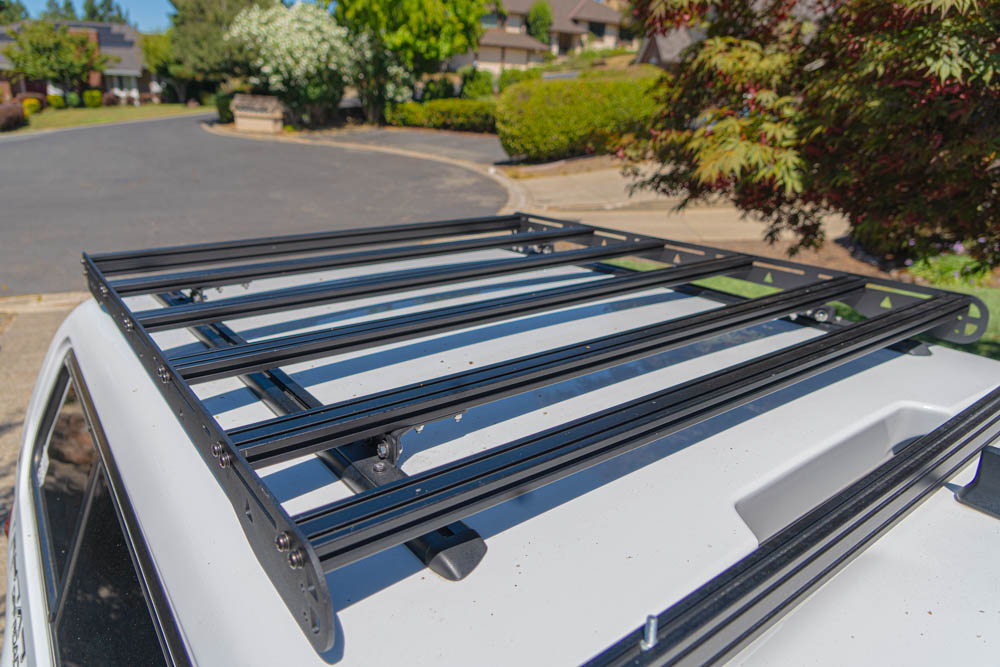
Since this rack is built from extruded aluminum, it opens up the ability to customize and tailor it to your specific needs. Being able to move the cross bars, completely remove them, or mount bolts for accessories is by far my favorite feature.
Whether you want to mount your rooftop tent, kayaks, or cargo boxes for your gear this rack gives you the ability to do it all!
Size
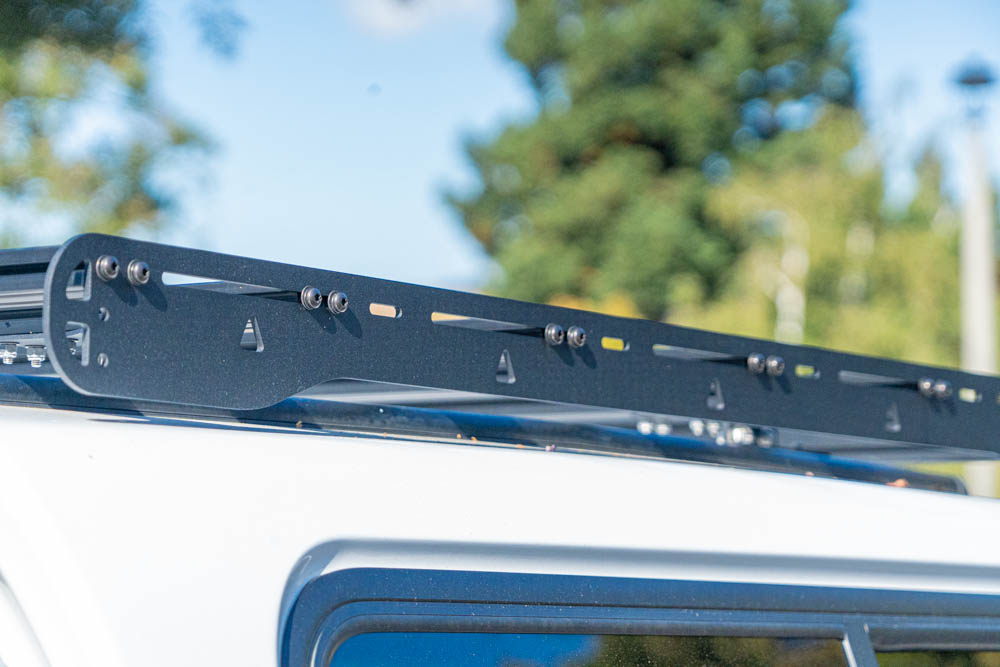
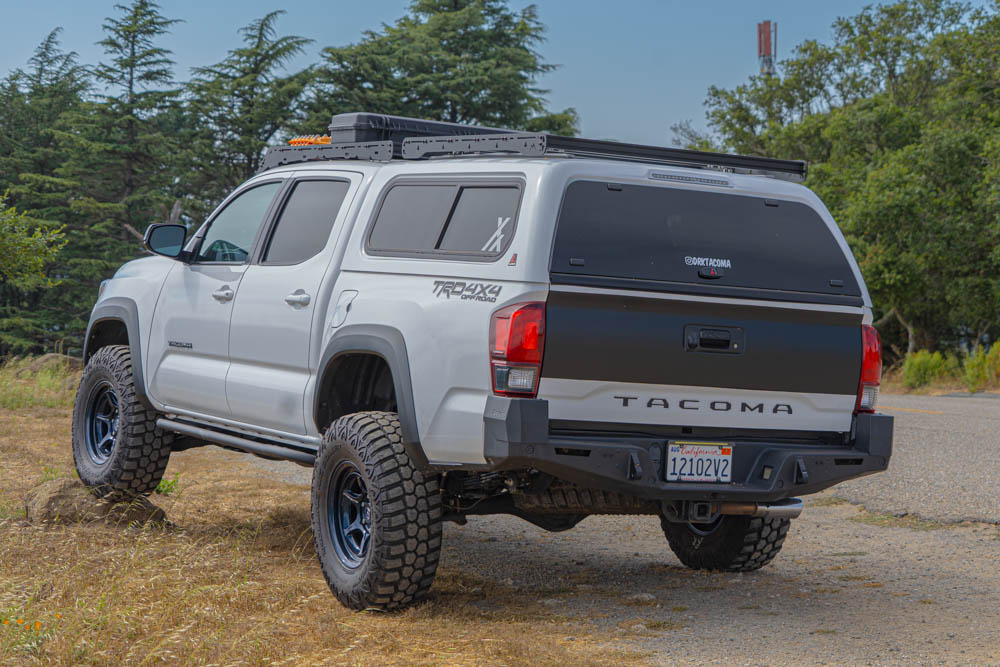
The slim and low-profile platform keeps your gear close to the roofline, reducing wind noise and attempting to help with gas mileage. Compared to my previous crossbar setup, this rack sits about an inch lower. If you want it to sit higher, you can utilize the height adjustment mentioned earlier.
Price
Coming in at just over $600, this shell rack is priced right. Compared to my previous two crossbar setups which I paid $700 for, it makes me wish I had just gone this route in the first place.
Final Thoughts
To put it simply, I’m a huge fan! The functionality, looks, price, and overall design have checked all the boxes for what I was looking for. I’ve mounted my tent, strapped surfboards, and even stood on the rack and it’s held up great.
I’m excited to keep using it and tailoring it towards my style and take it on more adventures!
Until then, Happy Trails!
One of the cheapest options around that’s still made in America!