

In a separate article, you may have seen us cover the TRD Pro grille install/review.
In this post, we will be outlining the step-by-step guide to installing and wiring the molded LED Raptor light kit. This install is relatively easy, even if you don’t have any electrical knowhow. You’ll only need basic tools and a low-level understanding of the electrical system.
If you don’t have a TRD Pro grille, we’ve linked all the necessary components below.
Find It Online
- 3rd Gen
- (2016-2023) Pro Grille: Check Price
- Raptor Lights: Check Price
- 2nd Gen
- (2012-2015) Pro Grille: Check Price
- (2005-2011) Pro Grille: Check Price
Table Of Contents
Getting Started

To begin, you’ll have to make sure you have the proper tools.
Tools & Materials
- Klien Multimeter
- Solder Gun
- Solder
- 10-22 AWG ring terminals
- 10-22 AWG connectors
- Solder seal wire connectors
- Universal heat shrink
- Klien Tools Crimps
- IRWIN Wire Cutter
- Channellock Pliers
- Heat Gun
- Mini Screwdriver
- Flashlight
- Gear-Aid work light
- VHB Tape
- Zip Ties
You can crimp the wires together. You don’t need solder. Its really personal preference for how you connect your wires together. You can solder the wires together, use crimp connectors (buttsplice connectors), or even use hybrid solder connectors. All of this is linked above.
Kit Contents
- (4) LED Raptor Lights
- Wiring Harness
This guide will also include comprehensive instructions on how to properly wire the Raptor LED light kit, which is where most people question doing this install on their own. Fear not! This guide will have you knocking this out in no time.
We got a kit with 4 lights, but only used 3. You get the option to purchase however many lights you’ll actually be using (3 or 4) to save you a few bucks. The LED lights themselves come in either amber or white color and the lenses come in clear or smoked. All personal preference, but it’s nice to have these options.
Let’s get started!
Step 1. Install Lights

The Raptor LED light kit comes come with 4 lights.
You can install all 4, or you could just install 3. Or even 2. Maybe just 1. Whatever floats your boat here.
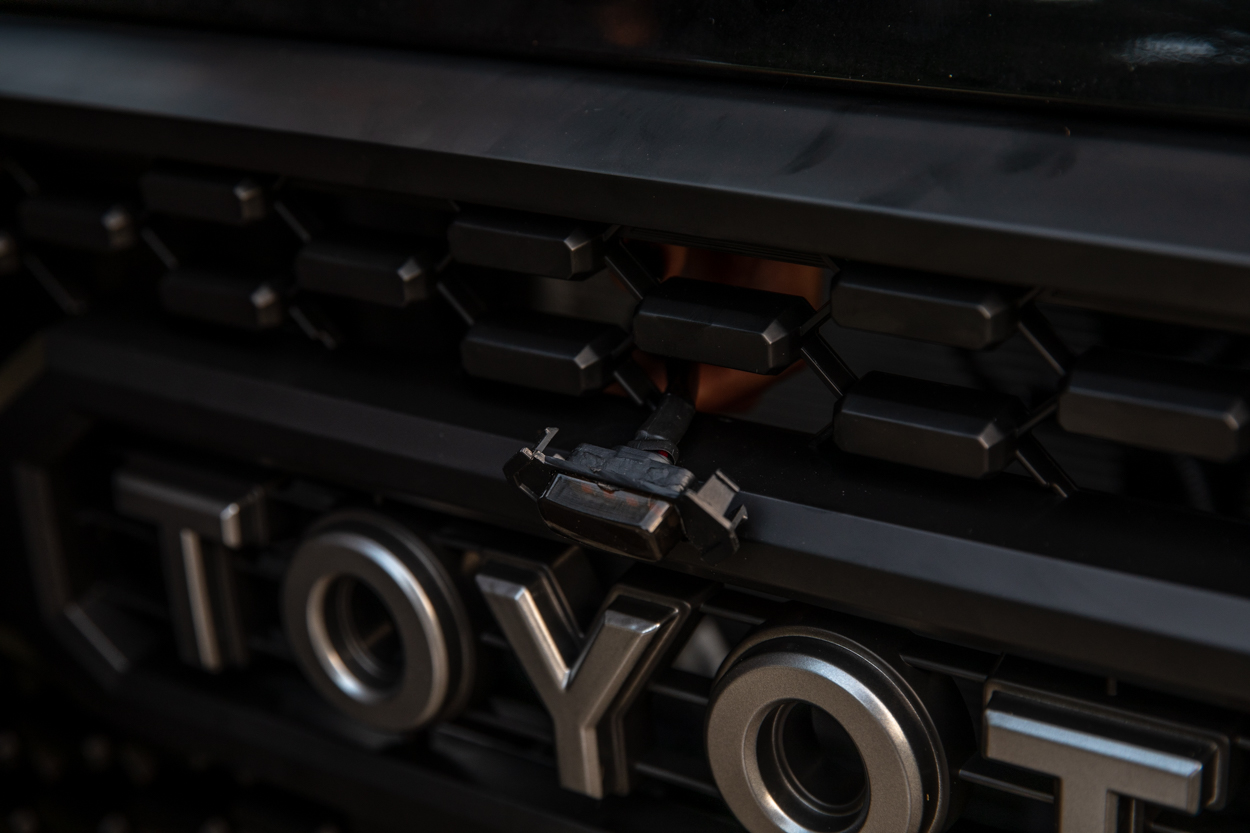
These lights are perfectly molded to snap into the slots in the grille.
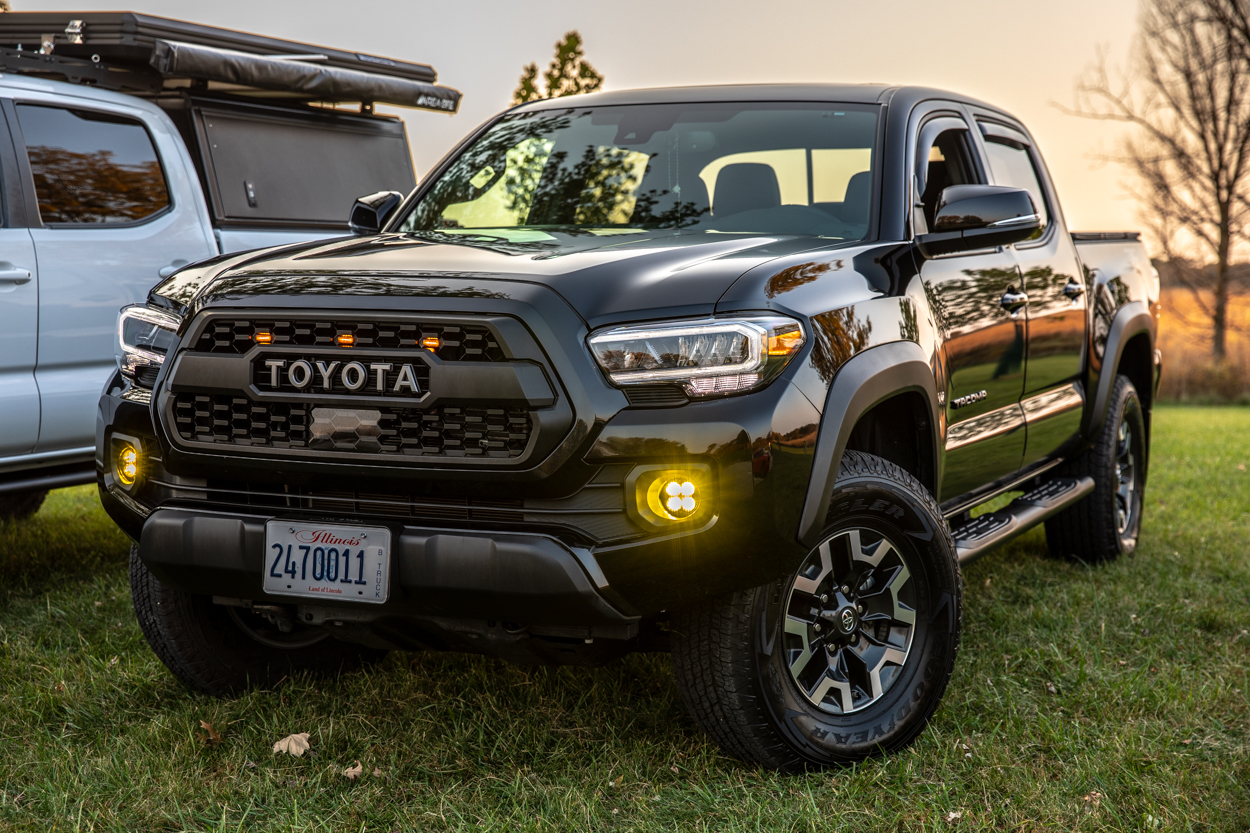
Just pick where you’d like them to go, this is a completely personal preference, although most people install them in a row right above the Toyota lettering.
We chose to only install 3, to closely mimic the look we’re trying to replicate.
You can see the installed lights above. So clean! This modification really makes a huge difference and really updates the front end.
Next, we will go through a step-by-step guide to finding the proper wire to tap and how to correctly splice it into that power supply.
Step 2. Connect Harness
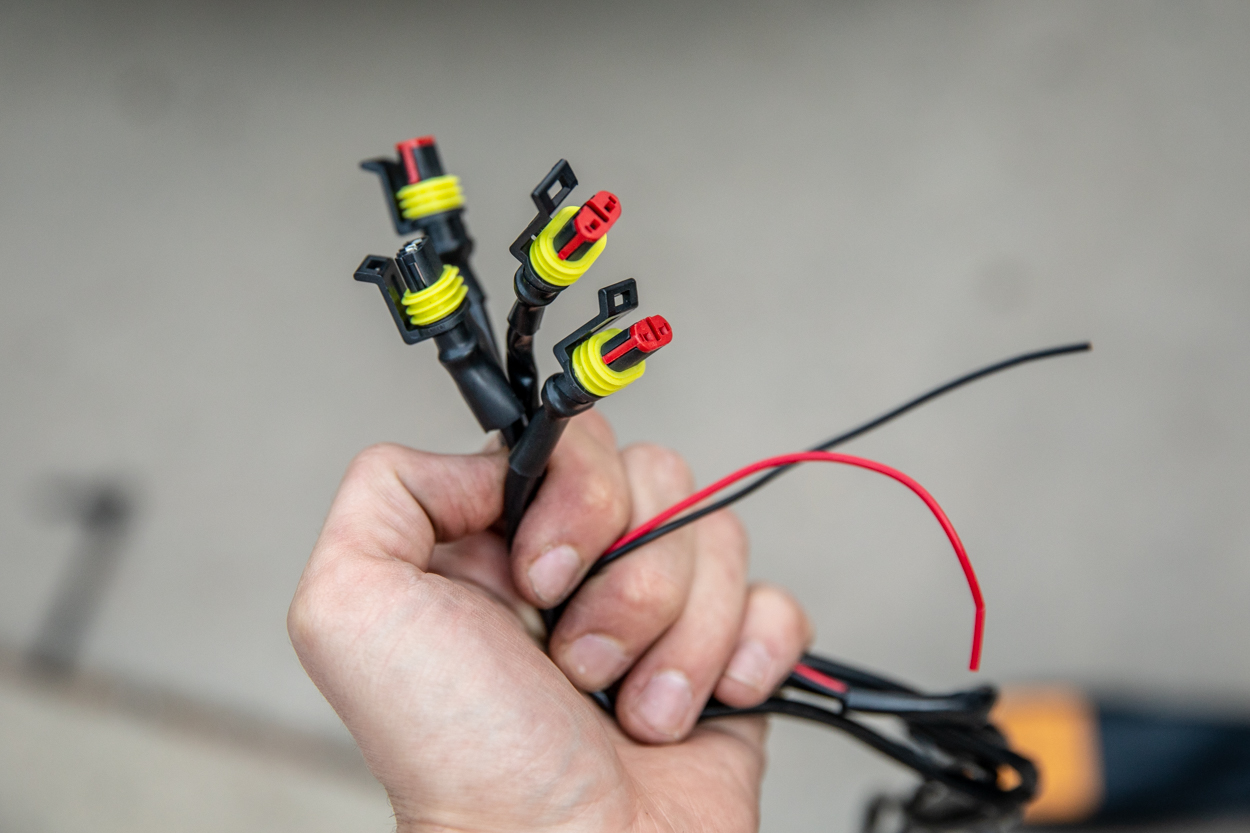
The harness will look similar to the one above.
One of the connectors lost a red plastic piece, but we didn’t need to use all of the connectors since we were only installing 3 lights.
Plug the ends of the Raptor lights into the harness as shown above.
Make sure you hear an audible click and that the harness is firmly attached to the Raptor lights.
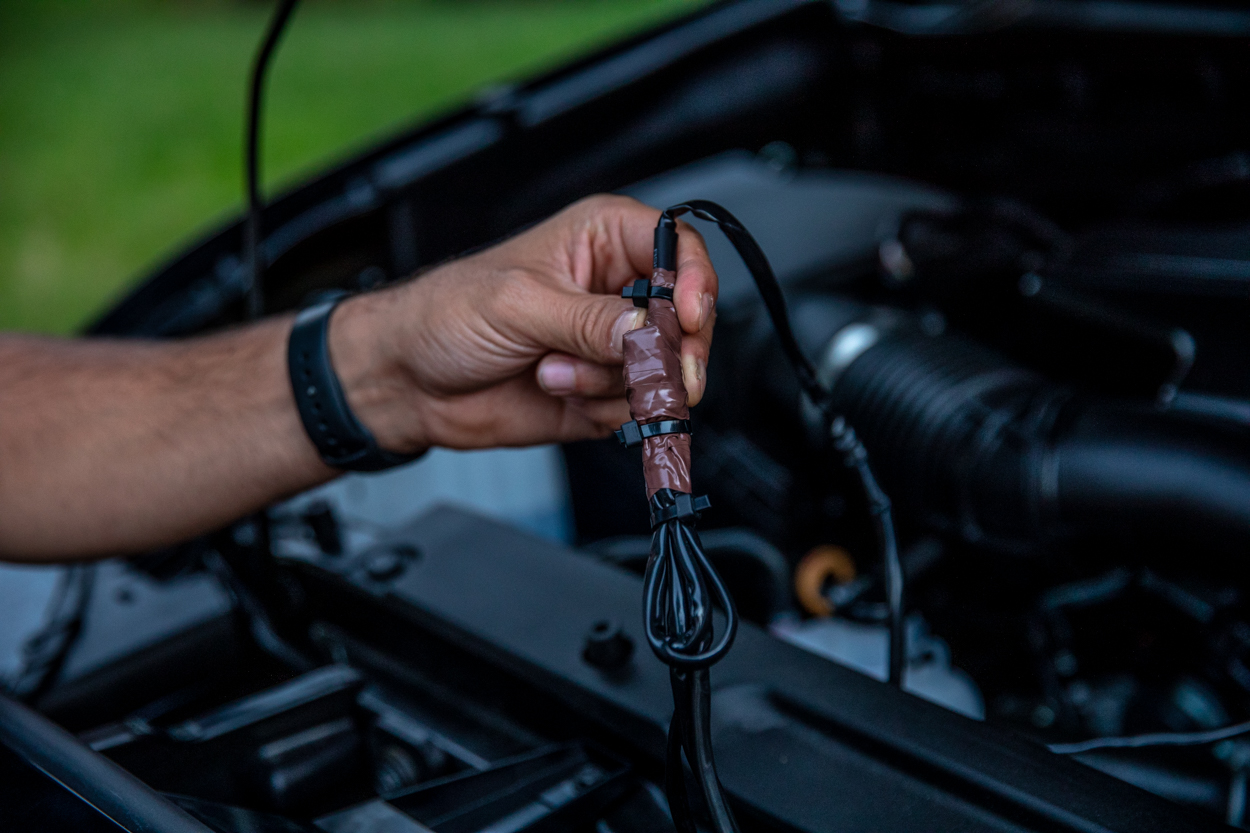
If you’re only installing 3 lights, to keep things clean, and the electrical system protected, you should not leave the extra connector dangling.
We nicely folded the extra plug, wrapped in tightly in electrical tape, and threw a few zip ties on to prevent the tape from unraveling. Perfectly sealed and protected. Clean wiring is a must!
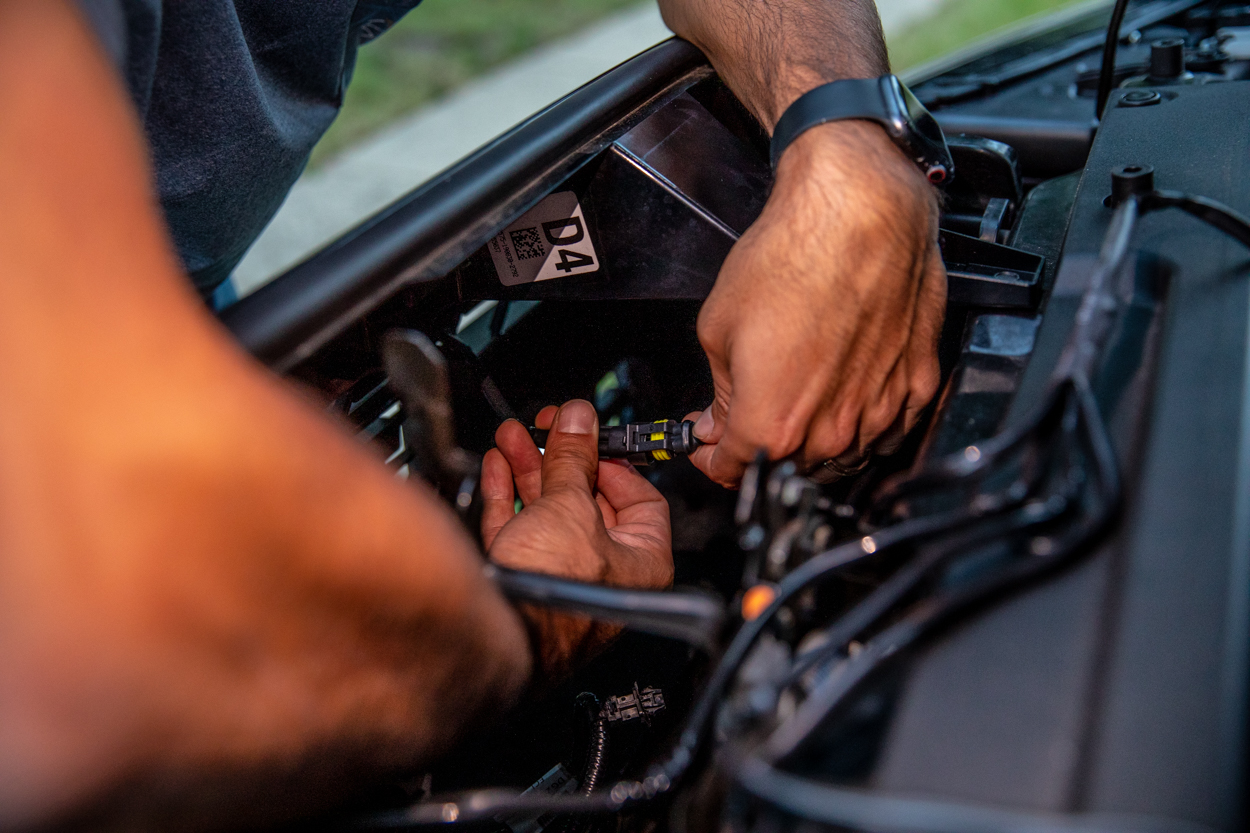
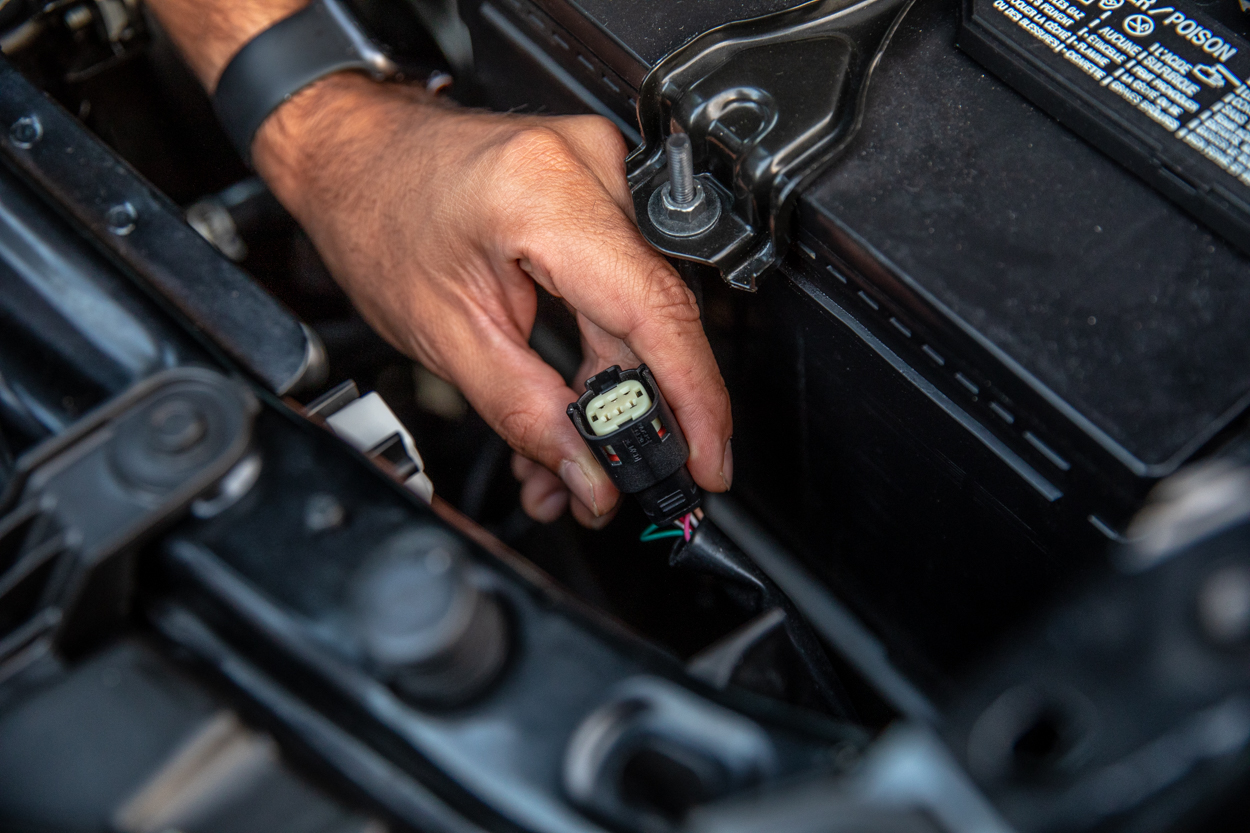
Step 3. Unplug Headlight
Directly behind the headlight, you’ll find a few harnesses.
This install is being done on a 2020 Tacoma, which has all of the wiring for the headlight in one harness. Other models may have multiple. If you have multiple harnesses, you’ll likely be using the one that attaches to your DRL/low beams. You’ll need to work in a very tight area, it might make sense for you to remove the battery if you’re having a hard time.
We did not remove the battery and that made things a little more difficult, but not impossible.
The key takeaway here is that regardless of which kind of harness your truck has, you’ll have to find a power wire that keeps your lights on in certain situations.
If you’re like most of us, you’ll like want the lights off during the day, and in the on position when the forward-facing (headlights, foglights, high beams, DRLs) light switches are on.
Most Tacomas have 4 settings on the exterior light switch – OFF, DRL, Foglights, Main Headlights.
So the only time you want them to be off is when the switch is in the off position. Again, you could want this to be wired otherwise, so you can use the method I’m about to outline to find out the best wire to splice.
Step 4. Wire Tapping
**The alternative to this is using an add-a-fuse, which is usually included now.**
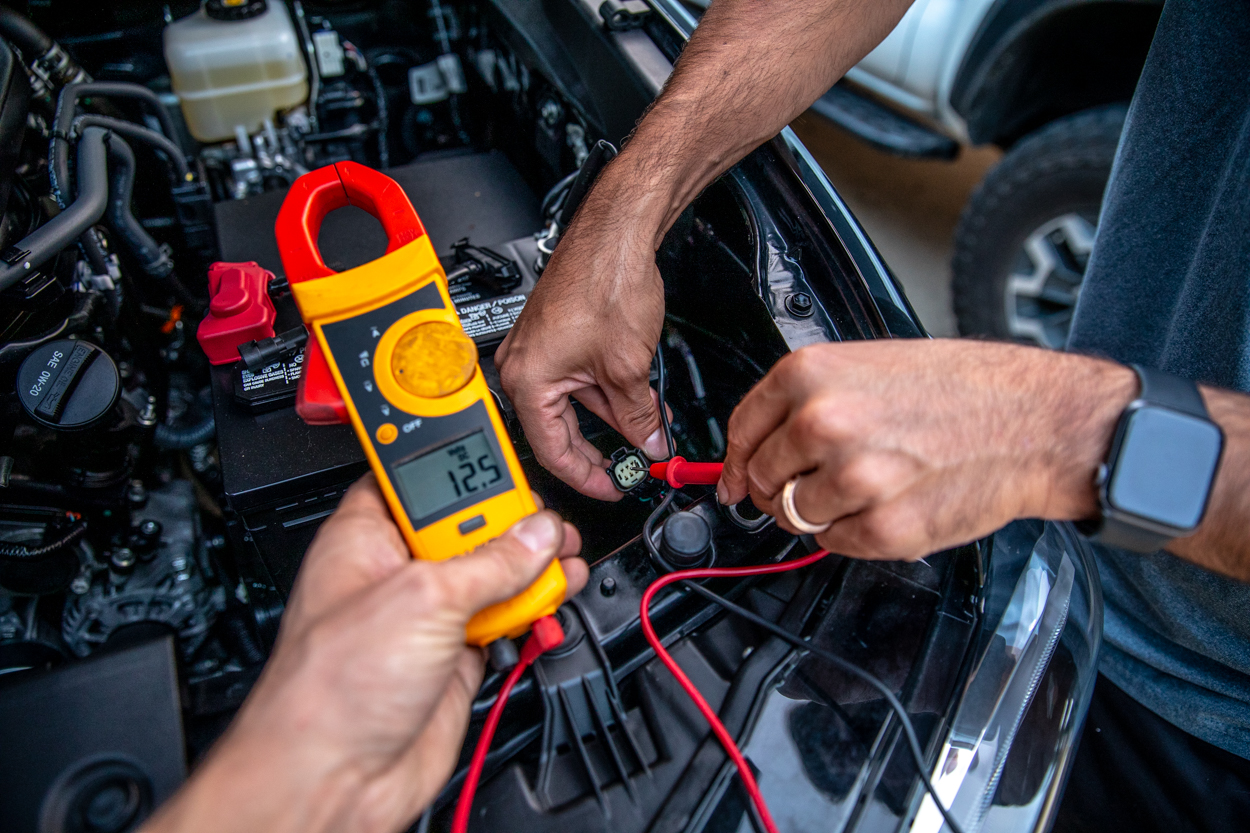
For this part, you’ll need a multimeter. These are fairly cheap, and an invaluable wiring tool.
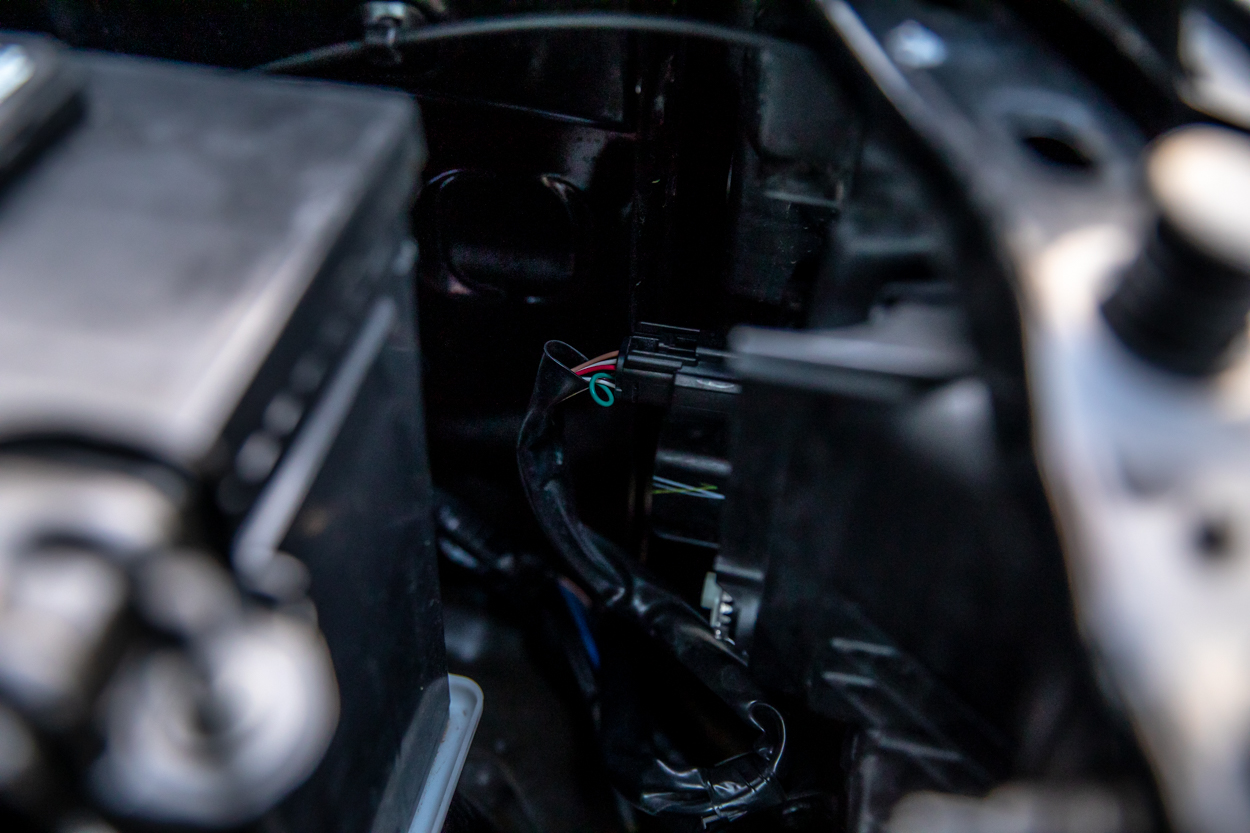
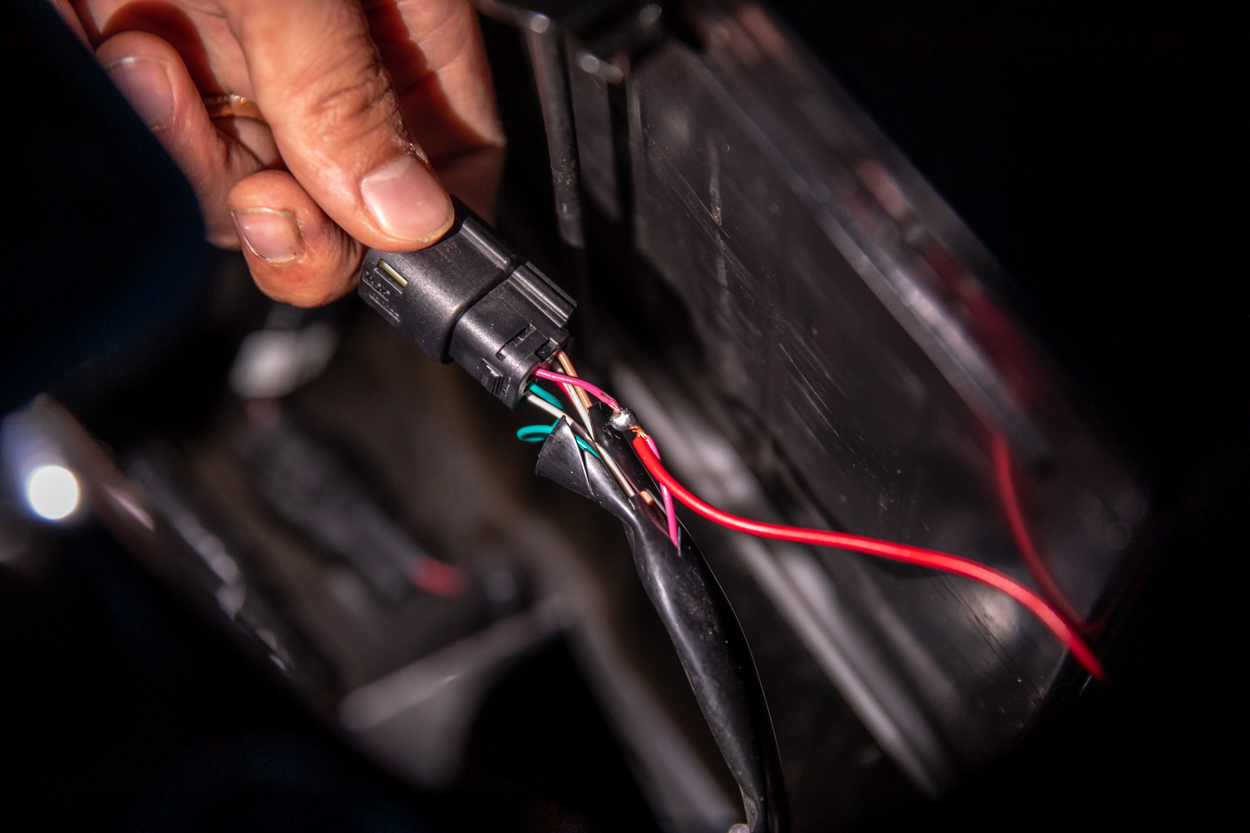
You will need to use the multimeter to determine which of the headlight harness wiring has power in the previously mentioned positions. The easiest way to do this is to ground one end of the multimeter. We placed the negative lead touching the negative terminal of the battery, and took a small piece of solder, and stuck it in one of the slots.
These slots are too small to simply touch the positive lead of the multimeter to the conducting metal inside. Using the solder, you can extend the wiring and easily tough the positive lead to see if there is power going to that particular wire.
Have someone sit inside and flip through all the light assembly switch positions and determine which wire is powered in all positions except the off position. That will be the wire to tap.
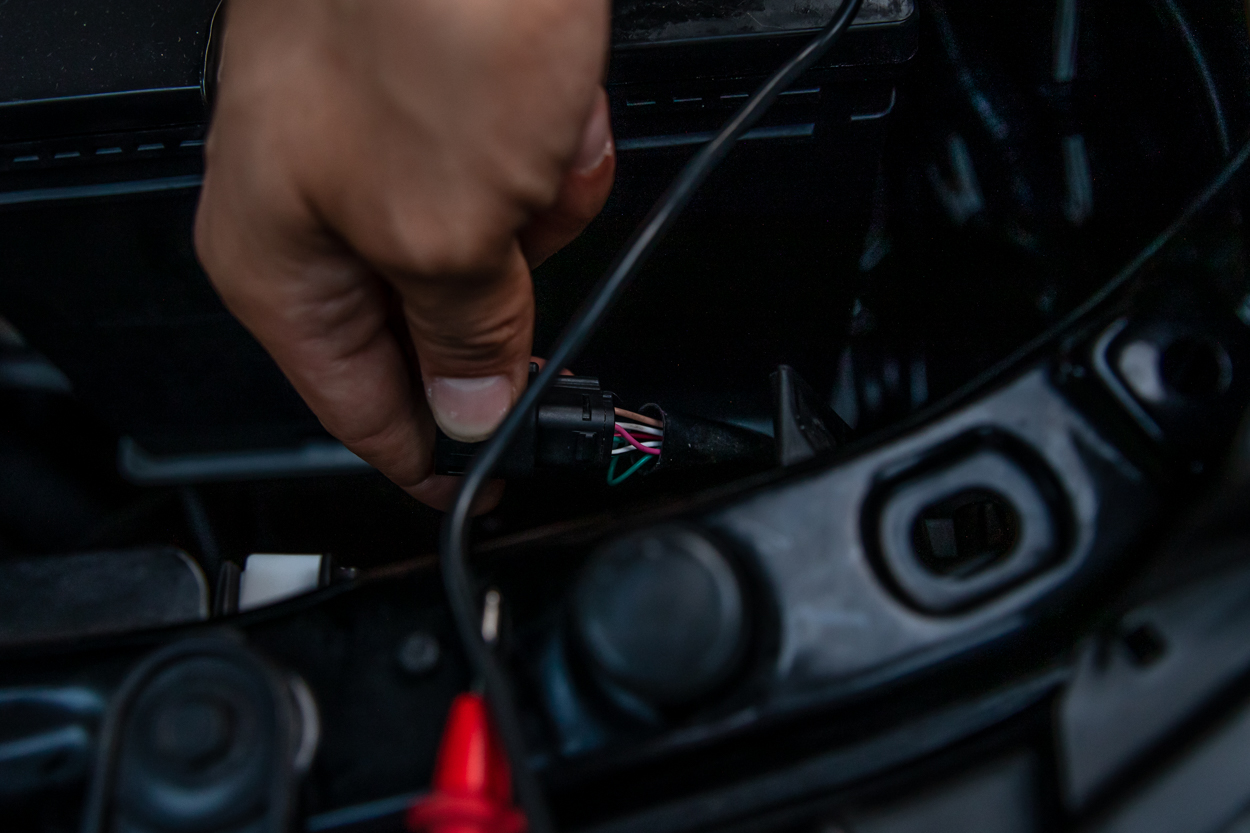
In this case, the wire in question is that pink one on the top.
This may vary with different trims and years, so don’t just start hacking the pink wires. You could create an expensive problem.
Step 5. Strip & Splice
Before you do this next part, it would be wise to disconnect the negative terminal on your battery. This ensures you don’t somehow get zapped accidentally, and protects the electrical system while you work on it.
To better access the wire we’re tapping, we cut the protective sleeve open just a bit, maybe a maximum of 2-3 inches.
Take a razor blade, or something similar, and carefully (wire is very thin and easy to break), strip the wire.
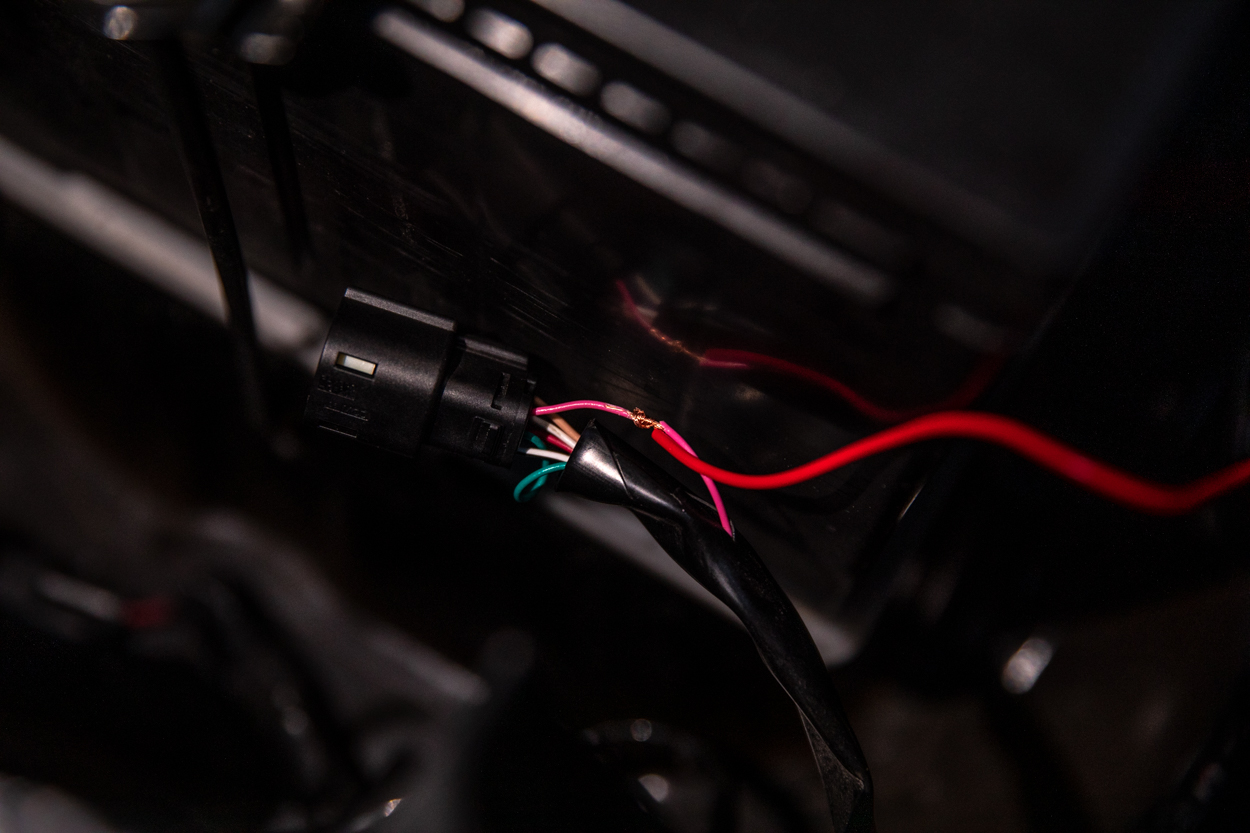
Once you have exposed the wire, strip the ends off of the new wire you’re splicing in and wrap it as tightly as possible around the positive wire you’re tapping.
Step 6. Solder New Connection
If you’ve never soldered, it would be wise to watch a quick tutorial. The process is easy, but you don’t want to damage any of these fragile wires that surround the one you’re splicing in.
Solder the connection between the two wires you twisted together in the last step. The final product should look similar to what you see above. The silver solder is firmly connecting the two wires.
Step 7. Organize Harness
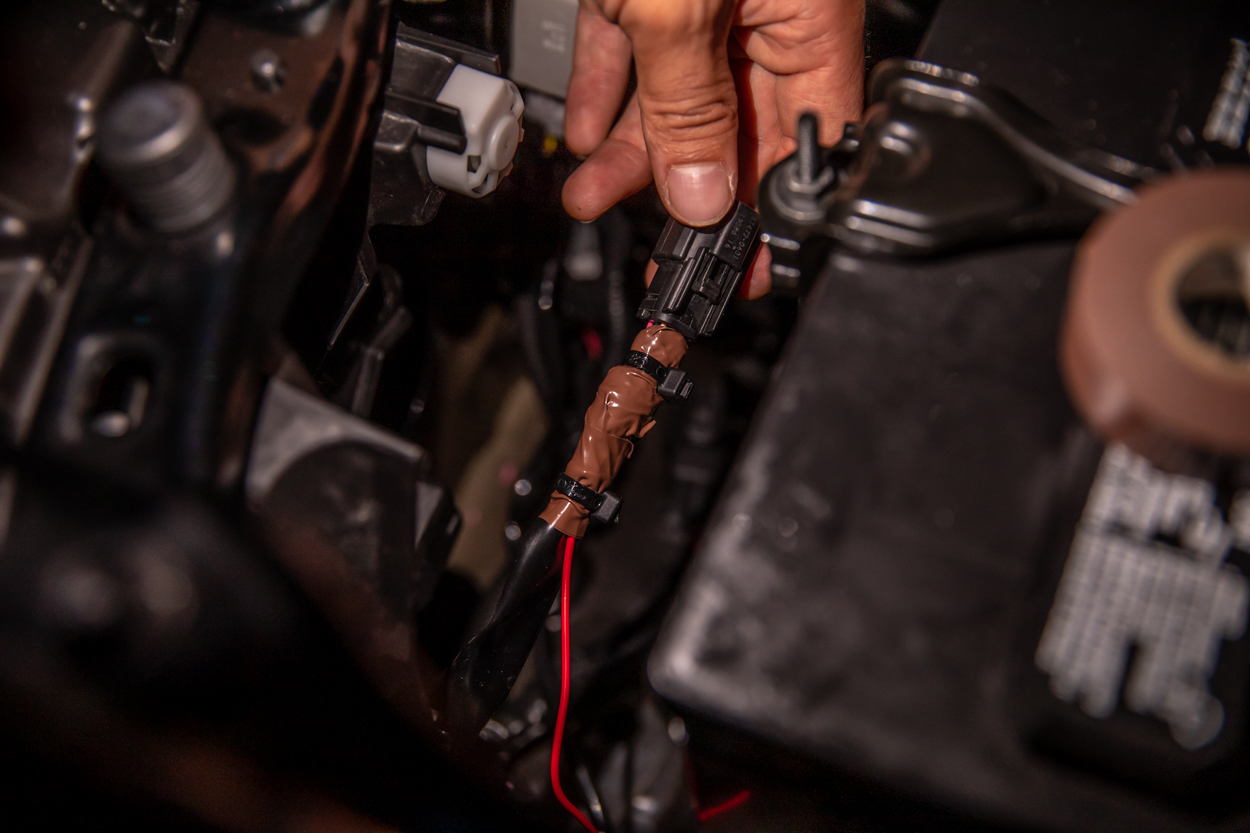
Similar to the extra light harness, you’ll want to protect the connection you just made and the rest of the harness. This part ensures that the harness is well protected and that your new connection is adequately covered.
We wrapped a couple of feet of electrical tape around the splice/harness to make sure that the connection would have little to no chance of accumulating excessive dirt or water and ruining the splice. Throw a couple of zip ties on for good measure.
Plug the harness back into the headlight.
Step 8. Add Ring Terminal

You’re almost there.
Finally, take your negative wire and strip the end. Then, add your ring terminal and crimp it down tightly. Attach it to a ground, either the negative battery terminal or one of the bolts that run along the body.
That’s it! You’re all done.
Step 9. Organize Wires
Go through all the wiring and harnesses to make sure nothing is unorganized.
Zip tie any slack you find in a clean manner. Once you’ve finished, you’re completely done.
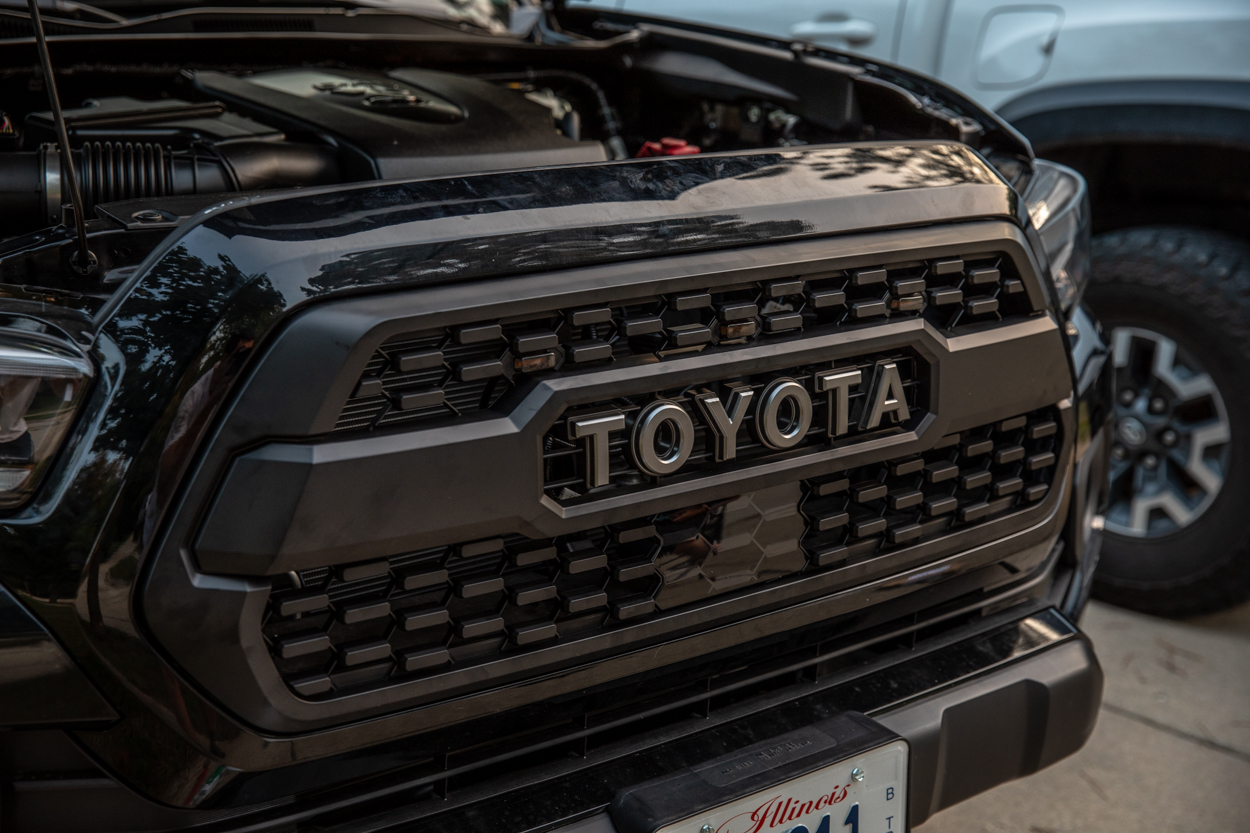
Final Thoughts
Above, you can see the finished product. If you think it looks good in pictures, I can testify that these lights look even better in person.
With our guide, you’ll be able to knock this small project out in no time. Cheap, fast and easy. The three top things that make a modification popular. You can’t go wrong.
Not sure why Yotaverse links to these instructions when their system comes with an add a Fuze. 75% of these instructions are useless with that.
Hmm. Last we checked with them, and when we had installed this kit, they had gotten rid of the add-a-fuse.
Do you know why the add-a-circuit fuse tap was pulled? It’s seems to be a much easier install than tracing the headlight harness.
I believe they have two options that come with their kit now. I would confirm with them though, that’s what the site says. A DRL harness to tap directly into, and the add-a-fuse. I just did this install again this weekend on my father-in-law’s truck. Used the add-a-fuse, since that is all it came with. It was relatively easy. Plenty of videos online about it. Just need to run the add-a-fuse wiring into the fuse box. Not super technical.
I ordered mine earlier this month. Weird.
Hey I have a 2020 TRD Off Road with the led DRL / Headlights. Looks just like the pics. Only when I meter out the wires none give any indication of power.. I have the DRLs turned on, truck is off. The DRL lights up on the other side while I am metering and as soon as I plug the side I am working with back into the headlight it comes on.. I just want them to come on the DRLs (and headlights) and off on the off position. Can you give any advice? Thanks !
It really depends on how you wire them, and which wires you end up tapping. The way these are tapped, the lights come on as soon as you move the headlight switch past the off position. Let me know if that makes sense!
That makes sense. Thanks for the info.
Great article! Really made this install a breeze, thanks!
Glad it was helpful man!