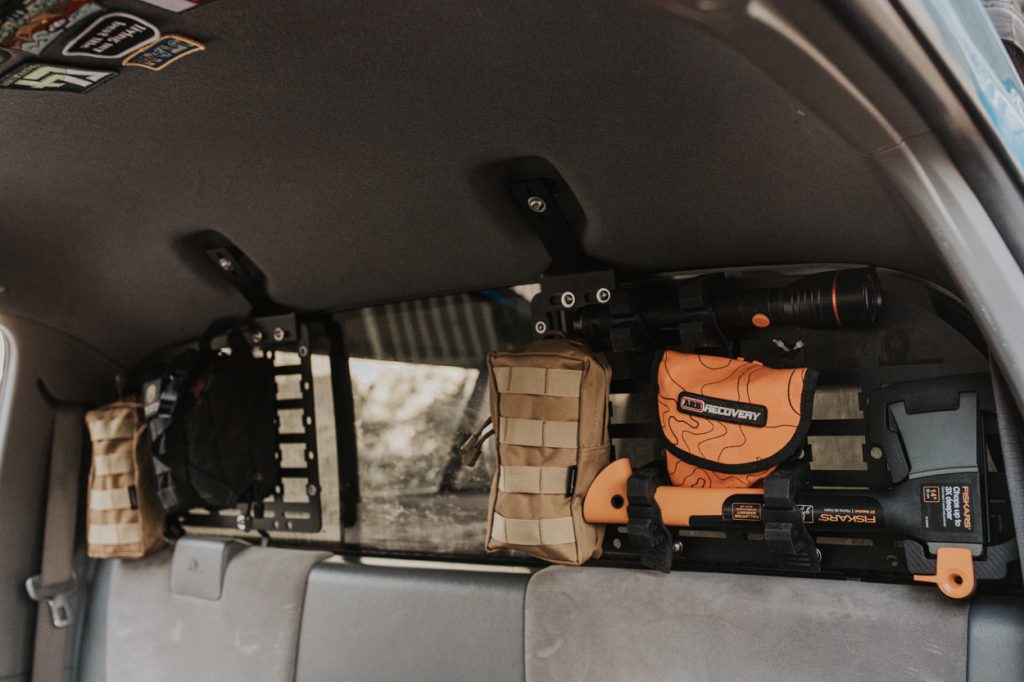
Are you looking for more storage options on your Tacoma? Something to mount your first aid kit, ax, flashlight, recovery gear, or whatever else is just flying around your cab? Well, you’ve come to the right place.
Tacoma Twins now offers a sleek modular molle panel storage kit to get you equipped for all your adventures. These panels come with the option of a two or three-piece setup. I chose the 2-piece set since my dog likes to stick her head through the middle window, but who knows, maybe I’ll add on the third piece later on down the road.
The grids on these modular panels are made so that you can use a quarter-inch rivet nut in the holes to mount brackets, quick fists, or whatever you may want/need to fit onto these panels, leaving you with endless options. If you’re an EDC (every day carry) guy like me, this setup comes in handy for all of your storage and organizational needs.
Find It Online
- Tacoma Twins Rear Window Molle Panel: Check Price
Table Of Contents
Kit Contents
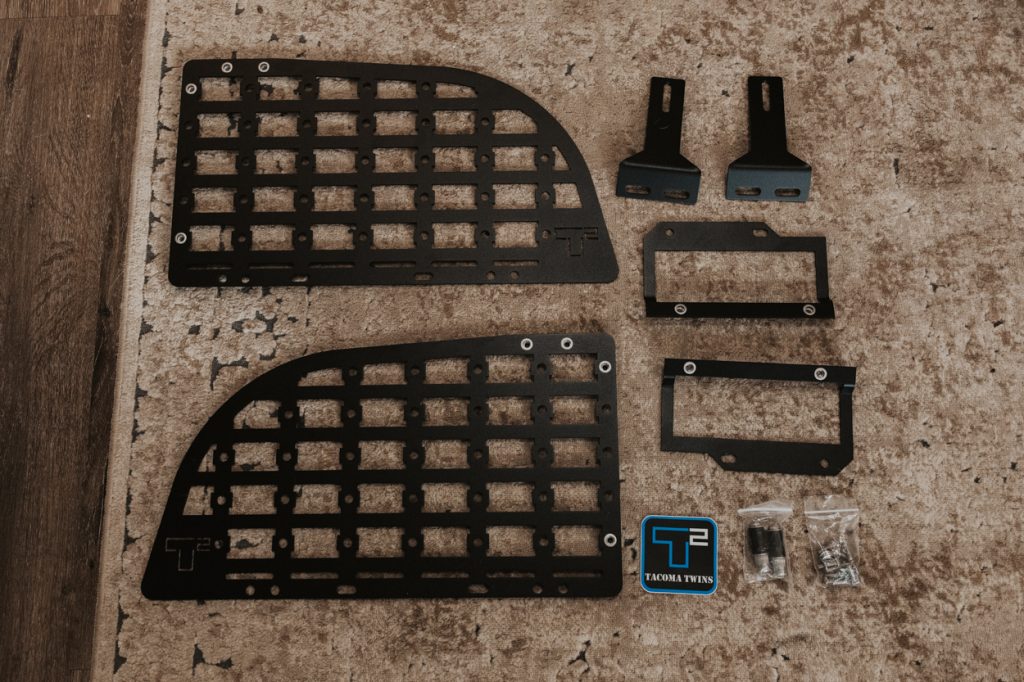
As you can see, a lot of detail goes into making sure these panels fit all of the customer’s needs without being too bulky.
This particular set comes with:
- 2 Modular Panels
- 2 Mounts (to replace the headliner hangers)
- 2 Mounts (to install behind headrests/ back seats)
- 8 ¼” x ¾” SS Button Head Bolts
- 8 ¼” SS Washers
- 2 5/16” Aluminum Rivet Nuts
- 2 5/16” x 1 “ Aluminum Black Spacers
- 2 5/16” x 1 ½” SS Button Head Bolts
- 2 5/16” SS Washers
Note: You will need to buy a rivet nut tool to install top bolts as well as 2 self-tapping bolts in case your Tacoma doesn’t have the headrests in the back (as shown in steps below).
Required Tools
- Handheld Rivet Nut Tool: Check Price
- Allen Wrench Set: Check Price
- Plastic Pry Tools: Check Price
- Socket Drive
- Metric Sockets
Step 1. Remove Headliner Parts
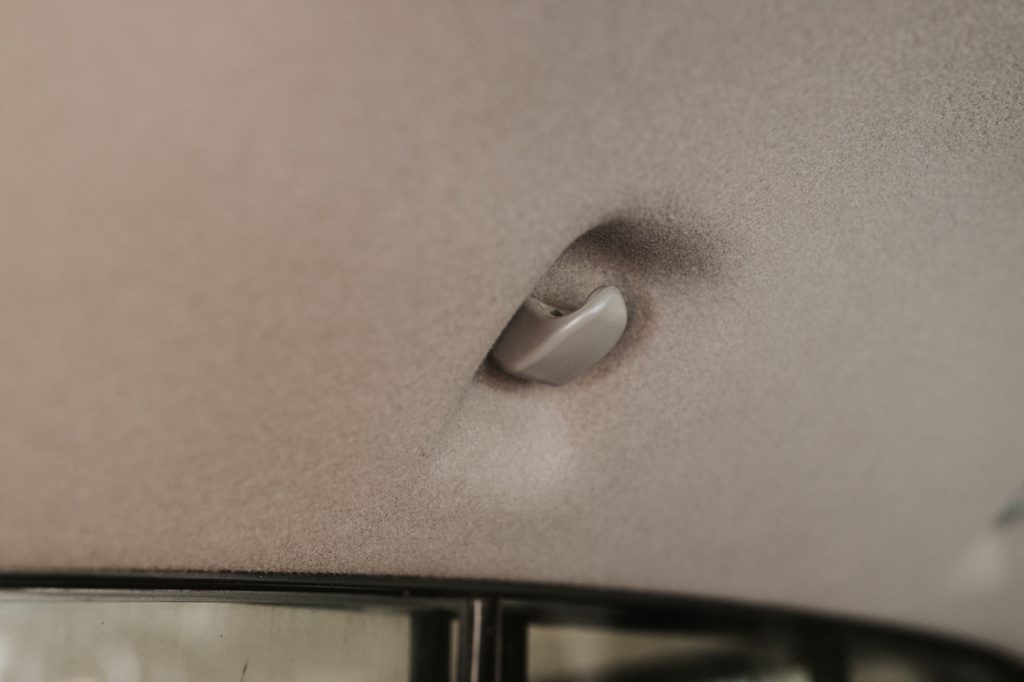
In this first step, you’ll need to locate the headliner hook/clothes hanger above your back seats.
To remove the hanger from the headliner, you will need to twist it to the side and it will pop right out.
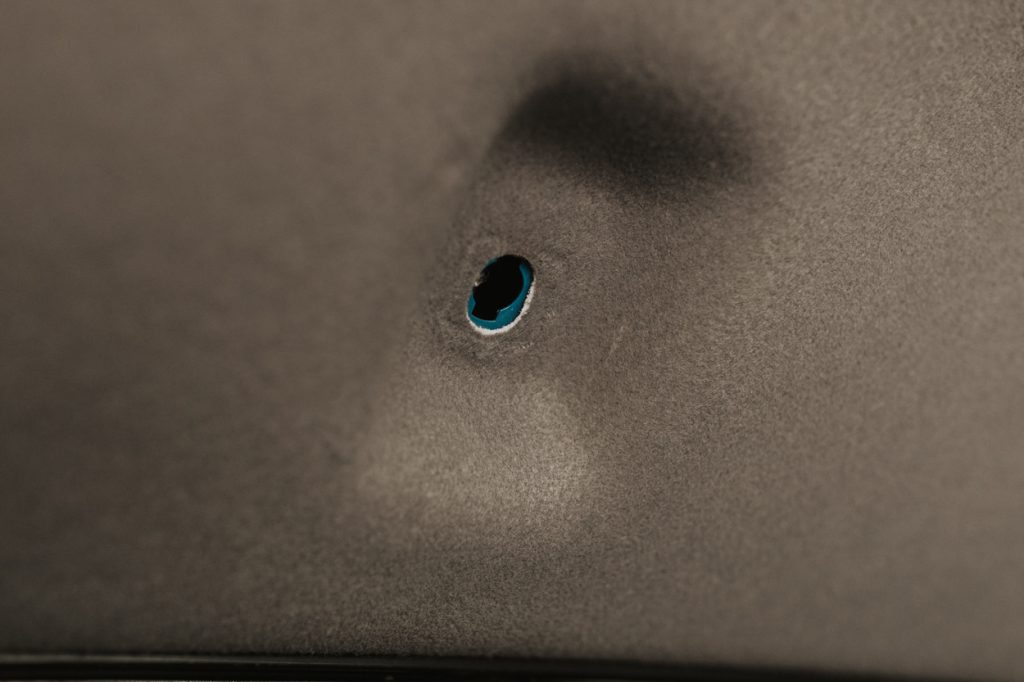
If yours are tight (like mine were), then you may have to grab some pliers to twist them out.
Once you can twist the hanger out, you are ready to install the top rivet nut which will hold the top mounting bracket of your modular panel together. This is where you will use your rivet nut tool.
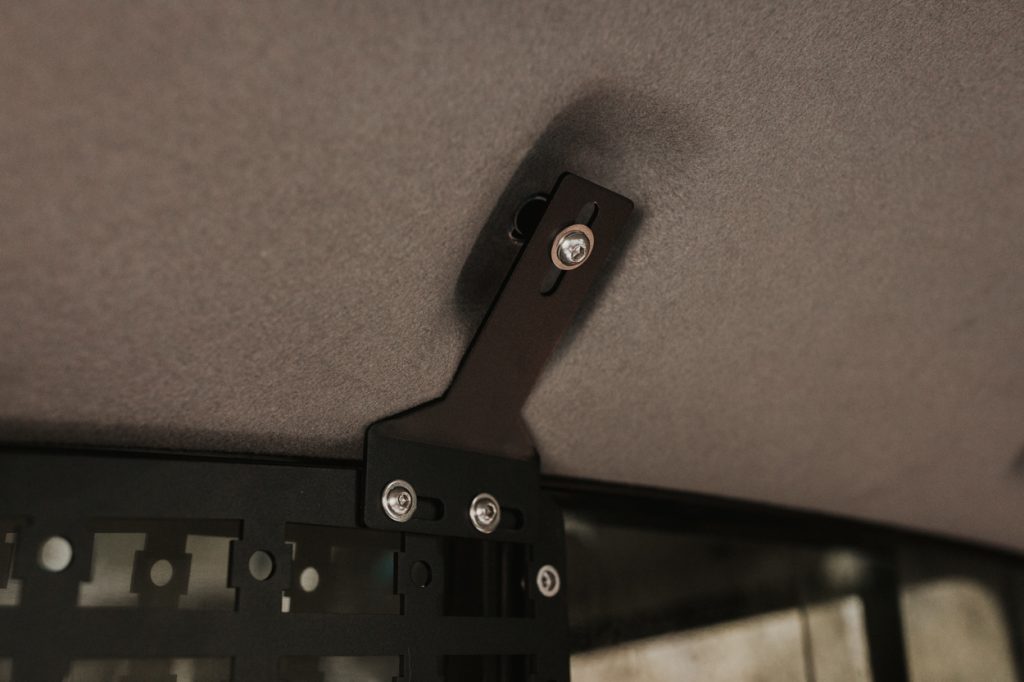
Once the rivet nut is installed and the panel is mounted, the finished product should look like the image posted above.
Step 2. Mount Bracket
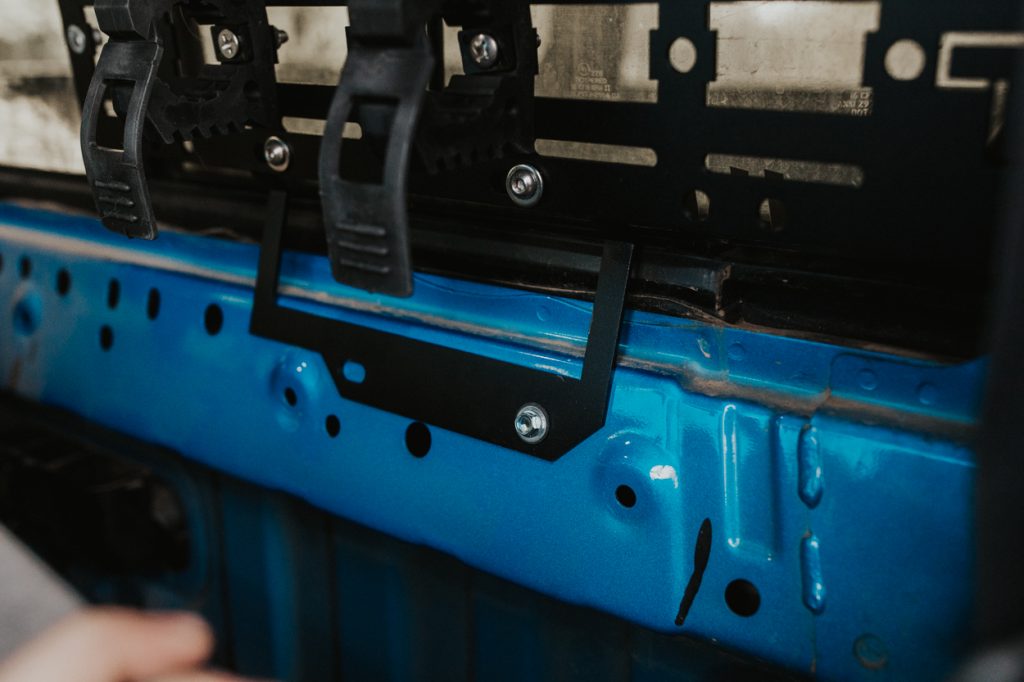
In this step, you will want to pull back the liner where your back seats are. If you have a crew cab Tacoma, simply move the back seats out of the way.
As you can see on my access cab Tacoma, the left side holes lined up perfectly to install the lower bracket of my modular panels.
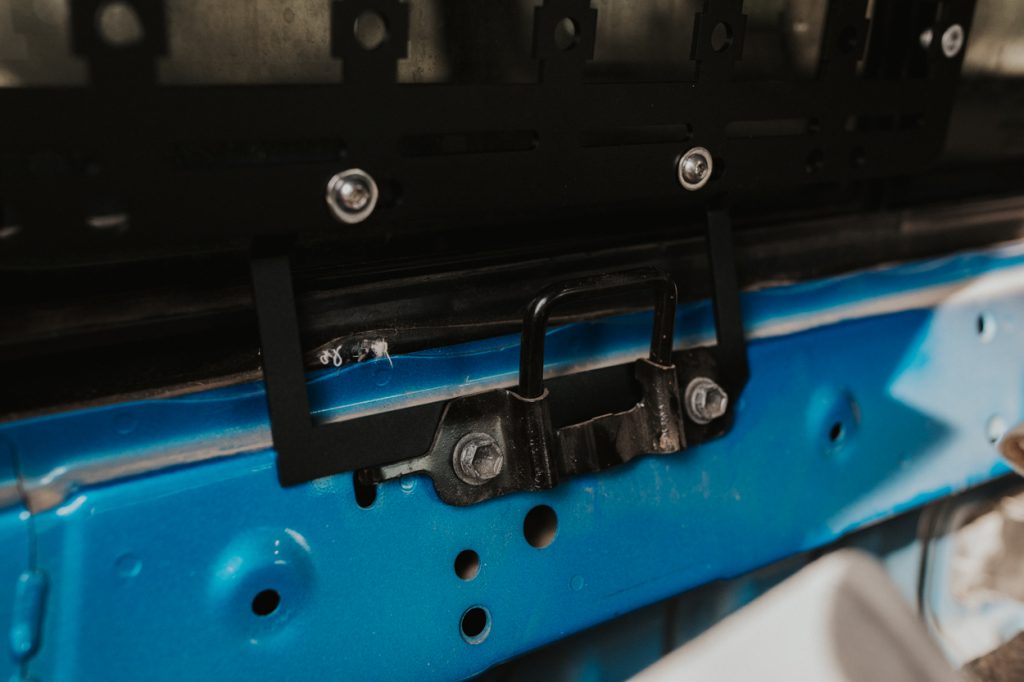
The right side needed two self-tapping bolts. Only access cab Tacomas without the headrests will need to use the self-tapping bolts to install the lower bracket.
Don’t worry, I installed the bolts on both sides of the mounts.
Step 3. Bolt On Panels
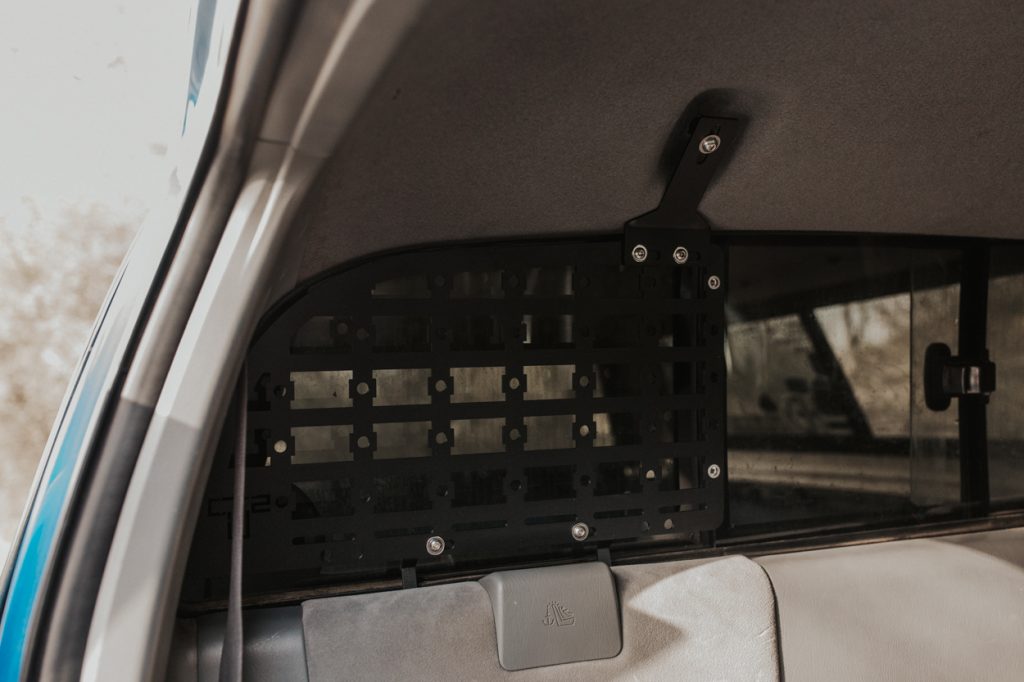
During this step, you can finally mount your modular panel to the top and bottom mount bracket. Tacoma Twins did an awesome job with fabricating these panels to allow you to adjust them to wherever you may need to get that perfect fit.
Don’t forget to tighten down all of those button head bolts to ensure that your kit is ready for all of your EDC items. Simply reinstall the back liner of your seats and you are done.
Simple as that!
Finished Product
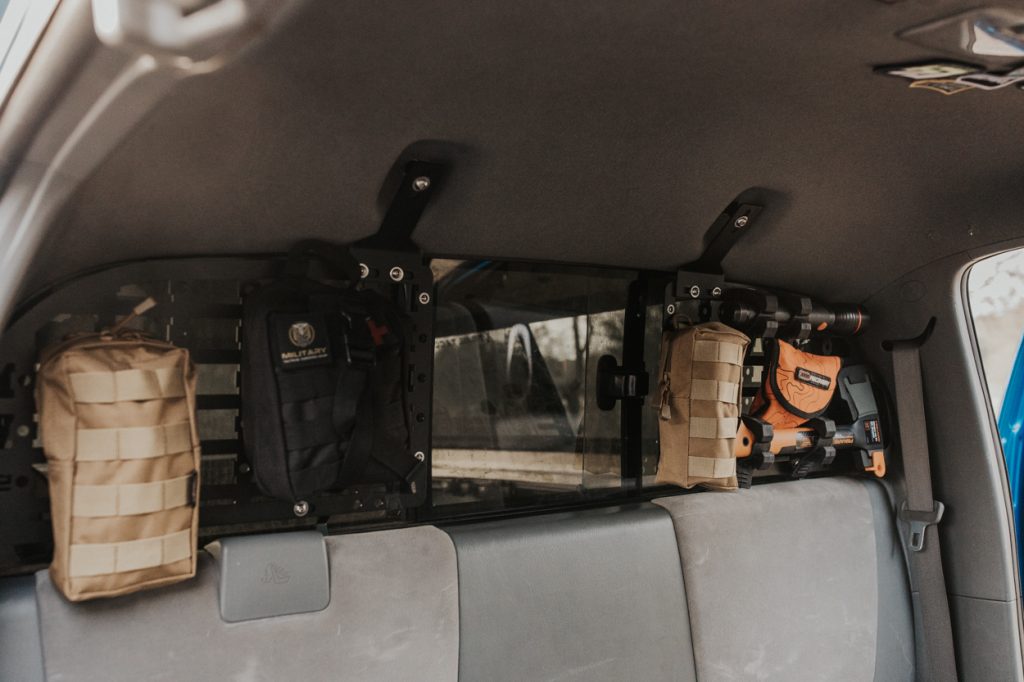
Now that you’ve got your molle modular panels all set to go, you can finally customize them and attach all of your EDC items!
As for myself, I installed a few different items.
- LED Flashlight mounted with Quick Fists
- Fiskars Hatchet mounted with Quick Fists
- (2) Molle Panel Pouches
- First Aid Kit
- ARB EZ Deflator
These are just some of the many items that you can use to mount on to your new modular molle panels. It all depends on what your wants/needs are for your particular setup. Some people have been known to run a small fire extinguisher, guns and/or hunting knives. The options are almost endless.
Initial Impressions
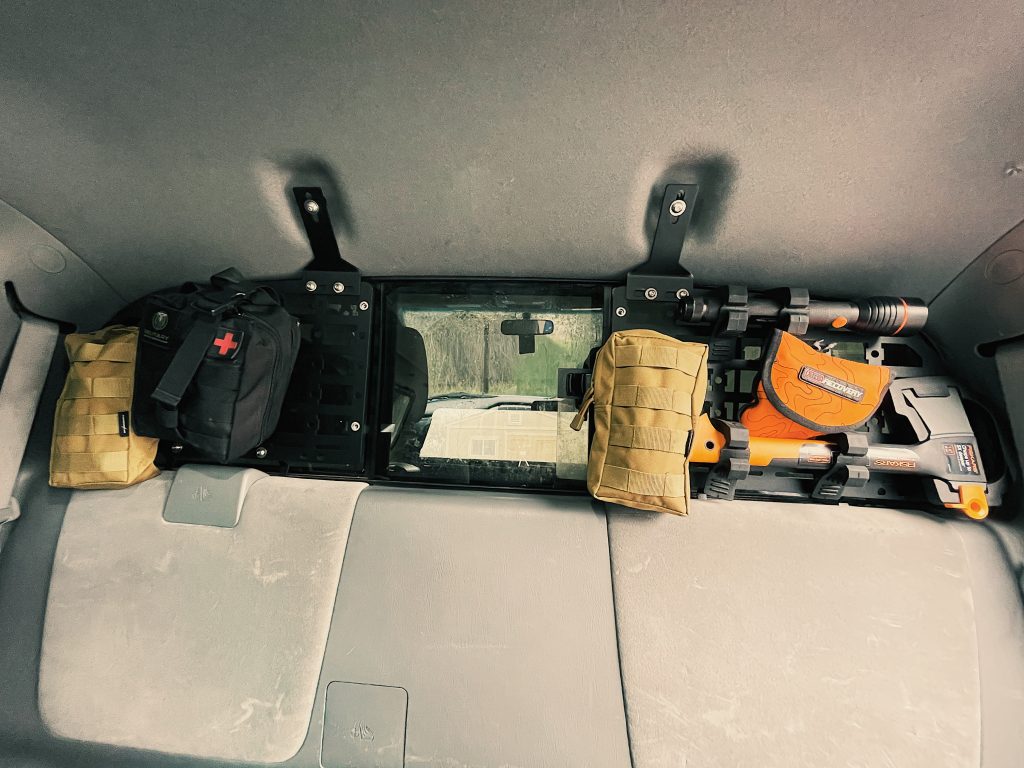
I will be honest. At first, I wasn’t sure if I was going to completely like this modular panel setup. However, after installing it, I couldn’t be happier with how it turned out. Finally, I have a product that allows for easy access to all of my EDC items instead of stuffing them into more roof rack storage boxes, my side pockets of the truck, and/or putting them in the center console or glove box.
I thought this product would completely obscure my view out of the back window, but luckily I still have plenty of room to see through that back middle window. I will mention that this story changes if you buy the 3-piece kit.
The amount of detail and time that went into designing these modular panels means you get a quality product. Tacoma Twins designed a fully functional molle panel that allows its customers to put anything/everything they want on for easy access to whatever they may need. Having this option on my Tacoma doesn’t only just add something cool to the inside of my truck, but it also lets me get to my gear in an easy and timely fashion.
Final Thoughts
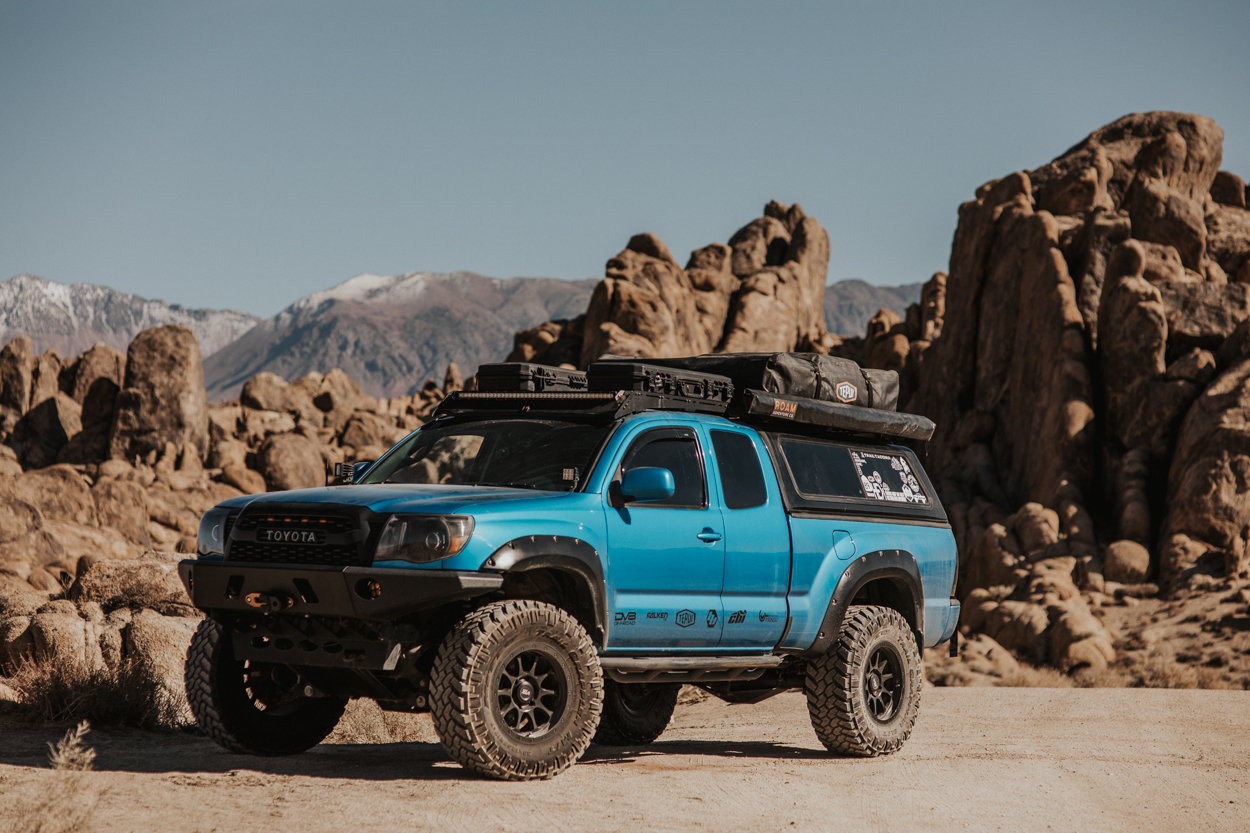
Driving down the road, these panels are as quiet as can be. This was another concern I had when I decided to grab a set. But seriously, they’re pretty much completely rattle free. No need to worry about offroading or overlanding with noisy panels.
In the end, I would highly recommend these panels to anyone who is looking for an easy and effective way to carry their EDC gear or things that are useful to quickly have on hand. Tacoma Twins made this product user-friendly with a fast, straightforward install. Plus, they include a step-by-step install packet with all their products so customers can install this product in no time.
If you’re looking for some great molle panels to step your organization game up, this is it. Oh, and you can make the best of your cab space by filling that underutilized space behind your backseat windows. This is the product for you!


