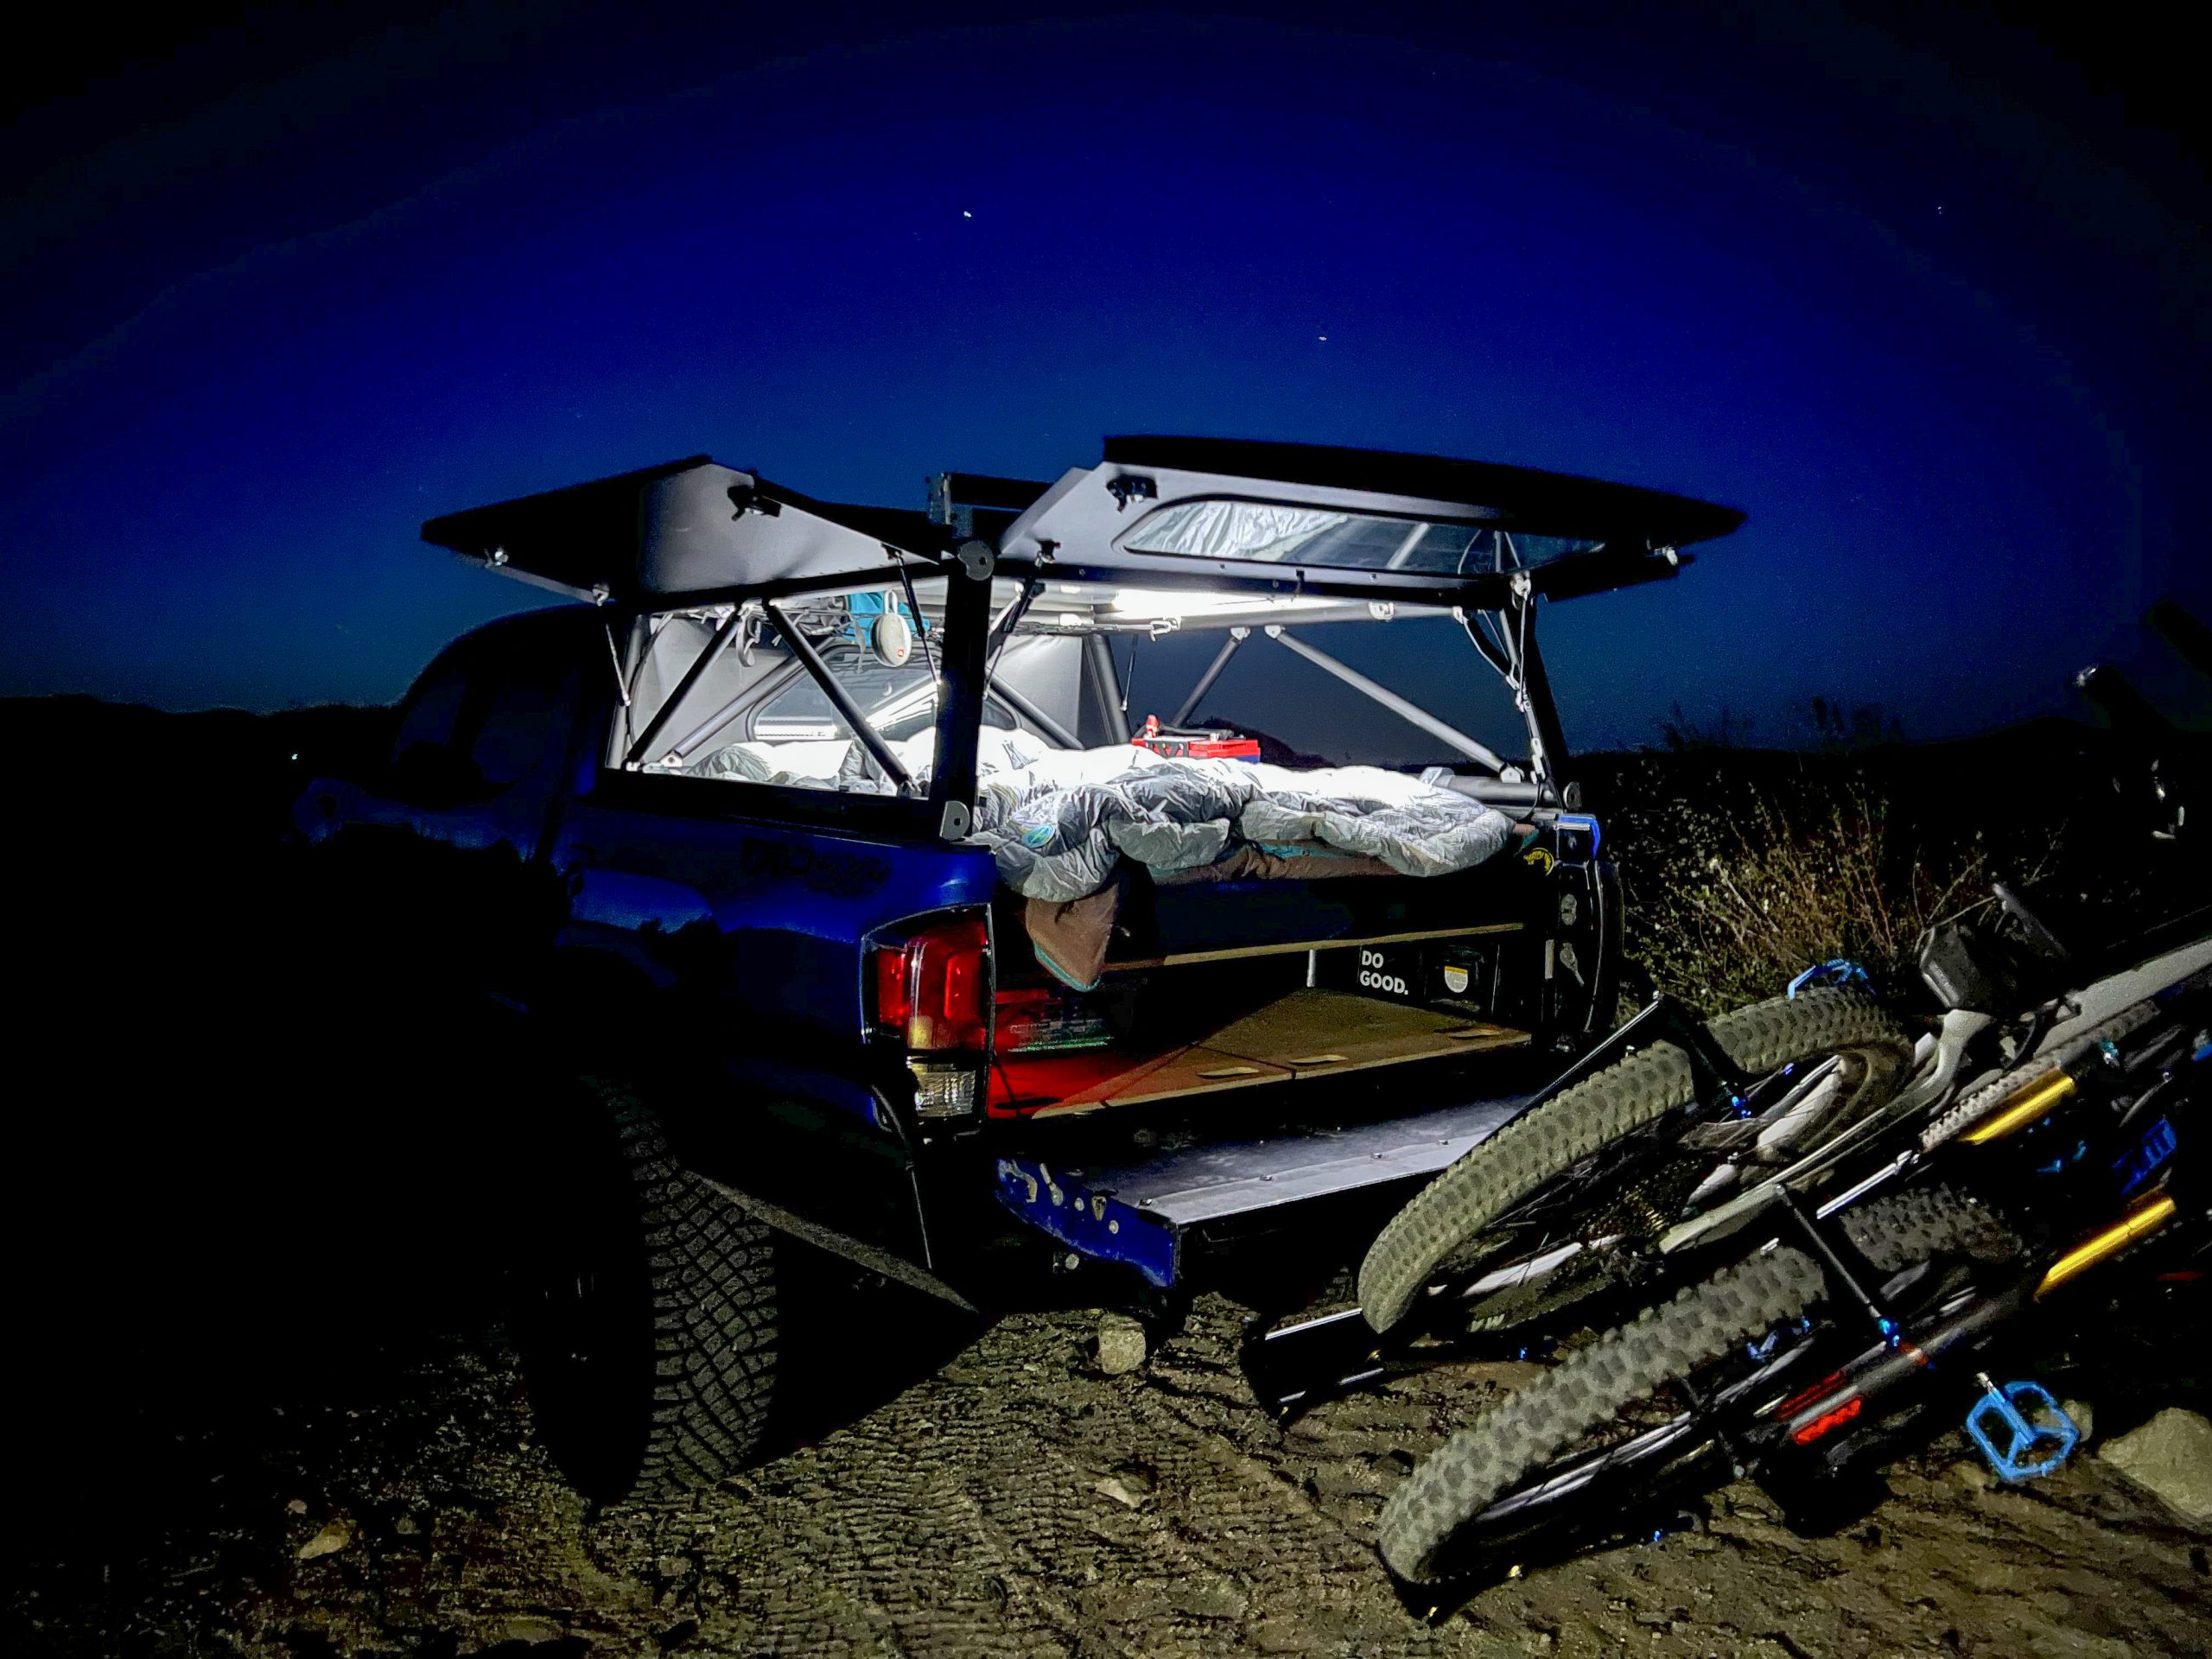
When you start outfitting your truck with power-hungry additions such as a fridge, lighting, USB outlets, a water pump, or more, you quickly realize that you need a way to power everything. Cameras, phones, and drones all eventually require more juice and you don’t want to have to turn your truck on just to recharge your devices.
So you’re ready to build out an electrical system? Great! There are three main categories of components that we want to dive into…
- Power Sources
- Charge Sources
- Load Output
Want to see more of the platform topper?
- Go Fast Camper: View Website
Table Of Contents
Power Sources
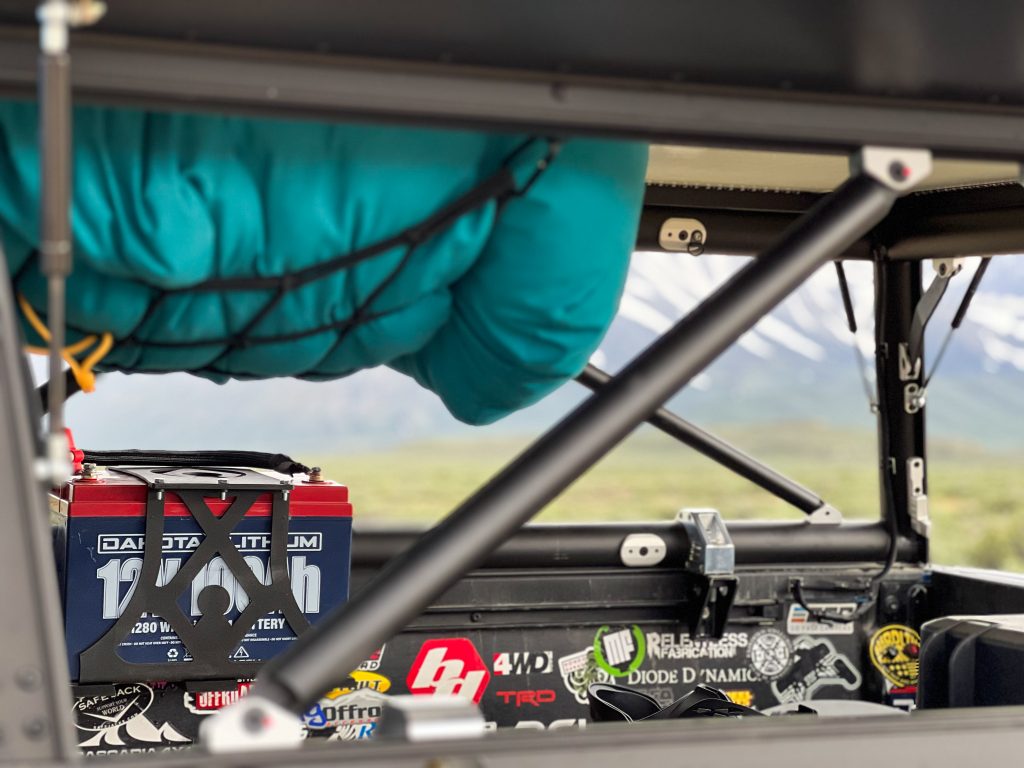
For a power source, you have a few options depending on what you need and how simple or complex of an installation you’d like to tackle. In order of complexity, you can:
- Upgrade your starter battery to one with more capacity such as an Absorption Glass Mat (AGM) battery
- Install a dual battery setup
- Purchase a portable power station such as a Jackery Explorer 500 or a Geneverse HomePower One Pro
- Build a dedicated house battery setup which is what I did (after using a portable power station for a few years)
Of course, there are pros and cons to each of these setups. I have an AGM starter battery but I prefer to keep all of the camper’s electrical components isolated from it so I don’t end up with a dead battery.
Dual battery setups are great but I didn’t go that route due to the limited space in the engine bay and the compatibility issues with some kits and Tacoma trim levels. A second battery in the stock location also gets dangerously close to the oil engine filler neck.
Power Stations
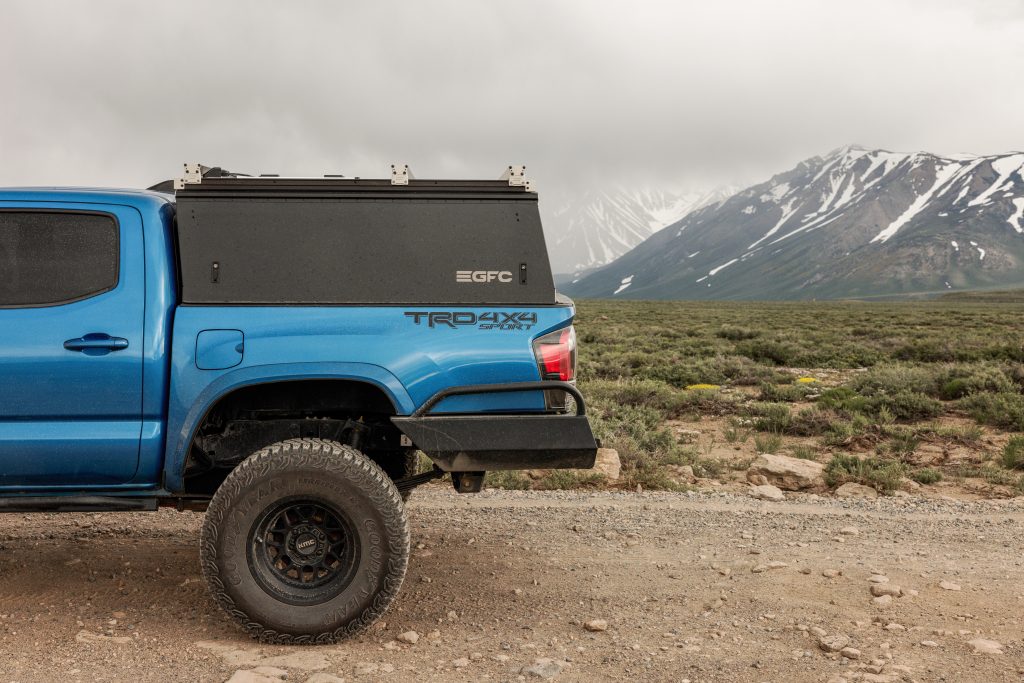
Portable power stations are a great option to start with unless you need more than a few days’ worth of power. However, most of the larger capacity models can also be charged via solar panels. This makes for a compact and comprehensive power package that’s easy to move around.
Where they fall short is in their somewhat limited capacity (20-40 Ah on average) and typically only a few output ports. They also don’t allow for more permeant or hard-wired components.
House Battery
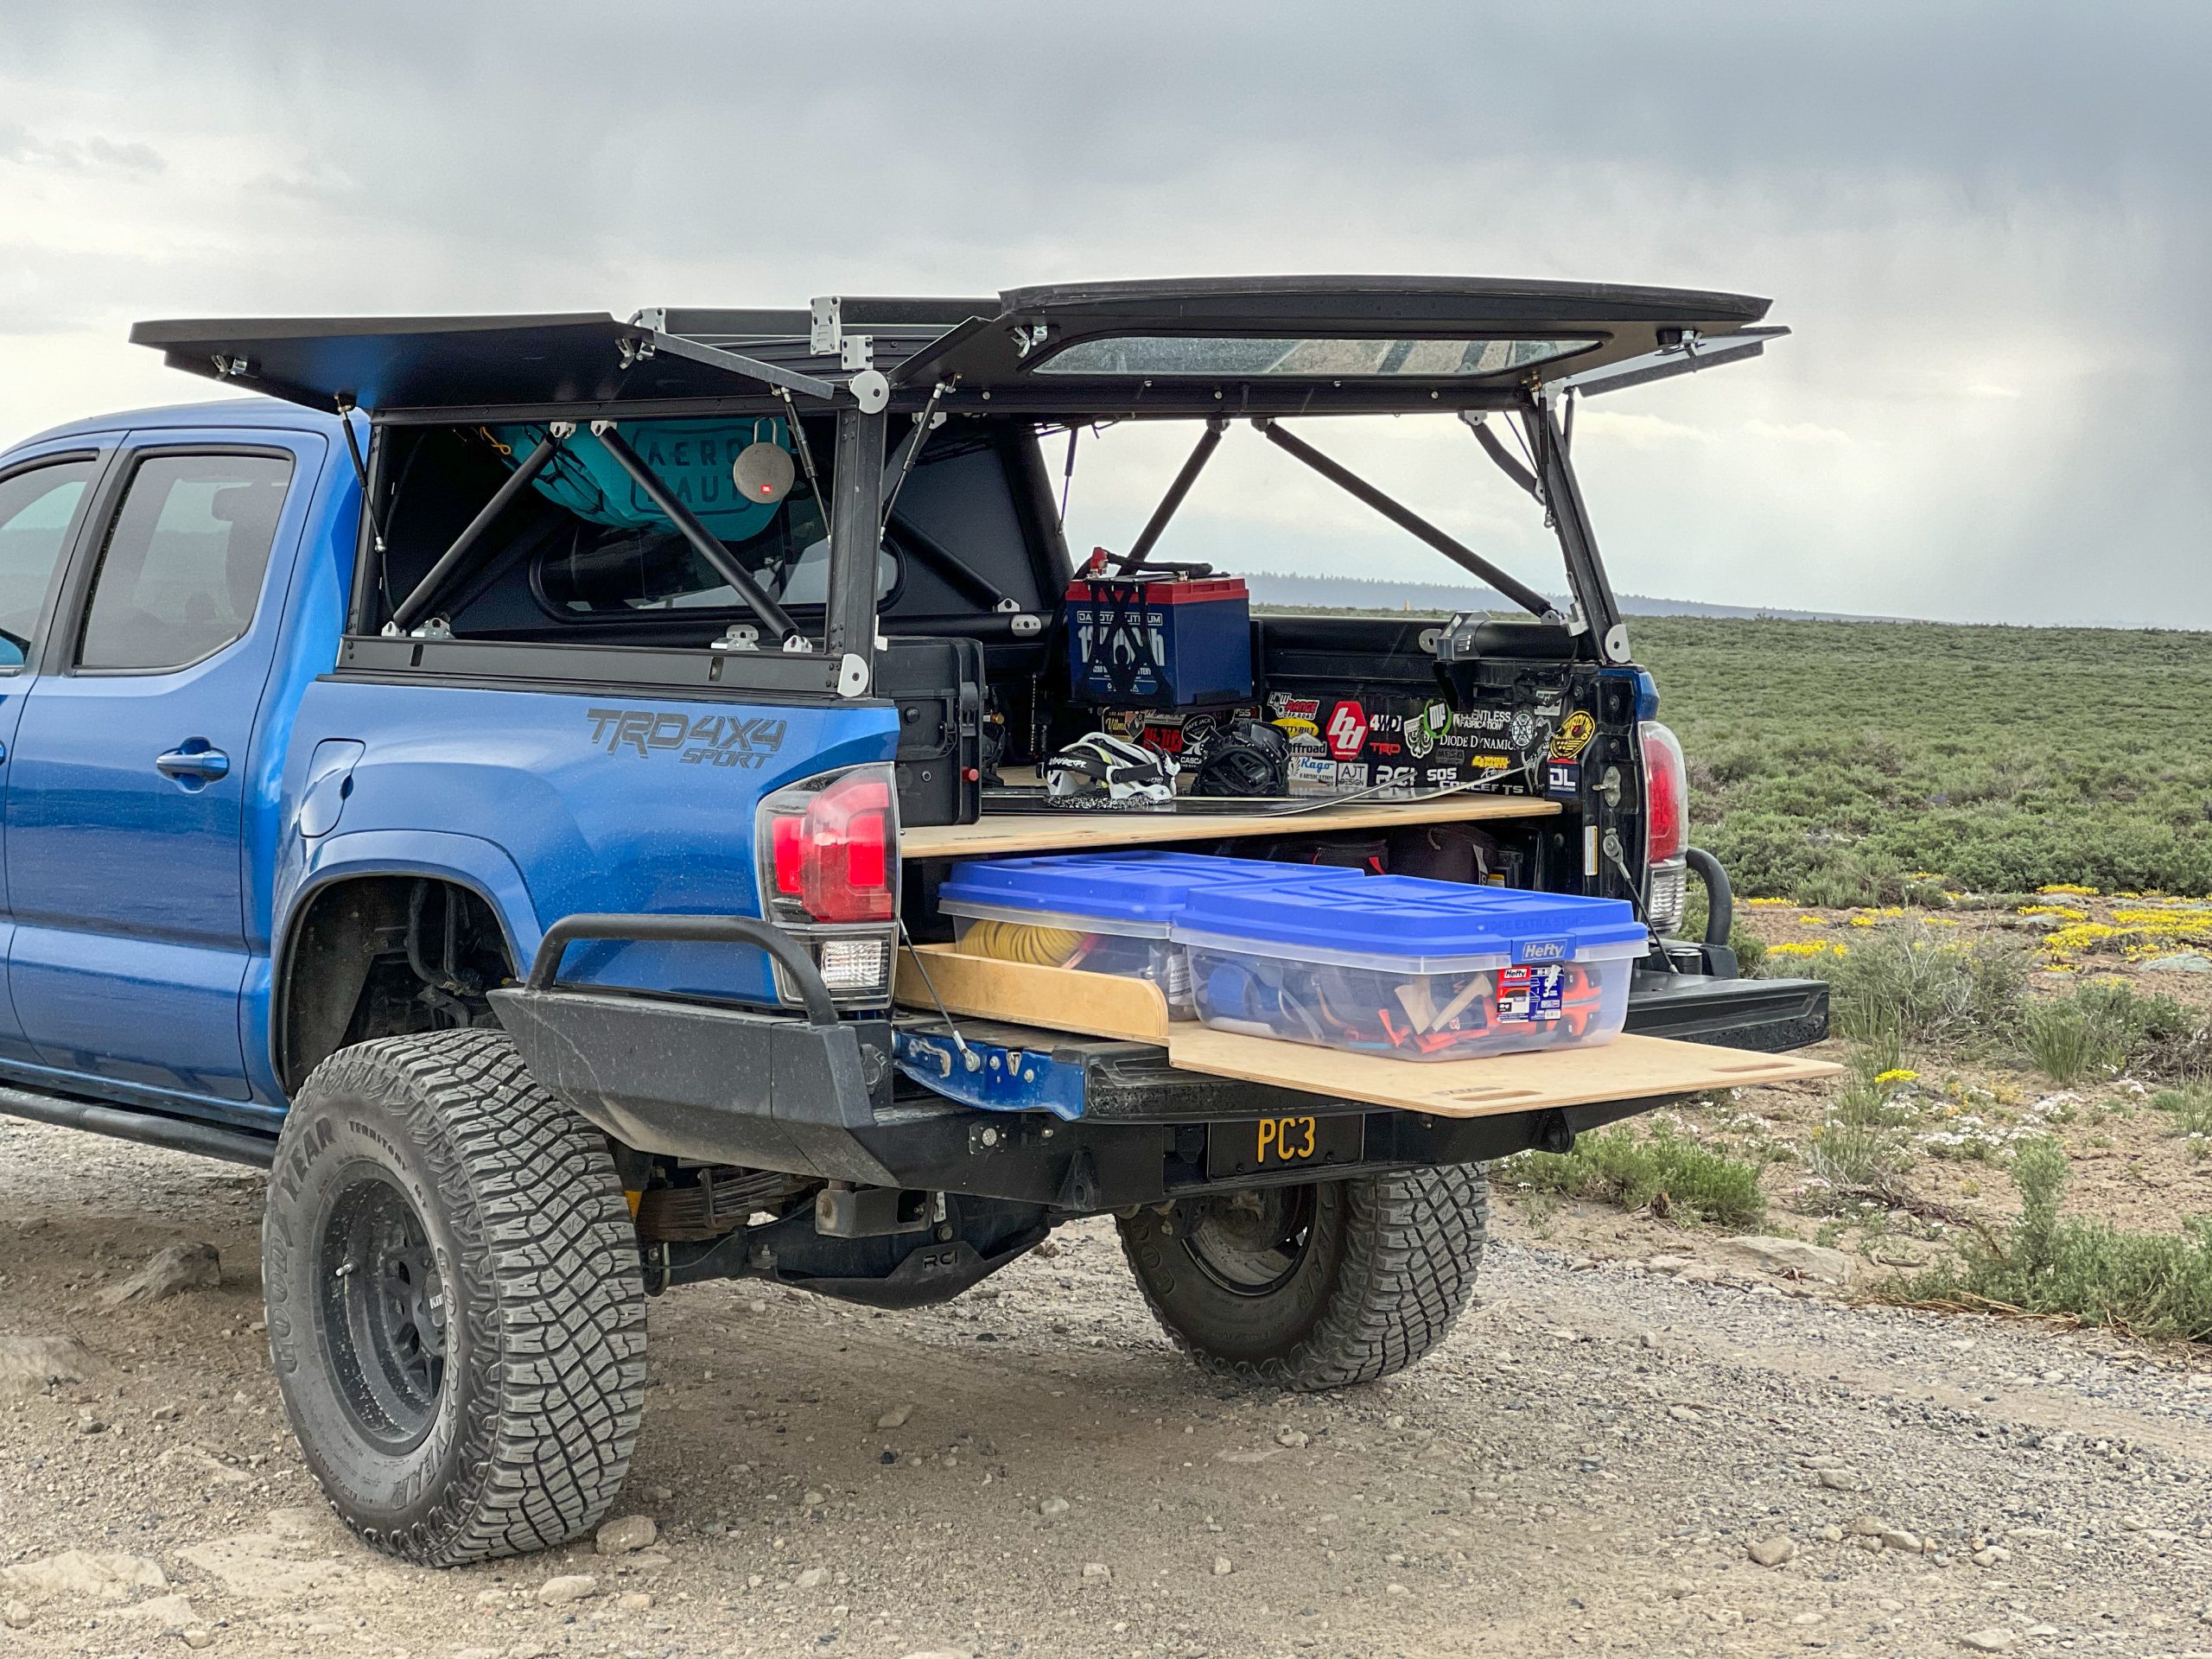
The additional battery capacity and capability are why I went with a house battery. This allows me to power everything I need and it can run almost indefinitely with only a few hours of sunlight per day.
Although a lithium battery is more expensive than a lead-acid or AGM battery, it is much lighter. You can also utilize its full capacity whereas a lead-acid or AGM battery can be damaged if drained below 50% charge. I added a battery monitor as well so that I can always see the battery’s real-time charge state.
Charging Sources
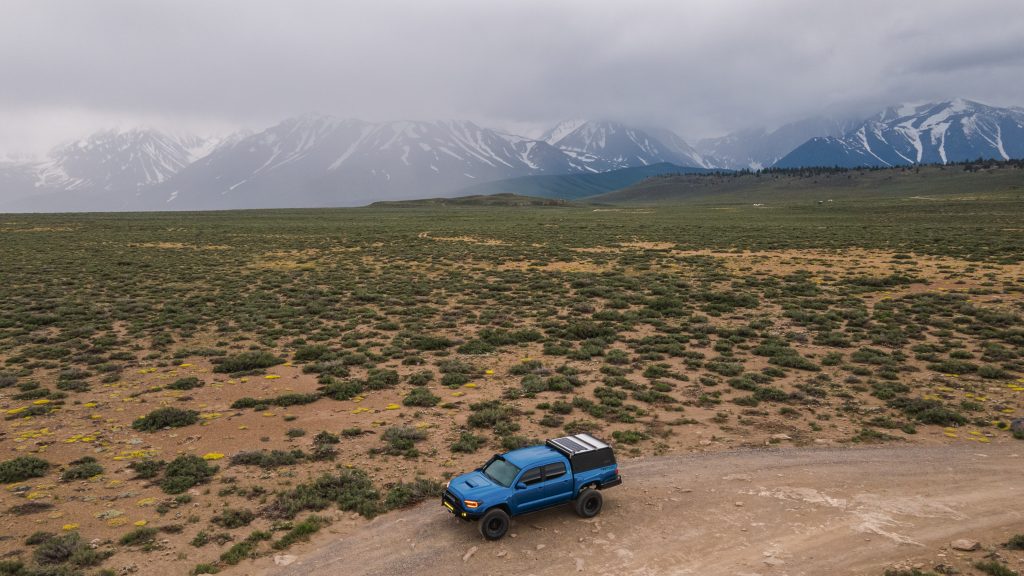
It’s paramount that you calculate how much amperage you need to pick an appropriately sized battery.
Options to recharge your battery are:
- Solar panels w/ a charge controller
- AC power w/ a shore charger
- DC power w/ a DC-to-DC charger when your truck is running via the alternator
I chose to use solar panels for simplicity. A few hours of sunlight a day is more than enough to recharge my battery back to 100%. A charge controller regulates the voltage and current profile from the solar panels to effectively recharge the battery.
Load Output
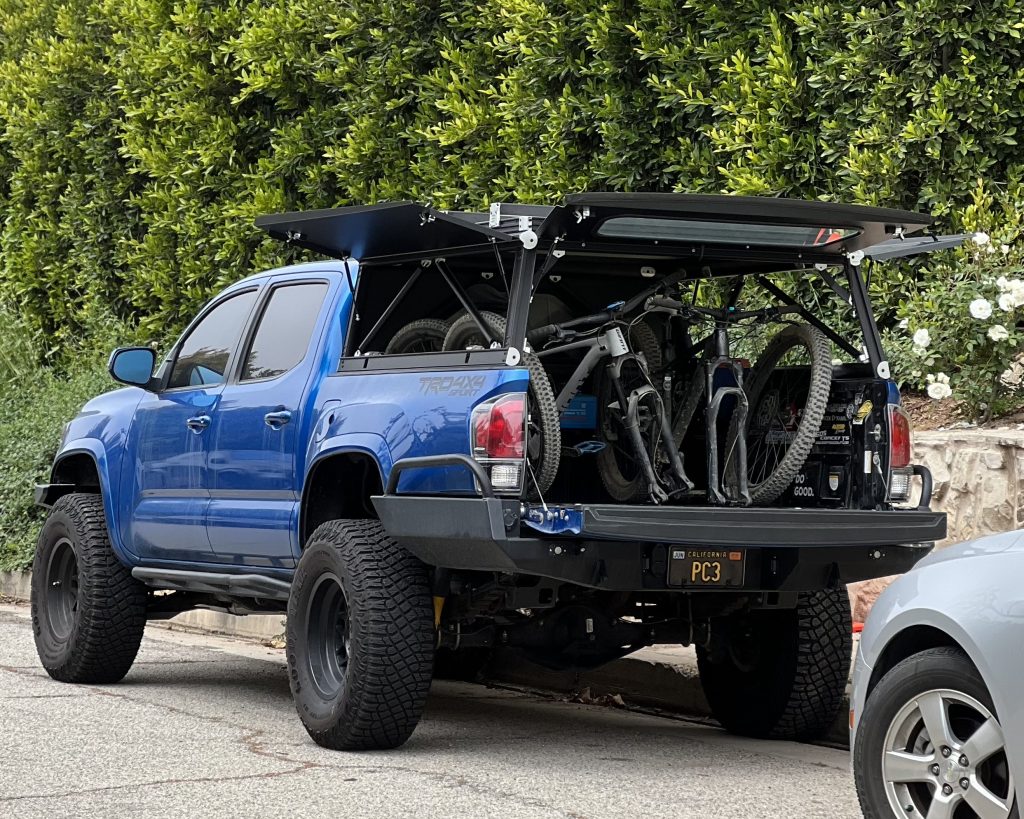
The load output is everything you are powering in your truck; fridges, water pumps, lighting, etc. The simplest way to power all of these 12V devices is to install a fuse panel that then connects to the battery.
Inverters
If you anticipate ever needing 120V AC power like what’s in your home, consider installing an inverter that converts the 12V direct current (DC) to 120V alternating current (AC). These can be useful to recharge laptops, inflate air mattresses, power small kitchen appliances, and more.
Inverters draw a large amount of current and can drain your battery quickly, so you need to budget for this when selecting your battery size. They can also be more dangerous if there are any loose connections. Before fiddling with AC power, assess your capabilities and needs.
Breakers
Breakers and fuses are the overcurrent protection that protects your truck in the event there’s too much current for the wires to handle (too much load, wires short out, etc.). These are what keep your truck from burning down in the event something unexpected happens.
I use breakers as an on/off switch since they are resettable and to isolate the major components of my system (i.e. from the solar panel to the charge controller, from the charge controller to the battery, and from the charge controller to the fuse panel).
Fuses
I use blade fuses in a fuse panel for each of the 12V components I’m powering. The fuses are not re-usable if they blow but they are cheap and replaceable. I also have terminal Marine Rated Battery Fuses (MRBFs) for the major connections of the inverter and the battery as a final level of protection.
Bus Bars
Bus bars allow you to connect multiple positives and/or negatives to the battery as part of your power distribution setup. This eliminates the need to make every connection directly to your battery terminals. You should only connect up to four connections per stud of your bus bars.
Plugs
Anderson plugs are a great way to have a disconnect if you ever want to remove a piece of the system. I use them for both the solar panel and battery so that I can remove the camper from the truck while leaving the wiring intact.
Don’t Cheap Out
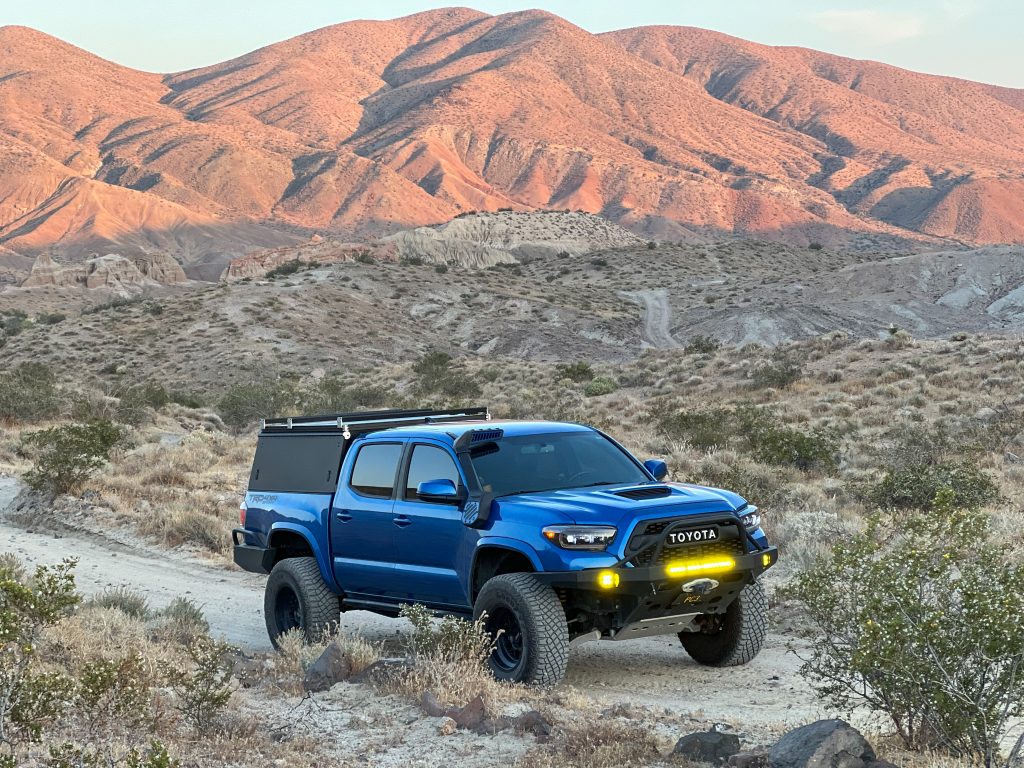
I highly recommend that you do not cheap out on electrical components, even smaller ones. Stick to major brands such as Blue Sea and avoid cheap generic ones on Amazon. A faulty connection can cause anything from frustration to a catastrophic truck fire, it is not worth it to save a few bucks.
On my truck, everything that isn’t Dakota Lithium or Victron Energy is from Blue Sea. Their hardware is designed for harsh sea environments, so you know it’ll survive whatever you can throw at it.
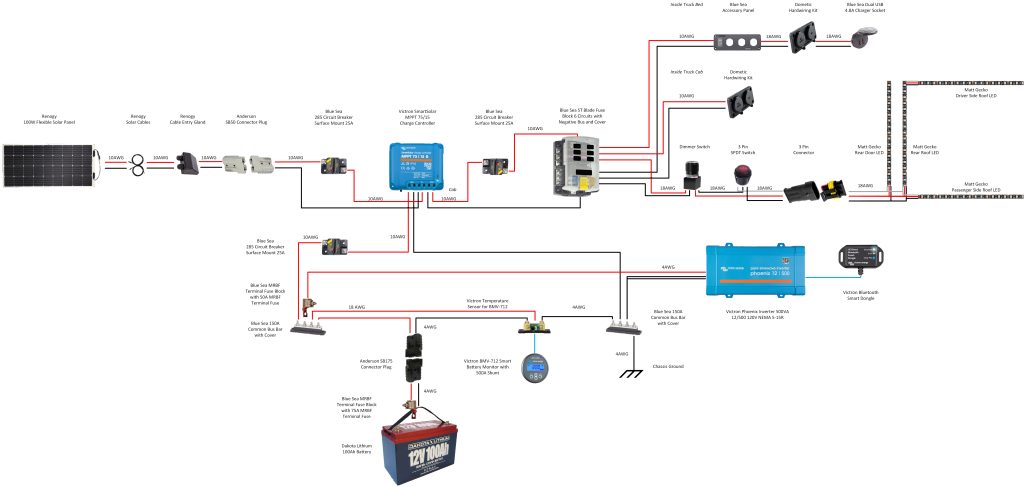
My Electrical Buildout
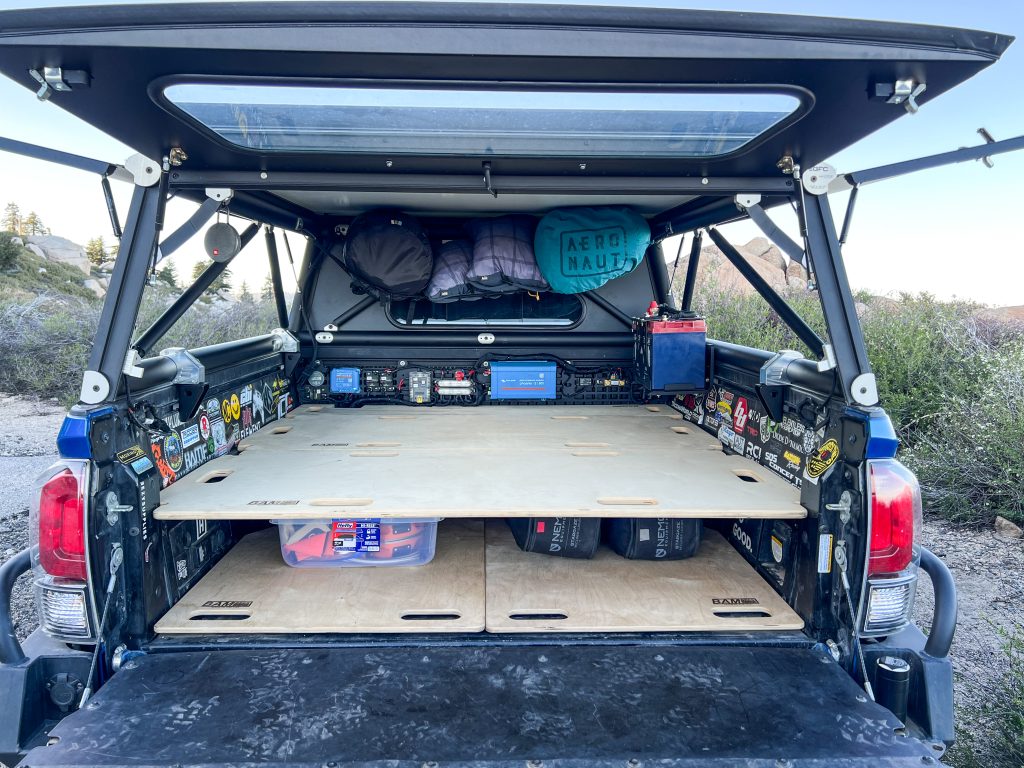
Following the general guidelines above, I jumped into designing my topper electrical system. The main tools you need are listed below for working on electrical systems.
Tools Required:
- Wire cutters/strippers
- Large wire cutters
- Large wire strippers
- Wire crimpers
- Large hydraulic crimpers
- Heat gun
- Multimeter
Parts Used:
- Battery
- Dakota Lithium 100Ah Battery (code PC3COYOTE5 for a discount)
- Modified Artec Industries battery box with DIY countertop brackets and hardware to secure to bed rails
- Solar Panel
- Component Mounting
- Modified Cali Raised MOLLE Panel to mount everything
- Victron Smart Components
- Blue Sea Components
- 285 Circuit Breaker Surface Mount 25A
- ST Blade Fuse Block 6 Circuits with Negative Bus Bar and Cover
- 150A Common Bus Bars with Covers
- MRBF Terminal Fuse Blocks with 50A Terminal Fuse for Inverter and 75A Terminal Fuse for Battery
- Dual USB 4.8A Charger Socket
- Accessory Panel with switch and 3 openings
- Wiring
- 4AWG positive/negative wire for main connections (to/from battery, to chassis ground, to/from the inverter, etc.)
- 10AWG positive/negative wire for large wiring runs (from solar panels, to/from fuse panels, to 12V plugs, etc.)
- 18AWG positive/negative wire for individual components (lighting, temperature sensor, etc.)
- Protecting Wires
- Split loom
- Wire sheathing
- Heat shrink tubing
- Securing wires
- Zip ties
- Zip tie mounts
- Electrical tape
- Connections
- Anderson SB50 connector plugs for solar panel
- Anderson SB175 connector plugs for battery
- Heat shrink butt connectors
- Heat shrink ring terminals
- Lug terminals
- 3-pin connectors
- 2-pin connectors
Step 1. Mounting Major Components
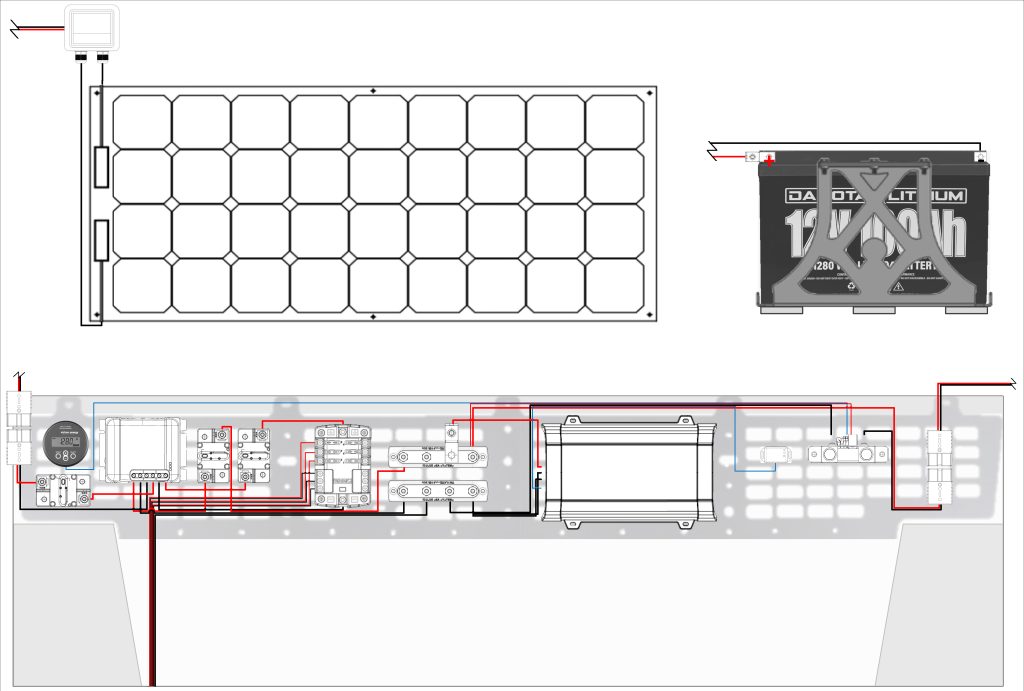
For my setup, all of the electrical components are bolted to a Cali Raised MOLLE panel which bolts to the front of the truck bed. At the top, it bolts to the front bed rail. At the bottom, it secures to the bed bolts. The front bed rail comes stock on second-generation Tacomas but needs to be purchased for 3rd Gens.
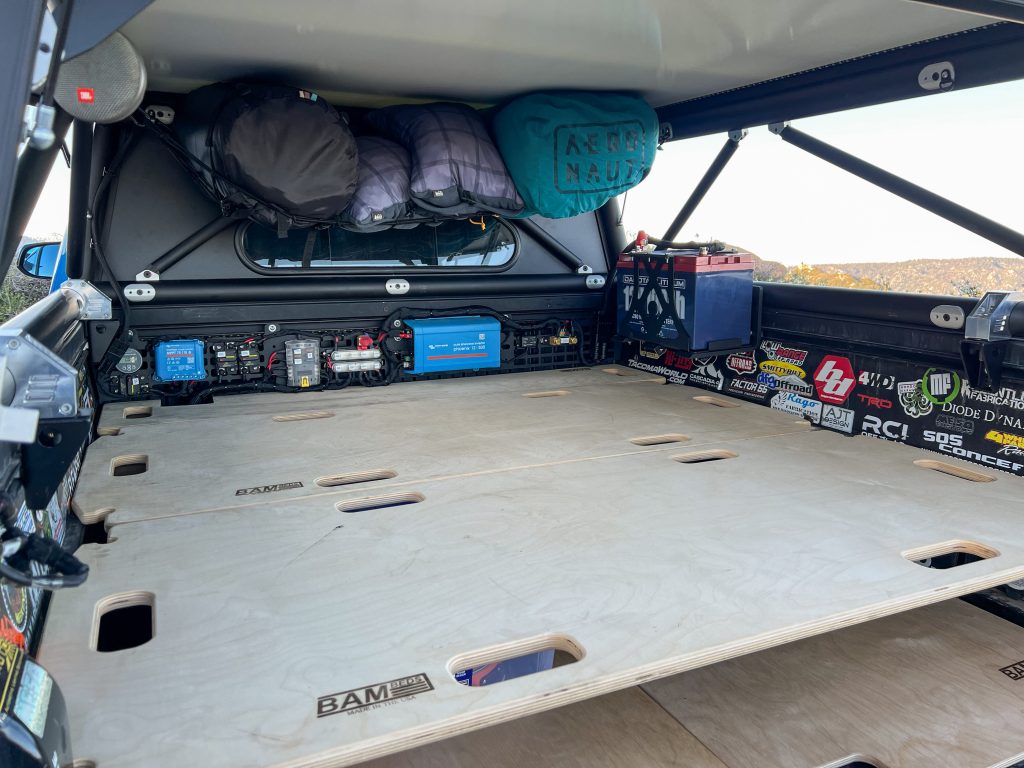
After a few years of using this panel, I decided to cut off the lower half to allow me to use the BamBeds platforms. I’ve had no issues with this modification.
Step 2. Solar Panel & Charge Controller
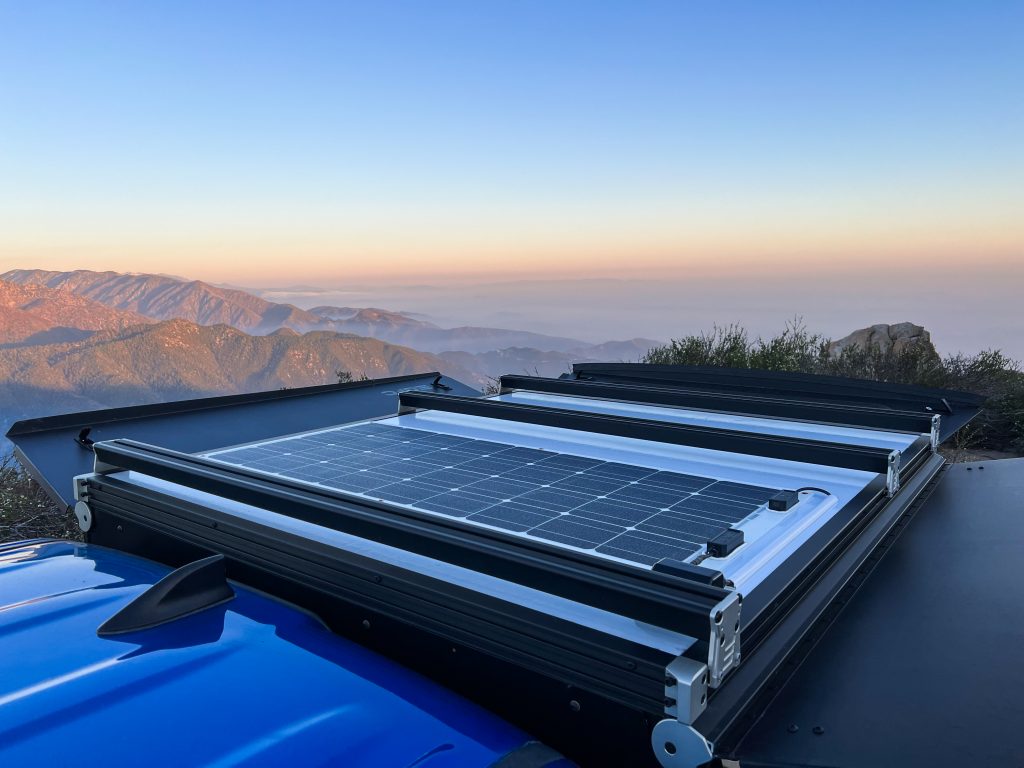
For solar power, I’m using a Renogy 100W flexible solar panel which keeps the battery topped off. The flexible panels easily attach with 3M VHB tape.

A cable entry gland allows for the cables to easily pass into the truck bed and provides a waterproof seal. I sealed the cable entry gland with Sikaflex-252 but you can also use 3M 4000 UV.
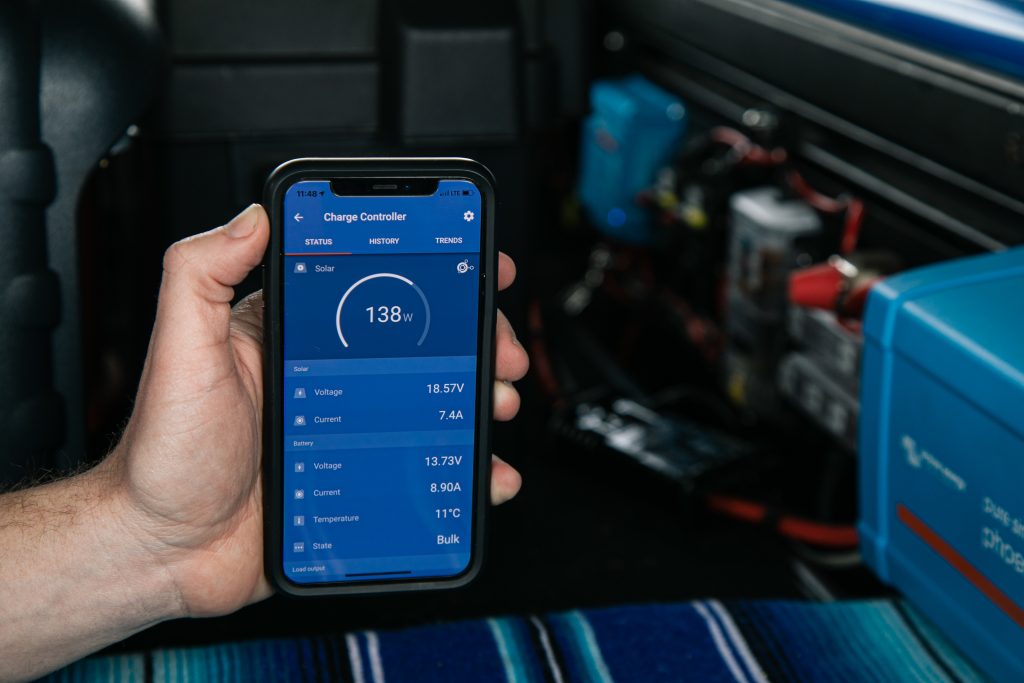
This is connected to the Victron SmartSolar MPPT 75/15 Charge Controller which supports up to 75V and 15A capacity. Above shows when I previously used a 175W Renogy solar panel on my Go Fast Camper Platform Camper.
Step 3. Battery & Charge Controller
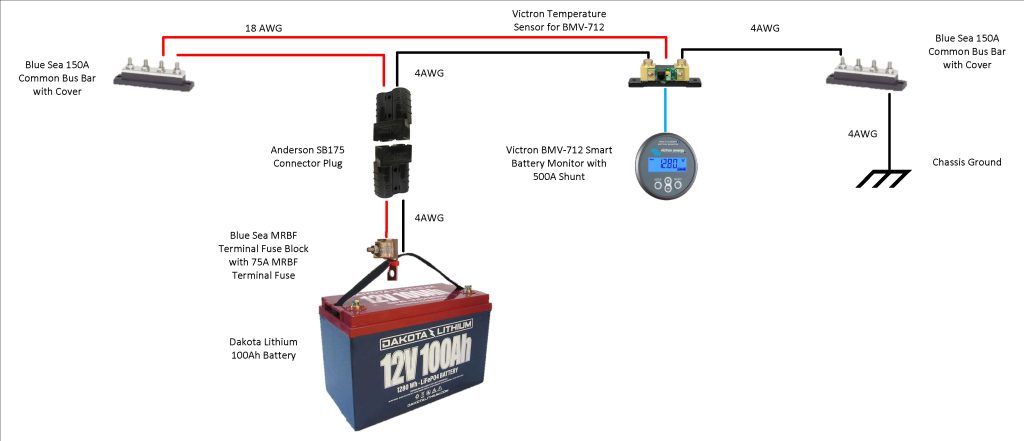
I went with a Dakota Lithium 100Ah battery as the heart of my system due to its low price, class-leading 11-year warranty, and highly functioning design. This battery has twice the power, half the weight, and lasts four times longer than a lead-acid battery. 100 Amp hours of capacity can last me a weekend without recharging but stays indefinitely topped off with the solar panel.
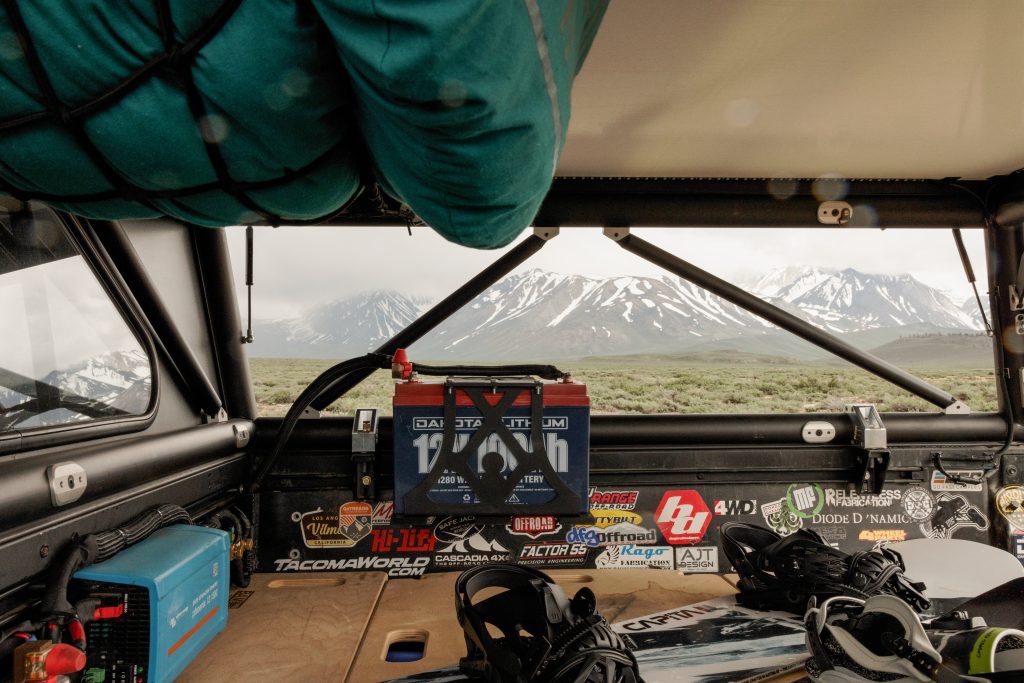
I modified an Artec Industries battery box to mount the battery to the bed rails. I also added some generic heavy-duty countertop brackets which I drilled to mount to the battery box and bed rails. With three steel brackets, the battery feels well-supported. The brackets rest against the GFC frame as well for added rigidity.
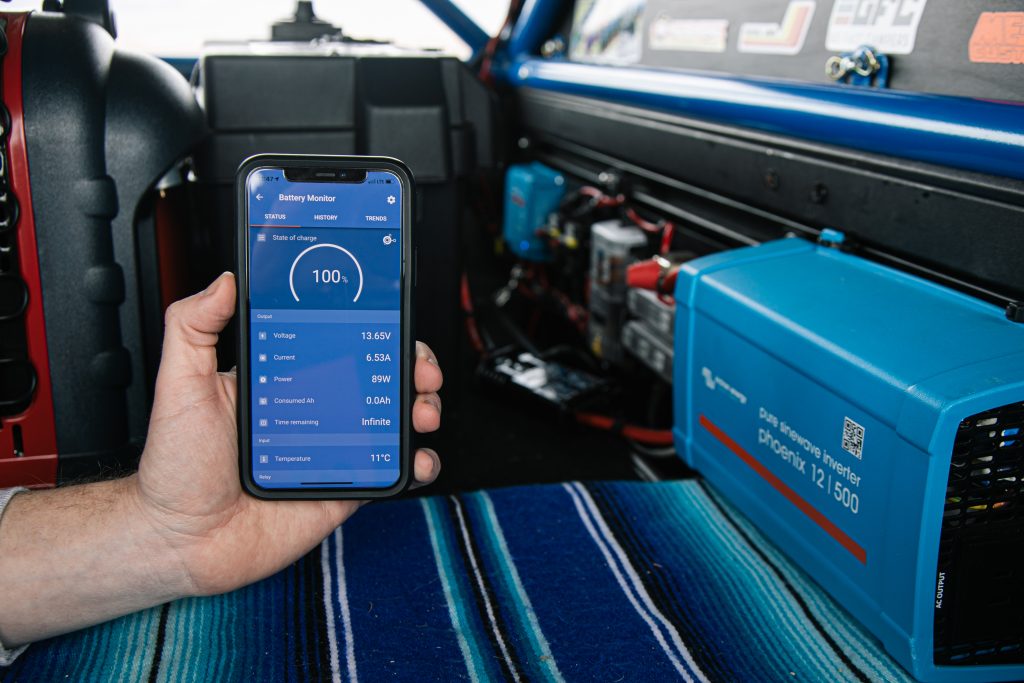
If the Dakota Lithium battery is the heart of the system, the Victron BMV-712 battery monitor is the brain. This allows me to fully monitor all loads into and out of the battery via Bluetooth to an iPhone app.
I can see the current coming in from the sun, the current being used on my devices, the battery state of charge, and the inverter status either from my driver seat or somewhere away from the truck if at a campsite.
Step 4. Inverter & Bus Bars

The next step is to connect the inverter to the bus bars and a terminal fuse is added for the positive side. For the negative side, a wire is also run to the truck frame under the bed for a chassis ground.
Step 5. Fuse Panel & Charge Controller
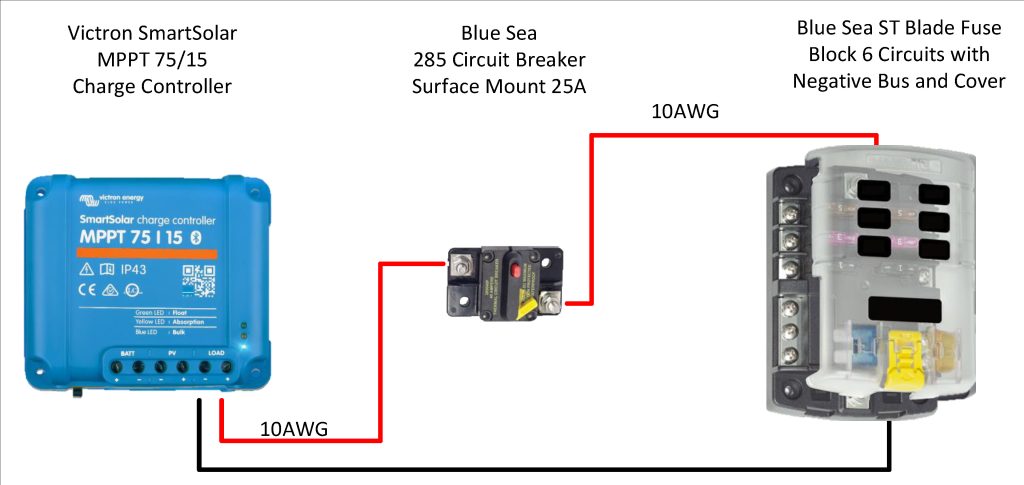
A very nice feature of this charge controller is that it has a Load Output connection.
As long as my overall current draw is less than 15A, I can connect my fuse panel directly to the charge controller as opposed to straight to the bus bar. This gives me additional monitoring capabilities.
Step 6. Connect Accessories To Fuse Panel
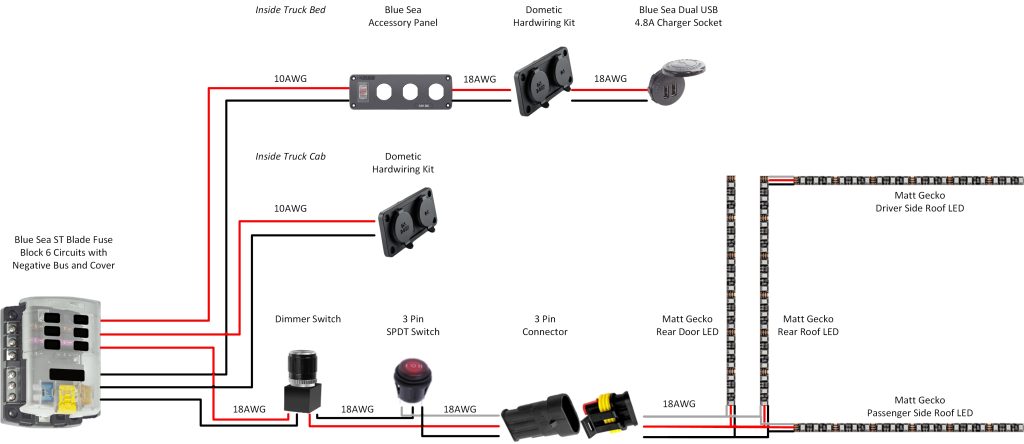
Lastly, we’re ready to connect any accessories to the fuse panel. This may vary depending on what you intend to power.
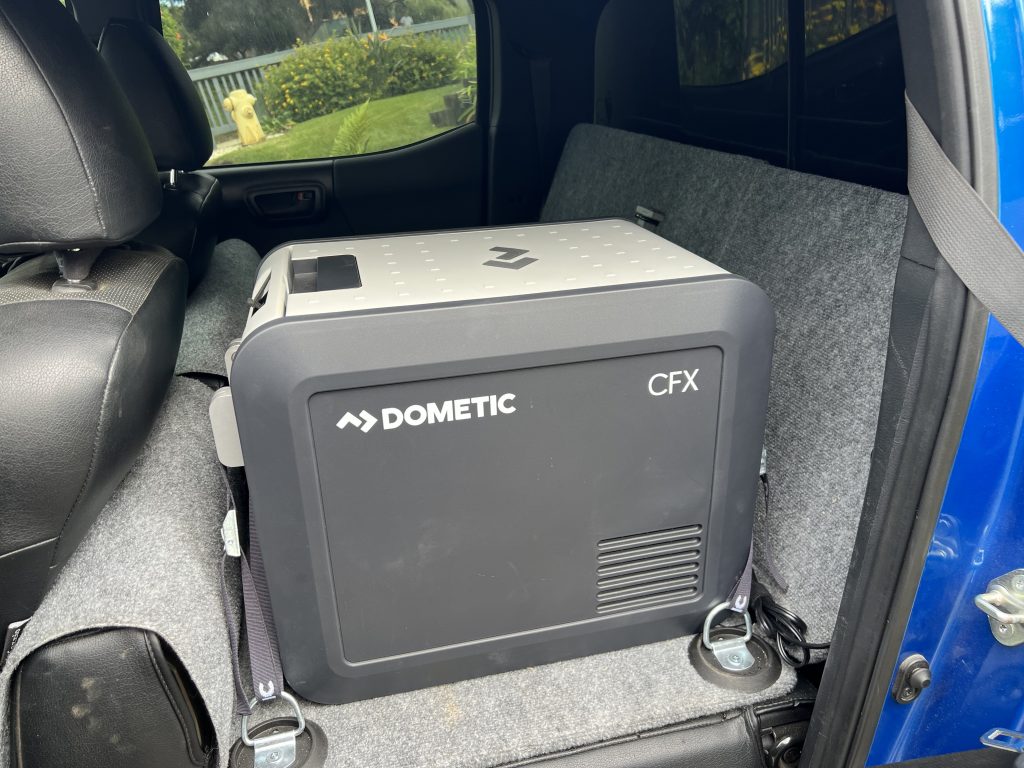
One of the main items I power is my Dometic CFX3 25 fridge which lives on a homemade platform in my backseat. It is powered by the Dometic hardwire kit which in turn gets its power from the fuse panel of this electrical system.
I have the Dometic hardwire kit installed both in the truck bed and also in the truck cab behind the backseat to give me options where I run the fridge. Wires are run under the truck bed and into the cab for the rear seat location.
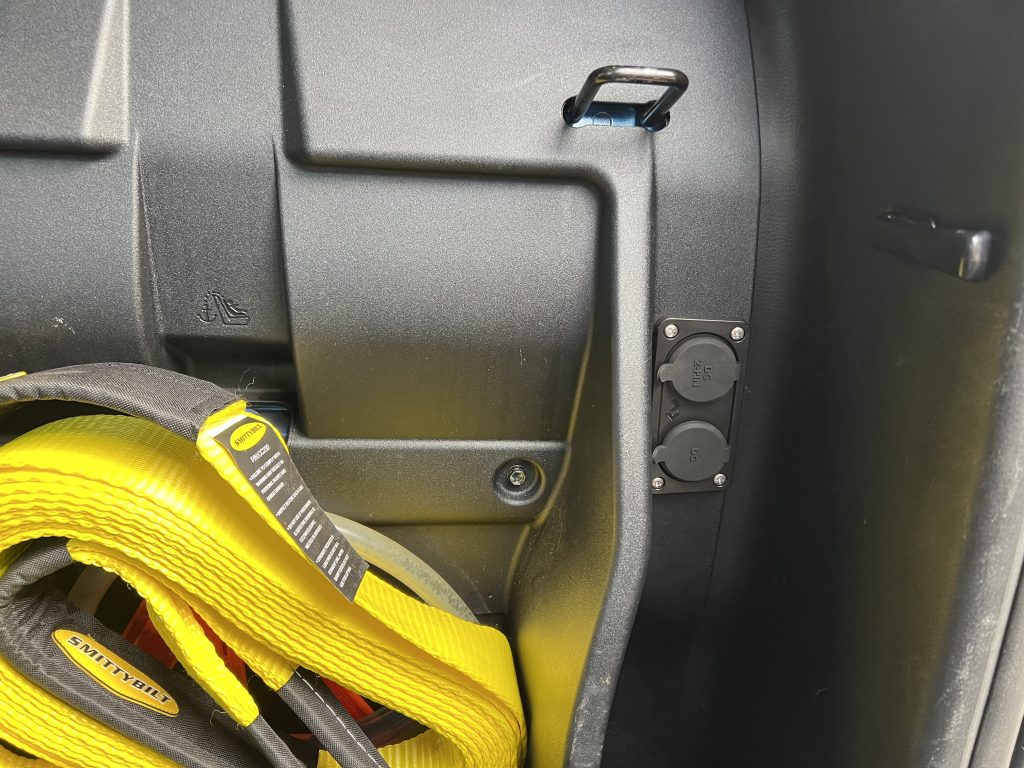
In addition to the Dometic hardwiring kit in the truck bed, I’ve also installed a Blue Sea dual USB socket to allow us to recharge our phones and cameras. All of this is installed in a Blue Sea accessory panel tucked nicely into the driver-side bed cubby.
Final Thoughts
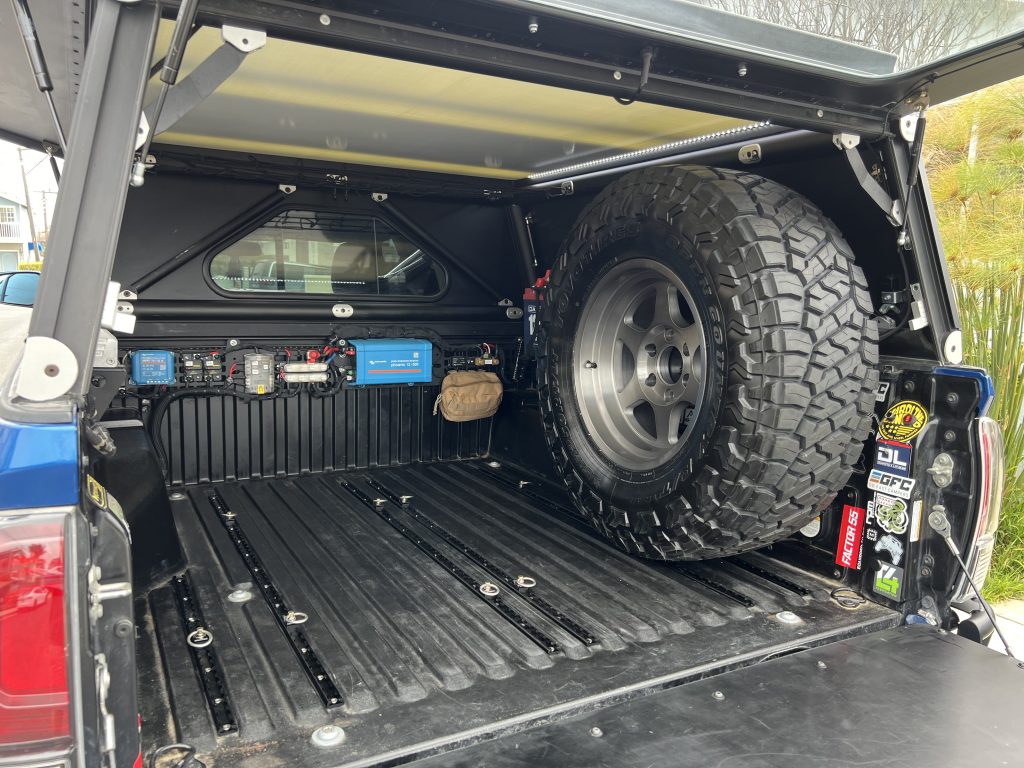
Which setup you go with is really depends on your use cases and what you plan to power. If you are looking for a cheap, ready out of the box, portable solution, a power station is probably the best option for you. On the other hand, if customization, endless power, and additional capability to power multiple hardwired and portable accessories is what you are after, then a more permanent solution like I am running is a better choice.
I’ve modified my electrical system and removed or added things needing power over the last four and a half years but the major elements of the system has remained unchanged including the Dakota Lithium 100 Ah battery, Renogy solar panels, Victron smart accessories, and Blue Sea components. I am about to hit the five year mark with this battery and system and it is still going strong with zero issues. Are there cheaper options available for each of the subsystems of my setup? Of course, there are. That being said, electrical is one of the last places I’d recommend going the cheapest route as reliability is critical when you’re off the grid and the dependability of this system can truly become a safety hazard for you and your vehicle if not done properly.
This setup may seem like overkill for some but it has been extremely reliable and useful while camping and exploring – both in our previous Go Fast Camper Platform Camper and now in our current Go Fast Camper Platform Topper. From powering our Dometic fridge, to providing power to our topper’s lighting, to recharging our phones and camera batteries, to powering a friend’s laptop or inflatable mattress, this system has checked all of our boxes and has never let us down.
Questions on the setup? Let us know in the comments below!


One important thing is to make sure your fuses are actually rated for what size they say they are. A lot of Amazon and Chinese fuses will say 5amp but will the exact same size as a 20amp fuze. They won’t blow when the circuit exceeds the rating and can lead some fires 😱
Dope AF
Dang! Well done dude. This post is crazy detailed. I don’t love electrical work, so this guide is helpful. Keep it up!