

In a previous article, I broke down the Hutch Tents Daly 2 review.
This article will serve as a detailed install and how-to guide to walk you through installing this RTT and how to set it up properly.
Table Of Contents
Hardware

The Daly 2 comes with absolutely everything you need to install the tent on your own, without having to buy additional tools.
This includes a small wrench that will work for the two different sizes of nuts/bolts used in the installation. Above, you can see all the hardware that is included with your tent.
Step 1. Position Tent

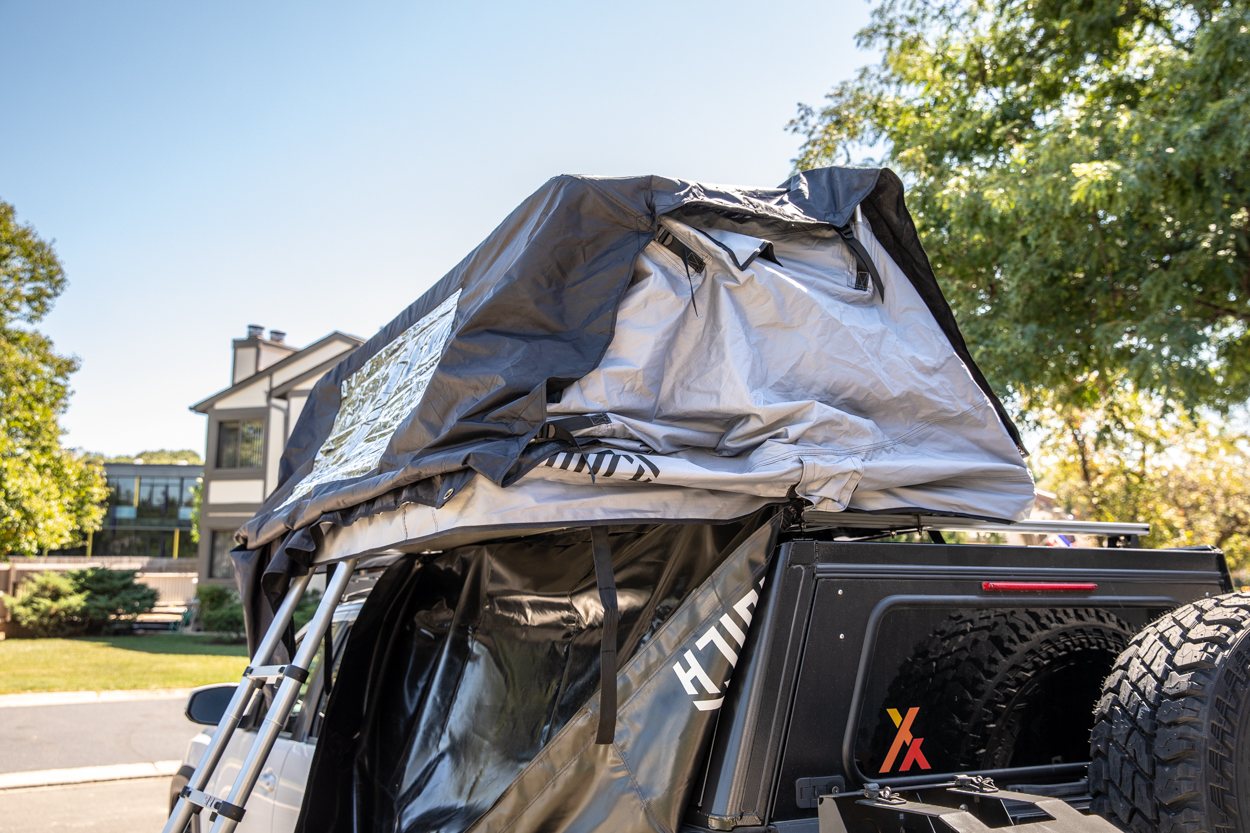
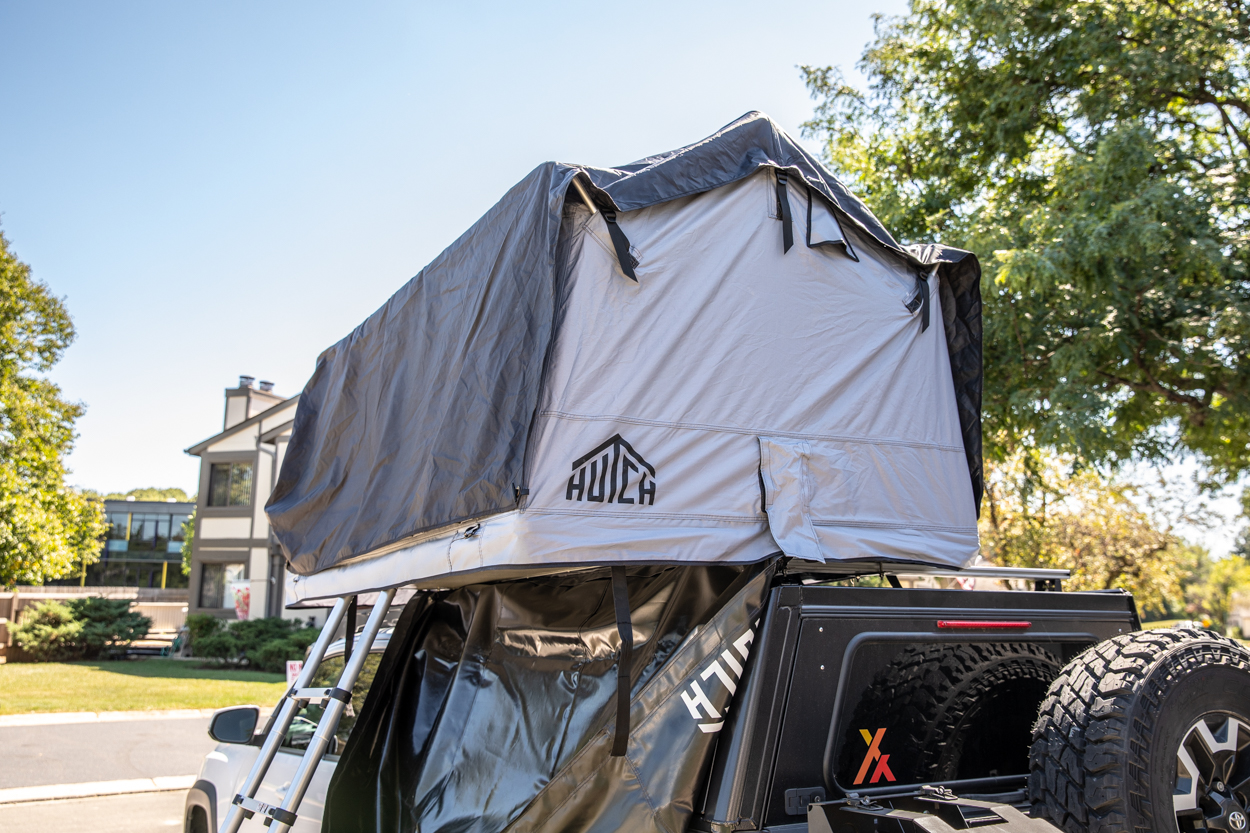
The slim design of the Daly 2 allows you some freedom in determining how you would like to mount this tent.
If you’re not looking to save space up top, I would recommend mounting it in the middle of your roof rack. This allows you to keep the weight evenly distributed. However, if you’re looking to maximize your rooftop storage, mounting it offset to one side, as seen above, is your best option.
Once you’ve lifted the tent onto your vehicle, you can start the mounting process.
Step 2. Remove Caps

These mounting rails, located on the bottom of the tent, serve as tracks where you’ll be sliding in the mounting hardware.
The first step here is to remove the plastic cap. It should be fairly easy to pry out with your hands, exposing the track inside.
Step 3. Rail Hardware
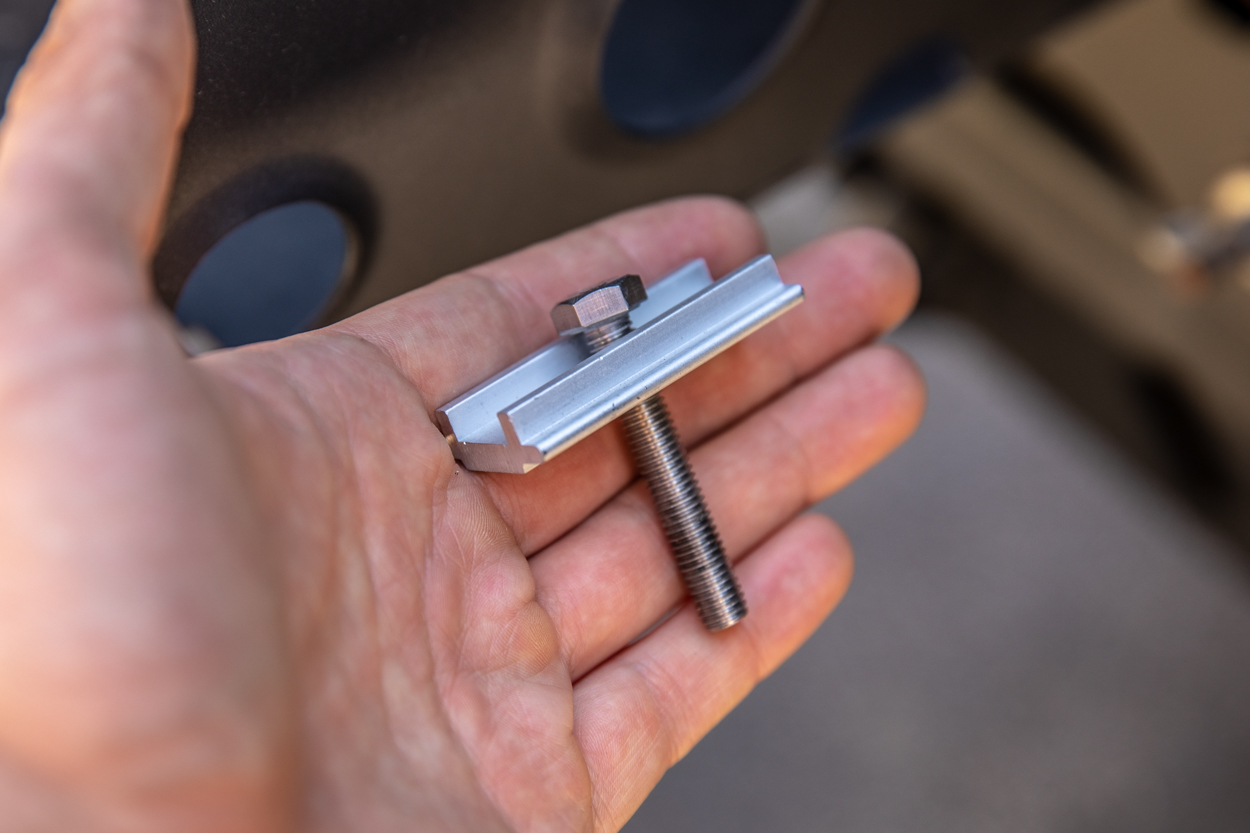
The tent mounts to your roof rack using eight of the in-channel metal pieces with the eight longest bolts found in the supplied hardware.
To assemble the two above mentioned pieces, insert the bolt into the formed metal piece. The bolt must be inserted in the orientation seen above, as the bolt head needs to be held in place by the slot seen towards the top. Otherwise, it will spin as you try to tighten down the provided nut at the other end. This unit will now be slid into the exposed track from the step above.

Above, you can see how the assembled piece slides into the mounting rails. There is only one way to install this part, so you don’t need to worry about doing so incorrectly.
This step is very simple and should not take very long. You’ll need to slide four of these into each rail.

Two of the assembled pieces are used in conjunction, on opposite sides of the roof rack crossbar you’ll be mounting the tent to. This configuration is pictured above.
Step 4. Secure Bolts

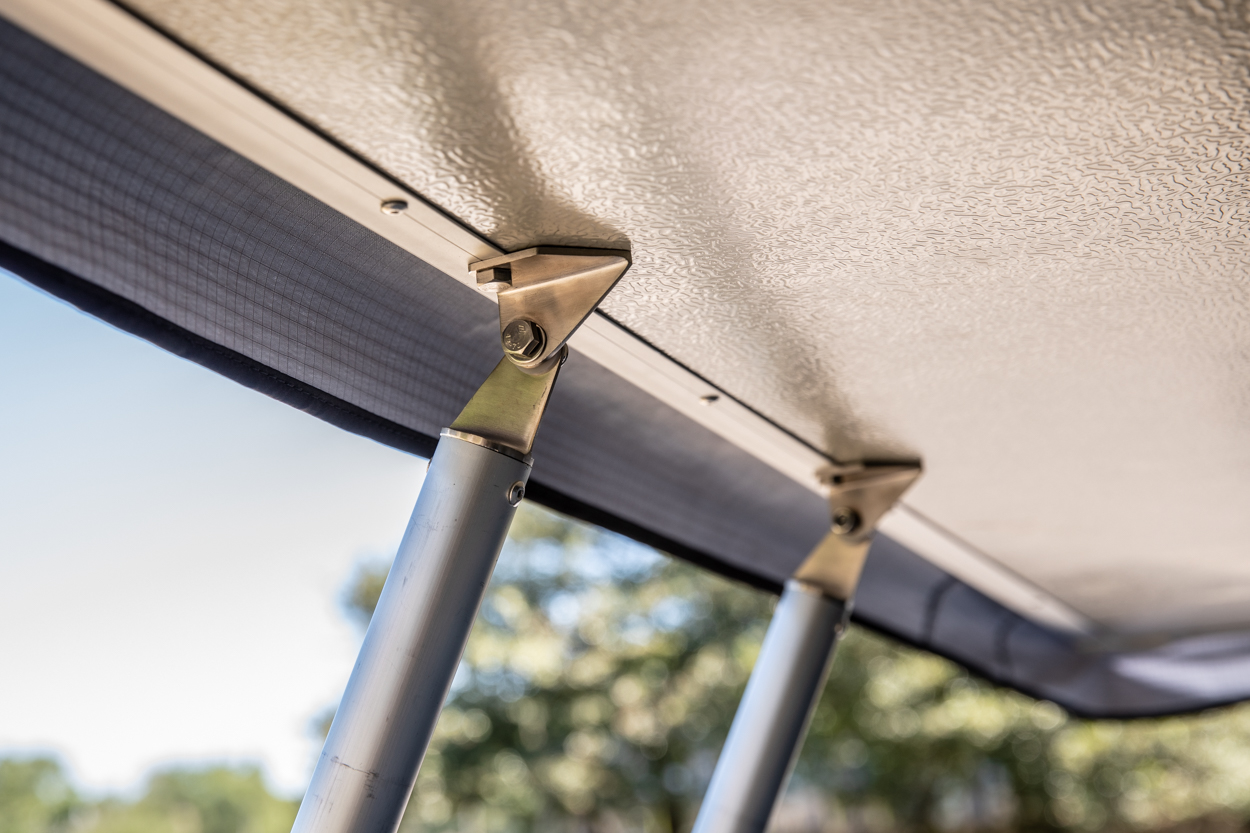
The final step in mounting the tent to your roof rack is to grab the four long metal support pieces, insert the mounting hardware through the holes, and add a nut and washer to the bottom side.
You can see the mounting point above. I did overtighten the bolts a bit, as you can see, the metal plate is a bit bent. I wasn’t worried about bending the plates and wanted to ensure the tent was securely mounted. Likely, you don’t need to tighten them this much, I just wanted to be safe.
Step 5. Removing Cover

Although the tent cover is secured with a zipper, the Daly 2 has 4 straps which ensure that the cover is not flapping in the wind.
To be able to take off the cover, first remove these straps.

Next, locate the zipper on the bottom and unzip the entire cover.
Once, you’ve done this, you’ll be able to take the cover off. The cover is attached on one side of the tent to a narrow channel. Once the cover is removed, it simply hangs off the side of the tent.
Step 6. Undo Straps

On the ends of the tent, you’ll see some Velcro straps.
These straps help to keep the tent tightly closed so the cover is easy to take on and off. Undo these straps, they’ll dangle off the side of the tent once removed.
Step 7. Open & Unfold

When you first open the tent, you’ll find the ladder and rain fly poles inside.
Crawl up into the tent and remove these. You’ll need to install them shortly.

Above, you can see the removed rain fly poles and the telescopic ladder.
When you first open the tent, it should look as it does above, just without the ladder.
Part of what makes this tent so compact is the ability to extend the poles inside to open the tent to its full dimensions.
As you might have noticed, the ladder has already been attached to the tent. The following steps will outline how to attach the ladder and its associated hardware.
Step 8. Install Ladder

Another reason the Daly 2 is so compact is that the ladder is stored inside the tent.
The ladder must be attached every time you deploy the tent. The mounting points are permanently installed, but the ladder itself must come on and off. The process is relatively easy. As far as the brackets go, you can do this portion before you install the tent on the roof, or after. Whatever is easier for you.
Above, you can see two mounting holes, which are covered with stickers when you first open the tent. This image is from the outside of the tent, where the mounts will attach. Remove the stickers before proceeding. There are two points that the ladder mounts, so, therefore, there are four holes in total.

The image above shows the same holes as above in the previous image, just on the inside of the tent.

The mounting brackets for the ladder attach as seen above. For this portion, for each bracket, you’ll need the bracket, and two of the shorter bolts (the eight long ones were used to attach the tent), two washers and two nuts.
If you install these incorrectly, they will hang over the edge of the tent. The proper orientation will have the narrower part of the mount pointing towards the bulk of the tent, not away.

The above image shows the inside of the tent, where the brackets are mounted.

Once the bracket is mounted. It’s time to attach the ladder. Above, you can see the orientation of the nuts and bolts that mount the ladder to its bracket.
There is no set way to place the hardware, as long as the plastic washers are placed between the ladder and the bracket, to avoid excessive contact between metal parts.
In the image above, you can see the proper orientation and the finished ladder install.
Step 9. Deploy Supports

Now that you’ve opened the tent and attached the ladder, you can move onto the next step.
The supports for the frame of the tent are collapsible and held in place with pressure latches. To fully open the tent, undo the latches and push up on the framework. Once you have the framework fully extended, lock the pressure latch closed. There are 3 main aluminum frame tubes which extend to maximize interior space.
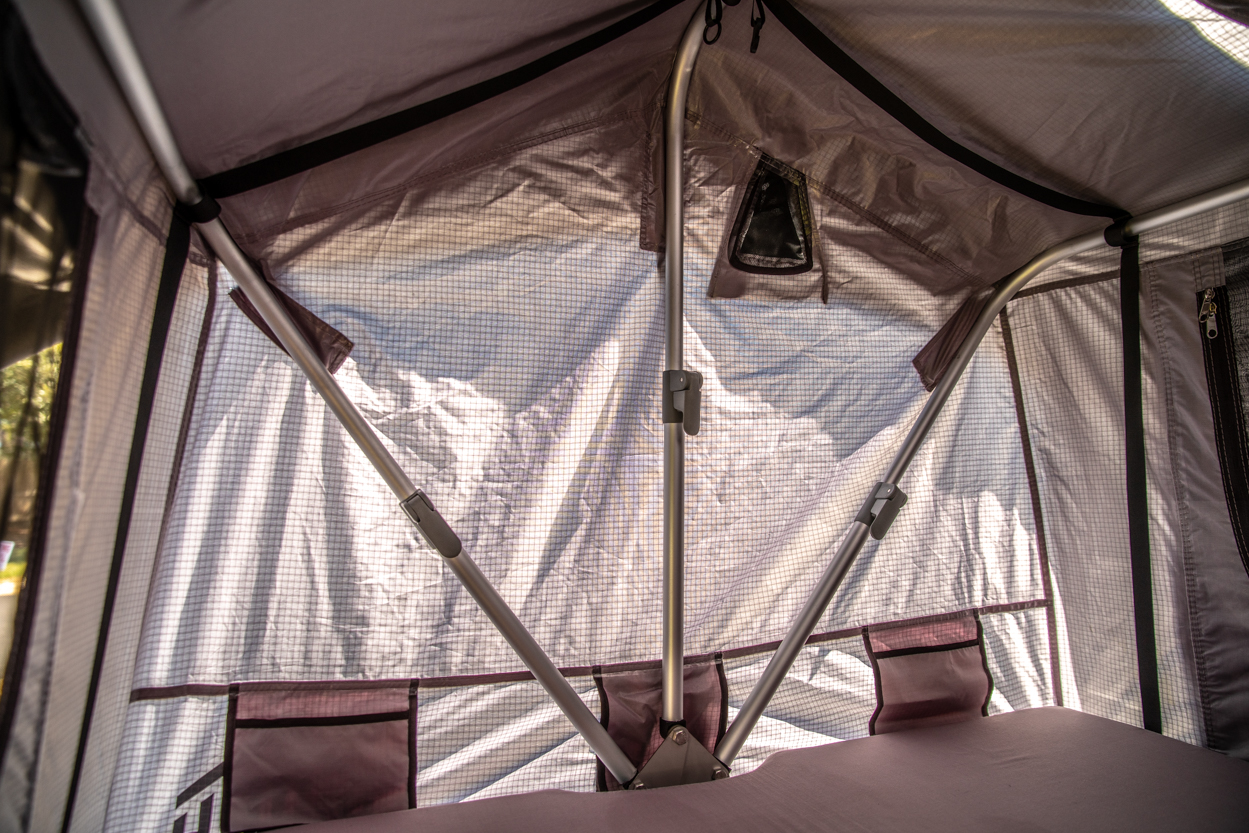
The shot above shows what the inside of the tent should look like when properly deployed.
This step might take you a couple of tries to completely understand how this part works. You might need to go back and extend the supports once again after you’ve got all of them deployed to make the tent material taught.
From the outside, the tent should look as seen above. The tent material should be taught and completely deployed.
Step 10. Rain Fly

At the four corners of the tent, you’ll see that there are openings that reveal the insertion points for the rain fly poles.
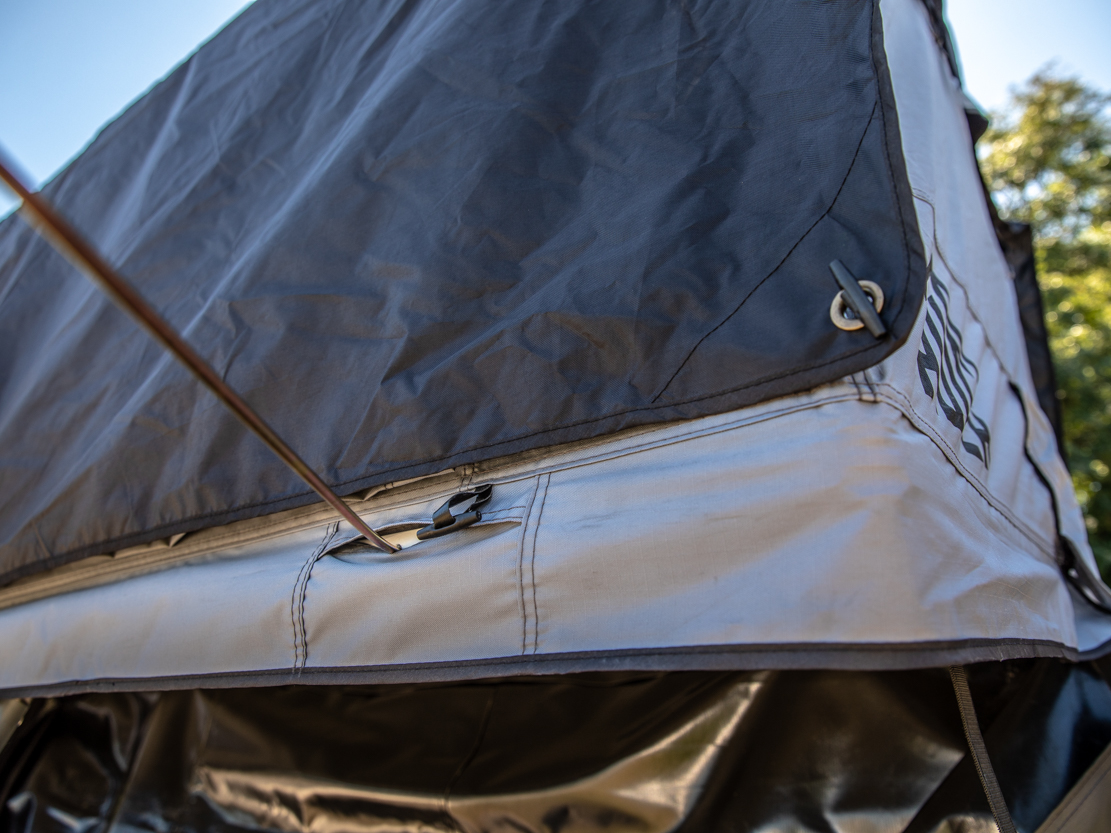
The poles insert at an angle, facing the corners of the tent.
Ensure that you have pushed them all the way in, the poles will hit a firm endpoint when they are properly installed.

Once the bottom of the poles are installed, bend them towards the designated holes at the corners of the rain fly and hook them into place.
Step 11. Side Flaps

As you can see above, near where the frame structure originates, there is a small flap.
This extra bit of material is likely here to allow the material to fold close without ripping.
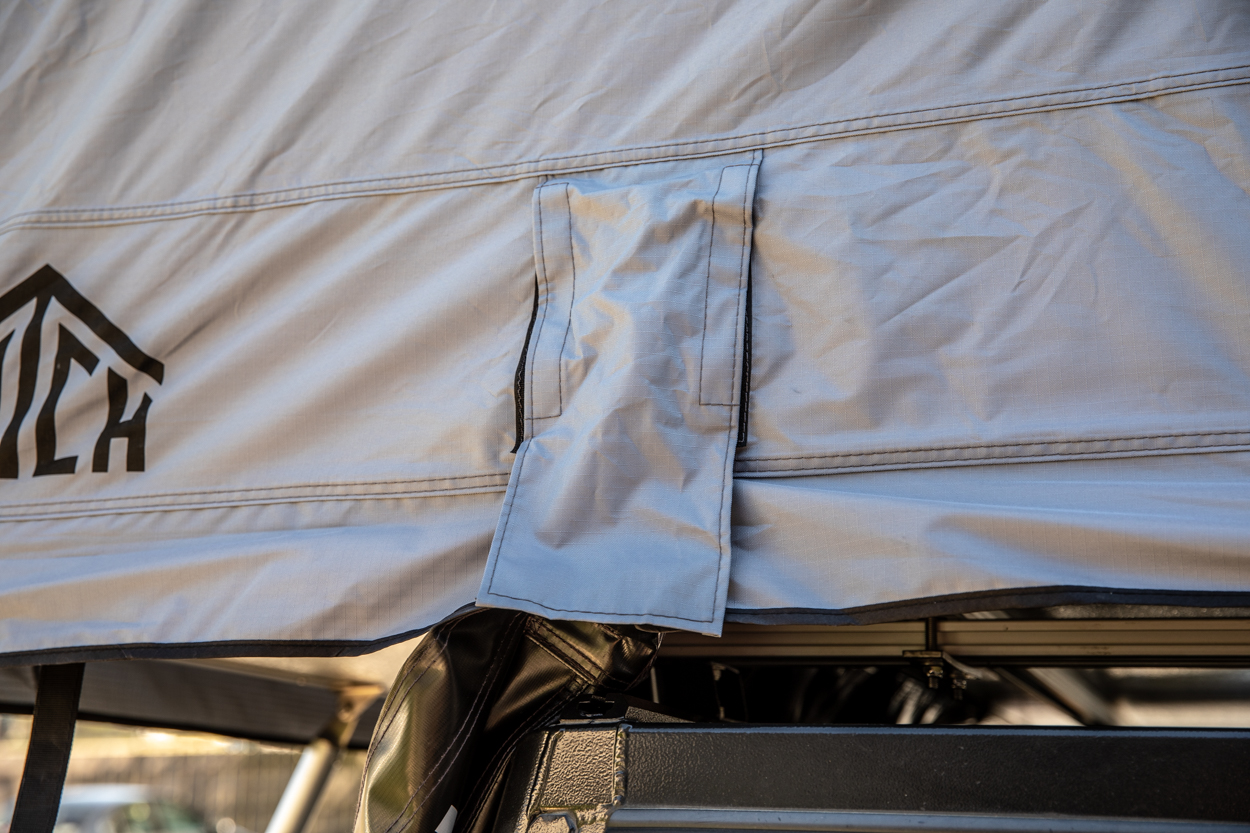
The above image is the same flap from the outside.
The main takeaway here is that you make sure it’s properly Velcroed, not bunched up. This will ensure that the tent doesn’t allow any excessive rain, wind or insects in.
Finished Product

That’s it!
You’ve installed and set up your new tent. Not too bad, right?
To store the tent, simply follow the directions in reverse, taking special care to ensure that you close the tent neatly, otherwise, you might have a hard time getting the tent cover back on. The cover is a pretty tight fit.
Final Thoughts
Although these tents may seem confusing at first, this guide should help you to install them without any significant issues.
I’m assuming the tent sleeps two? What topper do you have in your truck that the tent is mounted to?
looks like RLD or alucab